How to install Smittybilt Axe with First Aid Kit

TN4x4Xterra

Suspension Lift
Location
Knoxville, TN
Alright, some of you wanted an write up on this, this should work for 1st gens also too.

Here goes:

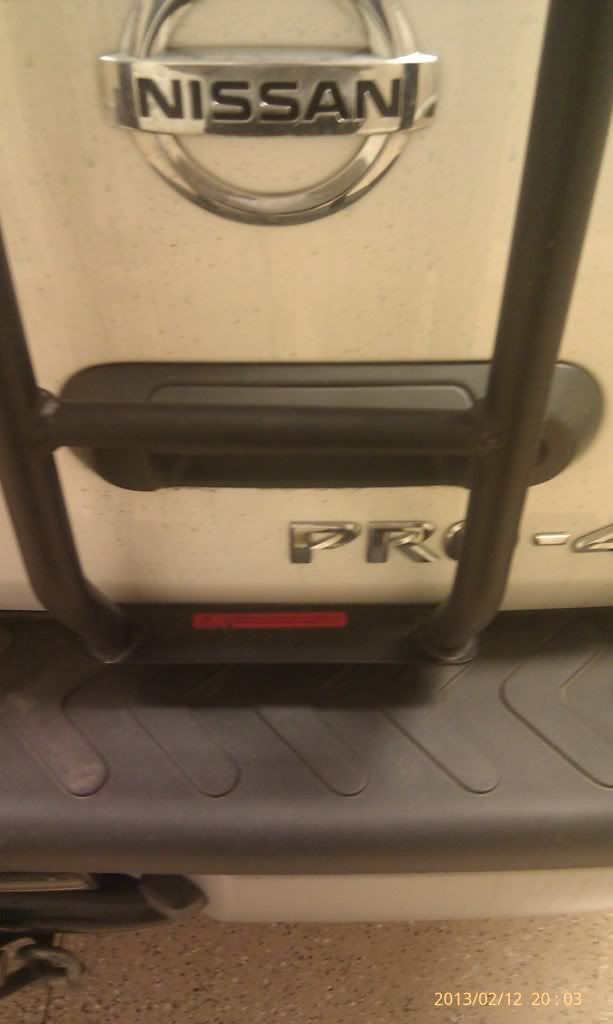
1) Locate the hatch handle:

IMAG1245_zps020bb18b.jpg


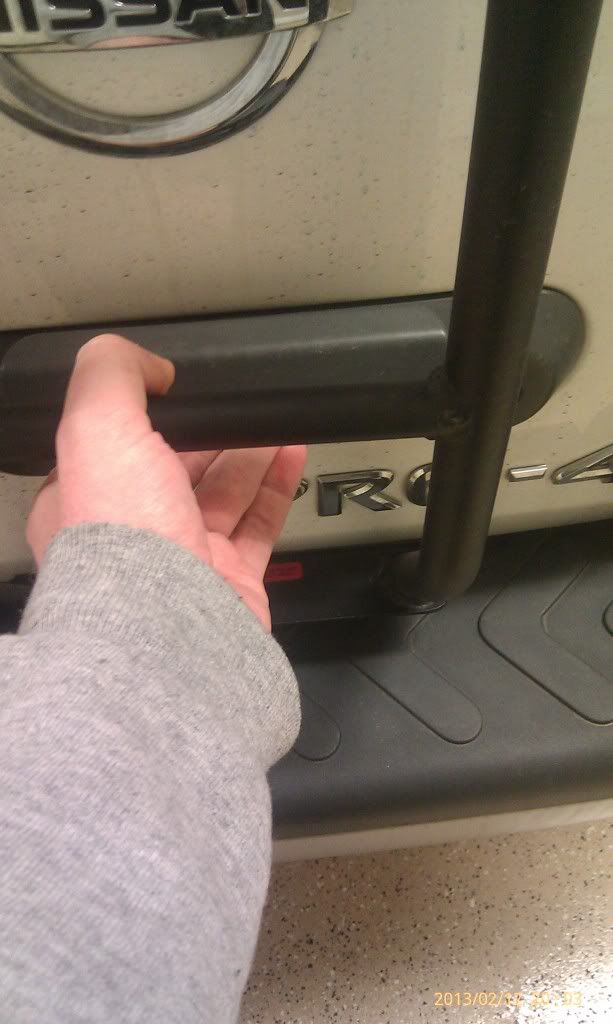
2) Insert hand into hatch handle and pull, which will make the hatch open:

IMAG1246_zps572bc708.jpg


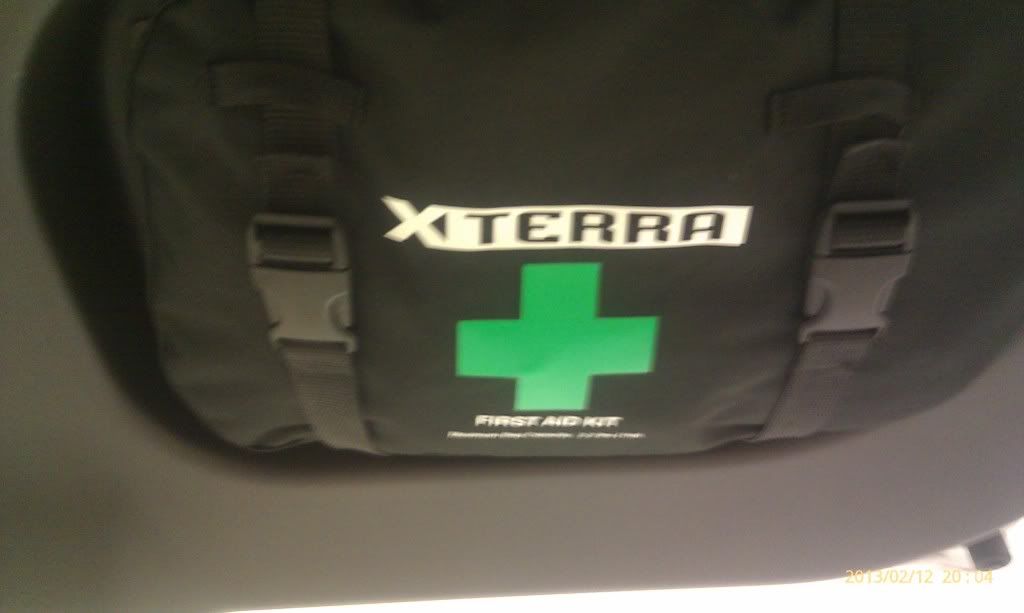
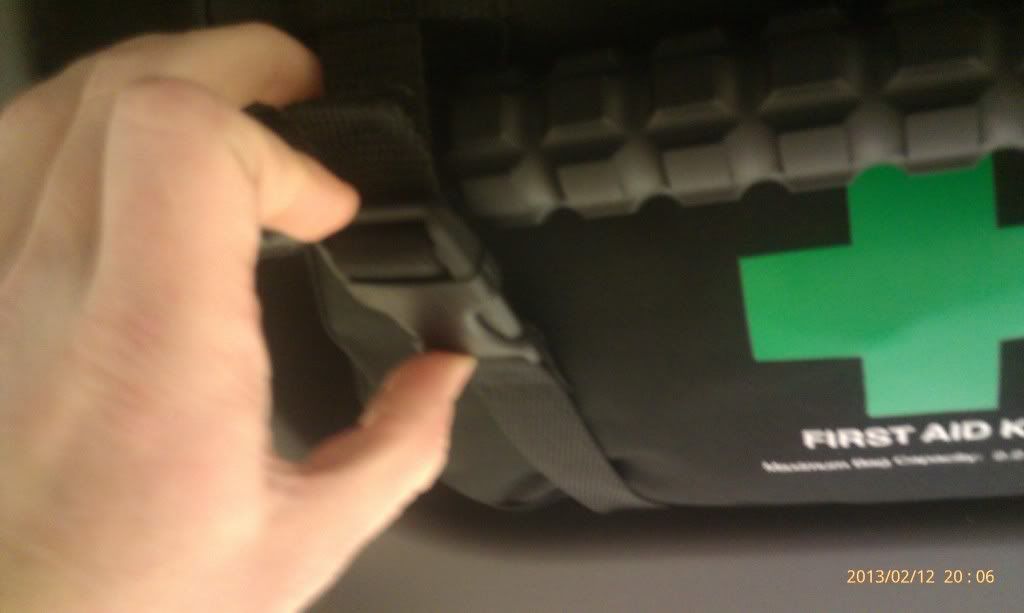
3) Locate First Aid Kit, it is located on the driver's side of the hatch:

IMAG1247_zps1a85be18.jpg


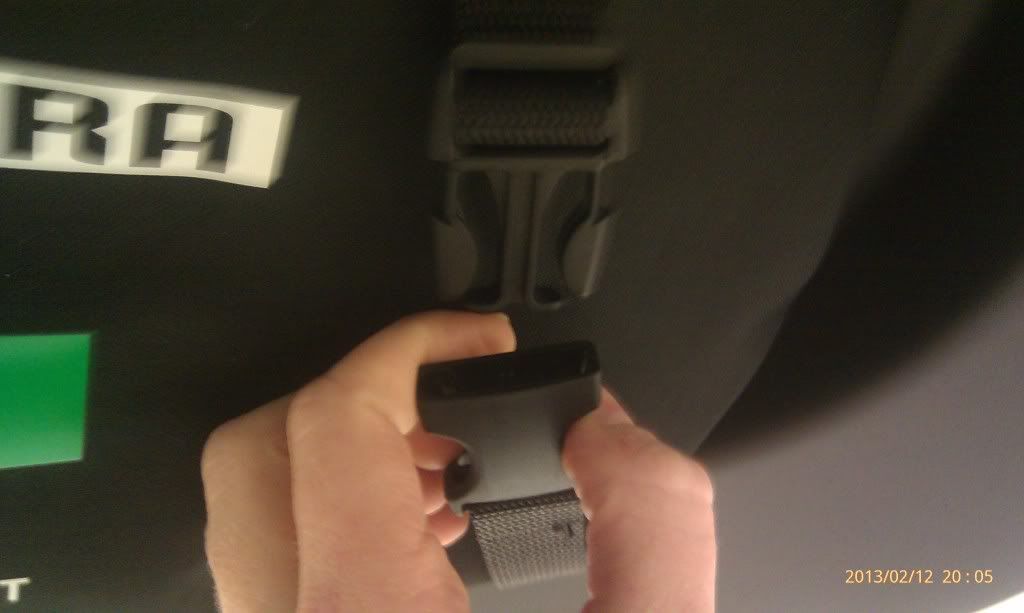
4) Unclip the left plastic latch that is holding the First Aid Kit:

IMAG1248_zpsf20453ae.jpg


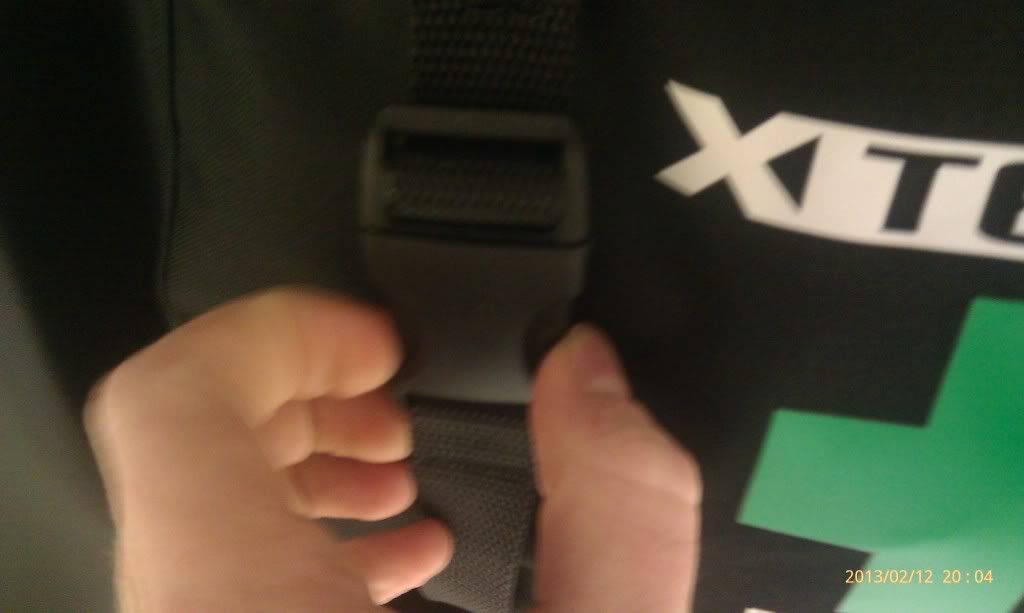
5) Unclip the right plastic latch that is holding the First Aid Kit (Be careful and not let the First Aid Kit whack you in the head):

IMAG1249_zps4e4fe71f.jpg


6) Insert Smitybilt Axe against the First Aid Kit bag and clip the right plastic latch to fasten them in:

IMAG1250_zps69590b95.jpg


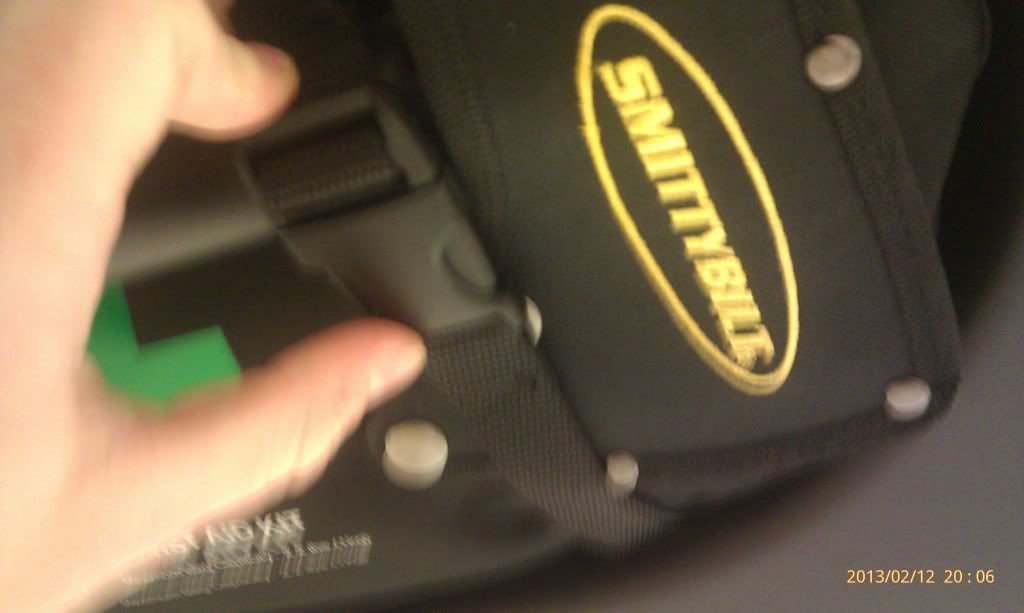
7) Insert the Smitybilt Axe handle against the First Aid Kit and clip the left plastic latch to fasten it in:

IMAG1251_zps72b7a251.jpg


8) You'll see the 550 cord danglin' like a pair of balls and it can be annoying at times, especially when standing under the hatch so here's what I did, I held the string up and slid it right between the strap and First Aid Kit:

IMAG1252_zpsb1f90485.jpg


9) See what I did, I put the 550 in between the strap and the First Aid Kit:

IMAG1253_zps3473855e.jpg


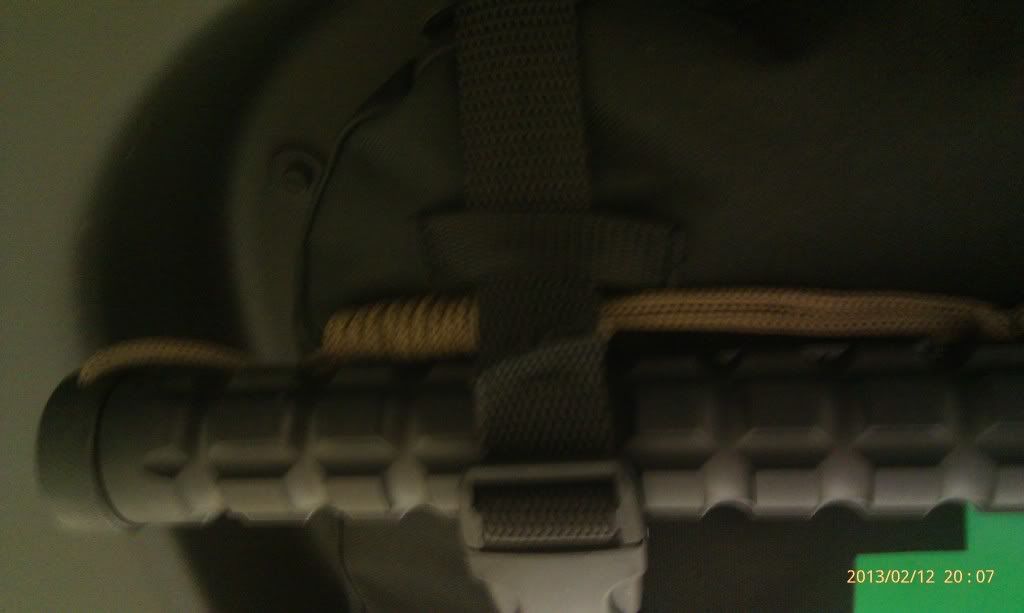
10) Smitybilt Axe and First Aid Kit together!

IMAG1255_zps12759cc0.jpg


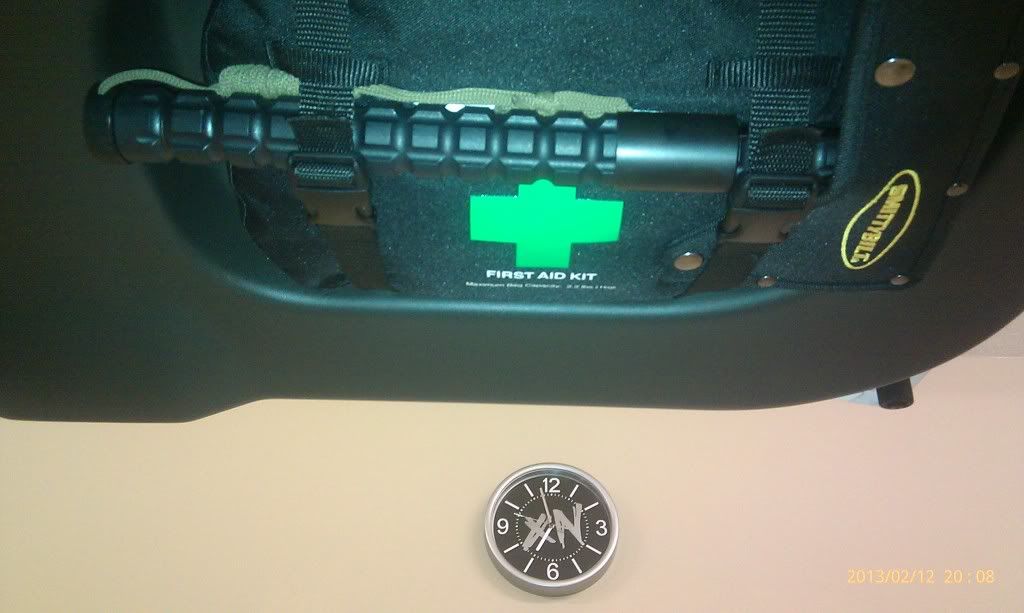
11) Admire the end result and pray you never have to use it against Zombies anytime in the future:

the-ds-has-an-axe-to-grind-with-a-zombies-head.jpg


12) Reach for the hatch interior handle and proceed to shut the hatch and you're done!

IMAG1245_zps020bb18b.jpg


Gosh, this was really hard to do and I hope you guys find this easy! ;)

Enjoy!
 
Last edited by a moderator:

drbandkgb

Titan Swapped / SAS'd
Founding Member
Thank you sir... I have been waiting for someone of true skill to do a write up on this..

Rep to you ;)
 

TN4x4Xterra

Suspension Lift
Location
Knoxville, TN
Can you clarify which direction you put the axe in. Is one way better then the other?

Sure, I put the axe head towards the outside (towards tail light) because if you have rabid zombies coming after you, you can open hatch and pull the axe straight out and drop that cover and start slicin' their brains with it.....seems quicker that way

Plus you won't scratch your plastics too much as you would if you had it the other way around.....nobody likes their plastics scratched ;)
 

OKXterra

First Fill-Up (of many)
Founding Member
Location
Lawton, Oklahoma
LOL! Great write-up. Hopefully I'll have enough time to tackle this mod over the weekend now that I know what to expect at every step! :D
 

Muadeeb

Nissan al Gaib
Admin
Location
Dallas
Does no one else see what happened here?? Stevin has written a "How To" that insults every one here except for the most n00bish noob. The part about opening the hatch was well written, but hiding the "dangling balls" of a 550 cord?? My 5 year old could've figured that out.

Dave: I'd like to call for an immediate ban of Stevin (what kind of name is that anyhow? Get a real name!) and have this "How To" purged from the message board.

</sarcasm>
 
Last edited:

TN4x4Xterra

Suspension Lift
Location
Knoxville, TN
Does no one else see what happened here?? Stevin has written a "How To" that insults every one here except for the most n00bish noob. The part about opening the hatch was well written, but hiding the "dangling balls" of a 550 cord?? My 5 year old could've figured that out.

Dave: I'd like to call for an immediate ban of Stevin (what kind of name is that anyhow? Get a real name!) and have this "How To" purged from the message board.

</sarcasm>

No problem, Chris, we'd be gladly to ban you! ;)

facebook-ban-user.png
 

Cyclemut

Wheeling
Founding Member
Location
Morrison, CO
Tried it!

So, I sprayed my buckles first, then let it sit overnight. One side unbuckled pretty easily, the other side, not so much. I had to use both hands on the right one and I thought I was going to break it. There was a bit of dirt in there so some may want to let it sit longer or even spray it a couple of times previous to unbuckling it.

I wasn't paying attention and the first aid kit came down and hit me in the head. One trip to the urgent care to insure I didn't have a concussion later and I was back at it. Can't keep me down!

Then I mocked up a hatchet, using a cardboard template to insure that it would physically fit. But then I realized that the cardboard wasn't thick enough through the handle to properly account for the thickness of the handle. So I went to ACE hardware, got exactly 10" of 1" wood dowel and then cut a slit in one end, about 2" deep, centered (had to make a second cut on the opposite end because it wasn't centered the first time I did it, so don't make my same mistake) and then inserted the cut off hatchet head off my cardboard template. I used duct tape to hold it together, I don't think the extra thickness made that much of a difference.

It was late last Saturday night when I got to that point, so I started again Sunday morning, where I left off. Refreshed, but with a slight headache (and they laughed that I was hit in the head, I think I may have had a small concussion, but the 6'er of PBR and shots of Tuaca made it OK Saturday night), I proceeded to see if my hatchet template would work. I clipped the right clip back into place, it was still tight so I sprayed it some more just to get it loosened up in case I needed to get it off quickly later on, and the left one went in nicely.

Then I realized that I didn't have the parachord properly mocked up, like your picture. So I took it all back apart. I was frustrated at this point, so I took a break. It was afternoon by this time, so I had some lunch. Back at it, I took the mockup hatchet and drilled a hole in the bottom of the handle (where my first, uncentered cut was) and then realized I didn't have anything that could realistically simulate parachord. So another trip to ACE and I came back with some leather chord that I think worked OK. It's not as flexible as the parachord, but the thickness is close enough. So, after tying the leather up to the handle and cutting it to length (I learned my lesson there, measure twice, cut once!), I proceeded to test fit everything again.

So, this time the right clip went in nicely! I'll have to remember to lube it once in a while. The left side went in smooth as butter.

*On a side note, I put a call into 1-800-NISSAN1 to see if there's anything that Nissan would do for me. I don't want to be locked out of the first aid kit in case of an emergency. I now have an appointment with my local dealer to see if there's something that can be done. I don't think I should be responsible for this. I also spoke to them about my urgent care visit, but they were pretty sure Nissan wouldn't cover that. I'm going to speak to some people that I know (one is an attorney) to see if there's anything I can do legally about it.*

So, everything fit in nicely, the mockup hatchet didn't hit anything and I even made sure that going over bumps at a decent click that the leather "ball" didn't make noise. I did have to make a slight adjustment to the center (towards the middle of the hatch, away from the tail light) because I saw that head of the mockup hatchet was getting close to the inner lip of the trim. Other than that, it all fit great.

That was Sunday night by the time that I got it all squared away. I don't have class until 10am, so Monday morning I got up early, took the mockup out. I unclipped the clips, making sure to hold the first aid kit up with my left hand (once bitten, twice shy!), then removed the mockup hatchet.

So, if I ever get a hatchet, it will fit in there nicely!

Thanks for the write-up, rep for sure!

I'll let everyone know if Nissan does something for the right clip that was sticky, I think there's something there and they're trying to hide it.
 

Cyclemut

Wheeling
Founding Member
Location
Morrison, CO
Does no one else see what happened here?? Stevin has written a "How To" that insults every one here except for the most n00bish noob. The part about opening the hatch was well written, but hiding the "dangling balls" of a 550 cord?? My 5 year old could've figured that out.

Dave: I'd like to call for an immediate ban of Stevin (what kind of name is that anyhow? Get a real name!) and have this "How To" purged from the message board.

</sarcasm>

Hey, I learned something here, so hush Mr!

You just can't appreciate it for what it is, expanding the knowledge base of the Xterra community. The world is a better place for this and I, for one, appreciate his effort.

Meany.

[/dripping with sarcasm]
 

Macland

Titan Swapped / SAS'd
Founding Member
Oh my gosh, I'm laughing so hard right now! The secretary outside my office is giving me weird looks.

Post of the year man, wow. Once bitten twice shy lol!

X nerds unite!
 

NMTerras

Suspension Lift
Location
New Mexico
Thanks for the great DIY Cycle! I just have a few questions:
1) Did you remove the first aid kit from its bag before you sprayed the PB blaster? I think some of what I sprayed on the buckles got on my bandaids. Icky.
2) I've sprayed twice now, and the right buckle just won't budge. How long should I wait before I just sawzall it? Maybe I should heat them up first?
3) I don't have an ACE hardware store near me. Do you think they'll have one of those dowel thingies at Lowes?
4) Should I drink all the PBR first, and then the Tuaca? Or alternate? Should i order an ARB fridge for the cargo area before I tackle this? (Edit: I decided to take a chance and just go for it. See below)
5) I was thinking I should do the hatch strut flip before I go any farther, maybe then I won't get hit in the head like you did because the first-aid kit will be higher?
6) I got a little confused because your writeup didn't have any pictures, after I drank all the PBR, I poured Tuaca on the buckles while spraying PB Blaster in my mouth. I didn't feel so good, so I went to urgent care (like you said) and they just laughed at me. Can you get me the name of that attorney you know?

Thanks Cycle! Rep!
 

NismoFire

Titan Swapped / SAS'd
Founding Member
Location
Smyrna, TN
Thanks for the great DIY Cycle! I just have a few questions:
1) Did you remove the first aid kit from its bag before you sprayed the PB blaster? I think some of what I sprayed on the buckles got on my bandaids. Icky.
2) I've sprayed twice now, and the right buckle just won't budge. How long should I wait before I just sawzall it? Maybe I should heat them up first?
3) I don't have an ACE hardware store near me. Do you think they'll have one of those dowel thingies at Lowes?
4) Should I drink all the PBR first, and then the Tuaca? Or alternate? Should i order an ARB fridge for the cargo area before I tackle this? (Edit: I decided to take a chance and just go for it. See below)
5) I was thinking I should do the hatch strut flip before I go any farther, maybe then I won't get hit in the head like you did because the first-aid kit will be higher?
6) I got a little confused because your writeup didn't have any pictures, after I drank all the PBR, I poured Tuaca on the buckles while spraying PB Blaster in my mouth. I didn't feel so good, so I went to urgent care (like you said) and they just laughed at me. Can you get me the name of that attorney you know?

Thanks Cycle! Rep!


You must REALLY be confused....because Stevin did this one....oy.
 

Xterraforce

<img src="http://i164.photobucket.com/albums/u7/ra
Founding Member
Location
Signal Mtn., TN
If anyone has done this on a first gen maybe you can help me out. I was attempting to locate the handle to open the rear hatch but something didn't look quite right. I studied the pictures (very detailed by the way) and that's when I realized there doesn't seem to be a handle behind my ladder like the one shown in the picture. All I see is the metal of the hatch. I called a friend who also owns a first gen X to see what his looked like and he wasn't even able to find a ladder at all on his. We both have what appears to be a handle located near the bottom of the hatch near the center, but without a ladder over it I wanted to be sure it could still possibly be a hatch handle before I try it. Any help would be greatly appreciated.
 

ThePlasticOne

First Fill-Up (of many)
Location
Boston, MA
Have replacement buckles handy. One of mine was seized and I had to cut it off. Took three of my Sawzall blades with it, I had better luck with my LCAs.
 

NMTerras

Suspension Lift
Location
New Mexico
Hey has anyone thought of doing the smooth handle swap on these trail axes yet? And does the longer handle rub on the edges of the first-aid kit well?
 
Top