MechPatt's "Xterra Strong" build

MechPatt587

Bought an X
Founding Member
Location
Chattanooga, TN
Well I ended up not putting the lift on today, but I did put the new bilstein shocks on all the way around. I was gonna do the lift, but by the time I got started everyone else had gone home for the day and I decided not such a good idea to do the lift with no one else there incase I needed help with something...

20120428_175628.jpg


20120428_175637.jpg


20120428_175659.jpg
 

MechPatt587

Bought an X
Founding Member
Location
Chattanooga, TN
Sooooo... 
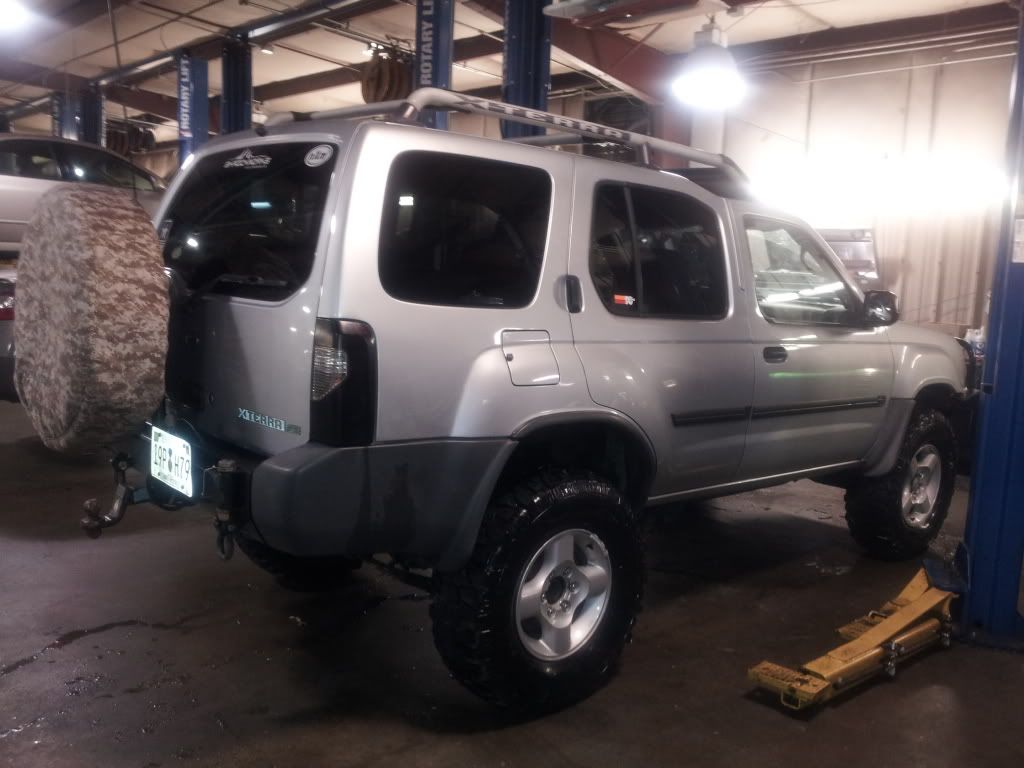
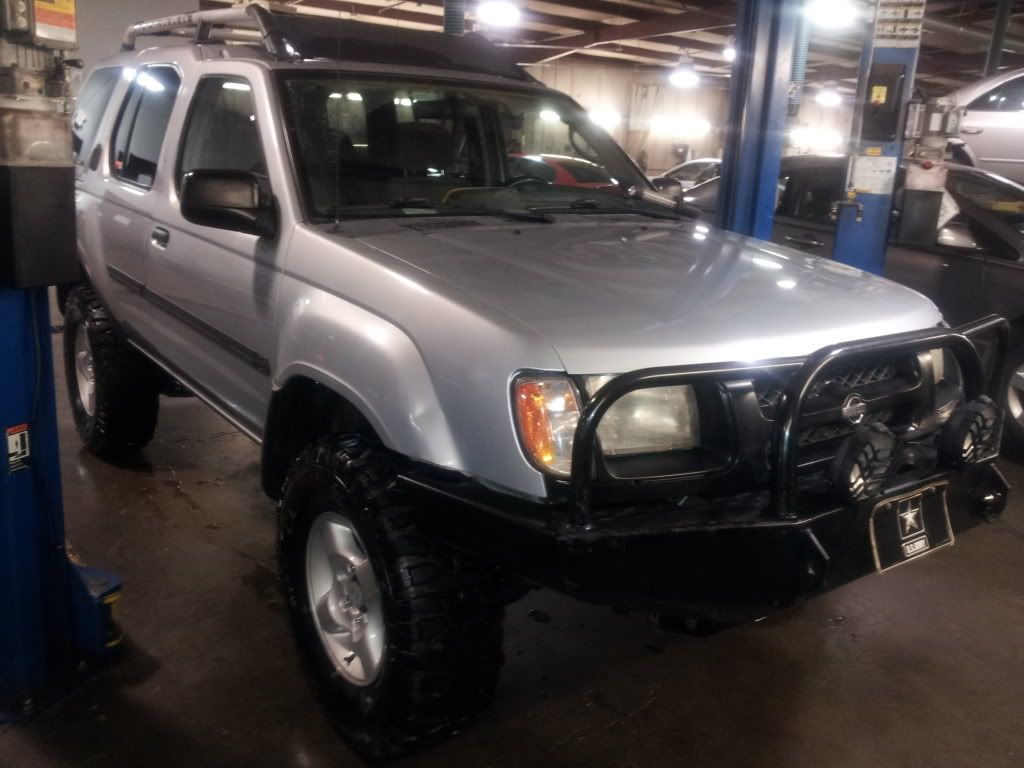
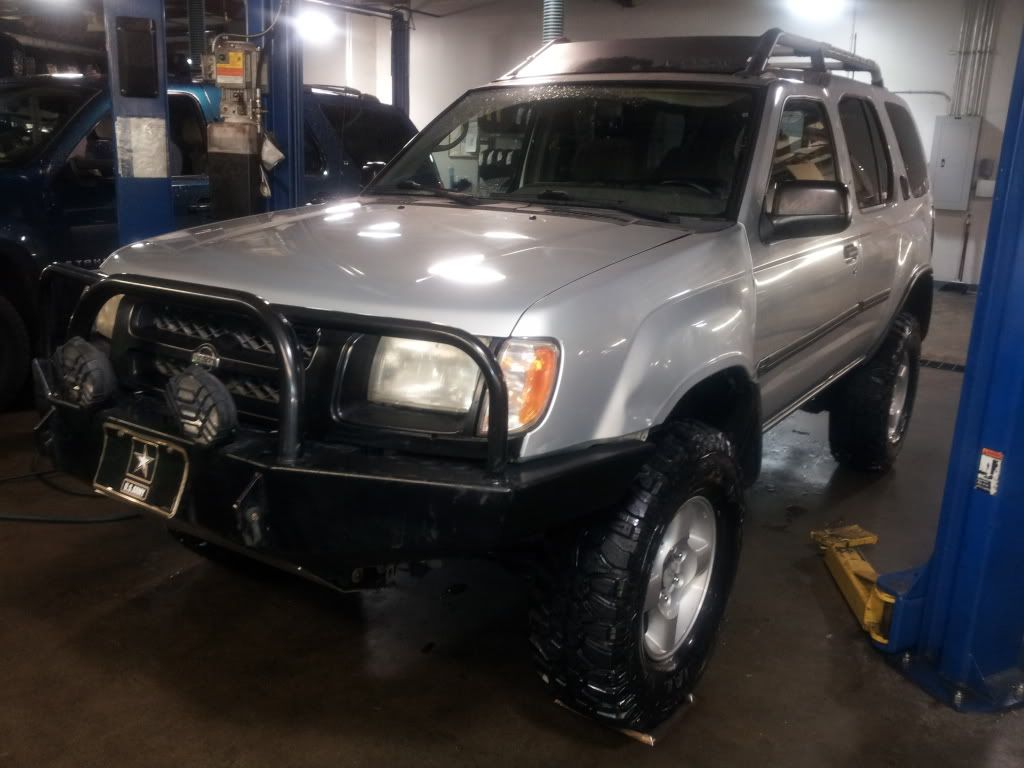
HUGE updated on the X since my last post!

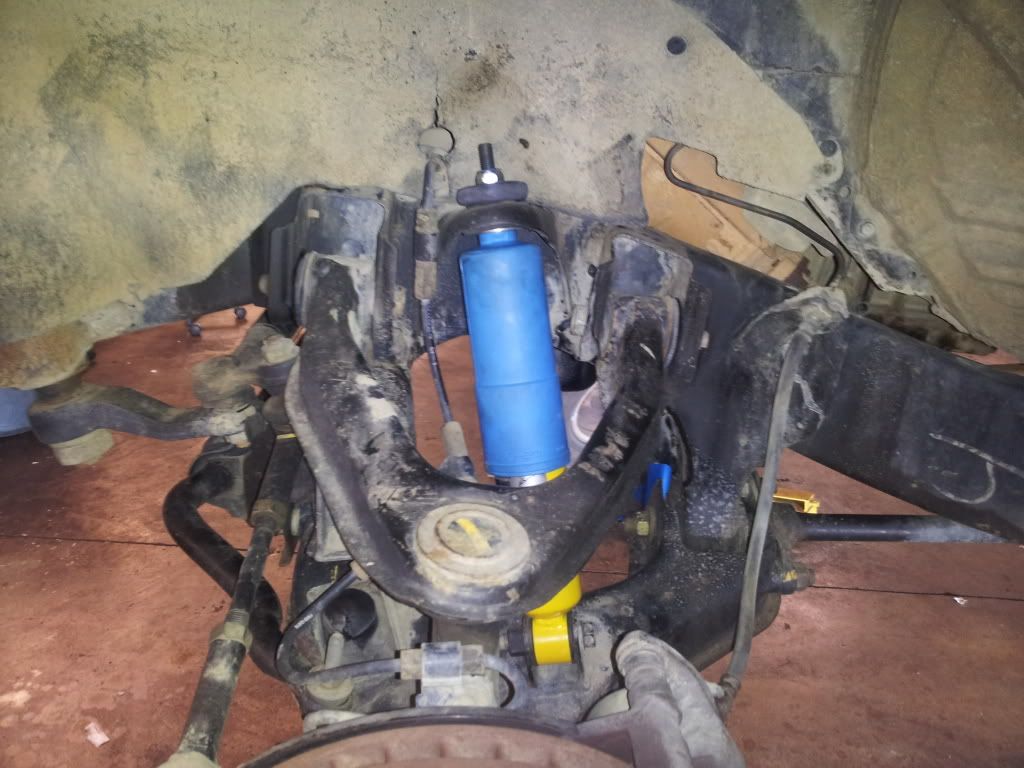
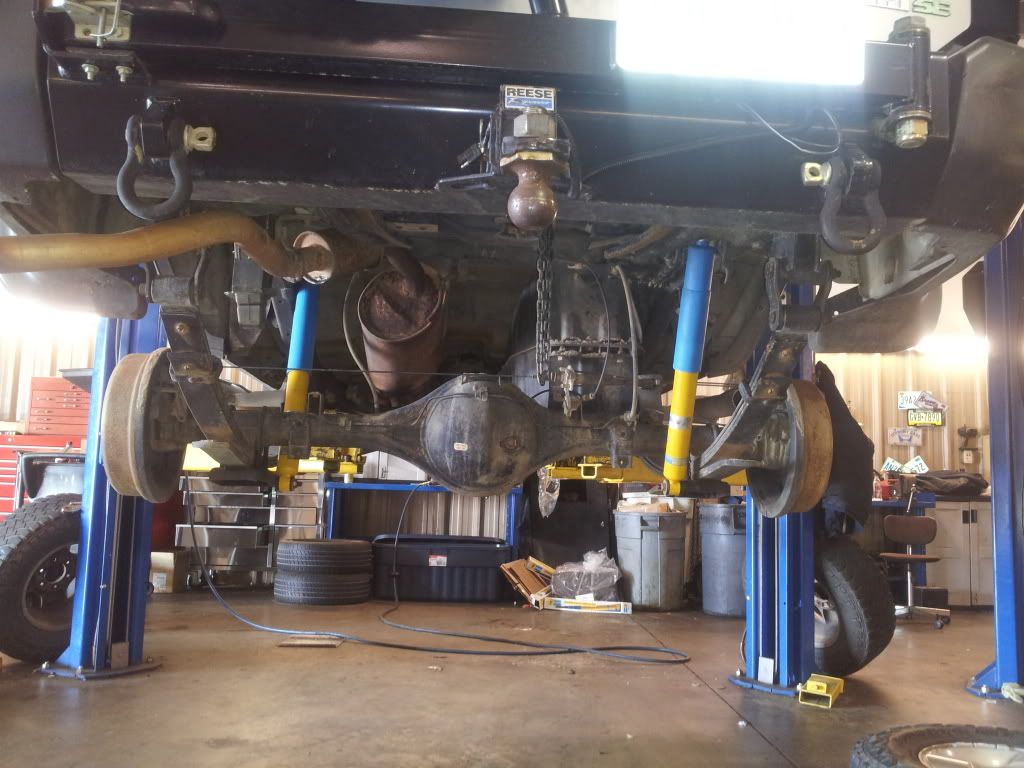
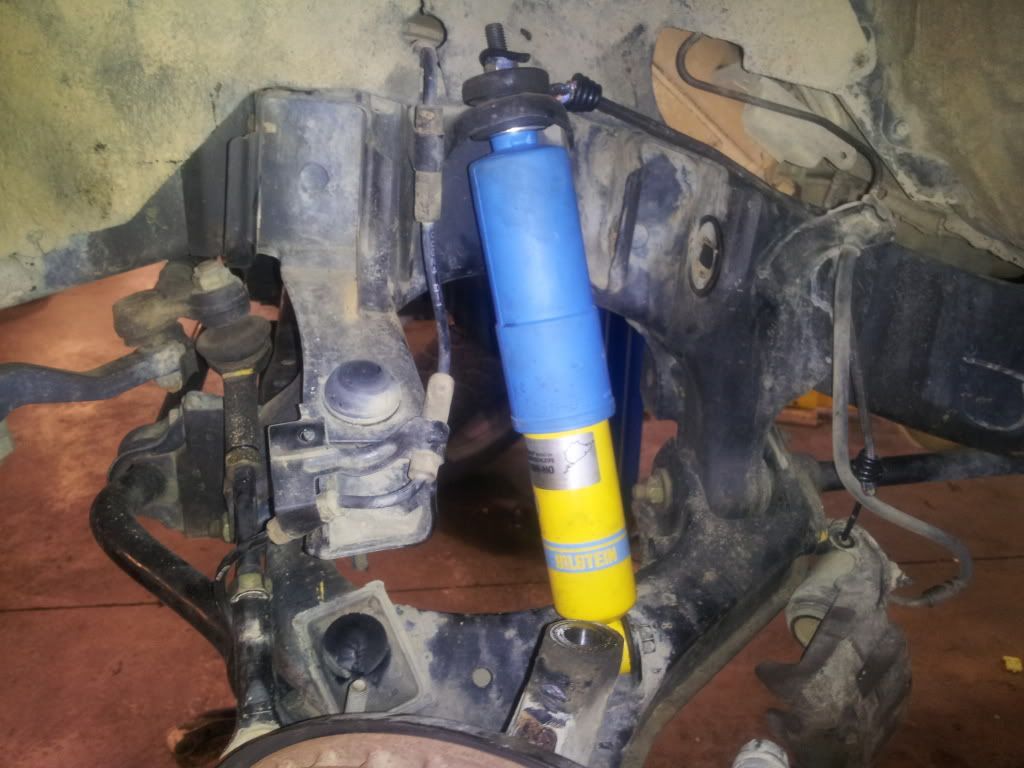
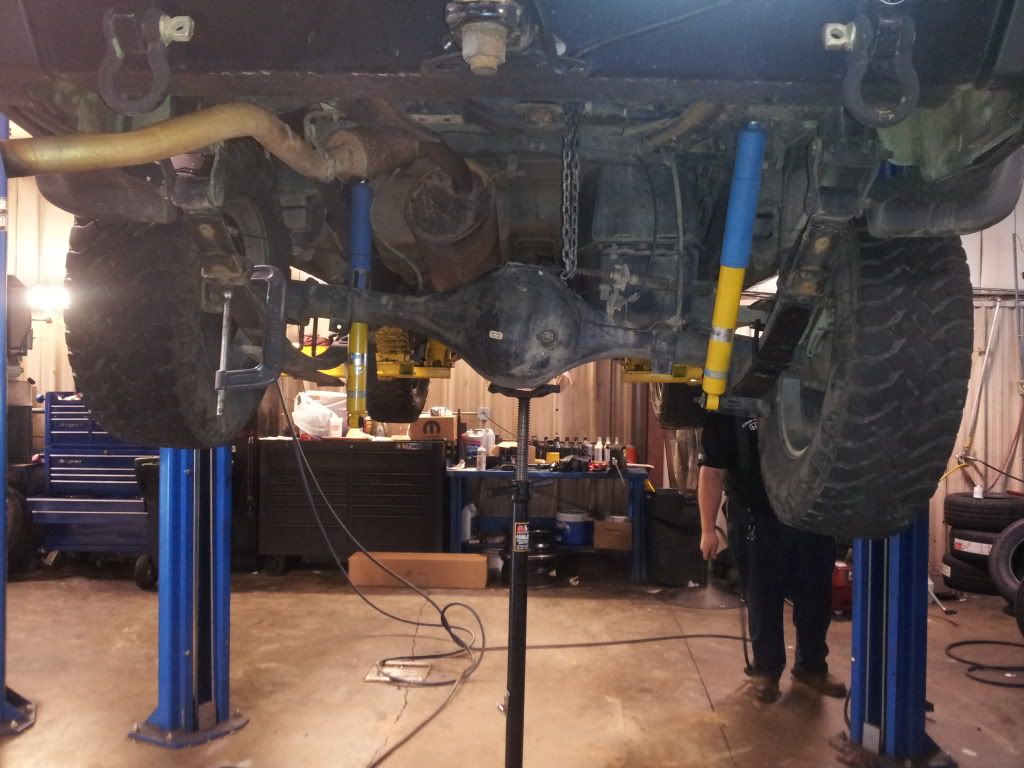
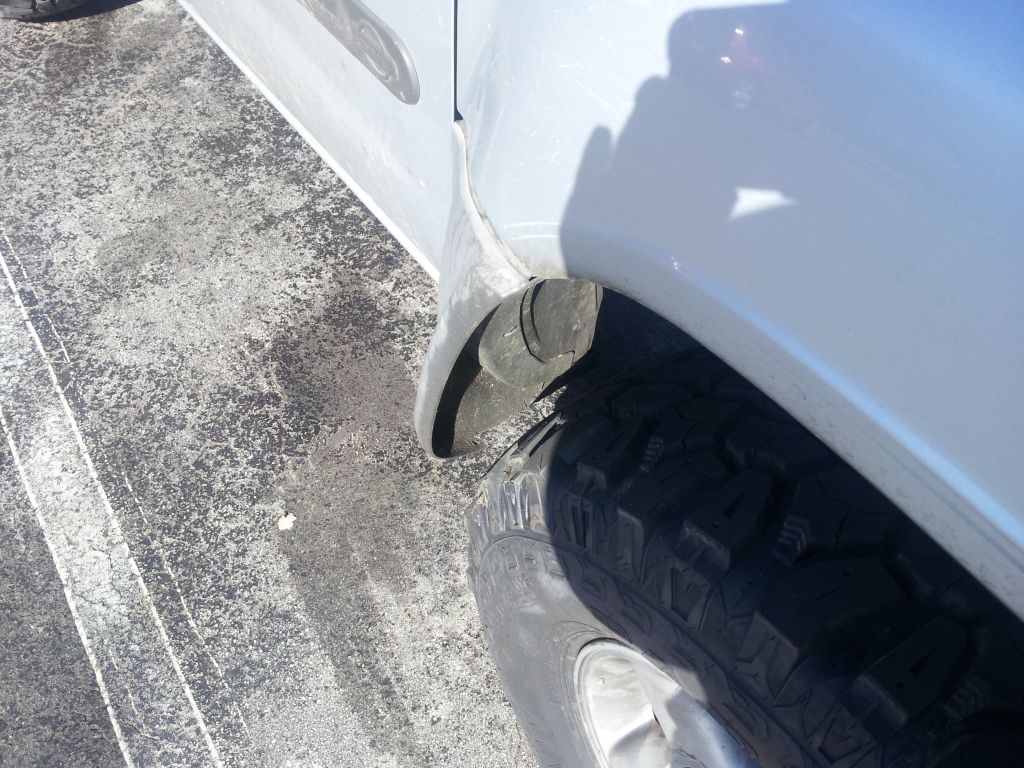
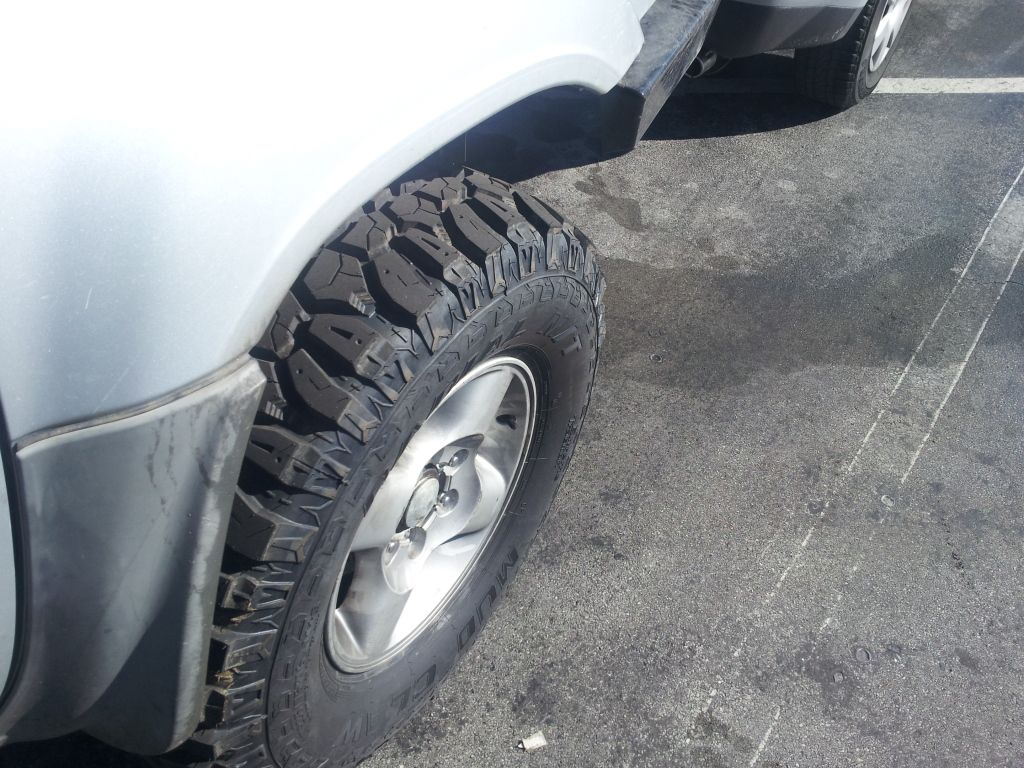
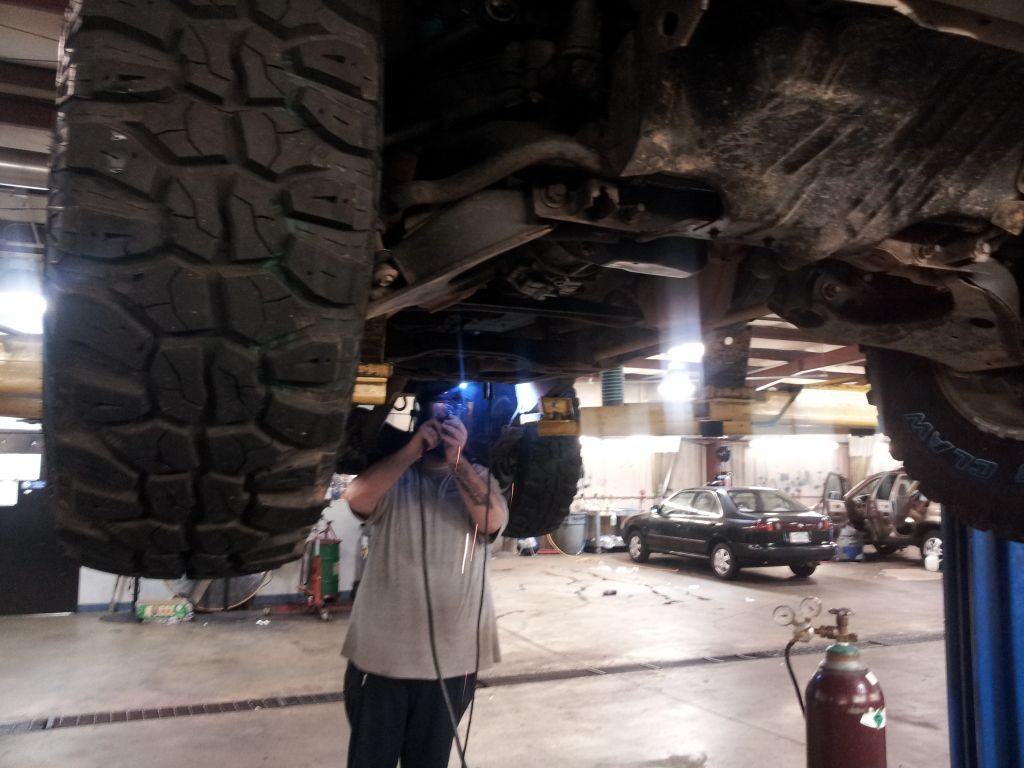
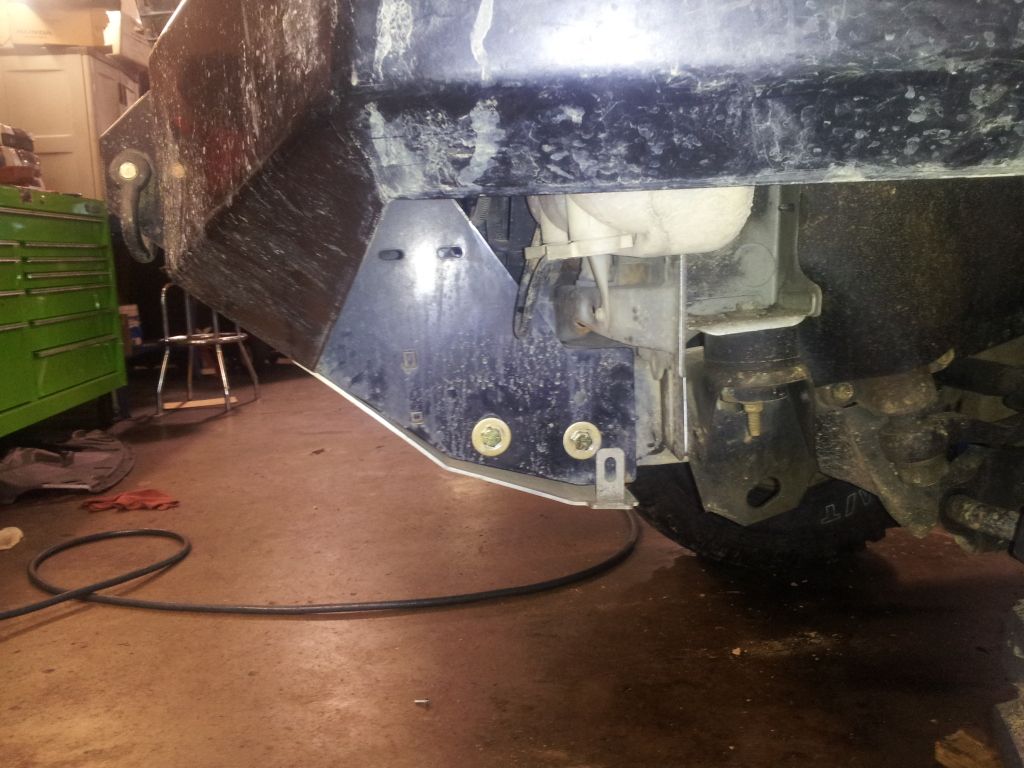
on the 4th of May I took one step closer to having a lifted Xterra, and installed the AC upper control arms and replaced a stripped out camber bolt.
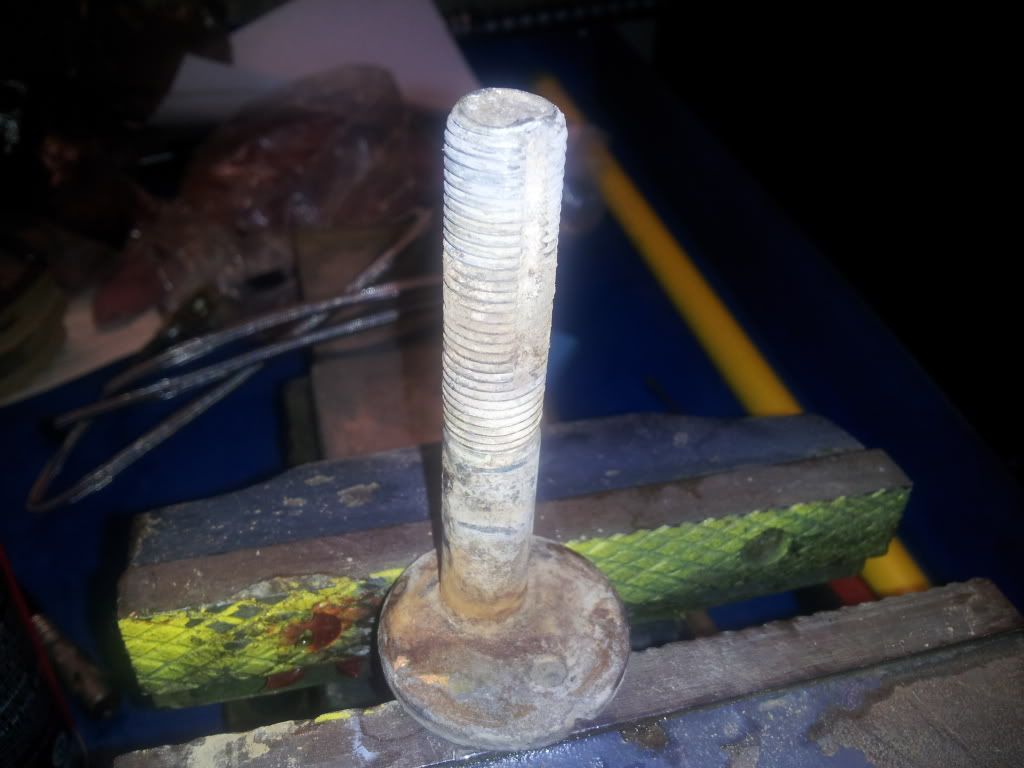
I didn't have any trouble with the camber bolts being seized in the UCAs like most people do, which was very nice... I already knew one was stripped out however, which I discovered while trying to do a proper alignment on the X a few weeks prior. I picked up the parts from the dealer just down the road from work for about $21

20120504_151419.jpg

20120504_151428.jpg

20120504_152156.jpg

Put all the old comber bolts in my bench vise and cleaned the threads up with a thread file before reassembly.
20120504_152903.jpg

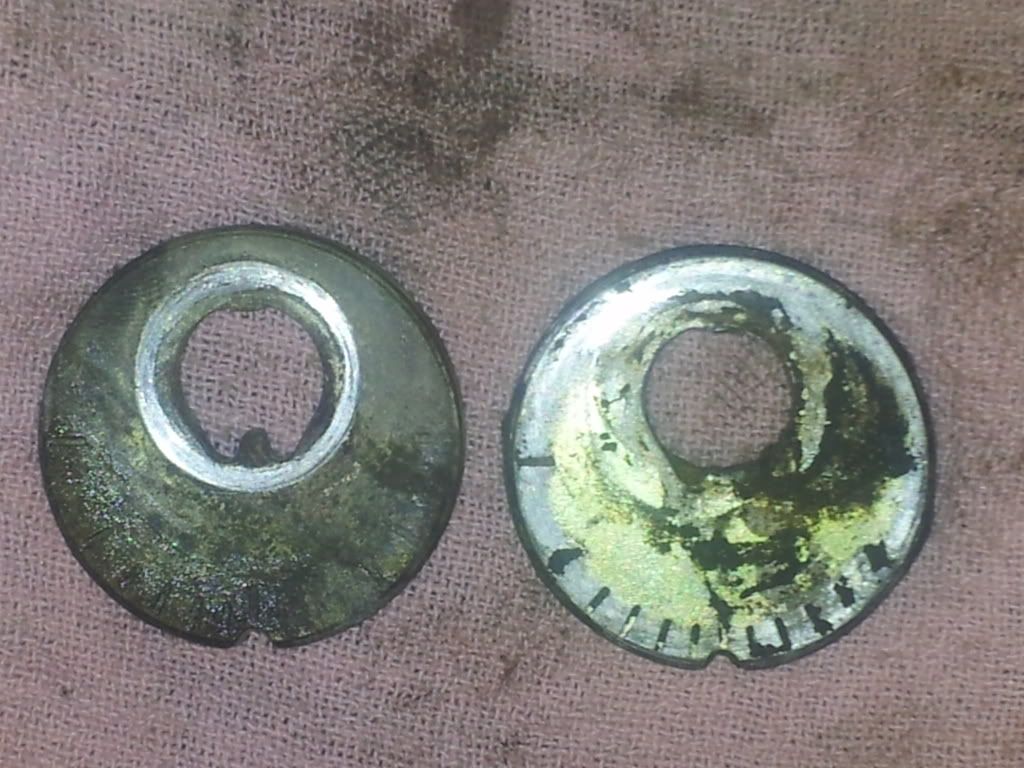
Good Cam washer on the left and Stripped Cam washer on the right.

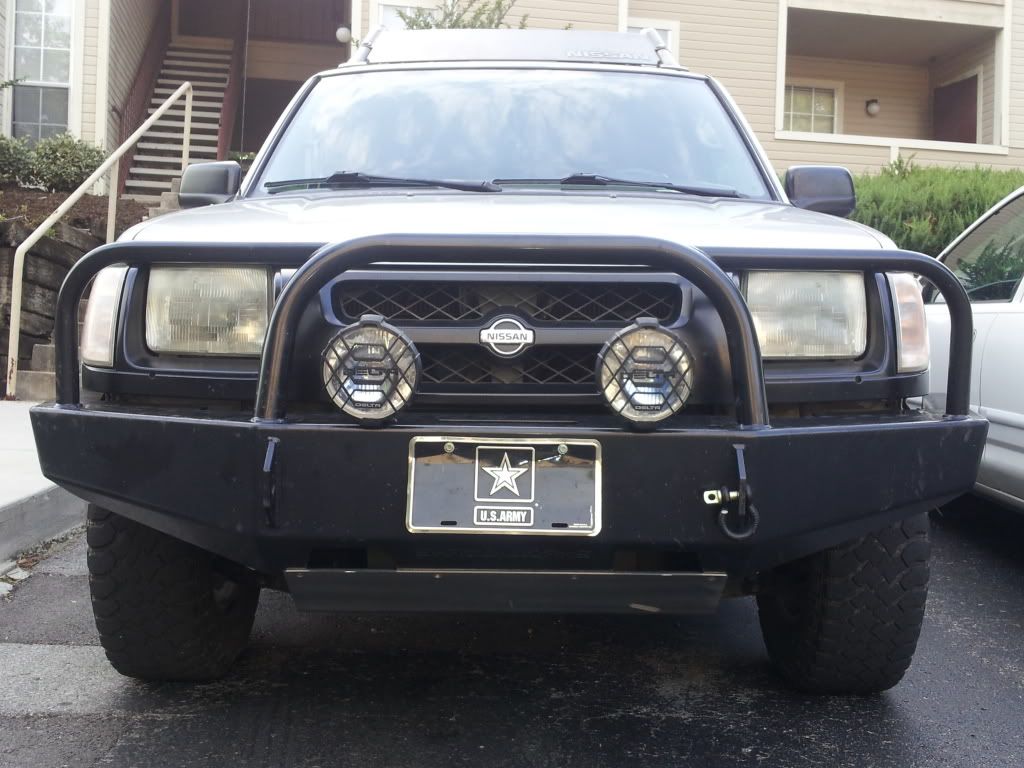
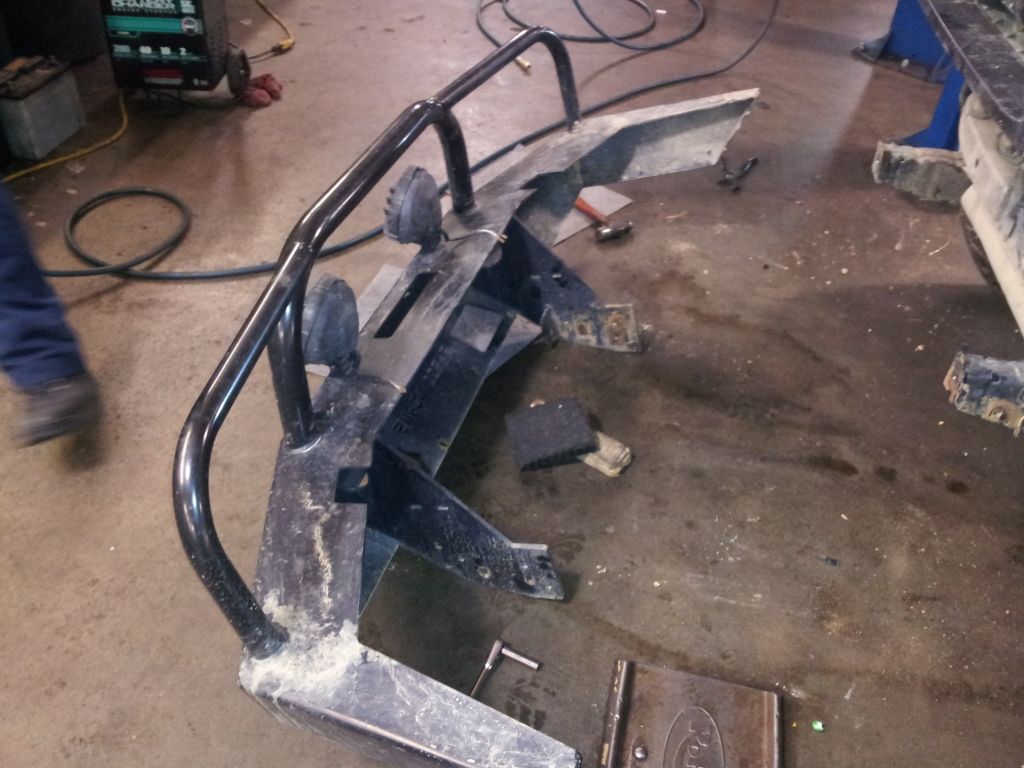
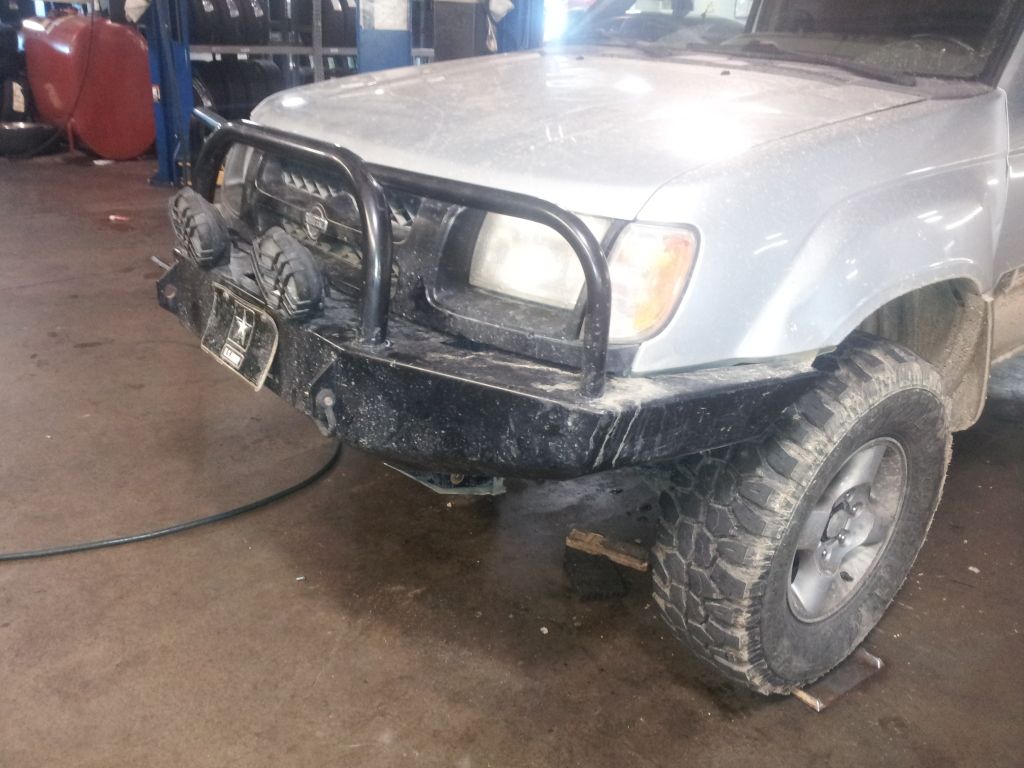
Then on the 31st I installed some Delta driving lights that I took off a jeep that got traded in at work. (They told me to take them off cause they were wired incorrectly and didn't work) I also installed my Cobra 19 DX IV CB radio that my in-laws bought me for my birthday. :)
20120531_192706.jpg

20120531_173930.jpg


Then 
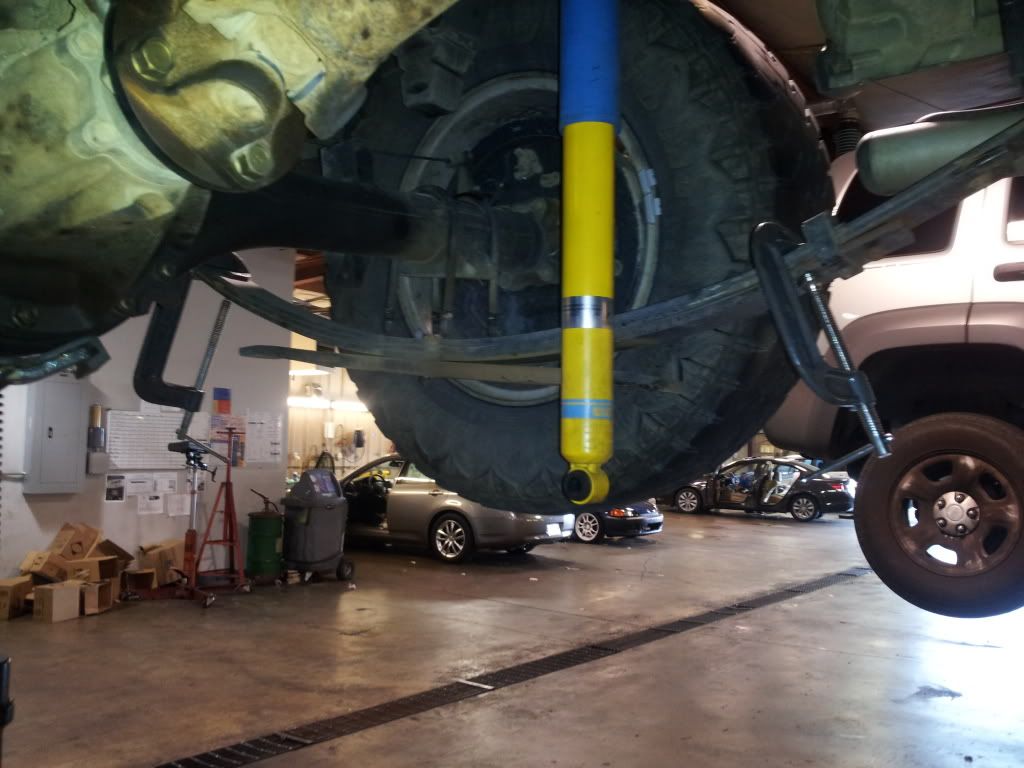
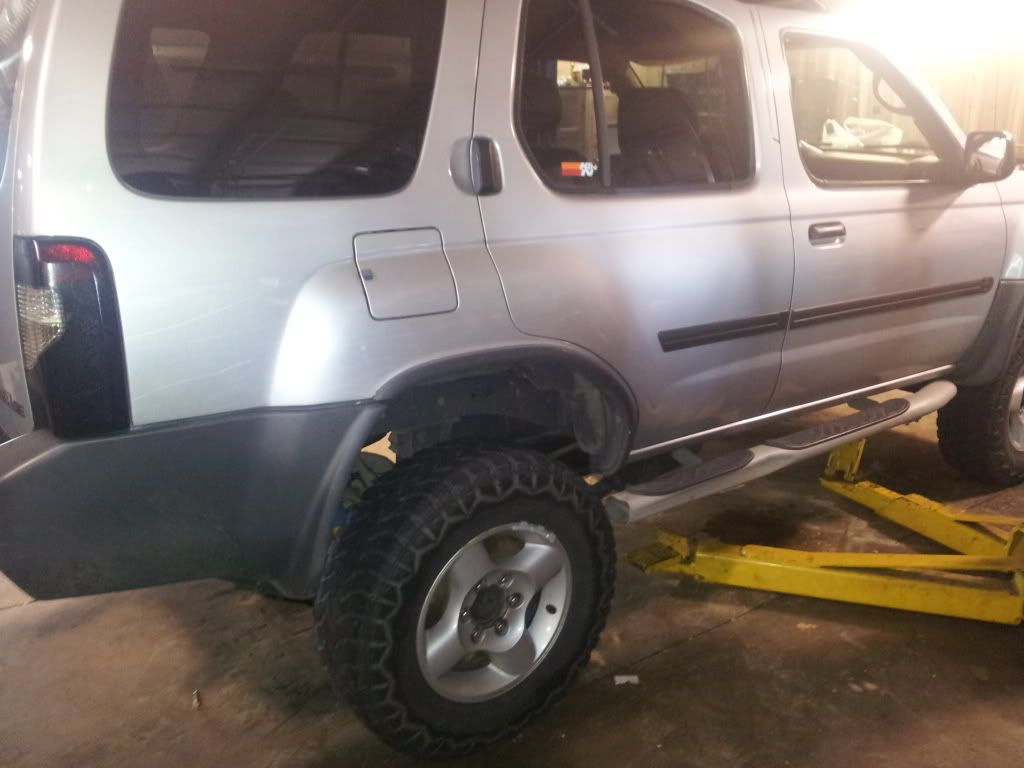
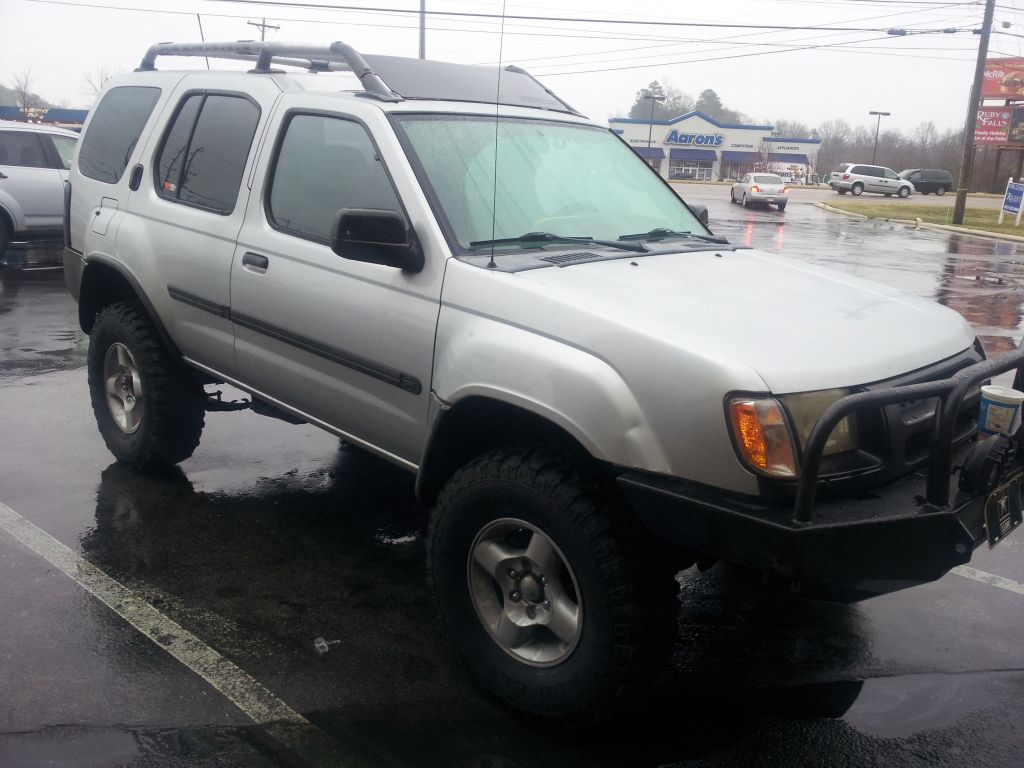
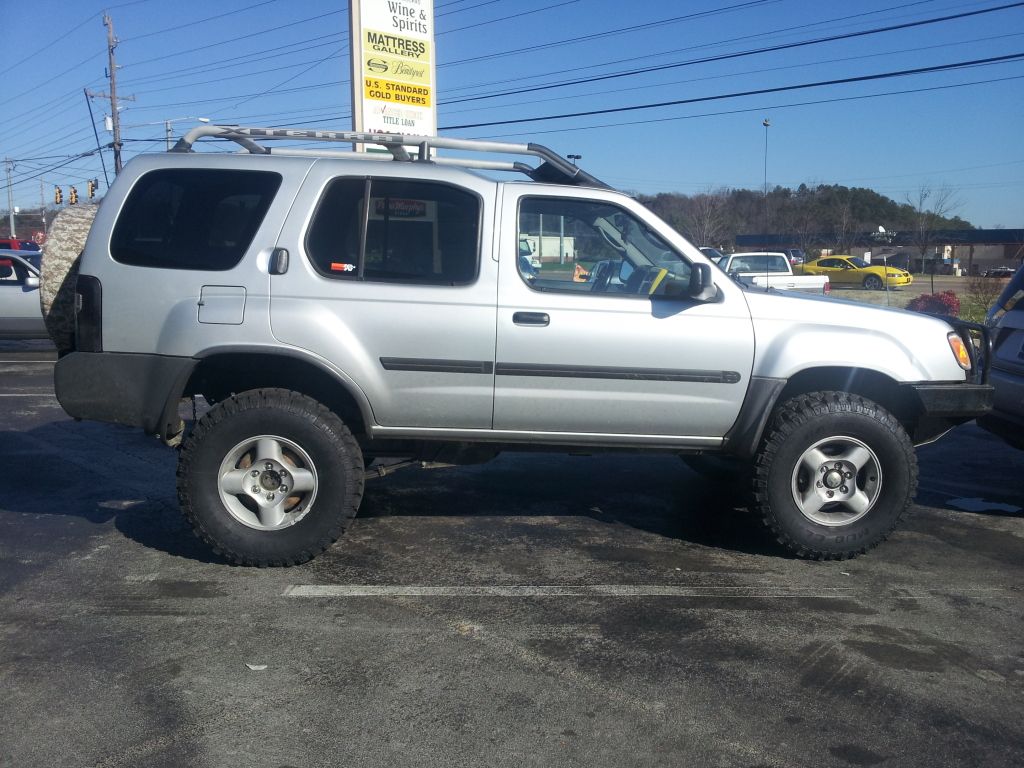
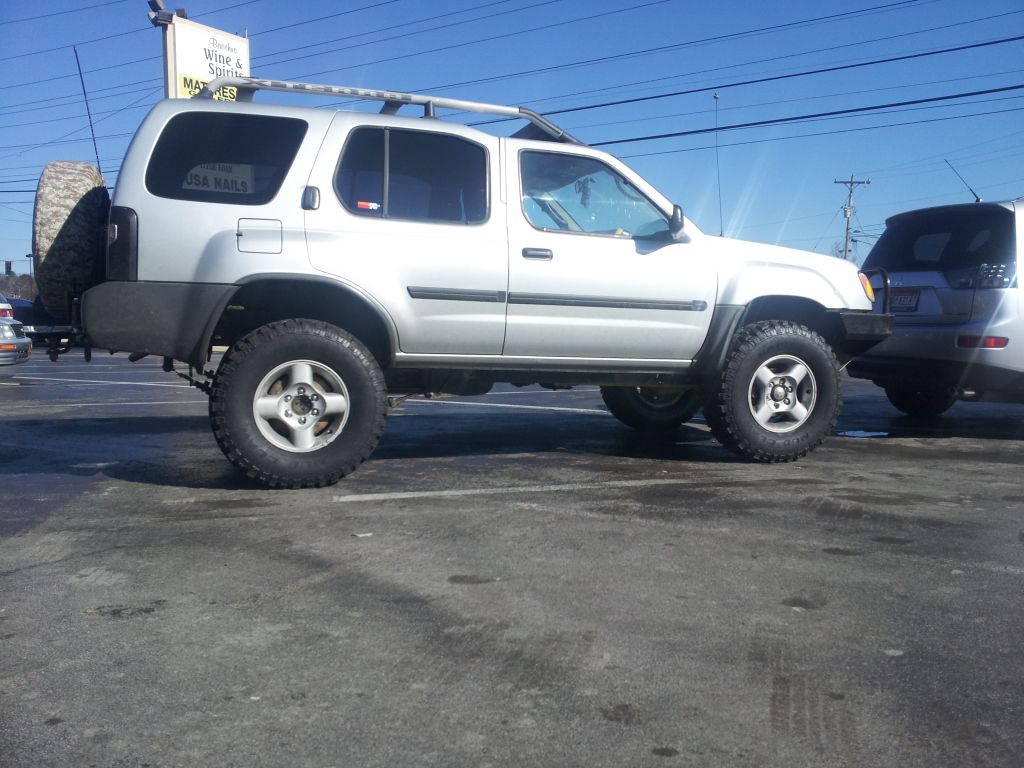
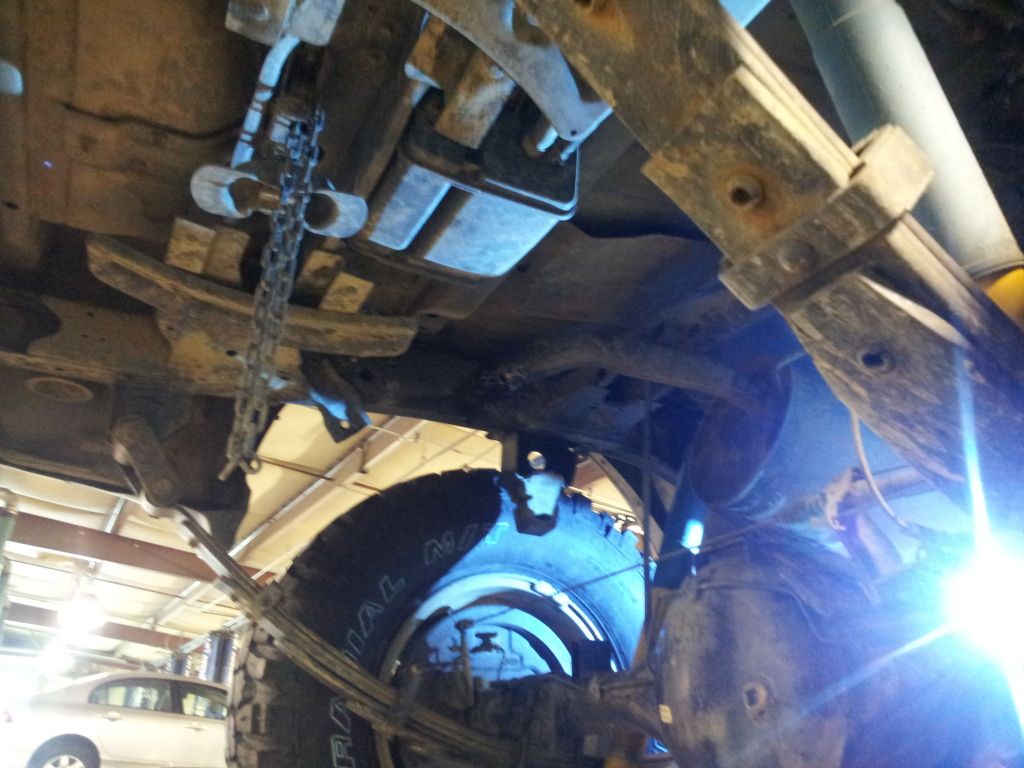
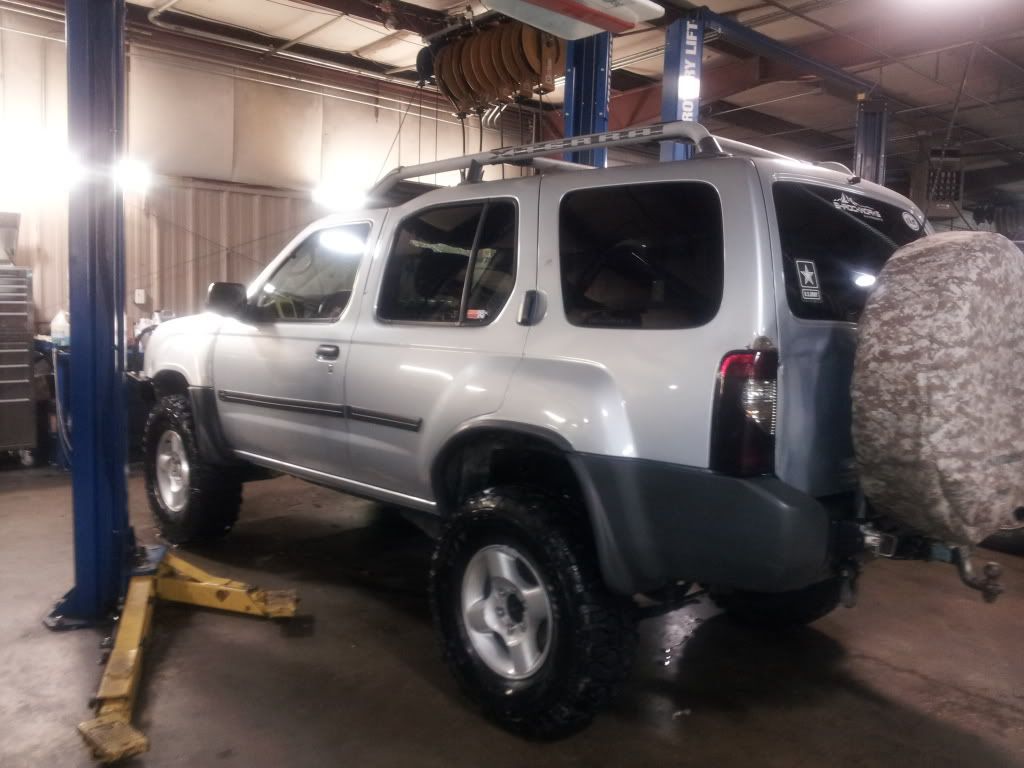
FINALLY on the 19th of June (this past Tuesday) I installed the new Torsion bars and the 3 pack AAL!!! I was so excited about doing it that I didn't snap any pictures of the TBs, but I do have some pictures of the second AAL going on.

20120619_141540.jpg

First I clamped the entire spring pack (excluding the overload spring) together with C clamps.
20120619_141551.jpg

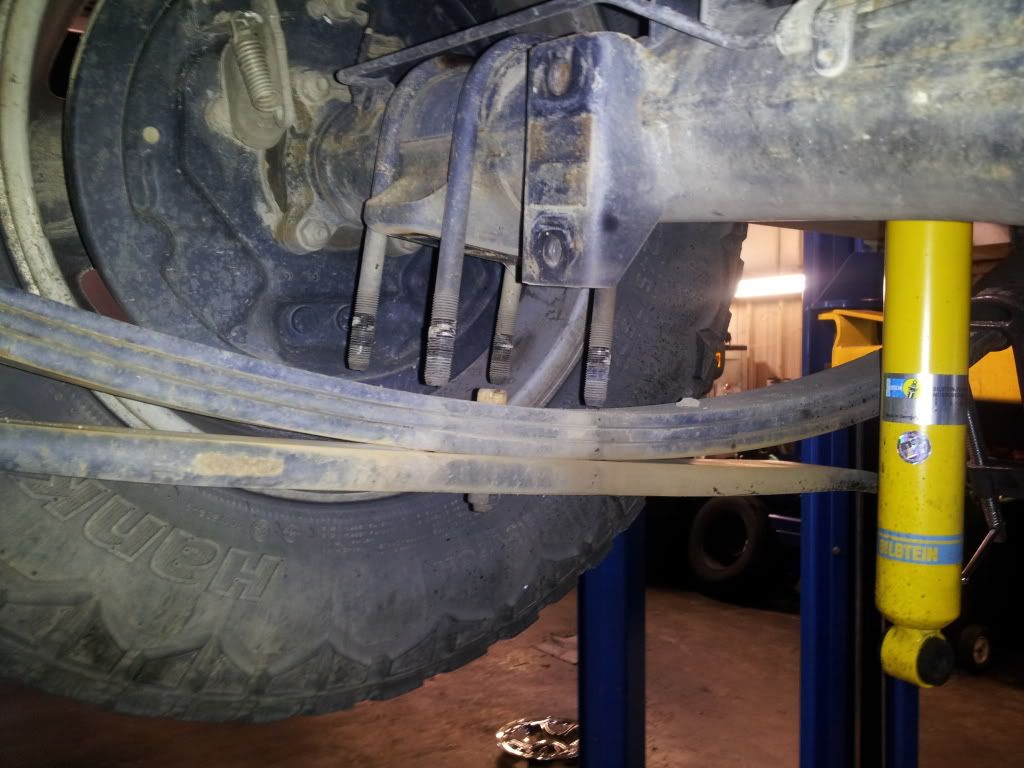
Then removed the 4 nuts on the U-bolts removing the bottom plate
20120619_141559.jpg

Then I removed the center pin nut(which also removed the over load spring), and raised the axle off the spring pack so the center pin had enough clearance to be removed.
(Thats where the pictures ended)
After that my friend and I slowly removed the clamps from the rest of the spring pack relieving all the tension on the springs.
Then I removed the new center pin from the AAL pack slowly, relieving the pressure from them as well.
Next I lined all the wholes in the stock springs and the AAL up and began clamping the whole pack together with C clamps while guiding the new center pins through the wholes.
Once it was all clamped down I secured the nut and cut off the excess form the new center pin. Lowered the axel back down on the leafpack, installed the bottom plate, and secured the U-bolt nuts.

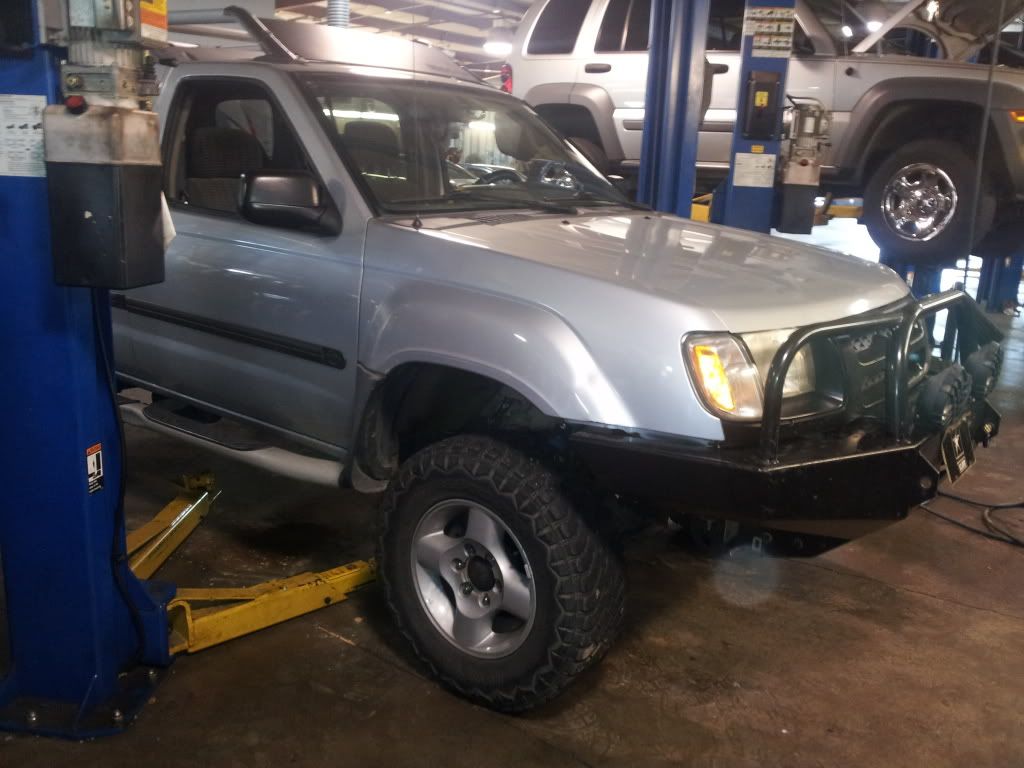
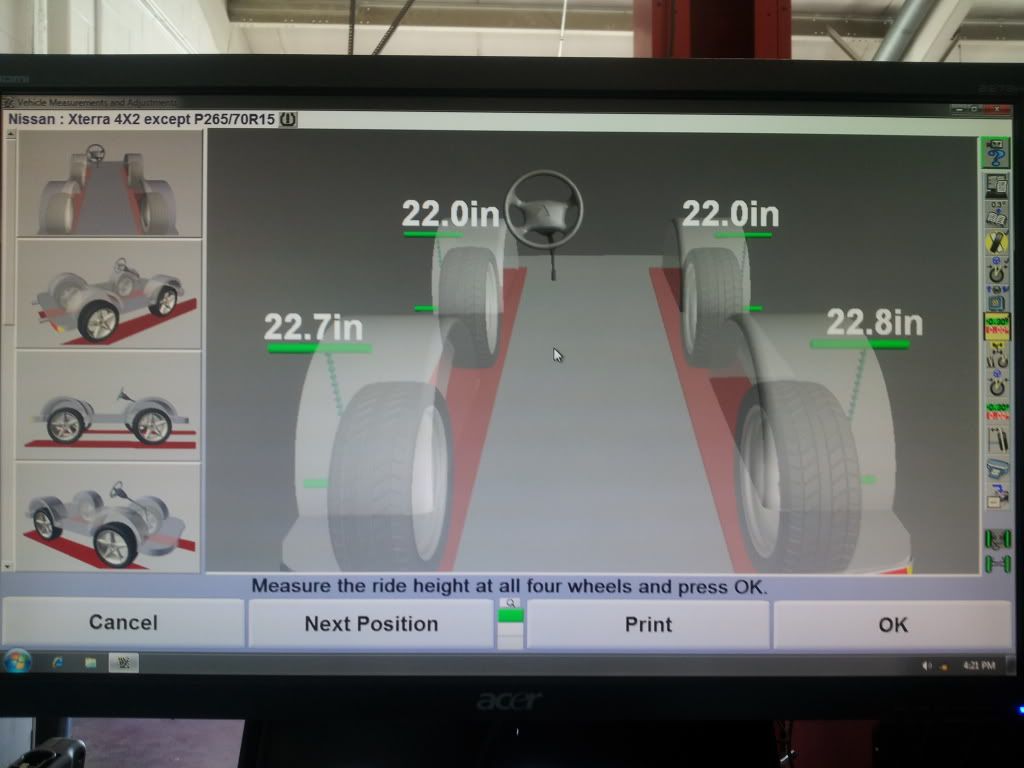
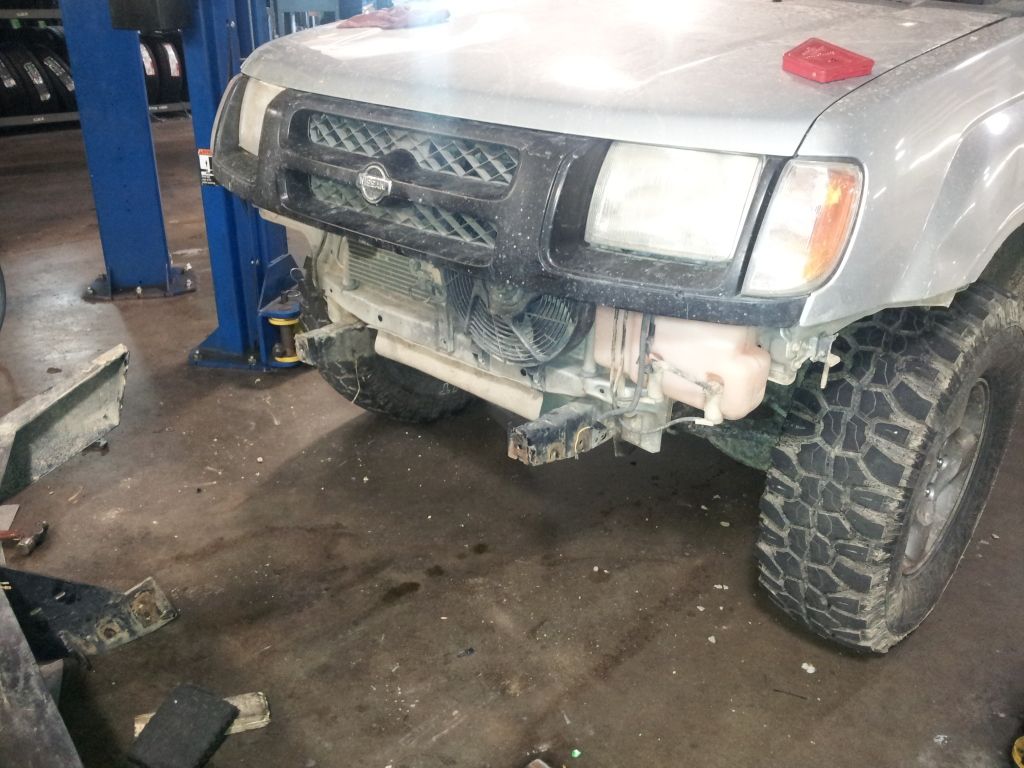
We let the truck down, and I couldn't believe how much taller it was!!!
20120619_144847.jpg

20120619_144910.jpg
 
Last edited:

MechPatt587

Bought an X
Founding Member
Location
Chattanooga, TN
So yesterday I finally put the X on the alignment rack for the first time since I installed the lift. I used the Live Ride height feature and set the front level and adjusted everything as close back to normal as I could...
20120714_162205.jpg


Also my X joined the 200,000+ mile club! :D
20120714_171902.jpg
 

MechPatt587

Bought an X
Founding Member
Location
Chattanooga, TN
Did some exhaust repair/modification today....
20121226_145812.jpg

Welded the hole in the muffler
20121226_145826.jpg

20121226_145831.jpg

And removed the tail pipe all the way up past the resonator since the weld was broken all the way around it...
 

Xado89

Skid Plates
Location
Ocala, FL
Nice looking truck man. I love the tread on those tires. With that resonator gone how big is there a difference in sound and such?
 

Timrich

Super Duper Moderator
Founding Member
Location
Central FL
So I finally got some new tires to match that 3" SL from A/C (which actually have me 4"of lift).
285/75R16 Mud Claw Radials. :)
20121217_092043.jpg

20121217_092119.jpg

20121217_121545.jpg

20121218_125713.jpg

20121218_125650.jpg

20121218_125621.jpg

20121218_125630.jpg

Got these on my X and love them. Had them for about two years and they are wearing nicely. They do really well offroad too! Make sure you keep them rotated or they will get really noisy...lol

Sent from my Galaxy S III
 

Xterraforce

<img src="http://i164.photobucket.com/albums/u7/ra
Founding Member
Location
Signal Mtn., TN
I'm hoping my friend Rick will bring his all stock, still on street tires 2WD this Sunday so EVERYONE won't be making me look small. Which reminds me, I need to find my factory tow hook for him...just in case.
 

MechPatt587

Bought an X
Founding Member
Location
Chattanooga, TN
OK so yesterday at our group run to Prentice Cooper I had to be pulled up one small muddy hill, and it pulled my front bumper down again... Then after the run I decided to run through Big Fork on my way back to Signal Mountain since I had to drop my bro off at his place... I was going a little fast (about 30MPH) and caught a little air off a small hill. That also caused the bumper to fall.... So this morning when I took the X by the shop to check out the undercarriage and everything I decide I would tighten up the bumper bolts a little bit before I left...

Well I broke another one off, so I only had 2 left... I then decided it was time for me to fix it right and extract the broken bolts so I could put all new ones in... When I went to take the other 2 off one had the captive nut on the inside of the frame rail snapped off, so I had to cut the head off to get it out... Then when I went to center punch the broken bolts it just busted those captive nuts off as well...

20130107_091622.jpg

20130107_091636.jpg

Bumper removed

At this point I decided the best and only way to truly fix this issue was to drill holes though the frame, so I could just run bolts all the way through and put lock washers and nuts on the other side...

20130107_095630.jpg

Weapon of choice: Ampro planetary gear drive air drill with variable speed trigger and a 7/16" cobalt drill bit

20130107_104649.jpg

One side done...

20130107_095612.jpg

And the other side done.

Once I had the holes drilled (which took about 3-5 minutes per hole), I drove down to the nearest Ace Hardware and bought (4)7/16"x3 1/2" bolts, (8)7/16" flat washers, (8)1/2" flat washers, (4)7/16" lock washers, and (4)7/16"-14 nuts (all in Grade 8)

Got back to the shop and had a couple of the guys there give me a had holding the bumper in place while I put the new hardware in, then tightened them down with my impact til I saw the frame rails flex in a little bit...

20130107_121634.jpg

20130107_121648.jpg

20130107_121626.jpg

This thing is ROCK SOLID now! I really don't see it going anywhere anymore...
 
Last edited:

Xterraforce

<img src="http://i164.photobucket.com/albums/u7/ra
Founding Member
Location
Signal Mtn., TN
I'm glad you got that fixed. I had a bit of an Oh $#!* moment when I saw it move. Looks like that should hold up to just about anything.
 

bigjim247365

Anime boobs & male genitals? Sign me up!
Supporting Member
Location
Hainesville IL
i know this feel of stubern bumpers, i blame a stuck full size dodge ram. it stripped the bolts on the passanger side. turns out the wrong bollts were used on my install.... not my fualt! but fixed free of charge at my mentors shop, with my help ofcourse.

but i did get that dodge out!!!
 

MechPatt587

Bought an X
Founding Member
Location
Chattanooga, TN
As much as I love the way the X looks with mud on it... I had to wash it today since someone thought it would be funny to draw a couple penises in the mud on the sides... Although I did get a pretty good laugh when our service manager and service director decided to prank the culprit by coming into the shop and freaking out... They said, "There is a customer out here raising Cain and talking about sewing because of the penises that someone decided to draw on Chuck's truck, and we want to know who did it right now!" It was definitely very entertaining to see dude freaking out. But anyway here are some pics of here all washed up with some tire shine on...

20130109_181826.jpg

20130109_181842.jpg

20130109_181902.jpg

20130109_181958.jpg


Oh and BTW I also updated my build overview with pictures on the first page of this thread. Check it out and let me know what you think...
 
S

Steeze

Guest
Looking good... I've drilled through the frame before just like you did and it can be a real pain in the ass. I try to avoid that when I can..
 

xearth

Wheeling
Founding Member
Location
Dayton, OH
Good choice on going thru the frame for the bumper. Did that for one of my bolts but not the others. I can't help but wonder why your bumper has had issues when being recovered in the past
 

MechPatt587

Bought an X
Founding Member
Location
Chattanooga, TN
Soooo I finally got my Christmas present from my wife on Thursday night, and lets just say it was a good thing I reinforced the bumper last week. :D

WARN VR12000!!!
20130111_214924.jpg


I installed it on Monday. Here are some pics from the install.
20130114_103736.jpg

Bumper removed, winch and fair-lead installed.

Took me a minute to figure out where I was gonna mount the relay/control box, but it eventually found its home on the side of the bumpers mounting bracket after some slight modification to the box...

20130114_113647.jpg

20130114_113701.jpg

20130114_132020.jpg


Everything back together with hook installed and sticker for added HPs
20130114_131940.jpg


I pulled all the line out and powered it back in to make sure it was wrapped neatly and tightly on the drum
20130114_132007.jpg


Shrockworks web site says that my bumper will accept a 9500lb winch, but this thing is a 12K lb. it barely fit in the bumper...

Then on Tuesday I got bored at work and decided I would go ahead and begin the install on my 1200watt power inverter.
Wasn't able to complete it since the power cable they provide is only 2ft long... :/ but a guy I work with runs a car audio business on the side and is gonna bring me 20ft of 4 gauge wire for cheap. Oh and I still have to cut the hole in my rear plastic panel to mount the remote outlet.

20130115_181210.jpg

20130115_181218.jpg


More pictures to come when I complete the install.
 
Top