
Username: Dutch169
Year: 2006
Make: Nissan
Model: Xterra
Trim: S
Color: Night Armour
Mods: A Few
Future Mods.
Stealthing bumpers.Stealthing rims.
Tinting front driver/passenger windows.
More Lights
Completed Mods.
Removed mud flaps.
Audio upgrade. (updated 08-23-11)
BFG AT/KO's 265/75/16. (02-28-12)
OEM Fog/driving lights installed. (04-01-12)
Interior Bike Rack.
Inverter installed. (05-01-12)
Shrock Sliders (07-22-12)
Shrock Rear Bumper with Tire Carrier (04-10-13)
Bought this brand new in 2006 for the anticipated birth of my son and all his stuff to carry. First brand new car I ever owned which my wife used as a daily driver. Fell in love with it on the test drive.
As it stood stock.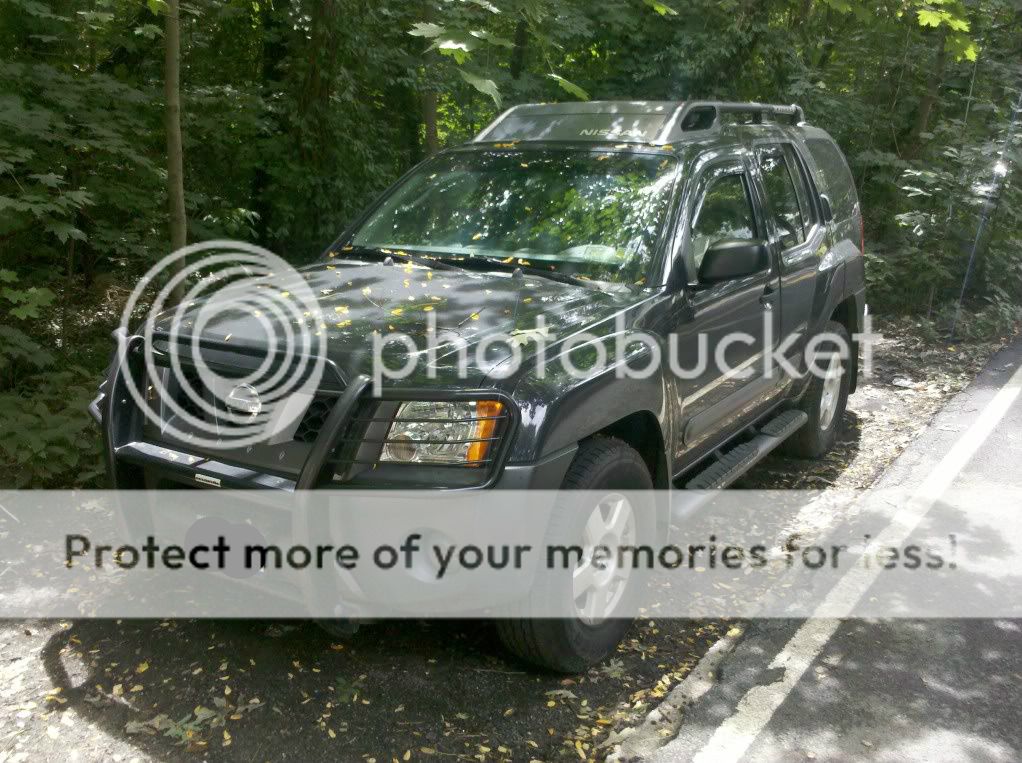
My first mods.


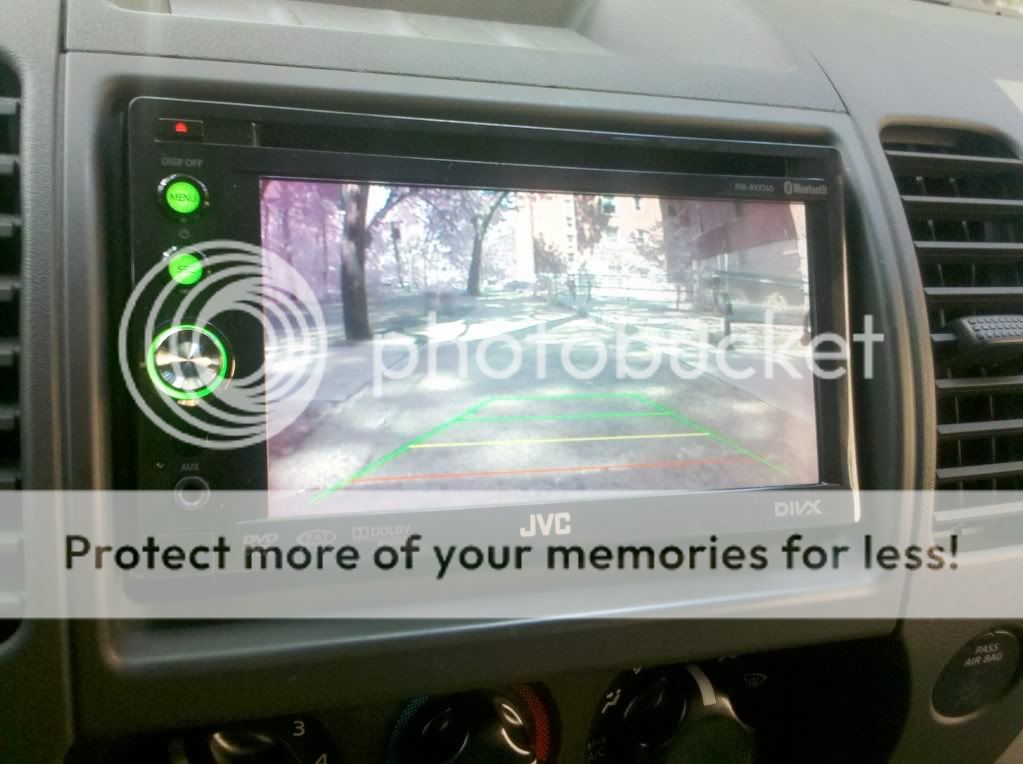
Installed my JVC KW-AVX70. Has a rear USB cable (not shown). I ran the wire to the upper glove box area so its out of sight. Ipod hooks up to it and I can control it through the unit. Also can hook up a thumb drive to it. It can read all the music and can leave it in the car. Also has a detachable face.


Rear view camera.
Had the camera mounted above the license plate but removed it after I got my Shrock bumper.

Bluetooth mic.

BFG AT/KO's 265/75/16 and fog lights added.

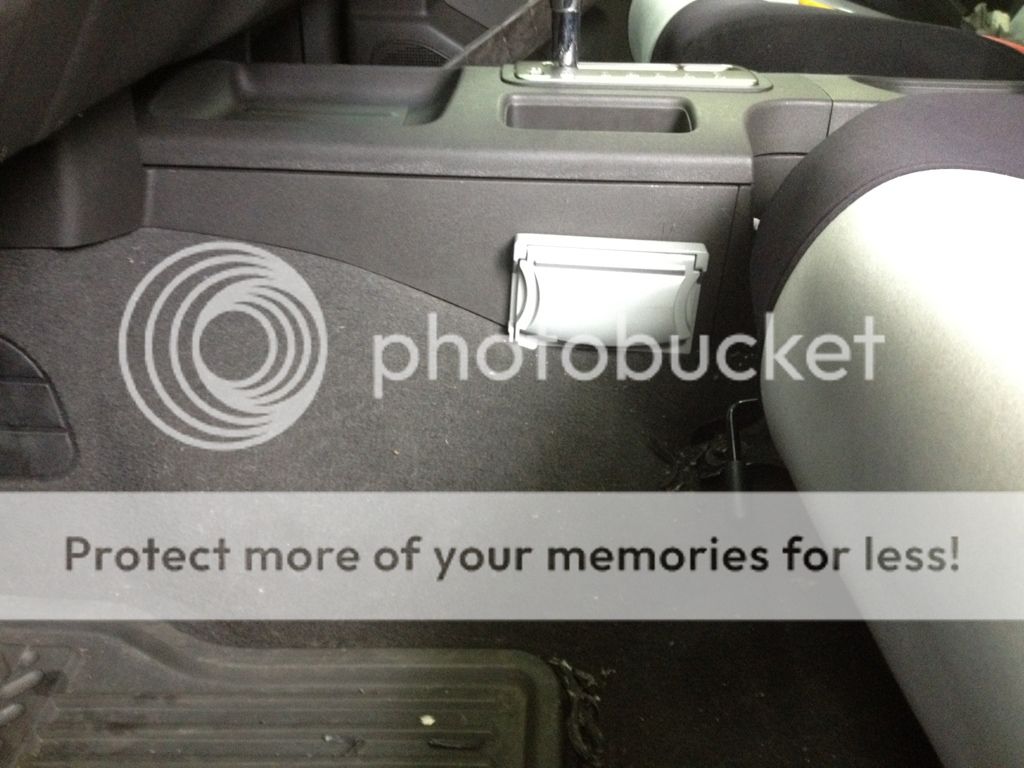
Inverter switch.

Outlet.
My Shrock Sliders.

My Shrock Tire Carrier.

Did the Pauly LED Console lights. Kind of hard to see but works great at night.

Slow build but working on it. I was going to get black rims or stealth mine but now that I have that machined OR rim I'm leaning towards them. Should have my DEPHEP rack on order this week and then I am bedlining the roof.
Year: 2006
Make: Nissan
Model: Xterra
Trim: S
Color: Night Armour
Mods: A Few
Future Mods.
Stealthing bumpers.Stealthing rims.
Tinting front driver/passenger windows.
More Lights
Completed Mods.
Removed mud flaps.
Audio upgrade. (updated 08-23-11)
BFG AT/KO's 265/75/16. (02-28-12)
OEM Fog/driving lights installed. (04-01-12)
Interior Bike Rack.
Inverter installed. (05-01-12)
Shrock Sliders (07-22-12)
Shrock Rear Bumper with Tire Carrier (04-10-13)
Bought this brand new in 2006 for the anticipated birth of my son and all his stuff to carry. First brand new car I ever owned which my wife used as a daily driver. Fell in love with it on the test drive.
As it stood stock.

My first mods.


Installed my JVC KW-AVX70. Has a rear USB cable (not shown). I ran the wire to the upper glove box area so its out of sight. Ipod hooks up to it and I can control it through the unit. Also can hook up a thumb drive to it. It can read all the music and can leave it in the car. Also has a detachable face.


Rear view camera.

Had the camera mounted above the license plate but removed it after I got my Shrock bumper.

Bluetooth mic.

BFG AT/KO's 265/75/16 and fog lights added.

Inverter switch.

Outlet.

My Shrock Sliders.

My Shrock Tire Carrier.

Did the Pauly LED Console lights. Kind of hard to see but works great at night.

Slow build but working on it. I was going to get black rims or stealth mine but now that I have that machined OR rim I'm leaning towards them. Should have my DEPHEP rack on order this week and then I am bedlining the roof.


")

