ShuManChu's Build Thread

ddddddd

Bought an X
Location
los angeles
I would be a "Sir". Thanks for the guide link. I have soldered before, used to have a bunch of Electric RC cars I worked on/built.

You asked about MPG difference, but edited it out it looks like. Well at this point I haven't had enough driving time to get any data for the MPGs. I expect them to improve because of the knock error being fixed, which will stop the ECU from retarding the timing. Probably a 1 - 2 MPG gain. I am basing these numbers off the fact that I used to get a perfectly consistent 14 MPG, but since the knock code came up about a year ago, I have been getting consistent 12 MPG.

The Air intake mod I did also should add about .5 MPG, according to others' observations.

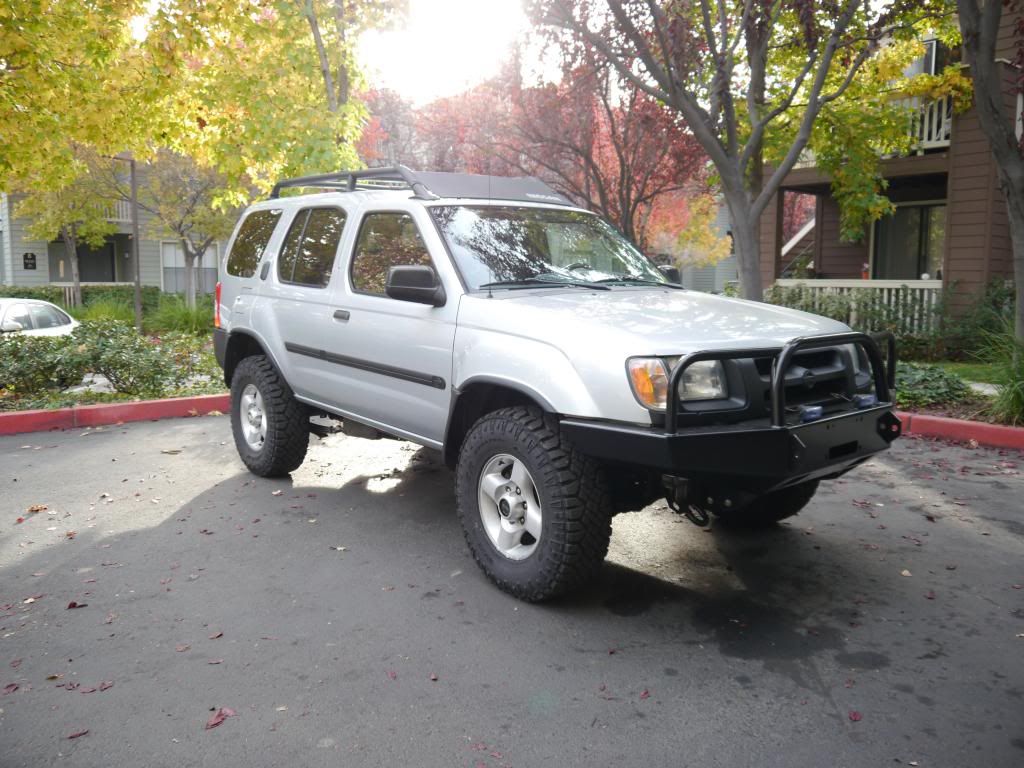
BUT, the downside is that I added a ~200lb (? not sure here) Shrockworks front bumper at the same time as the other mods, without going though a tank of gas in between. So the MPG may stay at 12, because of the positive and negative effects of the mods I have done.
 
Last edited:

ddddddd

Bought an X
Location
los angeles
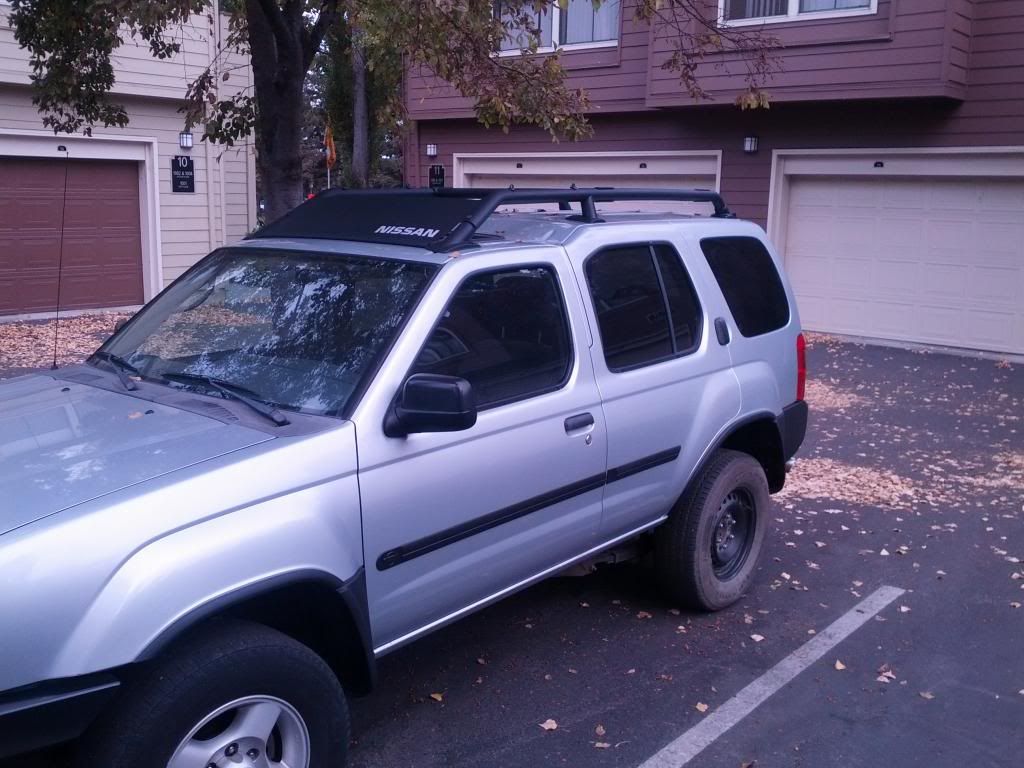
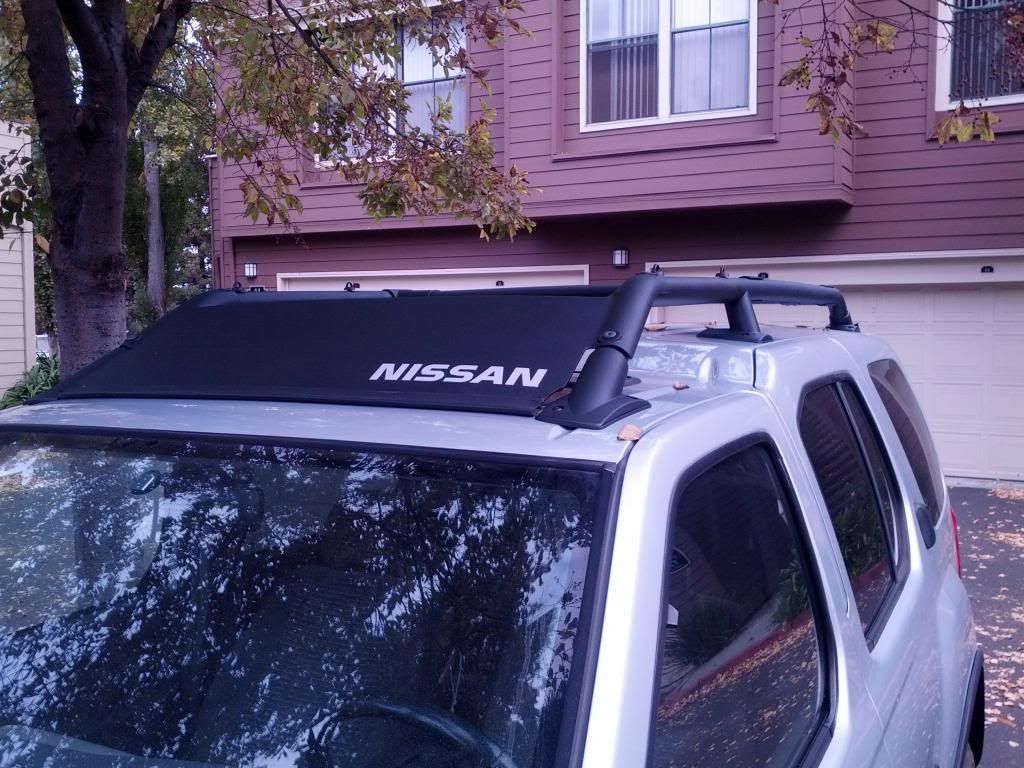
For anyone interested in exactly how I did the grey Nissan lettering:


  1. Remove Air Dam
  2. Clean with Dawn
  3. Sand with P220
  4. Clean with Dawn
  5. Air Dry
  6. Paint "Nissan" section with Auto Primer by Rustoleum
  7. Let dry
  8. Use regular 3M Blue painter's tape to cover Nissan Lettering
  9. Use razor blade to cut out excess tape around each letter
  10. Paint with Rustoleum Spray On Bedliner
  11. Let Dry
  12. Peel off tape carefully
  13. Done
 

ddddddd

Bought an X
Location
los angeles
Someone on CX was worried about not being good at edging with painters tape for the lettering. Not to worry.


It is easy!! I forgot to mention that there is really no "edging" invlolved.


The 3M painters tape (1.88 inch wide) is pretty much exactly the same as the height of the lettering. So just take one strip and line up on both sides, then press it down. BAM! That part is done. Just make sure that the primer is COMPLETELY dry before putting down the tape. I waited about two hours after spraying.


Cutting out the lettering is really easy too, because the letters are raised. You just use the raised edges of the lettering as a guide for the blade. It helps to have a nice, new, sharp razor blade.


It only took me a total of 10 minutes to tape and cutout the letters.


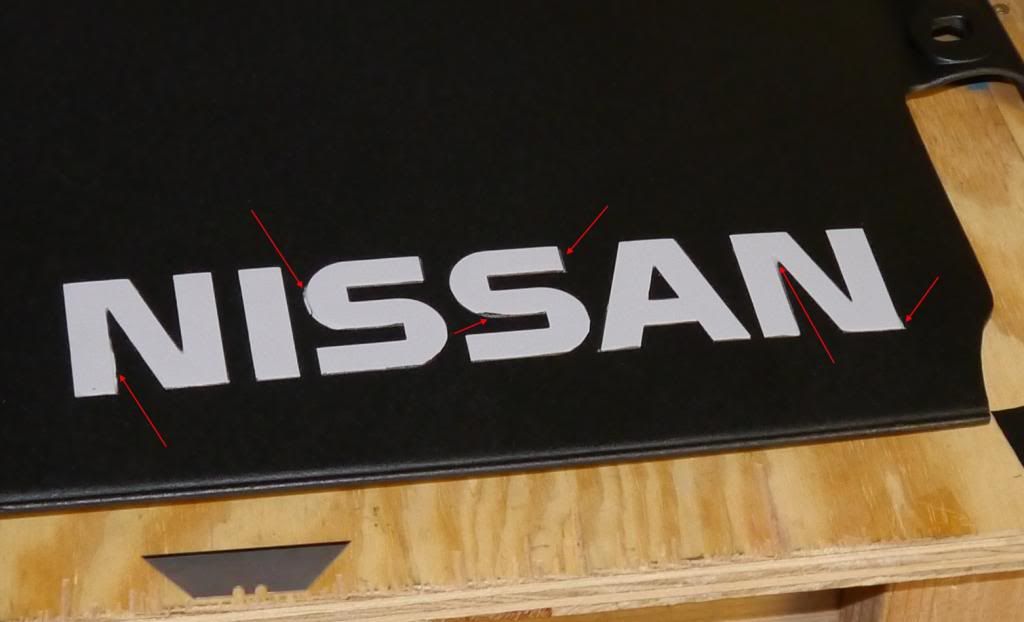
They are by no means perfect, but at a distance you cant really tell. I'll try to upload a closeup that shows some of the errors I made during cutting. The hardest to cut out are the "s" letters.


Check out the areas indicated with the arrows, they are not very precise, but at a distance they look fine.


Muadeeb

Nissan al Gaib
Admin
Location
Dallas
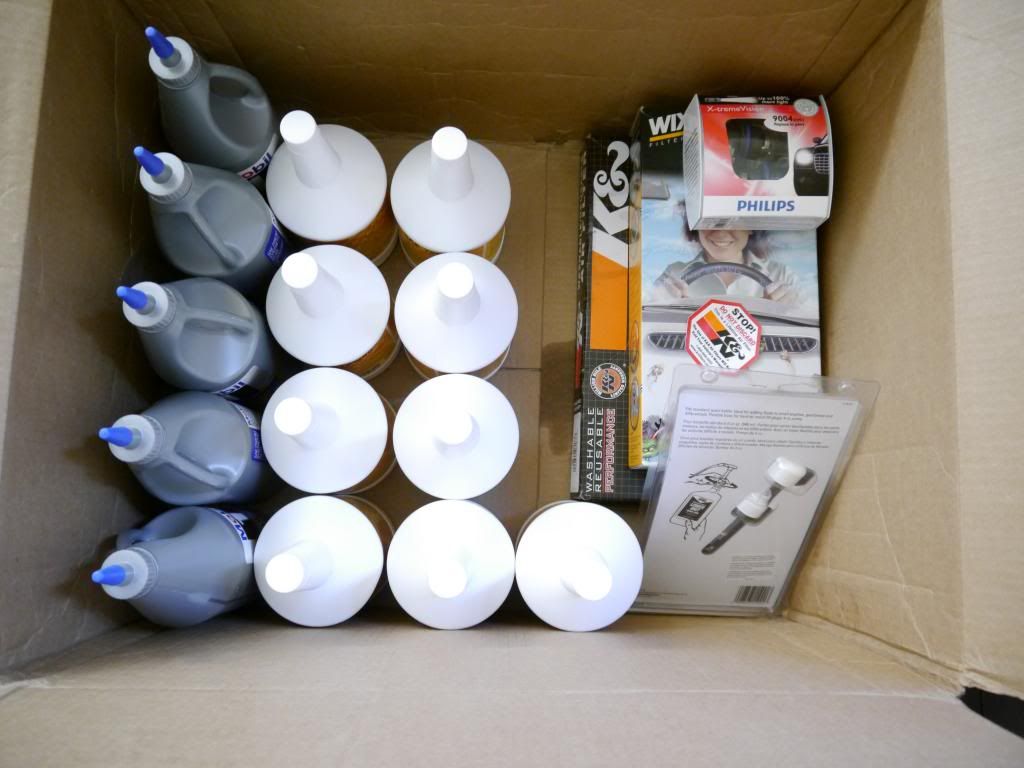
Yea for it not being empty cases! I see gear oil on the left of the last pic; what's in the white bottles?

Sent via wild ferrets on crack
 

ddddddd

Bought an X
Location
los angeles
I really wanted to buy new tires, but I figured it would be best to take care of the engine and drivetrain first.


Also, I am having a really hard time deciding whether I want BFG TA KOs, KM2s, or Goodyear MT/R Kevlars.


I don't do much off roading, but I do want to be able to handle some mud if I encounter it; however, I want good on road tires as well because that's about 90 percent of my driving.
 

ddddddd

Bought an X
Location
los angeles
Yea for it not being empty cases! I see gear oil on the left of the last pic; what's in the white bottles?

Sent via wild ferrets on crack

In the last pic I have:

5 Quarts Mobile 75W-90 Synthetic Gear Oil
9 Quarts Redline MT-90 GL-4 Tranny & X-Fer Case Oil (I have a manual transmission)
1 K&N Drop In Air Filter
1 Replacement Cabin Air Filter
1 Pair Philips X-Treme Vision Halogen Headlight Bulbs
1 Screw-on Pump for the Oil
 
Last edited:

Jack Stilts

Skid Plates
Location
Michigan
Also, I am having a really hard time deciding whether I want BFG TA KOs, KM2s, or Goodyear MT/R Kevlars.


I don't do much off roading, but I do want to be able to handle some mud if I encounter it; however, I want good on road tires as well because that's about 90 percent of my driving.

If your driving is 90% on-road (like me), I'd lean towards the BFG All-Terrains. Those will make the least amount of road noise while still not sacrificing your off-road bite.
 

Prime

Shut up Baby, I know it!
Admin
Location
Denver Adjacent
If you're not off road all the time I'd steer clear of the MT/Rs. The set of 32s I had didn't last on the road at all and completely failed at maintaining balance. I have GY DuraTracs now. And they're fantastic tires. I drive on the road about 90% of the time, have over 15k on them and they still look new. Plus, I had absolutely no issues on anything at nXm this year.
 

ddddddd

Bought an X
Location
los angeles
If you're not off road all the time I'd steer clear of the MT/Rs. The set of 32s I had didn't last on the road at all and completely failed at maintaining balance. I have GY DuraTracs now. And they're fantastic tires. I drive on the road about 90% of the time, have over 15k on them and they still look new. Plus, I had absolutely no issues on anything at nXm this year.

I have been getting mixed feedback about the Duratracs. Do you think they would last as long as the BFG AT KOs? I do think them a little better as far as looks and tread pattern. Also, do you know why they are listed on tirerack.com as "On-Road/Off-Road Commercial Traction" whereas the AT KOs are listed as "On-Road/Off-Road All-Terrain?"
 

Roadwarrior

Titan Swapped / SAS'd
Founding Member
I would buy the BFG AT's if you are not planning on taking it off road often. The KM2 is an amazing tire however I believe that you will have a better result from the AT's.
 

ddddddd

Bought an X
Location
los angeles
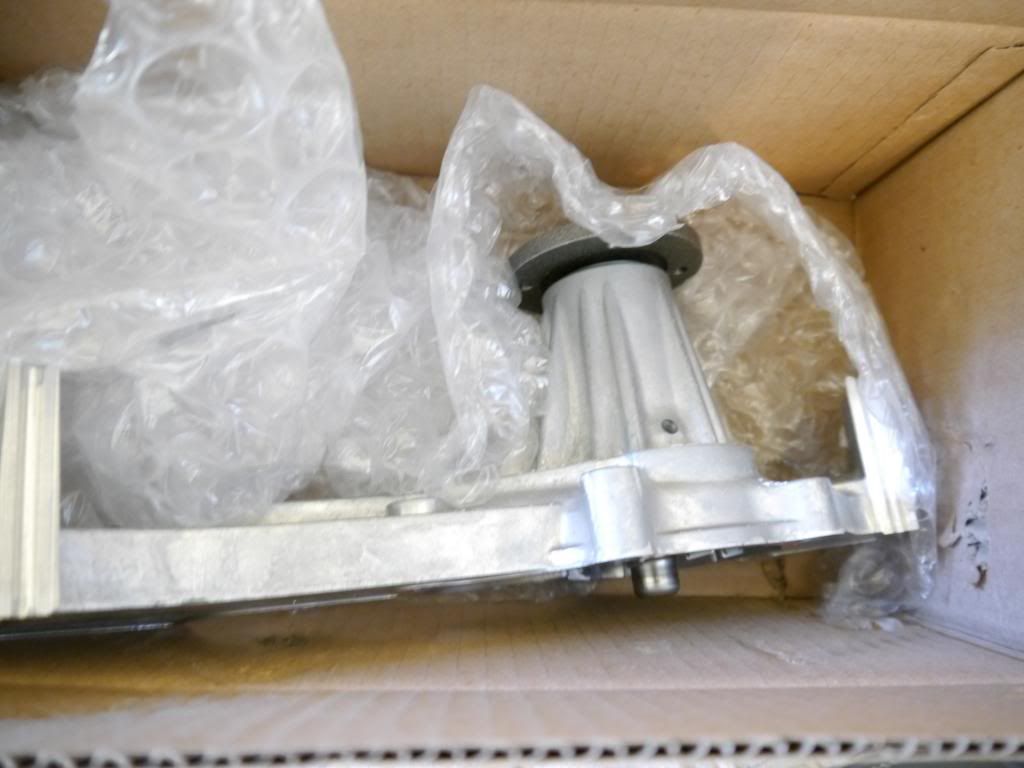
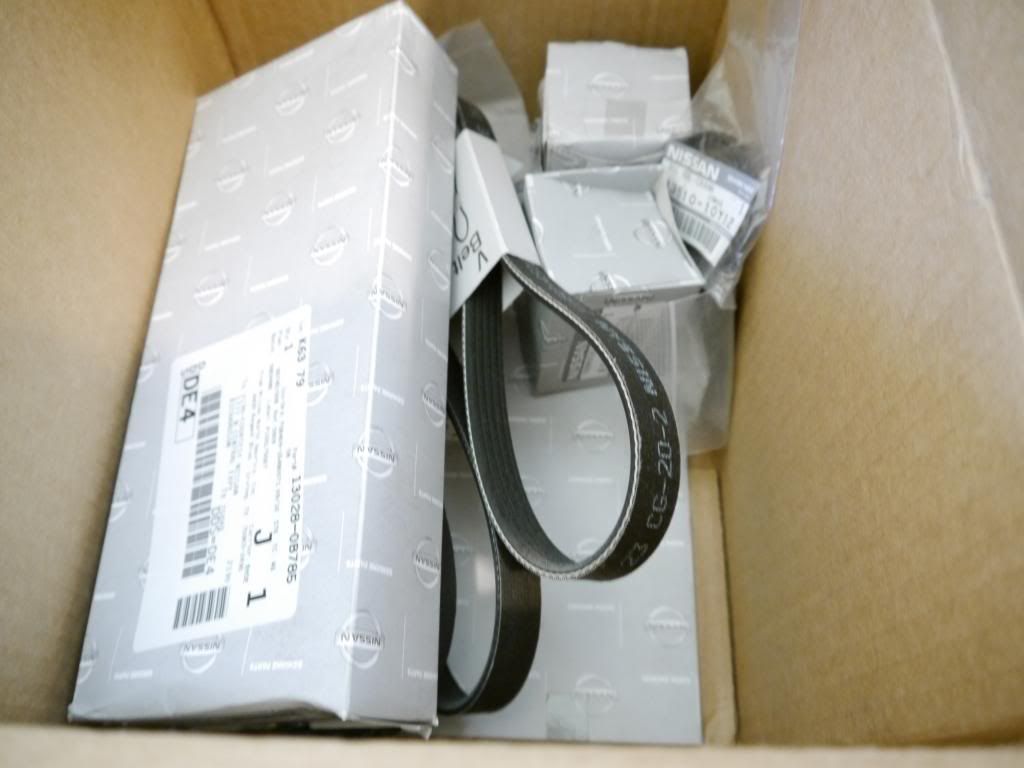
This weekend I was able to change the timing belt, water pump, crank & cam oil seals, drive belts and thermostat. While I had everything out, I decided to get a new radiator for an '02 S/C. Direct fit, and it looks really nice. Radiator was $143 from a local shop that had it in stock. The only thing I didn't replace and should have was the upper and lower radiator hoses. But they felt ok, even though they have 133K on them. Sorry I didn't take pics of the process, but I didn't have the time and I didn't want to get the camera all greasy.
 

ddddddd

Bought an X
Location
los angeles
Just got my tracking number for the AC shackles. Can't wait to get those on and tighten up the torsion bars. Tires will be next, probably GY Duratracs. Best price I have been able to get on them is 950 out the door, for set of 4 265/75/16. Anyone know of a better deal?
 

ddddddd

Bought an X
Location
los angeles
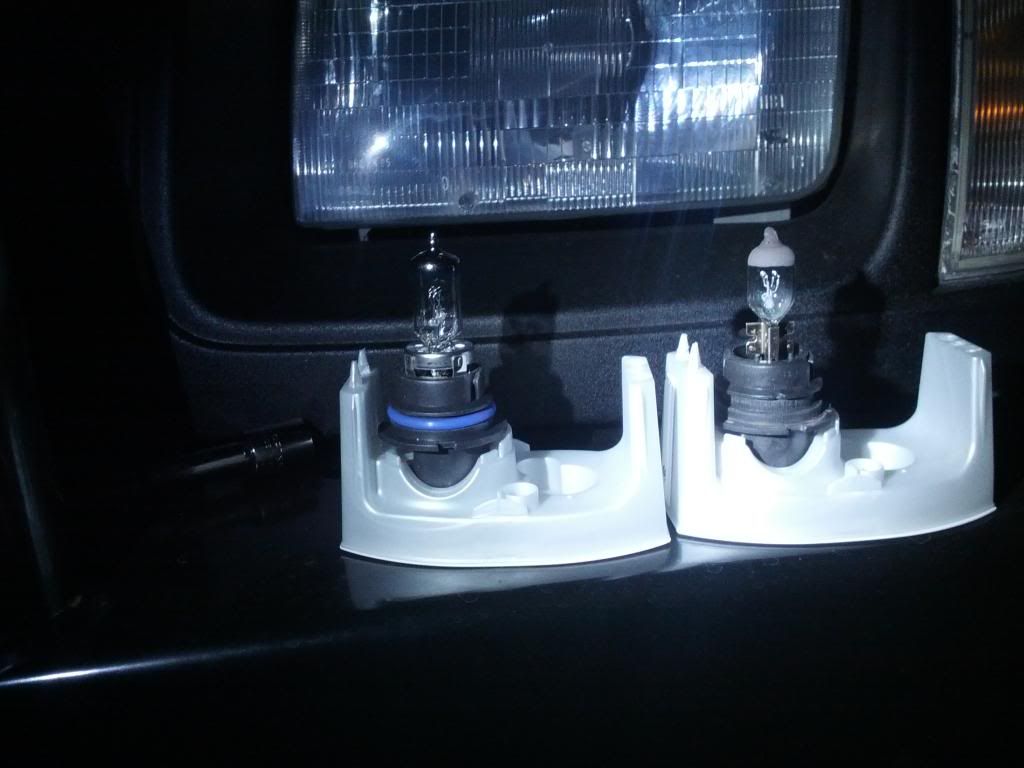
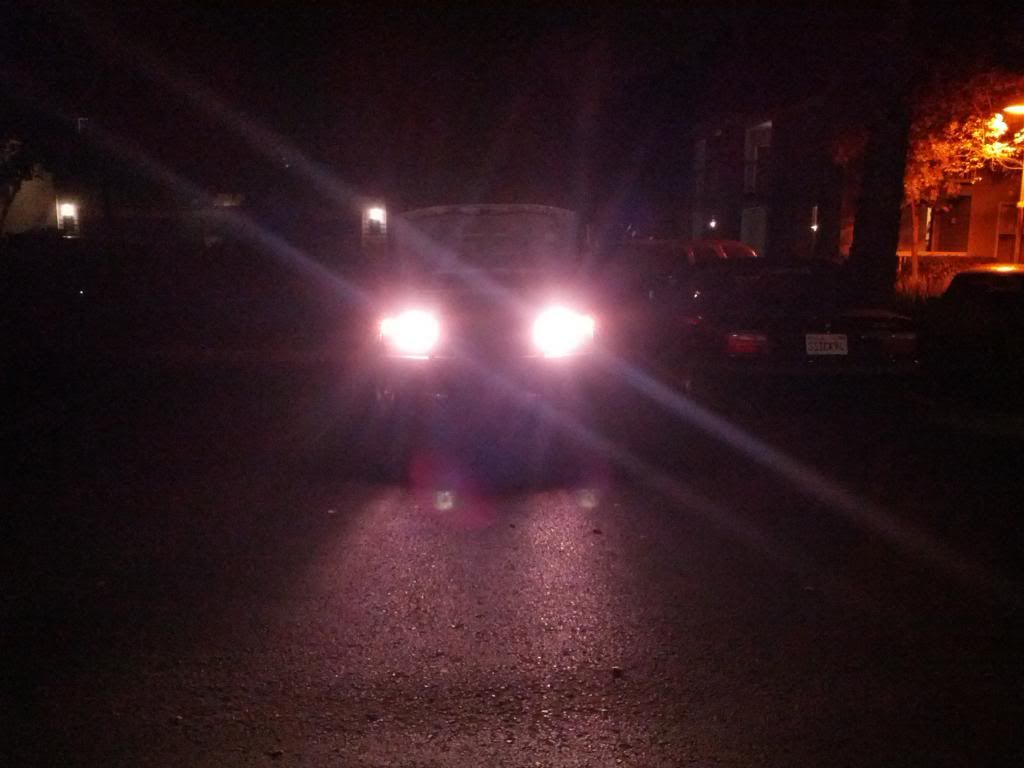
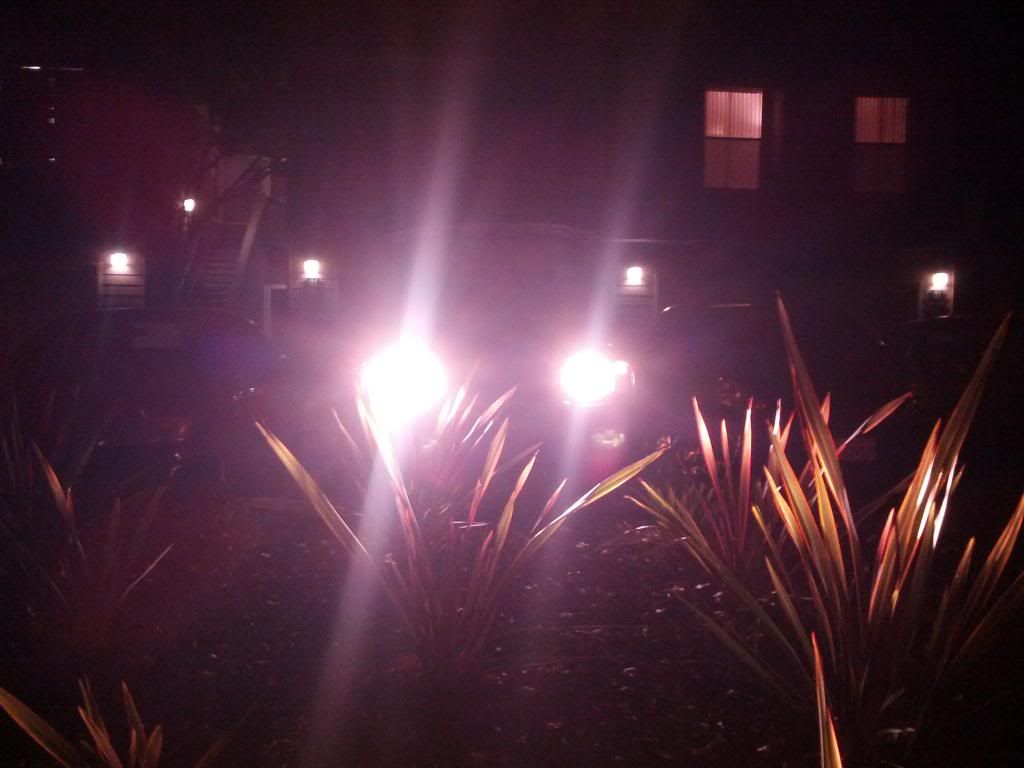
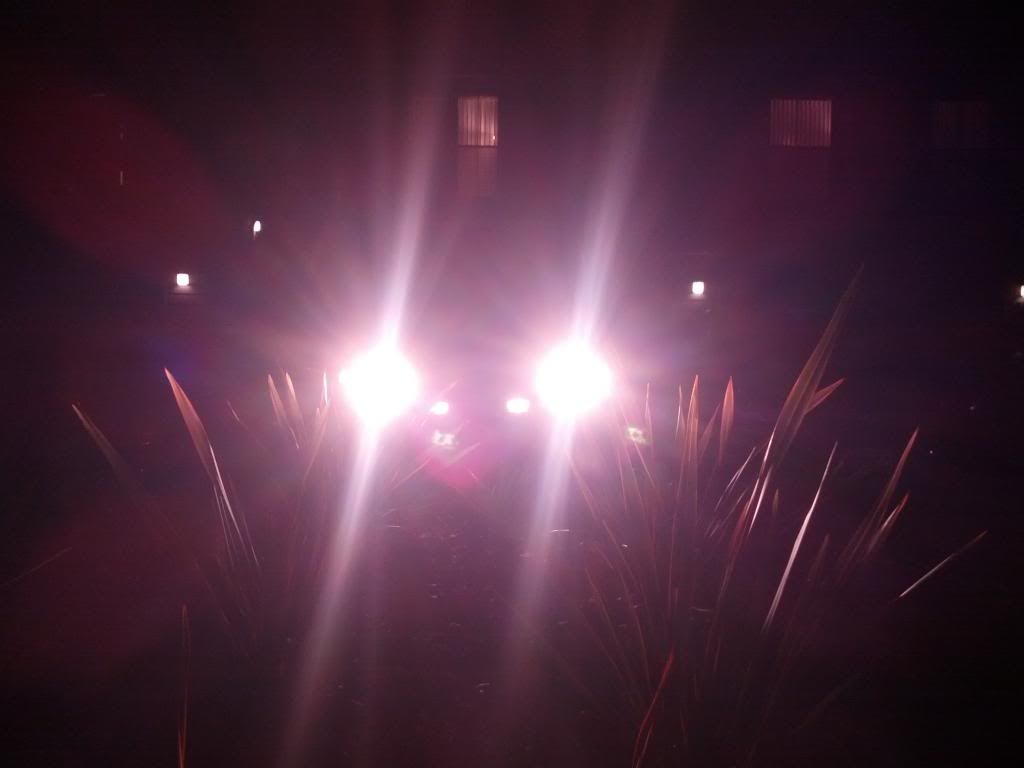
I put in some new headlight bulbs. The Philips X-Treme vision halogens. Here are some photos:

Old bulb on the right, new on the left:


Pic of both old:


Pic of one old one new:


Pic of both new:


There is just a slight difference in brightness, but they were about the same price as the old silverstars I had in there, so i'll take it.
 

Xado89

Skid Plates
Location
Ocala, FL
Nice job man! Looks good!

Sent using highly technical equipment involving satelites and space and nerds.....lots of nerds...
 

ddddddd

Bought an X
Location
los angeles
Very nice! I really need to do my timing belt...Any problems at all?

Ha ha ha, where to begin?

First major problem was getting the crank pulley bolt loose. This is the 27mm bolt. Basically you cant use a strap wrench and a breaker bar, just wont work (at least not for me). The problem is obviously the pulley wants to move if you apply a torque on the bolt, so you have to keep the pulley still while moving the bolt. Or you can think a little different and reverse that logic. Hold the bolt still and move the pulley. Much Much easier. Just put the 27mm socket on a 2 foot breaker bar, and tie it to the frame (or in my case the OEM recovery hook) on the passenger side of the car, and use the starter to break the bolt loose. Just enough to break it loose, then remove the bolt by hand.

Second problem. Getting the pulley off once the bolt is out. This thing will usually be stuck on the crankshaft pretty good. You'll need to get a "Harmonic Balancer Puller." I rented mine from O'riellys. If you rent it from O'riellys, then the bolts that come with it are sufficient. Otherwise, you might need to get two 6x1.0 hex bolts of 60mm length or more. The puller screws into two small holes in the crank pulley, and then the center rod goes and presses on the crankshaft, thus pulling the crank pulley away from the crankshaft.

Third problem. Getting the camshaft sprockets off. You'll have to put the crank bolt back in the crankshaft with the old timing belt still on, hold everything still using the "tie the breaker bar to the frame" method, and get a second breaker bar to loosen the camshaft sprocket bolt.

Fourth problem. Getting the crank & cam oil seals out. I used this method (http://www.youtube.com/watch?v=ri8xnBnF4yk), it worked wonderfully. Just make sure to be really careful when drilling, you don't want to scratch the camshafts.

Fifth problem. Scraping the old gasket off the block for the new water pump. I used a chisel that I had freshly sharpened. Still took a lot of elbow grease. Just have to make sure you get every last bit.

Sixth problem. Getting the new timing belt on. The FSM says to put on the Timing belt tensioner first, then fix it in the loosest position and put on the new belt. I found it was much easier to put on the belt, making sure the alignment marks are correct, then put the tensioner on and adjust it.

After that, it should be pretty easy. Just make sure to tighten everything to the right torque and you should be good. Fill it back up with coolant and fire it up.
 

ddddddd

Bought an X
Location
los angeles
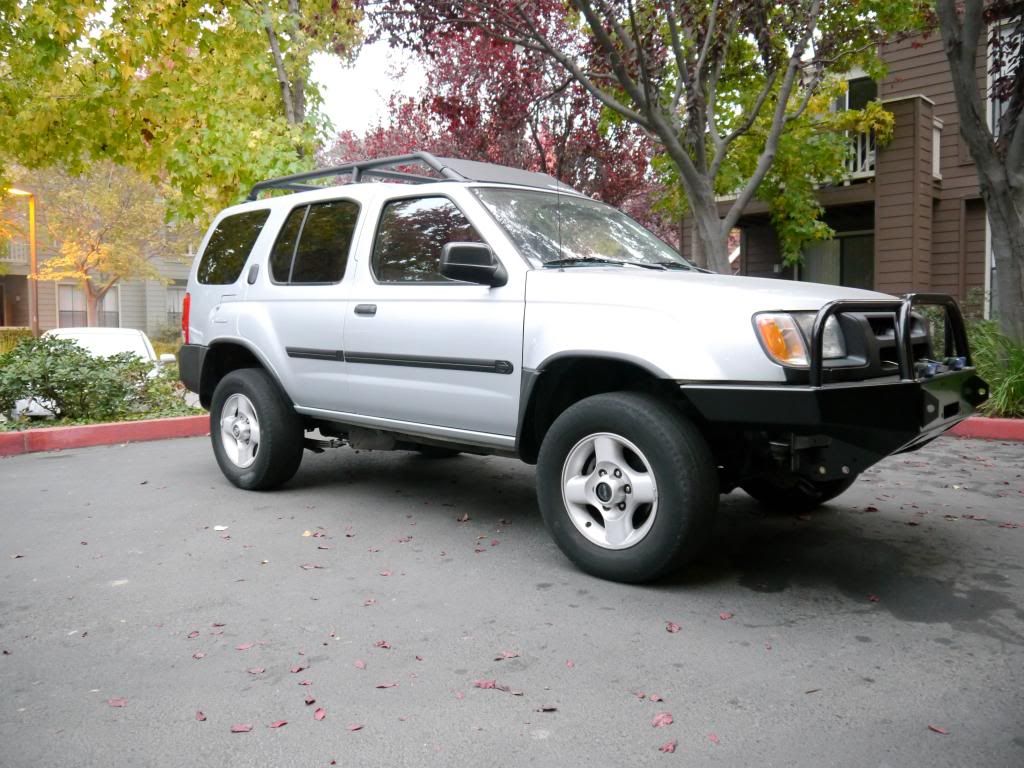
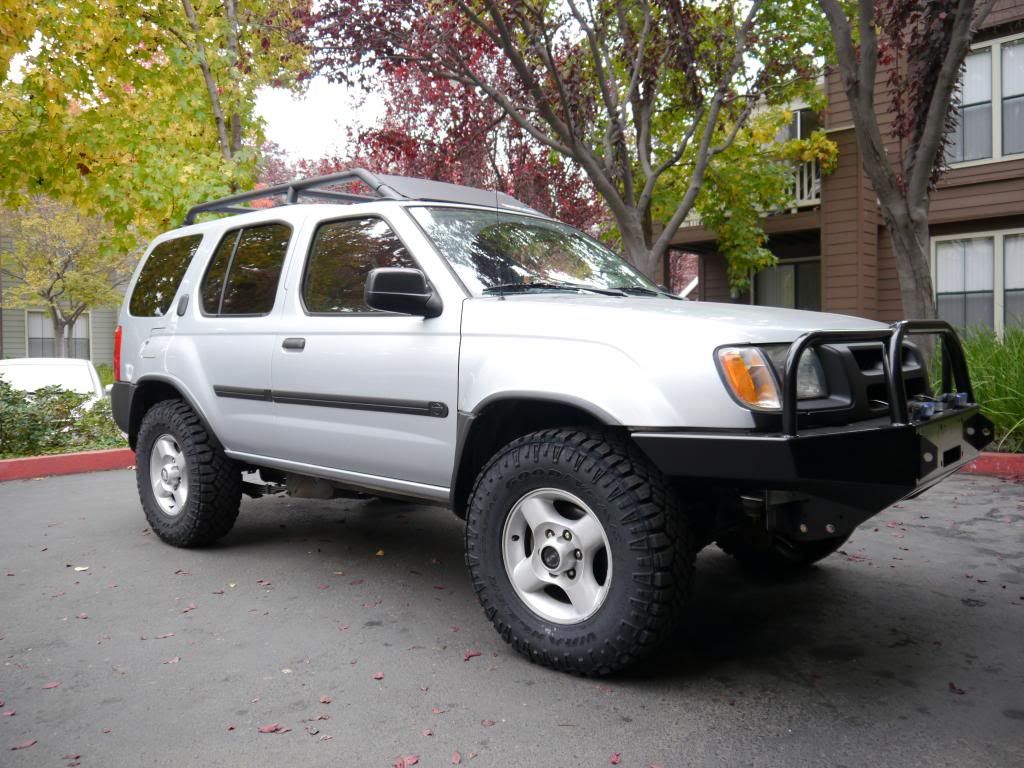
New Tires, Finally!

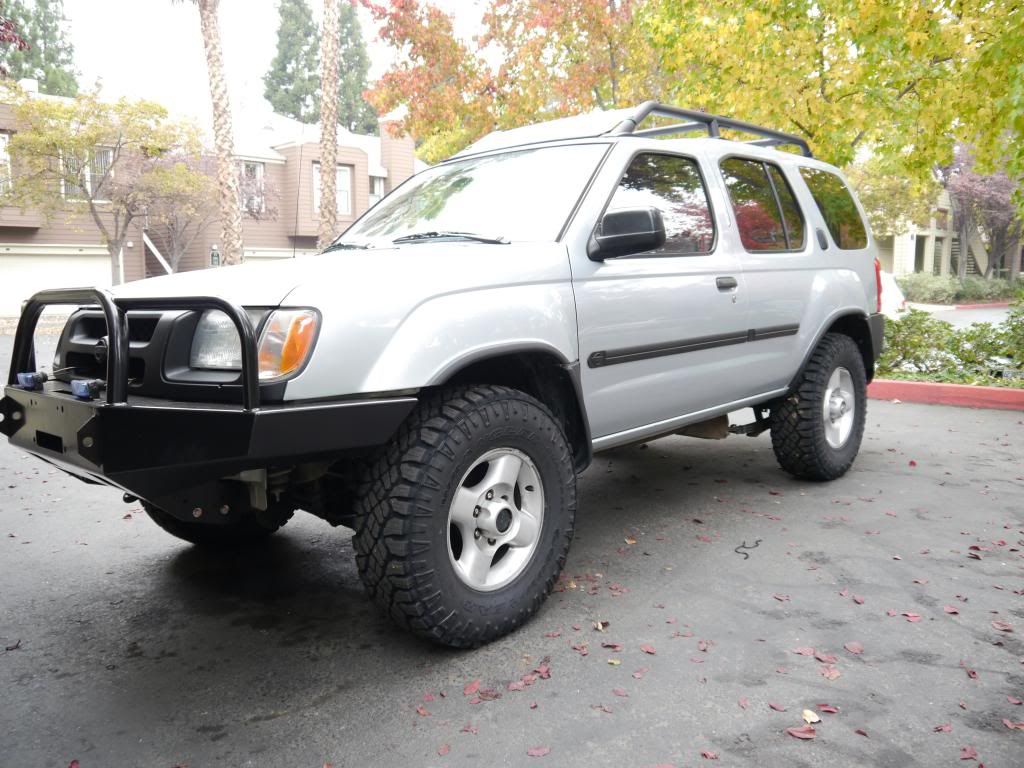
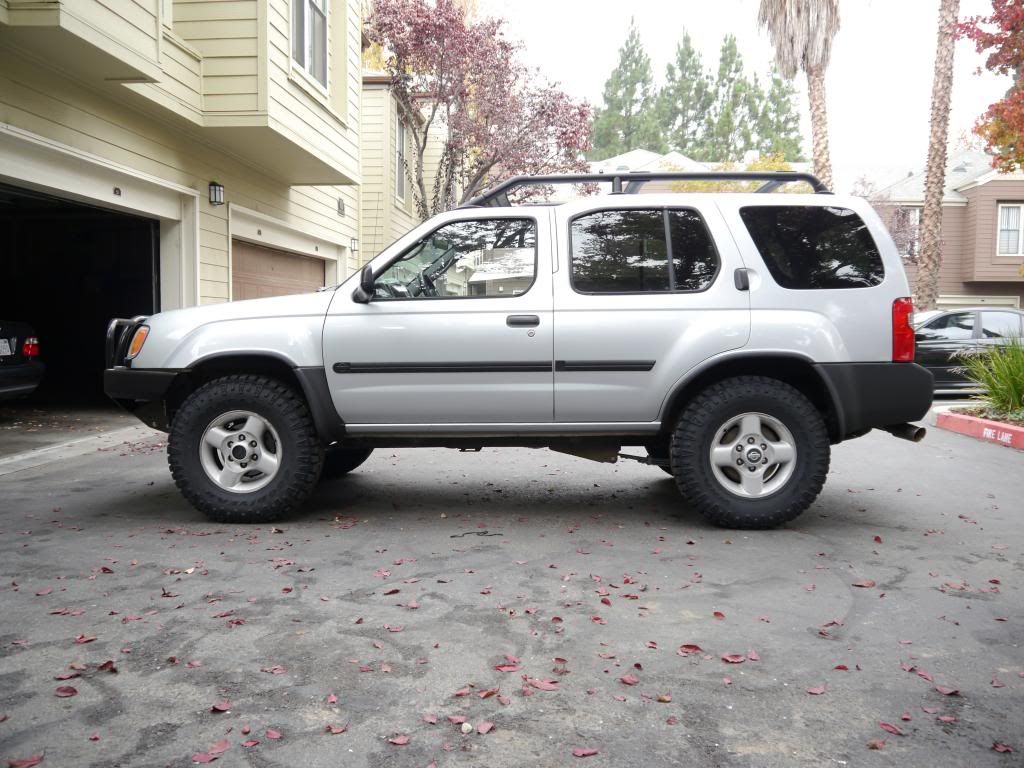
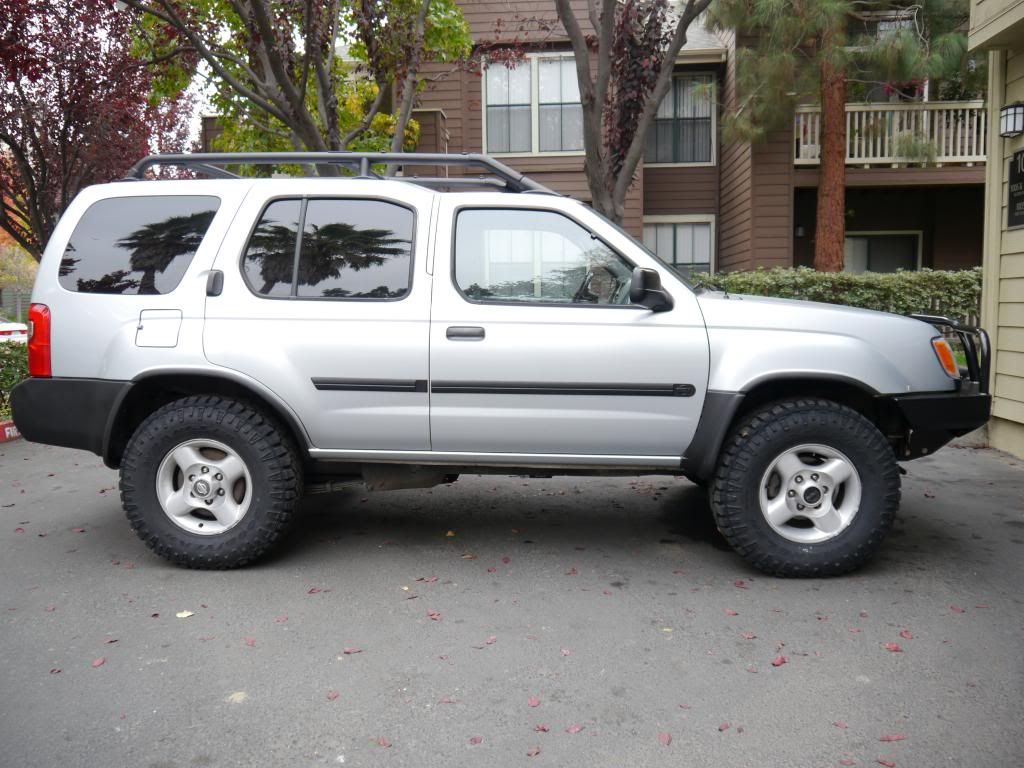
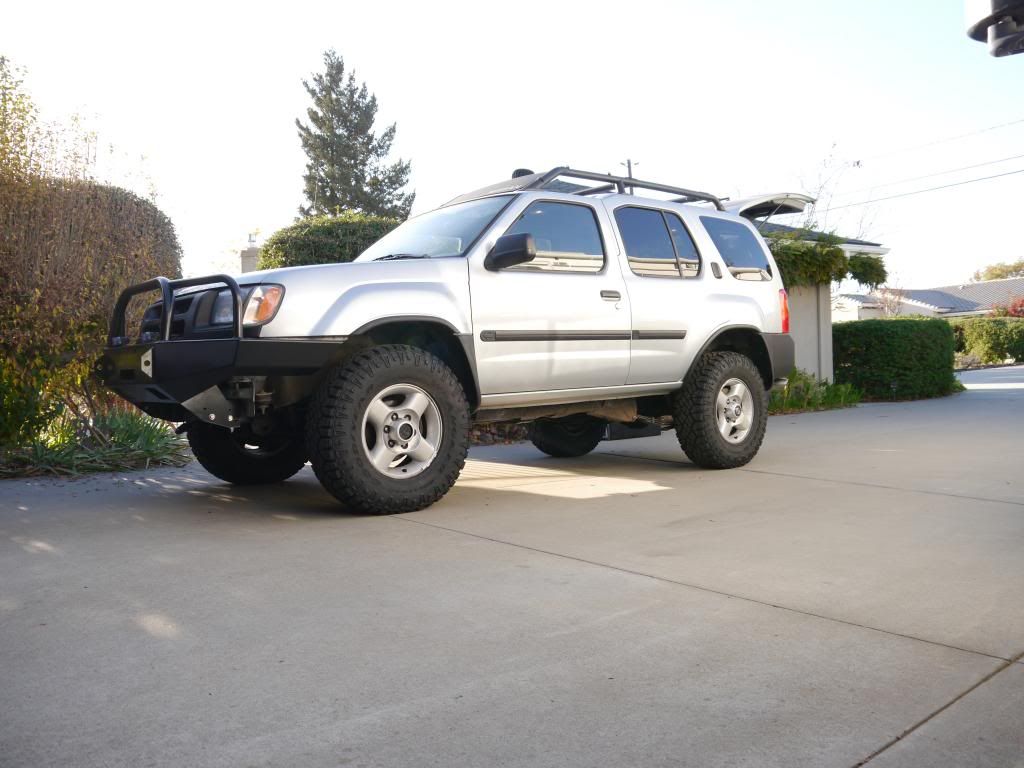
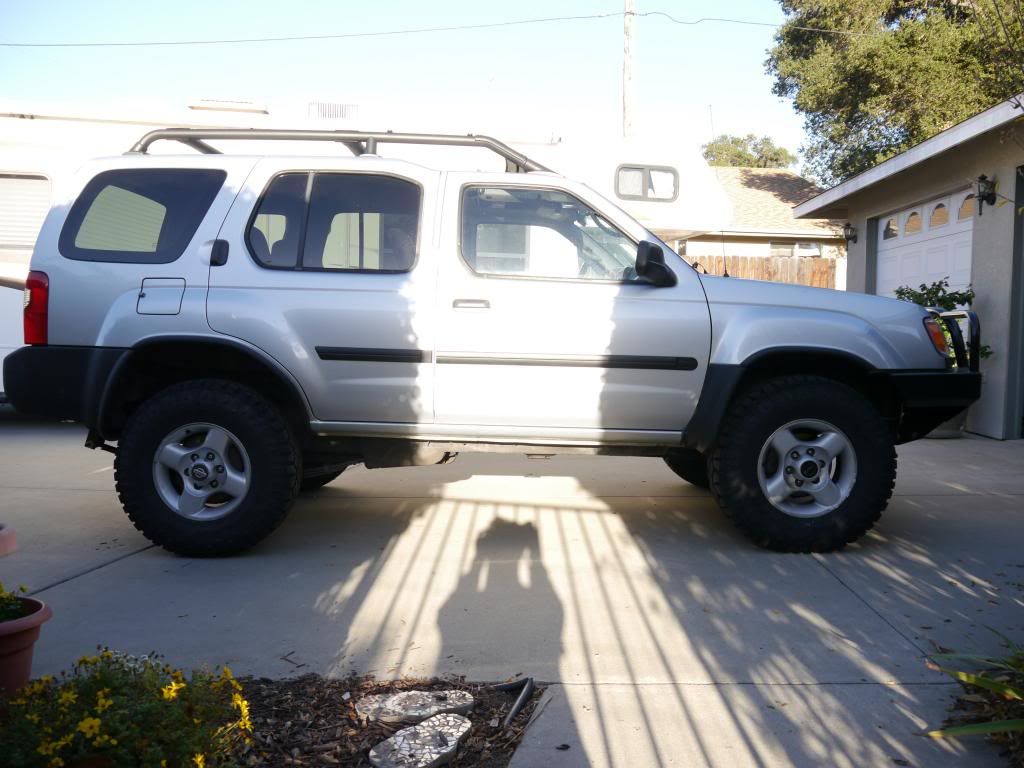
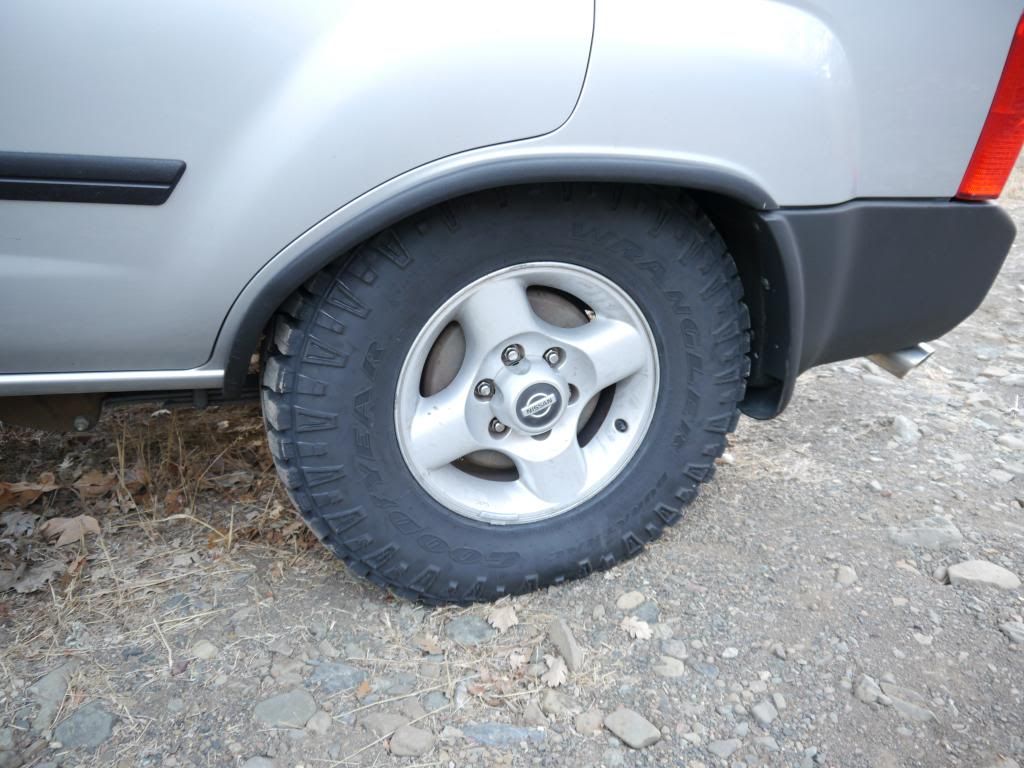
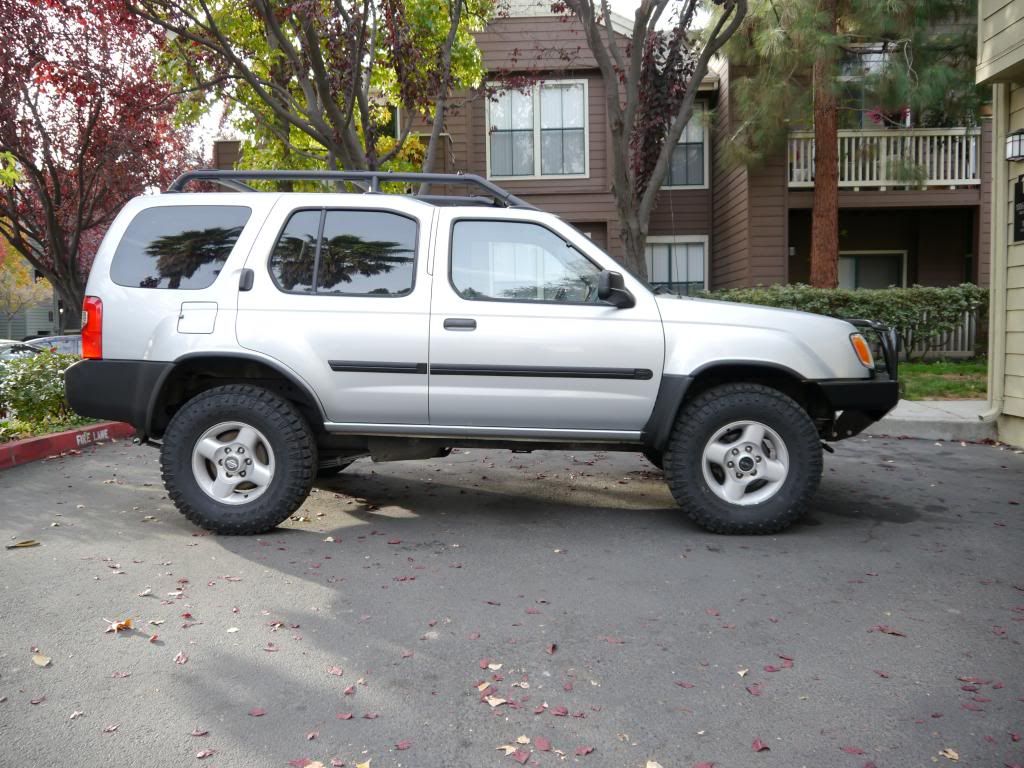
I finally bucked up and shelled out $860 for 4x 265/75/R16 123Q (about 32") tires. I went with the GY Duratracs, based on many many searches and reviews here and on CX. Without further ado, here they are installed:

Before:


After:


I just love the way it looks now.

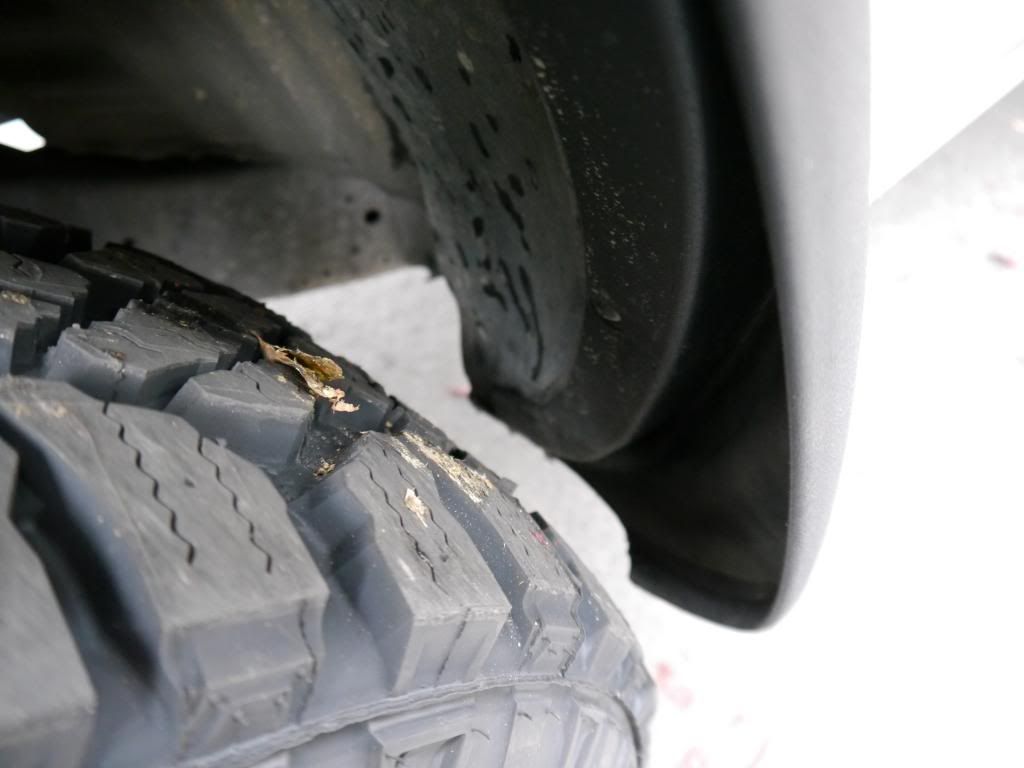
I did have to do a bit of trimming to keep them from rubbing:


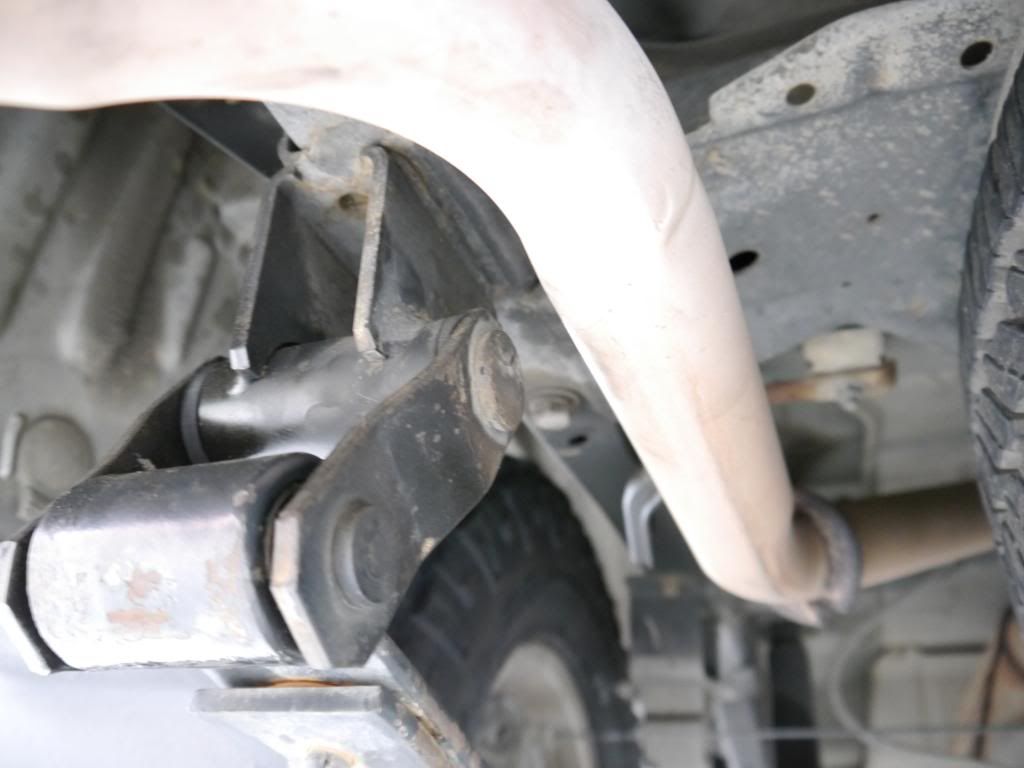
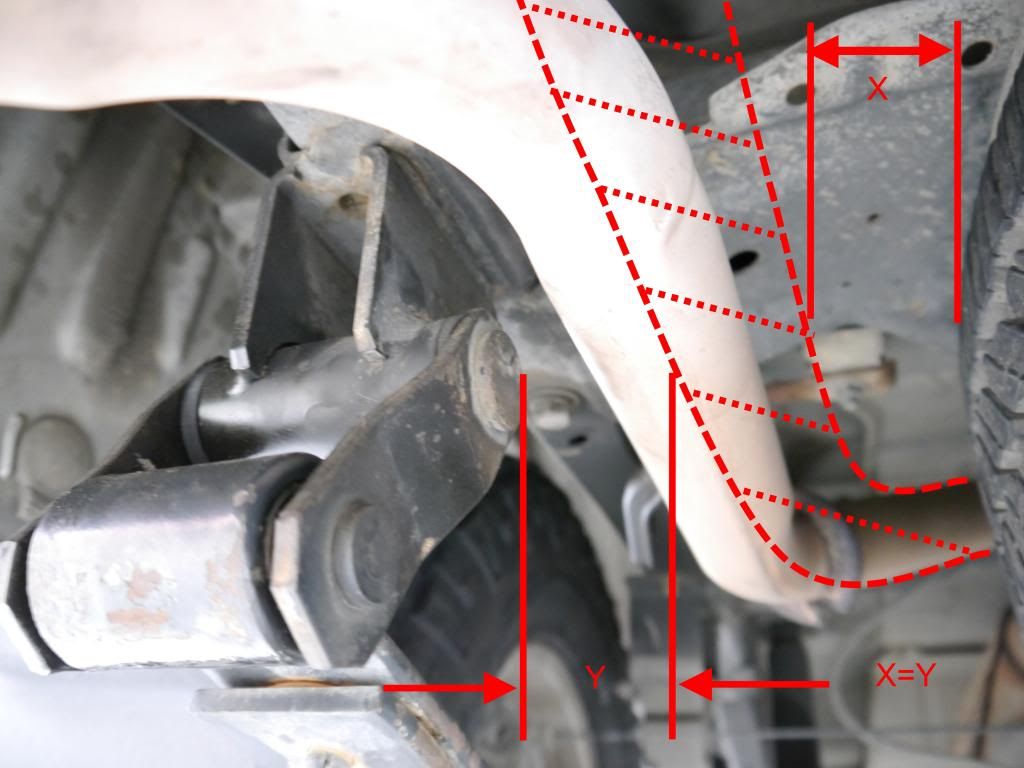
I still need to install the AC shackles I have sitting in the back. I tried last night but I couldn't get the old ones off. They were really stuck in there (the bolts, the nuts came off just fine). Also, my tail pipe is in the way of the driver side shackle coming off. Suggestions?

Here is a pic:
 

Xterrafauss

Suspension Lift
Cut the exhaust off and straight pipe that b**** haha :bmmd:

I managed to work around mine with the help of some zip ties I'd say give that a shot.


Tires look great btw and those are a killer brand as well you should be very pleased bro :bmmd:
 

ddddddd

Bought an X
Location
los angeles
Cut the exhaust off and straight pipe that b**** haha :bmmd:

I managed to work around mine with the help of some zip ties I'd say give that a shot.


Tires look great btw and those are a killer brand as well you should be very pleased bro :bmmd:

I think I would still have to relocate the tail pipe, i.e. cut it off back at the muffler and get a new pipe made that will clear both the shackles and the rear tire. Like so: (forgive the crappy paint image)


bigjim247365

Anime boobs & male genitals? Sign me up!
Supporting Member
Location
Hainesville IL
i had the same problem when i took off my factory shackels. i had to pull my tail pipe to the side to finally get the damn thing out, witch wasnt easy.
 

metzican

Suspension Lift
Location
Lafaytte, la
That is a crazy good paint job there. Nice new wheels. I kinda ran into this problem on the second gen too. Just tweak the tail pipe and work around it if you can. I don't think its worth the effort to relocate it for something your going to install once.
 

ddddddd

Bought an X
Location
los angeles
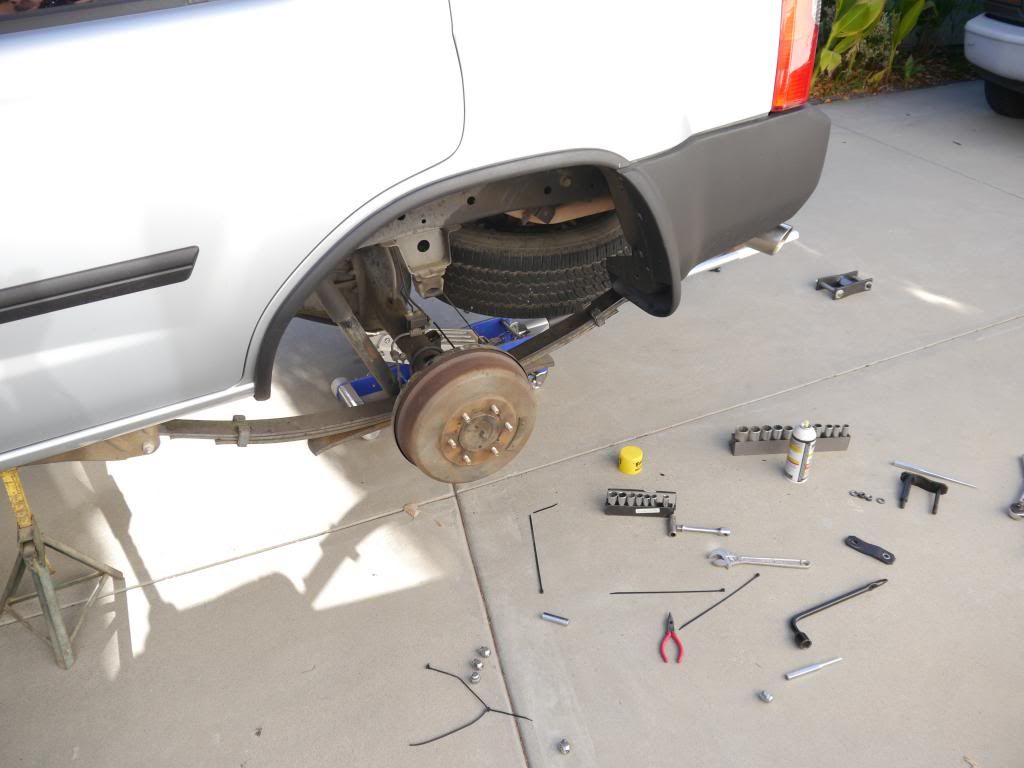
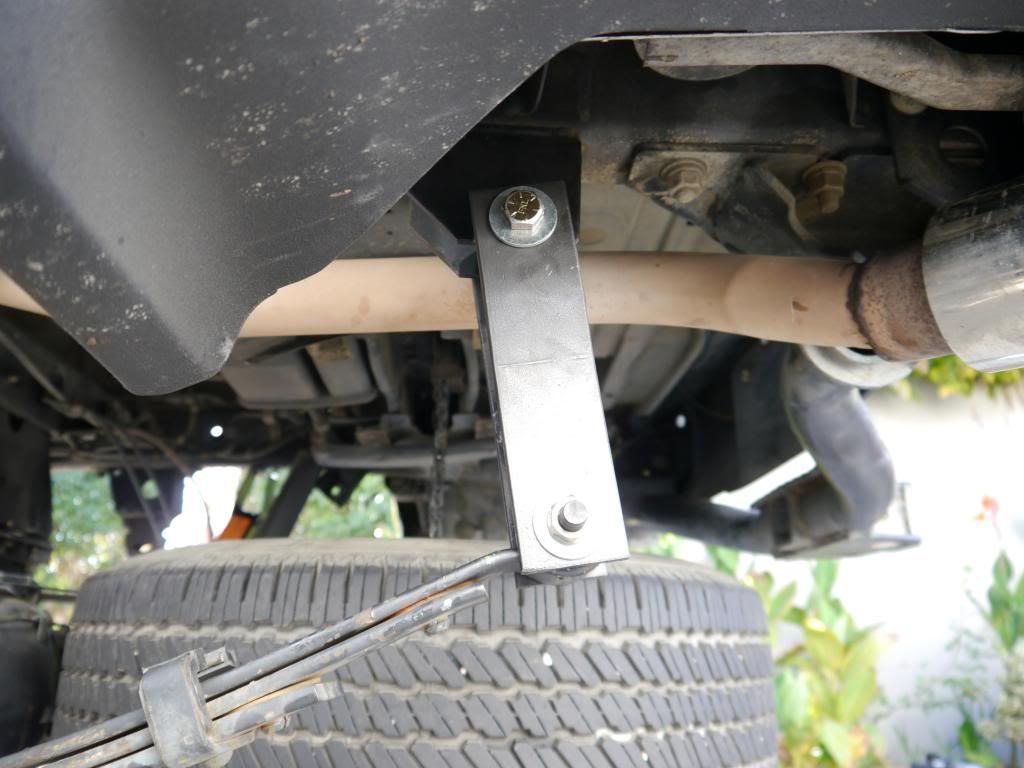
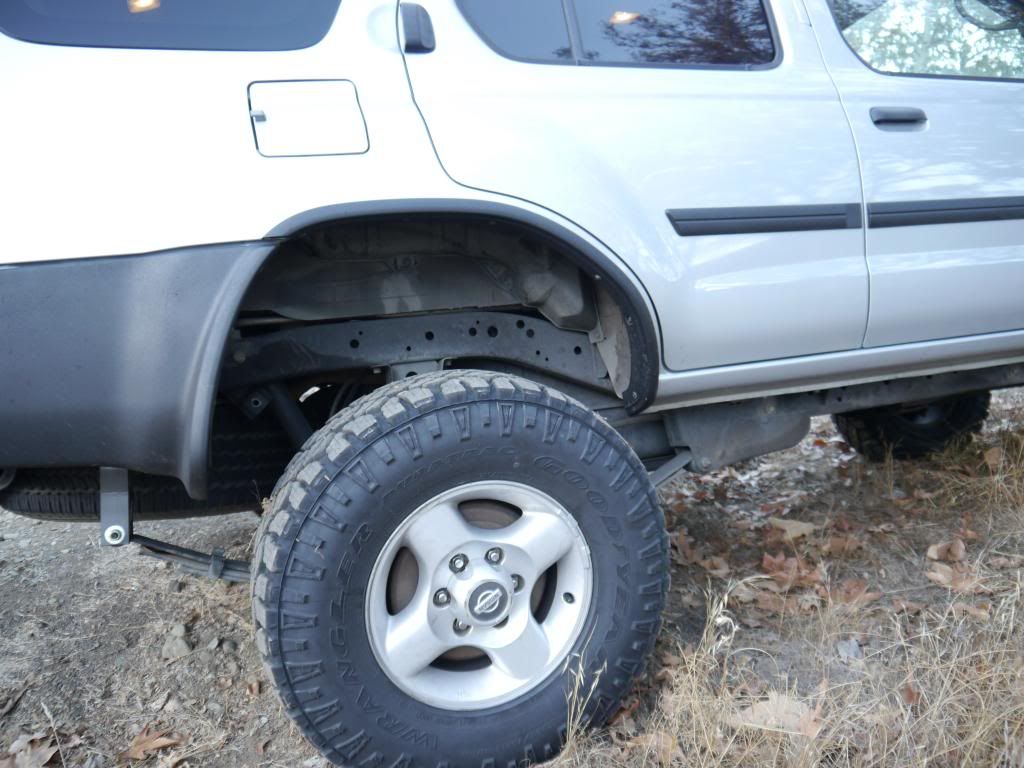
AC shackles are on!

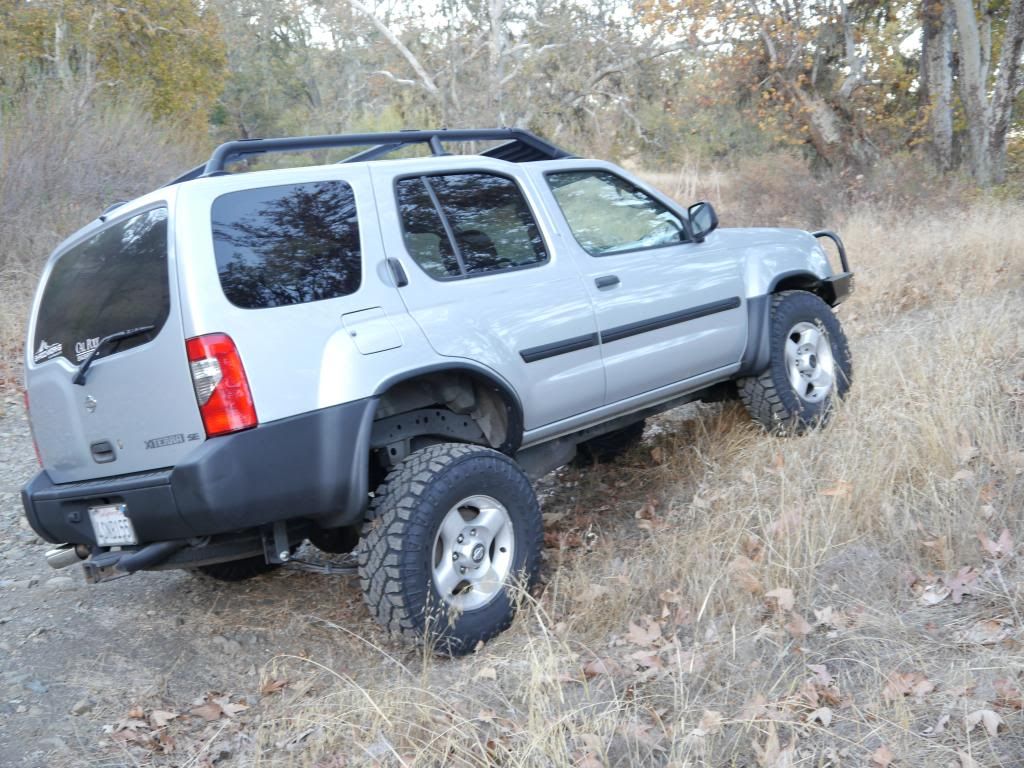
I was able to get the AC shackles on this weekend with the help of my dad. He was able to hold the tail pipe out of the way while I banged on the shackle with a hammer. Then I went down to the river bed to test out the flex. Beware, there are way to many pics for this simple mod!


ddddddd

Bought an X
Location
los angeles
Thanks guys. I really like how it looks now, I'll take some measurements and post. I am guessing there is about a 1.5 inch back to front rake.
 

ddddddd

Bought an X
Location
los angeles
I measured the heights before and after the PML and new tires. Here are the results:

Left Right
Before 15 1/4" 15 1/16" Front
After 17 1/2" 17 5/8" Front
Gain 2 1/4" 2 9/16"
Before 17 1/4" 17 1/8" Rear
After 20" 20" Rear
Gain 2 3/4" 2 7/8"


Final rakes:

Back to Front: 2.5"
Left to Right: 1/8"

I really like how it sits now.
 
Top