OffRdX Build Thread

OffRdX

Lockers Installed
Location
Port Orchard, WA
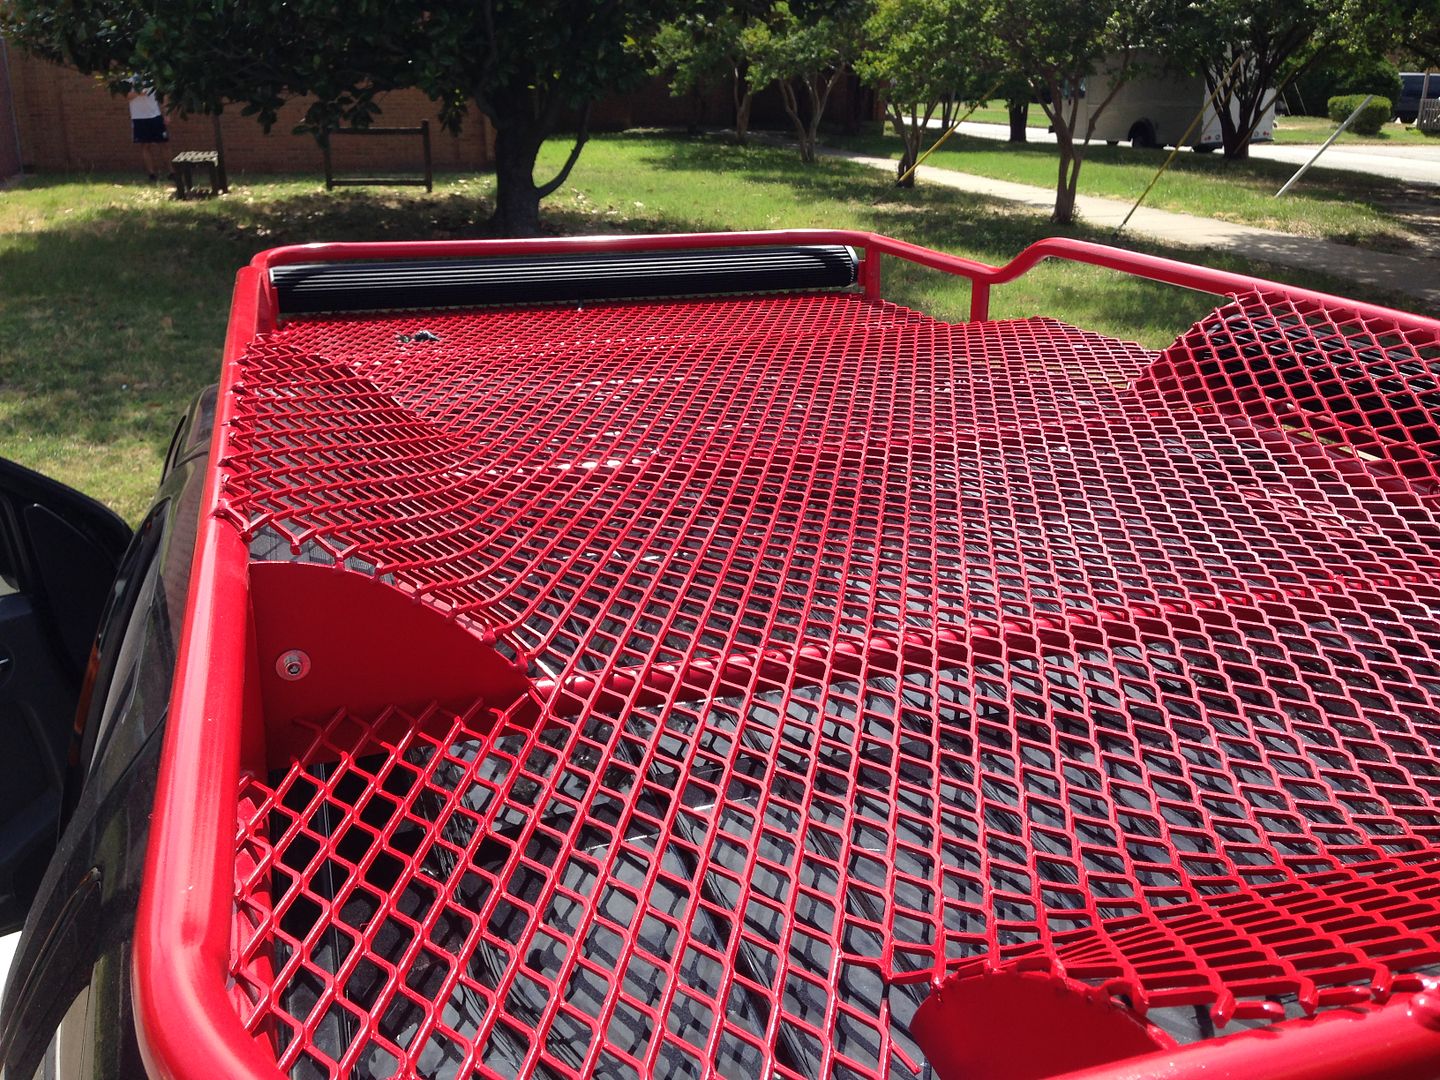
The lights are what I had left over from my rock lights. Every 3 LED's you can cut these strips and solder on your own leads.

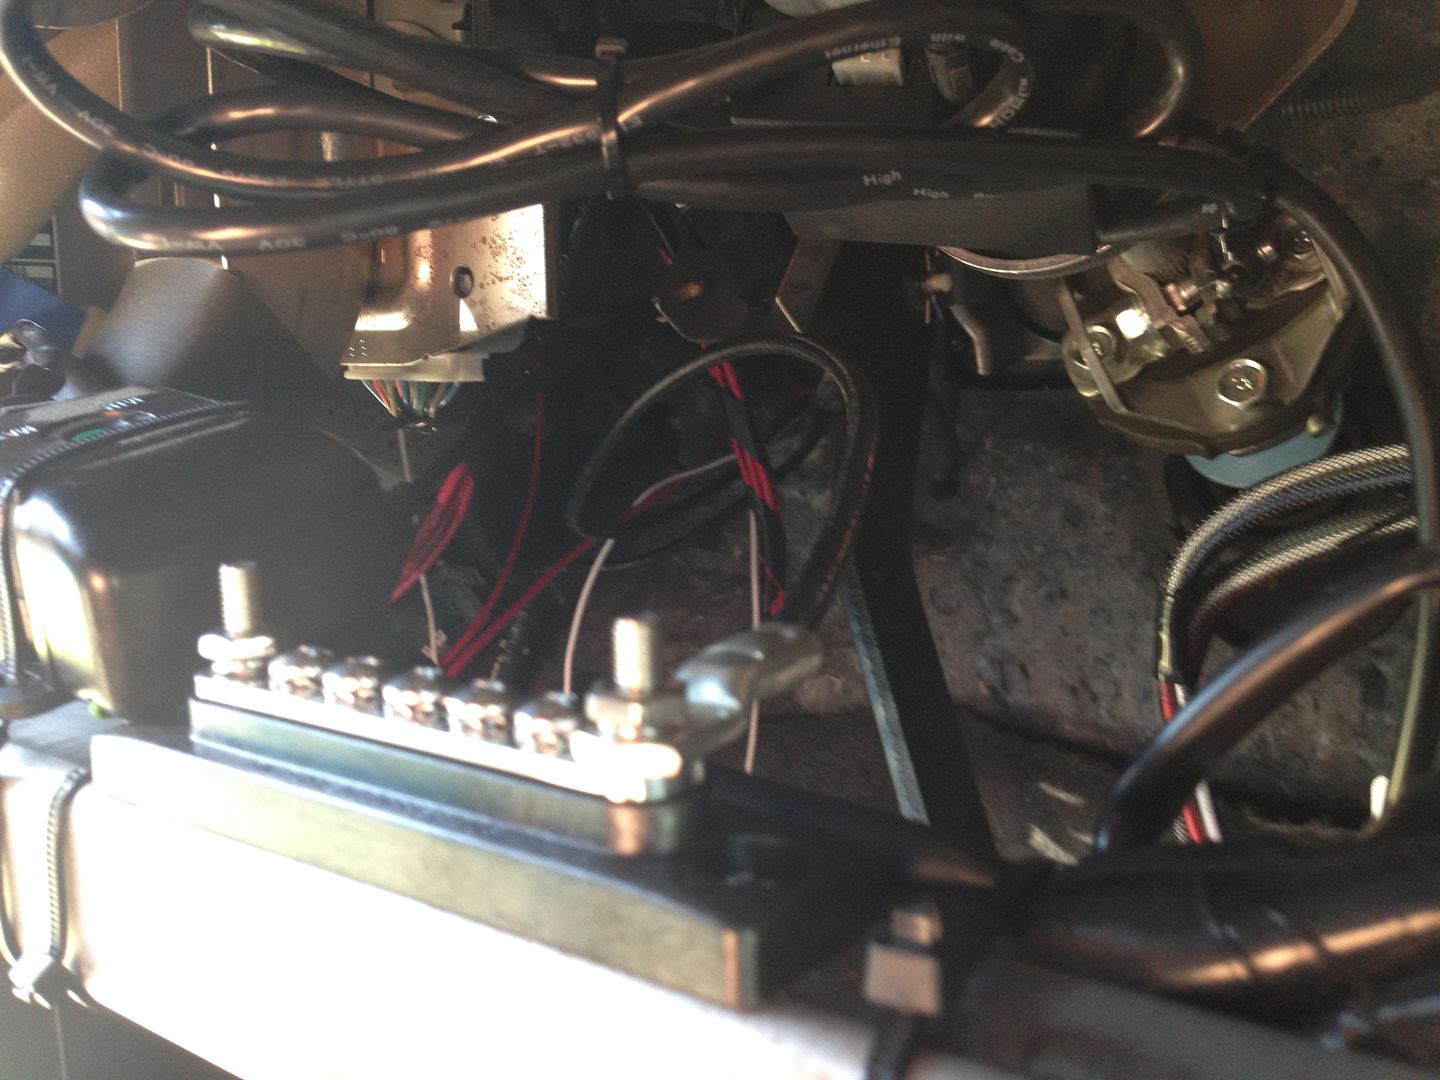
I got the power for them from my new bus bar under the steering column.
D0DA98B5-318E-4C3D-87A8-36CB3D0A8D9D_zpsec6iowfa.jpg


From there I ran power to the fuse panel I installed in the driver's kick panel (old pic from when the fuse panel was first installed. The top two spots are now occupied by my trans cooler fan and engine bay lights).

27003EE3-36AE-4F60-92D3-B5B28C8129A0_zps1i9dwvmy.jpg


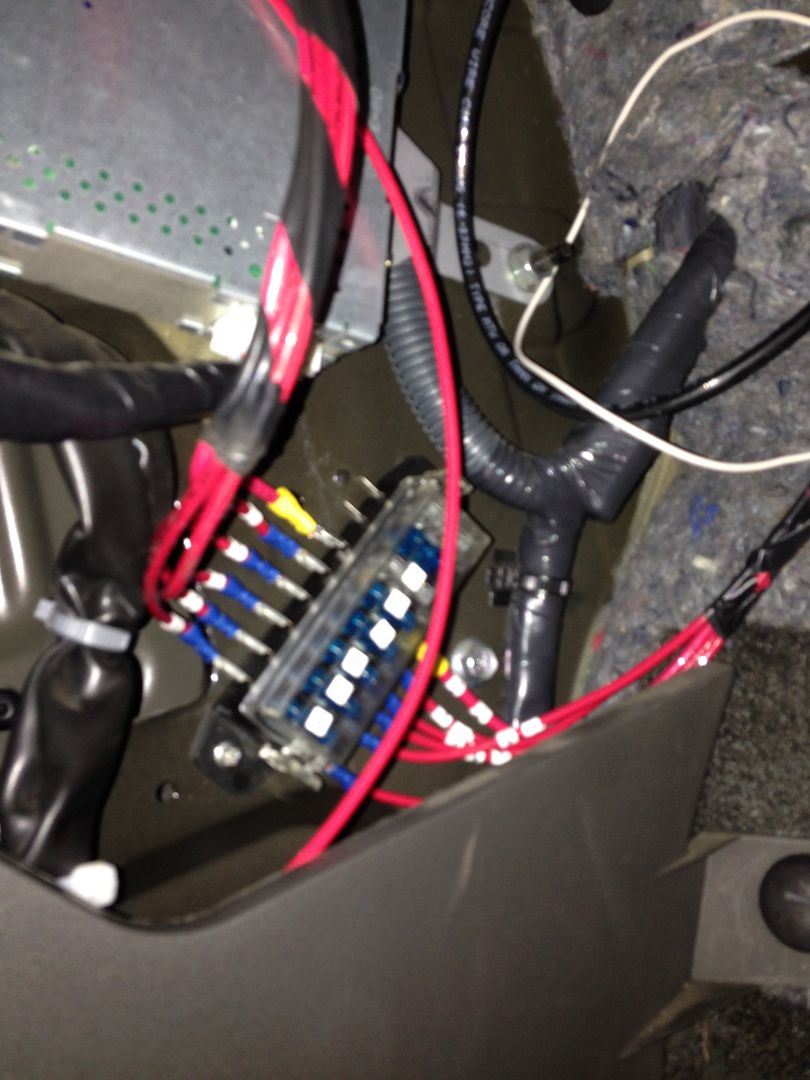
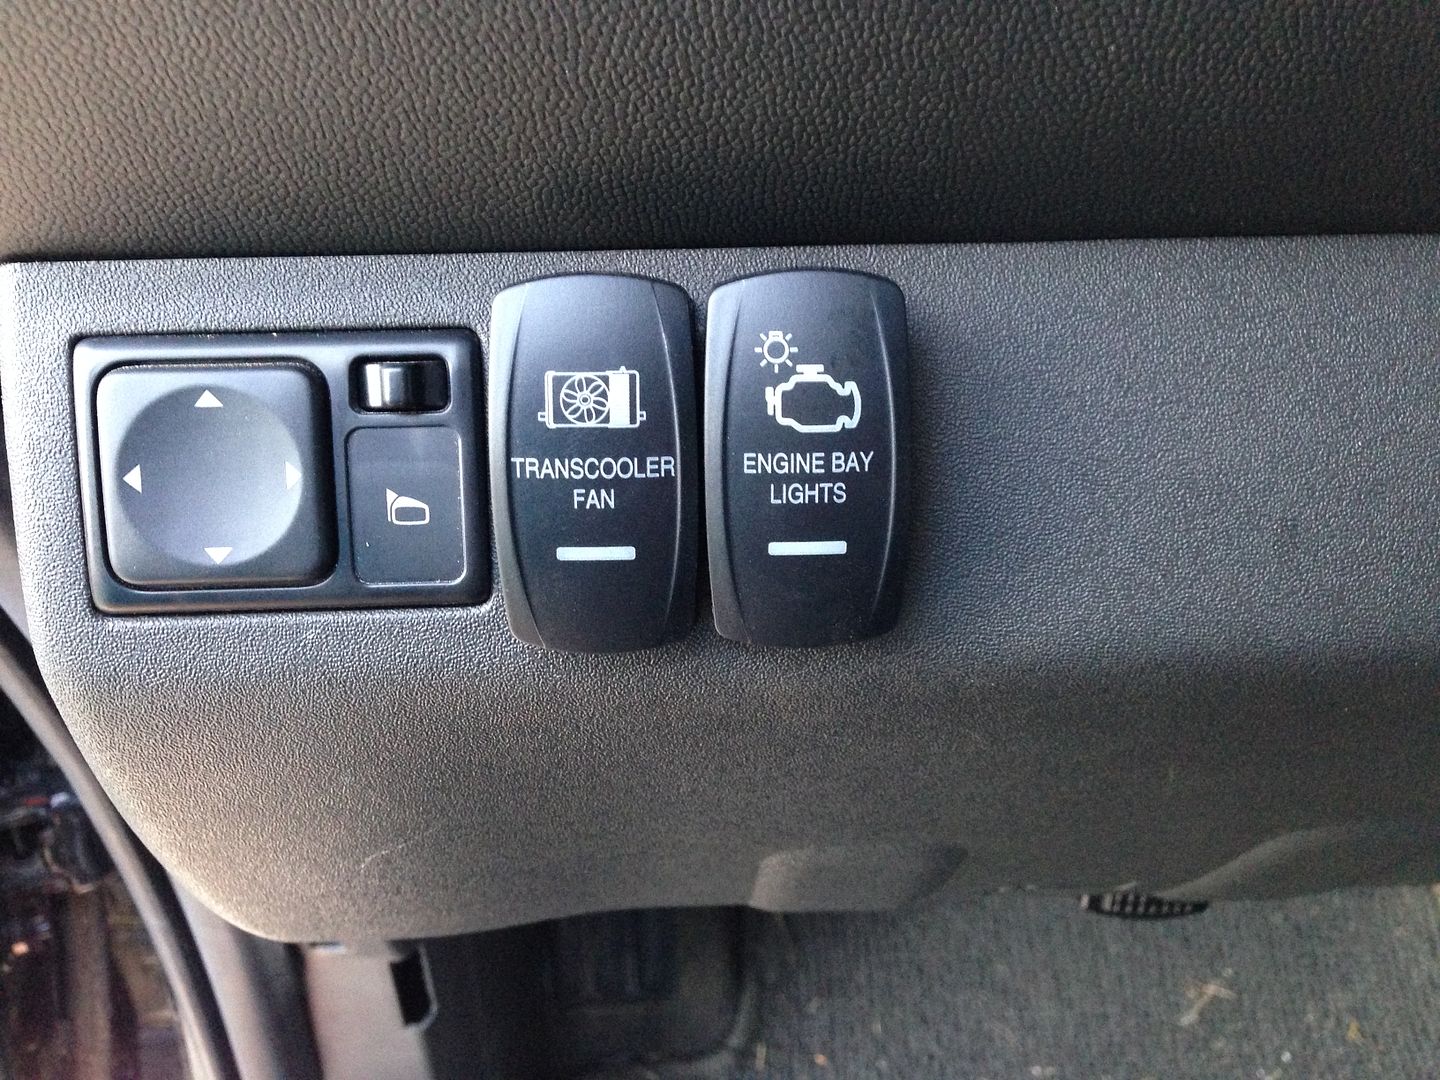
From the fuse I went to the switch installed next to the mirror controls. I had two open spots now after I ditched the stock Offroad lights.

3F39B34D-F556-4D2F-BBC8-20B1A4BCD60D_zpshscscd0o.jpg


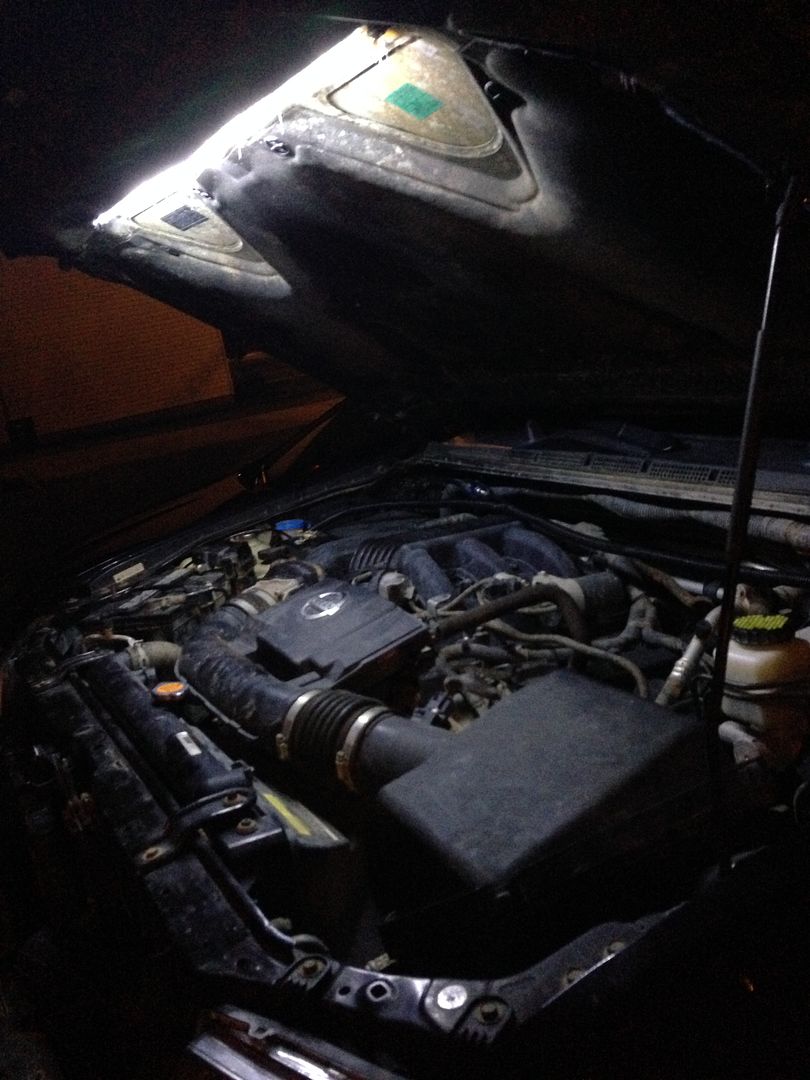
Then the power from the switch runs out to the lights in the engine bay. They ground is on a bolt just outboard of the stock airbox on the fender.

47FB084D-9716-4083-B0E1-410FB62409D0_zpsxwow2zyc.jpg
 

metzican

Suspension Lift
Location
Lafaytte, la
Awesome and clean wiring. I think I'm in love with your care to details on installation of mods!!!. I need to get the wire number things and go through my whole vehicle. Lets be honest I have way to many wire and now there are sets of 3 that have the same color. Only so many colors in the electrical world.

That ruff basket is amazing. I did not realize how you made the expanded mesh curve up and over the lights. I love that idea. Not to mention it is made out of one sheet of mesh and not pieced together.

Amazing fabrication and attention to details. I can tell you plan these out well and executed them even better. I thought I let you know your thought process is well noted and appreciated.
 

OffRdX

Lockers Installed
Location
Port Orchard, WA
Jay reminded me that I didn't have any top pics of the floor like you were saying. I am gonna try to take some better angles when I get home.

I appreciate your comments. It took a lot of work by not only me but my two friends I convinced to help me. This was the first major electrical project I've ever designed/built. It took so much time I don't even want to think about it. It means a lot for someone to appreciate the work we put into it though seriously.

Now I gotta decide what's next. Thinking about building my own front winch bumper instead of buying one.
 

OffRdX

Lockers Installed
Location
Port Orchard, WA
So when I installed the new Alcans last week I realized that my Bilstein 5100's aren't going to be long enough for my new springs. They are the limiting factor in my down travel now.

If anyone has any input into what shock/setup to run I am open to suggestions. I don't really care about ride quality, more about trail performance. Next year this is going to become a "toy". I will have my motorcycle and a truck to commute in so I plan on turning her into a trail rig only. Travel is my number one priority. I do however have to use the X to pull my trailer from VA to CA in December so I have to keep that in mind.
 

Fromfrontier2Xterra

I bought a Taco
Super Moderator
Supporting Member
Location
All over PA
For my "in progress" I went with bilstein 5125's 3-4". Obviously can't tell you ride quality yet but that's an option. A lot of people do radflo's but I personally couldn't justify dropping that much dough for shocks. Sent via my walkie talkie
 

OffRdX

Lockers Installed
Location
Port Orchard, WA
I was thinking Radflo's, I don't mind dropping some money on them, I'll just have to save/wait longer. I can drive it just fine the way it is so that helps. Just thinking down the line. I don't wanna do too much wheeling like this either though, I don't have experience in the matter but I imagine if I flexed enough and put enough pressure I could screw the shocks up. I am going to get educated in shock design and performance in the next week or so lol. That is one of the aspects I haven't spent much time learning and I need to.
 

metzican

Suspension Lift
Location
Lafaytte, la
I went with Radflo's I like the aspect of them be able to be rebuilt along with the longer life. Bilsteins are great shocks too. Also to rebuild your shocks you either have to let your vehicle sit or replace with cheap one's temperately. The best mod I ever did was Alcans on my vehicle. I don't get how people can use the stock leafs even with an add a leaf. Being able to order the weight over/under stock and arch height is great.

To be honest I don't now which one's allow the most flex. I think I use to know. Just keep in mind the longer the shock for our since they all just have "spacers" built into them due to the mounting locations they all have the same stroke no matter what +number is behind them. You can increase your drop but eventually with bottom out the shock on the rise. This is why they build straps and bump stops to prevent this load on the shock. But in the X community most people don't run anything since we are not that harsh on the up and down stroke. We usually travel fairly slow.
 

metzican

Suspension Lift
Location
Lafaytte, la
I forgot to mention if you jack up the back of your X and get both rear wheels off the ground this is a good measurement for max length for the shock.
 

OffRdX

Lockers Installed
Location
Port Orchard, WA
That is probably the first thing I need to do. Maybe tomorrow I'll get the jack out and take some measurements. That way when I call around I can let them know what I am working with. I'm gonna start with PRG.
 

OffRdX

Lockers Installed
Location
Port Orchard, WA
Did a little trimming so I could run my new 1.5" spacers. It wasn't too bad after the first cut. Used a grinder to clean it up. You can't even tell if you back up a couple of steps. I am loving the new stance.

99737BD8-CB08-4C3E-AB69-A366994D4D28_zpswikrrnrm.jpg


176804C0-1B72-4707-80AB-E2CAD6DCD05C_zpsurceqoto.jpg


4CB5AC8A-AE33-45A5-96F9-F5FAA8659D5B_zpspypi6hgh.jpg


98D2C66B-1E01-45B2-BFB1-AC8C68606FEE_zpsyxf0cu47.jpg


5B9B911C-8366-49DF-8F3F-1DEEF373B441_zpsdtkdjqxm.jpg
 

Fromfrontier2Xterra

I bought a Taco
Super Moderator
Supporting Member
Location
All over PA
Did a little trimming so I could run my new 1.5" spacers. It wasn't too bad after the first cut. Used a grinder to clean it up. You can't even tell if you back up a couple of steps. I am loving the new stance.

Looks sweet! Wanna do mine? Haha

Sent via my walkie talkie
 

OffRdX

Lockers Installed
Location
Port Orchard, WA
Glad I read through this, I had forgotten about needing new shocks. Hmmm....

I have had to trim more on the drivers side fenders due to the spacers. I also snapped a stud on the rear drivers spacer. Can't find a new stud that is the correct size locally. Going to have to order some online, guess I'll order a few so I have spares. I also have an annoying rattle coming from the cargo area, I removed a bunch of the stuff and it is still there. I'll have to empty the cargo bin before I start tearing into things.
 

gamecock257

Skid Plates
Location
Clinton, SC
I know in one of your posts you said you weren't worried about ride quality. I thought I'd ask anyways though, How is the ride with the heavy duty front coils and no front bumper? Trying to determine what order to do my mods...Thanks
 

OffRdX

Lockers Installed
Location
Port Orchard, WA
It's the stiffest riding X I've ever ridden in. I don't mind it at all though. I think I've got 750# springs. My build list says 700# but I don't think that's right.

The reason I ended up with them is they were given to me by a friend that TS'd his Fronty. He got the heavy springs cause he was running a Shrock front bumper. If I had ordered them new I probably wouldn't have gone that heavy. I can't think of much reason to, everyone seems to be fine with 650# springs and bumpers.

I'll be TS'd or SAS in a year anyways so I'll never see how they ride with a bumper. If you wanna buy mine next year for a deep discount they'll be for sale haha.


Sent from my portable electronic device.
 

gamecock257

Skid Plates
Location
Clinton, SC
Thanks. I'm going to be lifting in the very near future, but I'll probably go with 600 or 650#. May be without a bumper for a few months, so it shouldn't suck too bad.
 

TJTJ

Skid Plates
Founding Member
Location
NJ
I was thinking Radflo's, I don't mind dropping some money on them, I'll just have to save/wait longer. I can drive it just fine the way it is so that helps. Just thinking down the line. I don't wanna do too much wheeling like this either though, I don't have experience in the matter but I imagine if I flexed enough and put enough pressure I could screw the shocks up. I am going to get educated in shock design and performance in the next week or so lol. That is one of the aspects I haven't spent much time learning and I need to.

The key thing to remember is that the shock needs to be long enough to not limit droop, AND be able to compress short enough to not limit UPTRAVEL.


Step 1 -

The way you find the shock you need is to undo the lower shock mounts, and then jack the frame up, watching what gets taut/needs more slack/room as you raise it.

You want the axle to be flat drooped, not with one tire higher, etc.


As the frame rises, you will see the hanging lower eye of the rear shocks approaching and then passing the lower shock MOUNT on their way up, if the ones there now were limiting droop.

If NOT limiting droop, the lower shock eyes won't be higher than the lower mounts (They still reach).

If the shock's eyes are too high to reach down to the lower mounts when fully drooped, you need longer shocks, and you simply measure the distance from upper to lower shock mount/add what's needed to the current shock eye to lower shock mount length...to get your NEW shock's extended length.

If the REASON the droop stopped is something you might plan on "fixing", say the rear drive shaft is resting on the cross member below it...you would add some additional shock length to your measured length, to allow enough room for future mods w/o needing new shocks AGAIN, and so forth.


Step 2 -

COMPRESS the suspension (Using whatever resources you have, including fat buddies, sacks of concrete, ratchet straps on the frame/axle, etc...whatever works for you.

Re-measure the upper to lower shock mount distance...and that's how SHORT the shock needs to get to fit when you come down/need to fully stuff it. SUBTRACT a inch or so to account for harder landings that might be squishing the bump stops, and that gives you a realistic COMPRESSED shock length.


If planning on raising a lower mount up away from rocks, or otherwise changing that mount to mount distance, adjust your mount to mount distances/shock compressed/extended lengths, accordingly.


Take your new specs, and go shock shopping for shocks that get that short or shorter, and that long or longer.

You probably want valving ~ 255/70 (rebound/compression)...with a bit more on compression if you go larger/heavier than the average 33x12.5-ish tires, etc.
 

OffRdX

Lockers Installed
Location
Port Orchard, WA
Thanks, I just drilled holes in the hatch. Gobi must have unplugged their phones cause I have been trying to call for 2 weeks. Didn't want to wait any longer.
 

Prime

Shut up Baby, I know it!
Admin
Location
Denver Adjacent
I'm this close to doing that to mine. The bracket that came for the bottom wouldn't stay on. The factory adhesive is holding strong though. That the only reason I haven't drilled it out.
 

OffRdX

Lockers Installed
Location
Port Orchard, WA
I made a piece of flat stock for the back side but it was too thick. I think it'll be fine with just washers. It's not like I'm going to use it a ton and with how the ladder is shaped there shouldn't be a ton of stress on the bolts anyways.


Sent from my portable electronic device.
 
Top