robcarync
Sliders
- Location
- Raleigh, NC
I know all of this information is covered around here, but I found that it was fragmented in different places. I am going to give a full explanation of all things PML and hopefully help a few people understand a torsion bar suspension system and the purpose of the bump stop gaps (two things I have found confuse a LOT of people). Read on, let me know if I missed something or if you have any questions. Really try to understand the mechanics of what is going on if you are new to this stuff because that makes the actual 'doing' a lot easier.
If you know nothing, start here:
http://en.wikipedia.org/wiki/Torsion_bar_suspension
===========INTRODUCTION============
PML = Poor Man's Lift = ~1.5" Suspension lift
Front: Stock torsion bar suspension is adjustable to an extent. This stock adjustment is used to gain an alleged 1.5". Free front end lift.
Rear: Shackles connect the leaf springs to the bottom of the frame. Longer shackles will add about 1.5"
Purchase rear shackles:
The typical ones are the 1.5" shackles:
https://www.4x4parts.com/nissan/xterra-rear-lift-shackles-p-145.html
Some people have complained about not getting enough lift in the front end, and so I decided to go with the adjustable shackles so I could use a lower lift setting in the rear if I needed to. I eventually plan to get upper control arms to add more lift to the front, and then can max out the adjustable shackle at 2 1/8":
https://www.4x4parts.com/nissan/xterra-adjustable-lift-shackles-p-5612.html
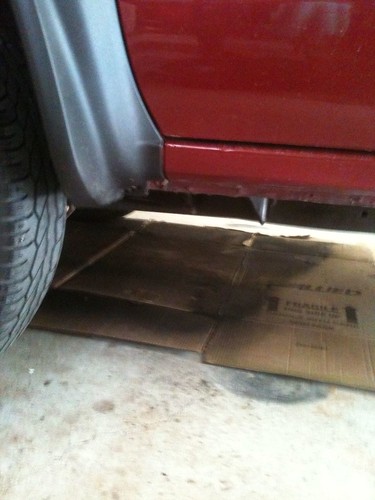
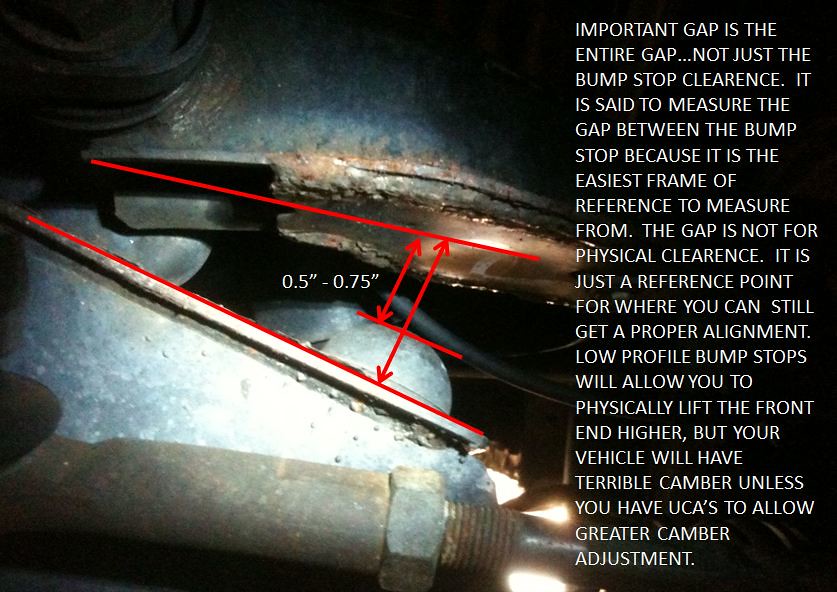
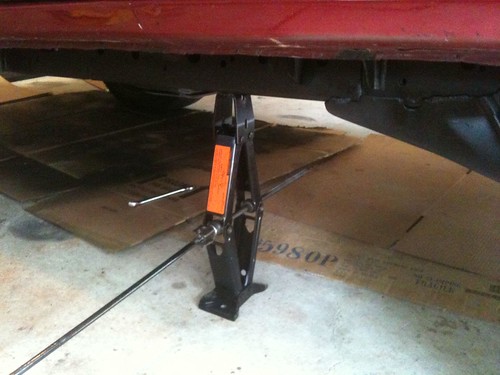
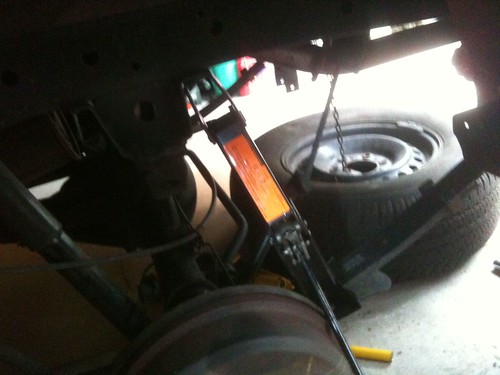
If you are curious about how much lift you can get in the front end, place a jack under the front differential, and raise both front wheels at the same time, watching the bump stop gap. Once you have between a 0.5-0.75 inch gap between the upper control arm and the bump stop, you have reached PML ride height, and this will give you a good estimate of you front lift.
===========PREP WORK============
Prior to lifting anything, find a FLAT surface to work on (evenly laid garage floor is nice!). Ensure your tires are properly inflated. Ideally your tires should all be about the same tread height too.
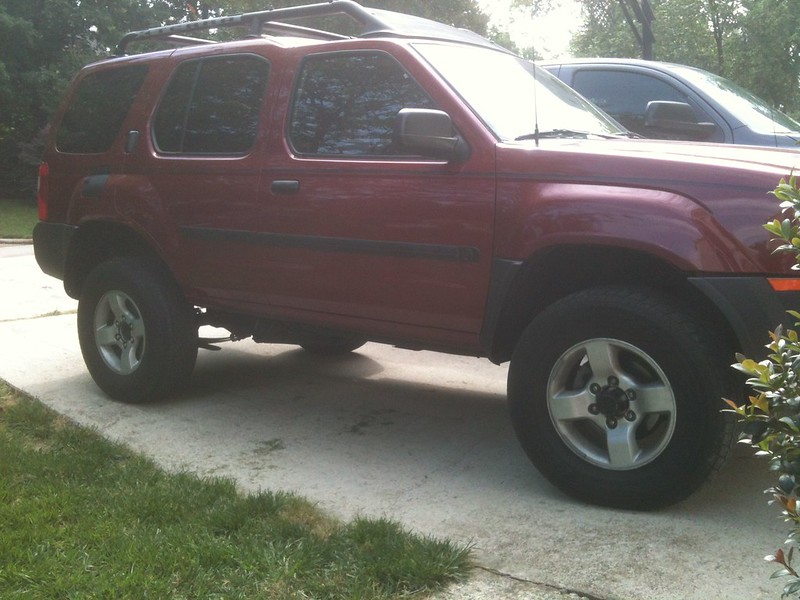
Take preliminary measurements with a tape measure of your current ride height and write them down so you know where you are starting off at! Measure from the ground to the bottom of the doors right near each wheel well (not the wheel arches)
Measure the front:
Measure the rear:

Locate the rear shackles and the torsion bar adjuster bolts and nuts. Grab some PB Blaster or my favorite, Freeze Off! Drench all the hardware with some chemicals to keep them from being rust welded and breaking off. I started about a week before I was going to do the lift because mine looked really bad. I sprayed them all once, waited about 5 days, did them again, and sprayed them again on the day I did the lift. Maybe over board, but it definitely made things much easier.
Chemicals:

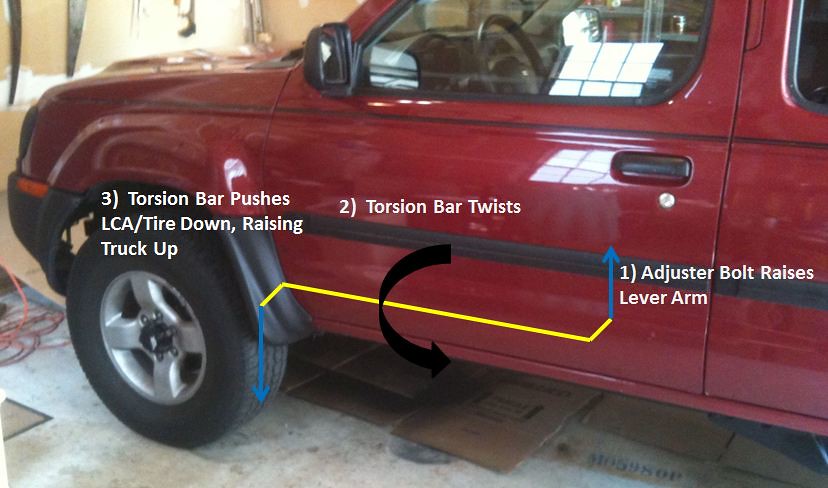
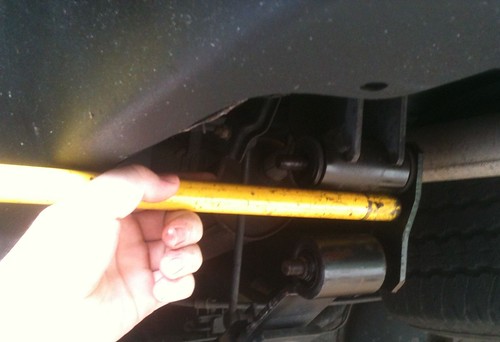
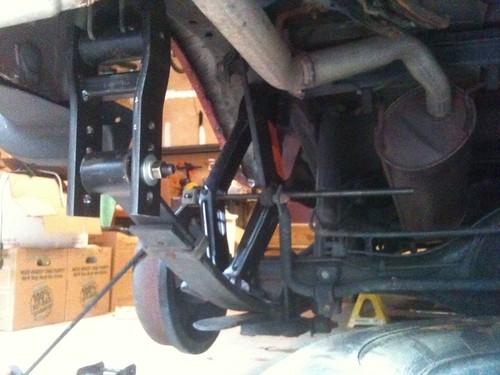
Front torsion bar location and functional diagram:
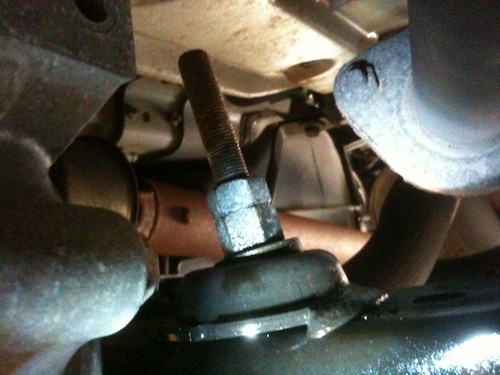
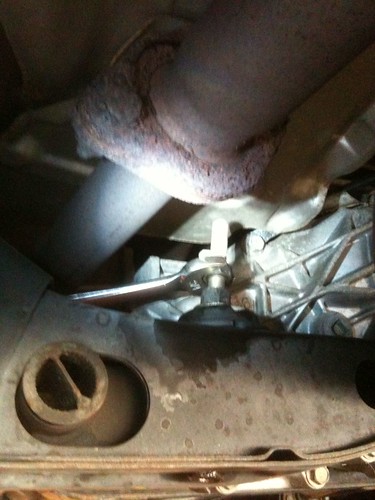
Adjuster bolt, near mid section of truck. Spray bolt head, and both nuts above cross member.

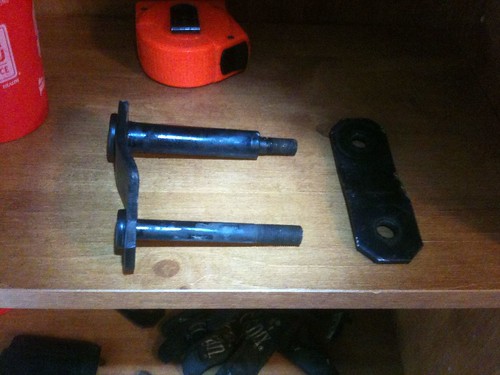
On top of adjuster bolt, through cross member...two nuts...top nut is just to lock the bottom nut so it doesn't rattle loose.
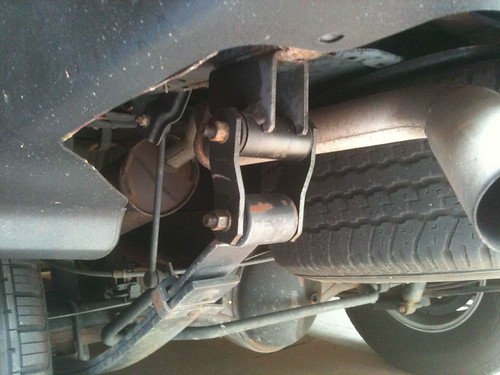
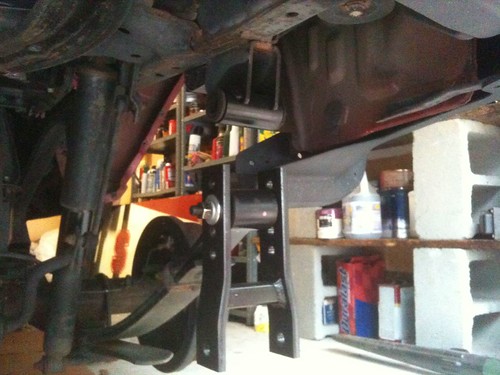
Rear shackle location:

Spray shackle hardware:
If you know nothing, start here:
http://en.wikipedia.org/wiki/Torsion_bar_suspension
===========INTRODUCTION============
PML = Poor Man's Lift = ~1.5" Suspension lift
Front: Stock torsion bar suspension is adjustable to an extent. This stock adjustment is used to gain an alleged 1.5". Free front end lift.
Rear: Shackles connect the leaf springs to the bottom of the frame. Longer shackles will add about 1.5"
Purchase rear shackles:
The typical ones are the 1.5" shackles:
https://www.4x4parts.com/nissan/xterra-rear-lift-shackles-p-145.html
Some people have complained about not getting enough lift in the front end, and so I decided to go with the adjustable shackles so I could use a lower lift setting in the rear if I needed to. I eventually plan to get upper control arms to add more lift to the front, and then can max out the adjustable shackle at 2 1/8":
https://www.4x4parts.com/nissan/xterra-adjustable-lift-shackles-p-5612.html
If you are curious about how much lift you can get in the front end, place a jack under the front differential, and raise both front wheels at the same time, watching the bump stop gap. Once you have between a 0.5-0.75 inch gap between the upper control arm and the bump stop, you have reached PML ride height, and this will give you a good estimate of you front lift.
===========PREP WORK============
Prior to lifting anything, find a FLAT surface to work on (evenly laid garage floor is nice!). Ensure your tires are properly inflated. Ideally your tires should all be about the same tread height too.
Take preliminary measurements with a tape measure of your current ride height and write them down so you know where you are starting off at! Measure from the ground to the bottom of the doors right near each wheel well (not the wheel arches)
Measure the front:
Measure the rear:
Locate the rear shackles and the torsion bar adjuster bolts and nuts. Grab some PB Blaster or my favorite, Freeze Off! Drench all the hardware with some chemicals to keep them from being rust welded and breaking off. I started about a week before I was going to do the lift because mine looked really bad. I sprayed them all once, waited about 5 days, did them again, and sprayed them again on the day I did the lift. Maybe over board, but it definitely made things much easier.
Chemicals:
Front torsion bar location and functional diagram:
Adjuster bolt, near mid section of truck. Spray bolt head, and both nuts above cross member.
On top of adjuster bolt, through cross member...two nuts...top nut is just to lock the bottom nut so it doesn't rattle loose.
Rear shackle location:
Spray shackle hardware:
Last edited:


")