I’ve been a member here for almost a week and haven’t contributed anything helpful. Slacker. So hopefully this is helpful to others, and I’m posting it in the right place. If it’s in the wrong area, please move it as necessary.
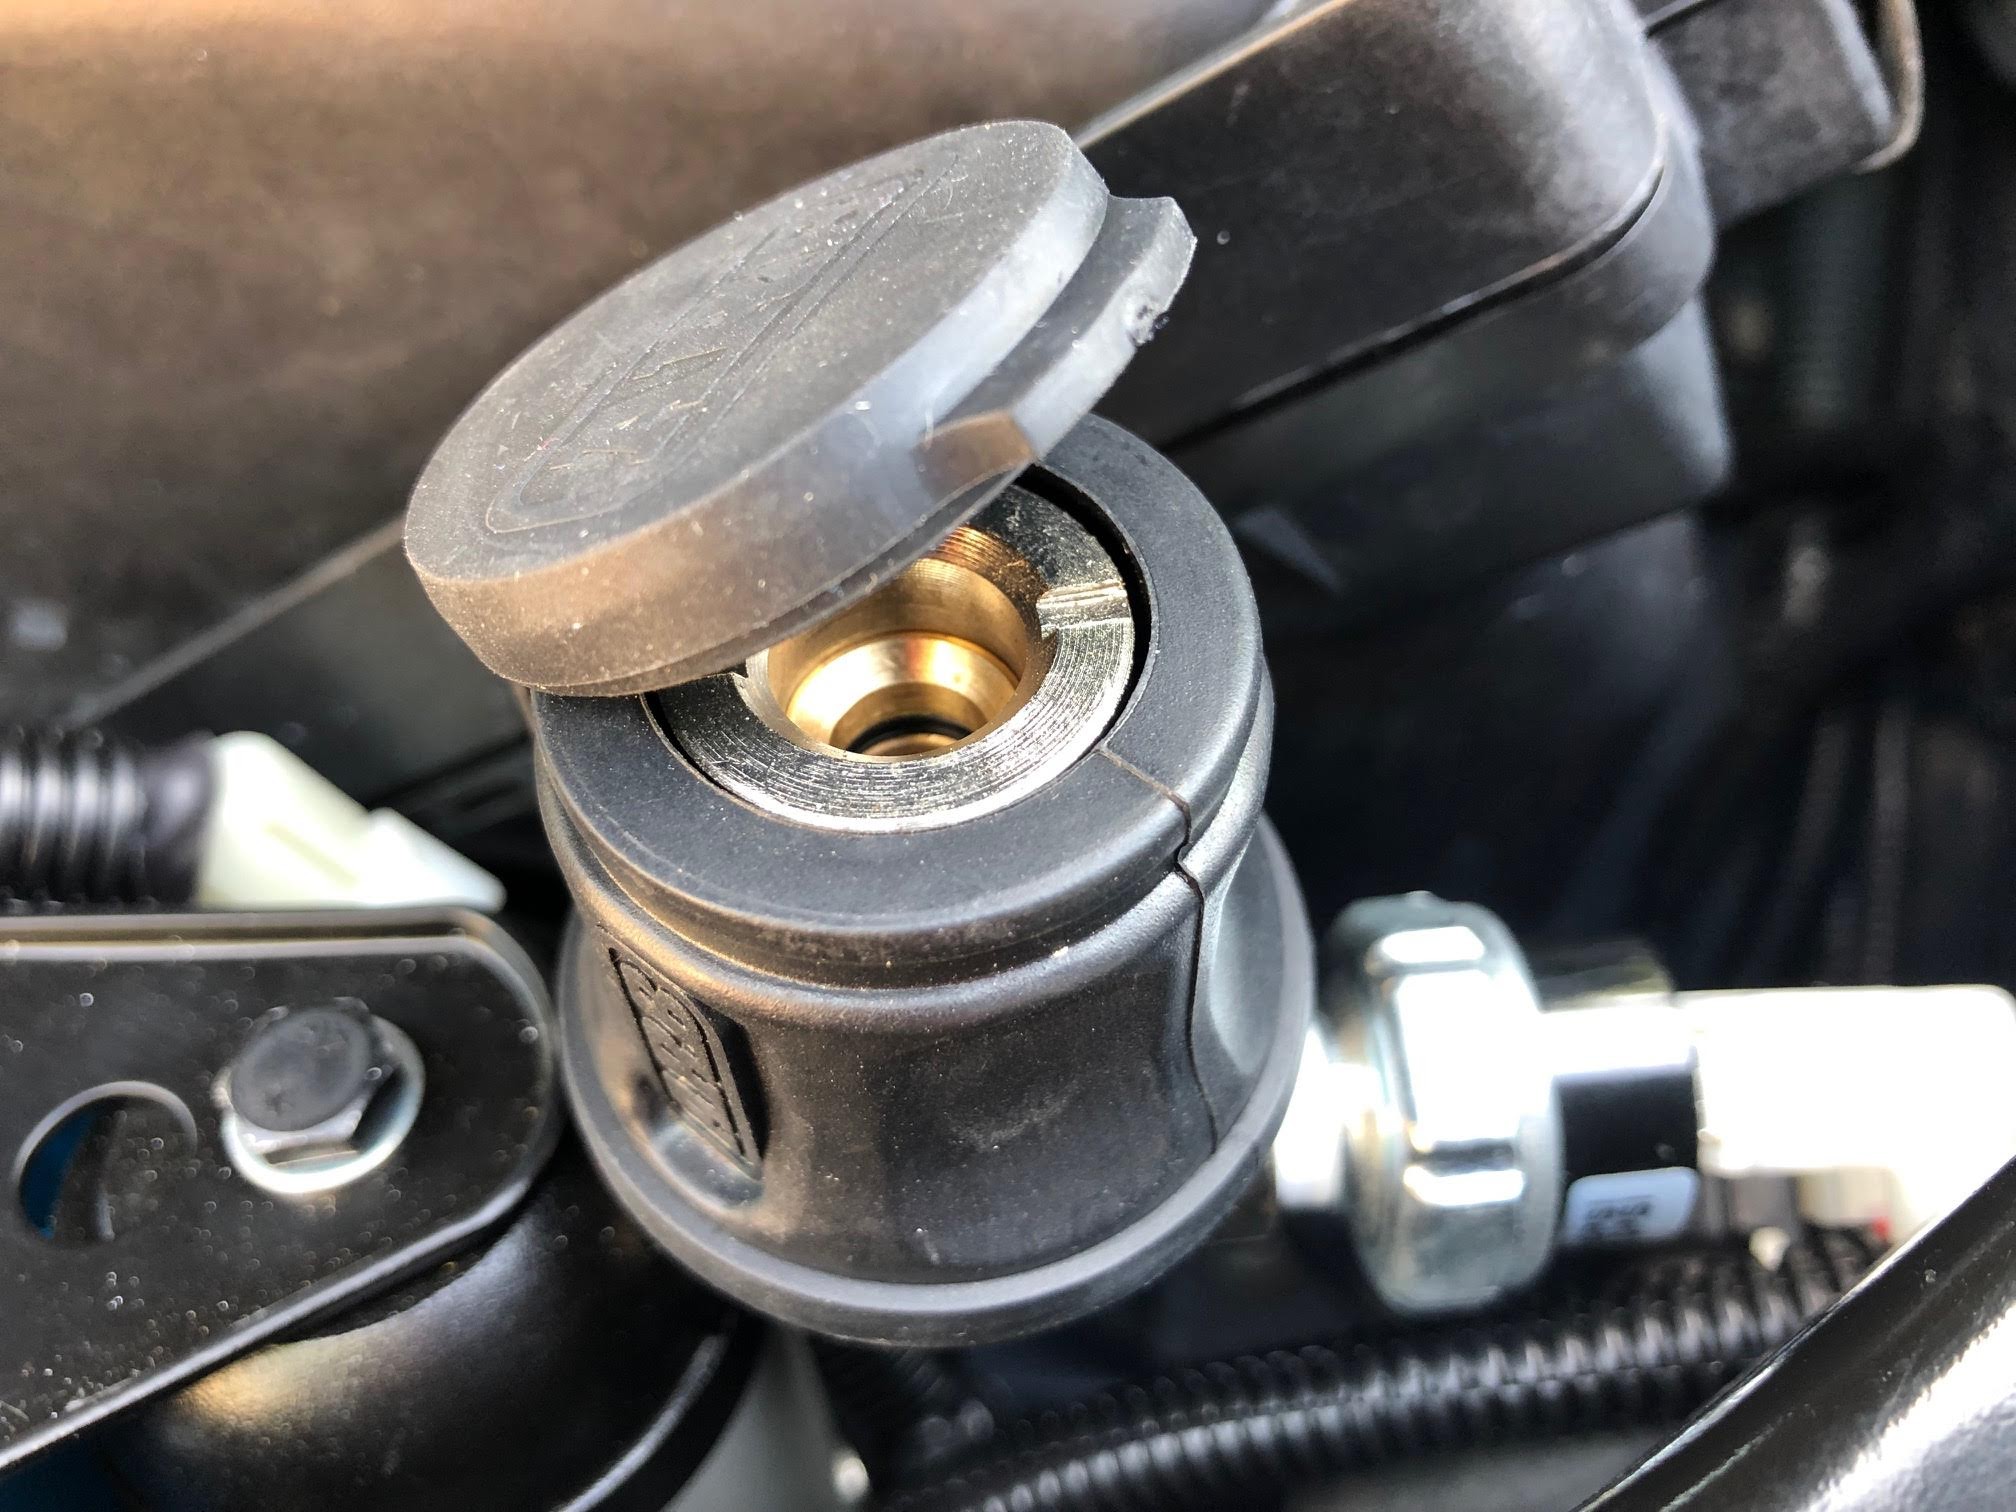
I have been wanting to install a simple on board air compressor (no air lockers, no tank, just airing up 32” to 33” tires) in my 2nd Gen Xterra for a while. I have a couple portable 12V units, an old MV-50 and a newer Viair 88P, and while they both work OK, I wanted something faster and more convenient. The ARB CKMA12 fit the bill. The 171302 Inflation Kit completes the setup.
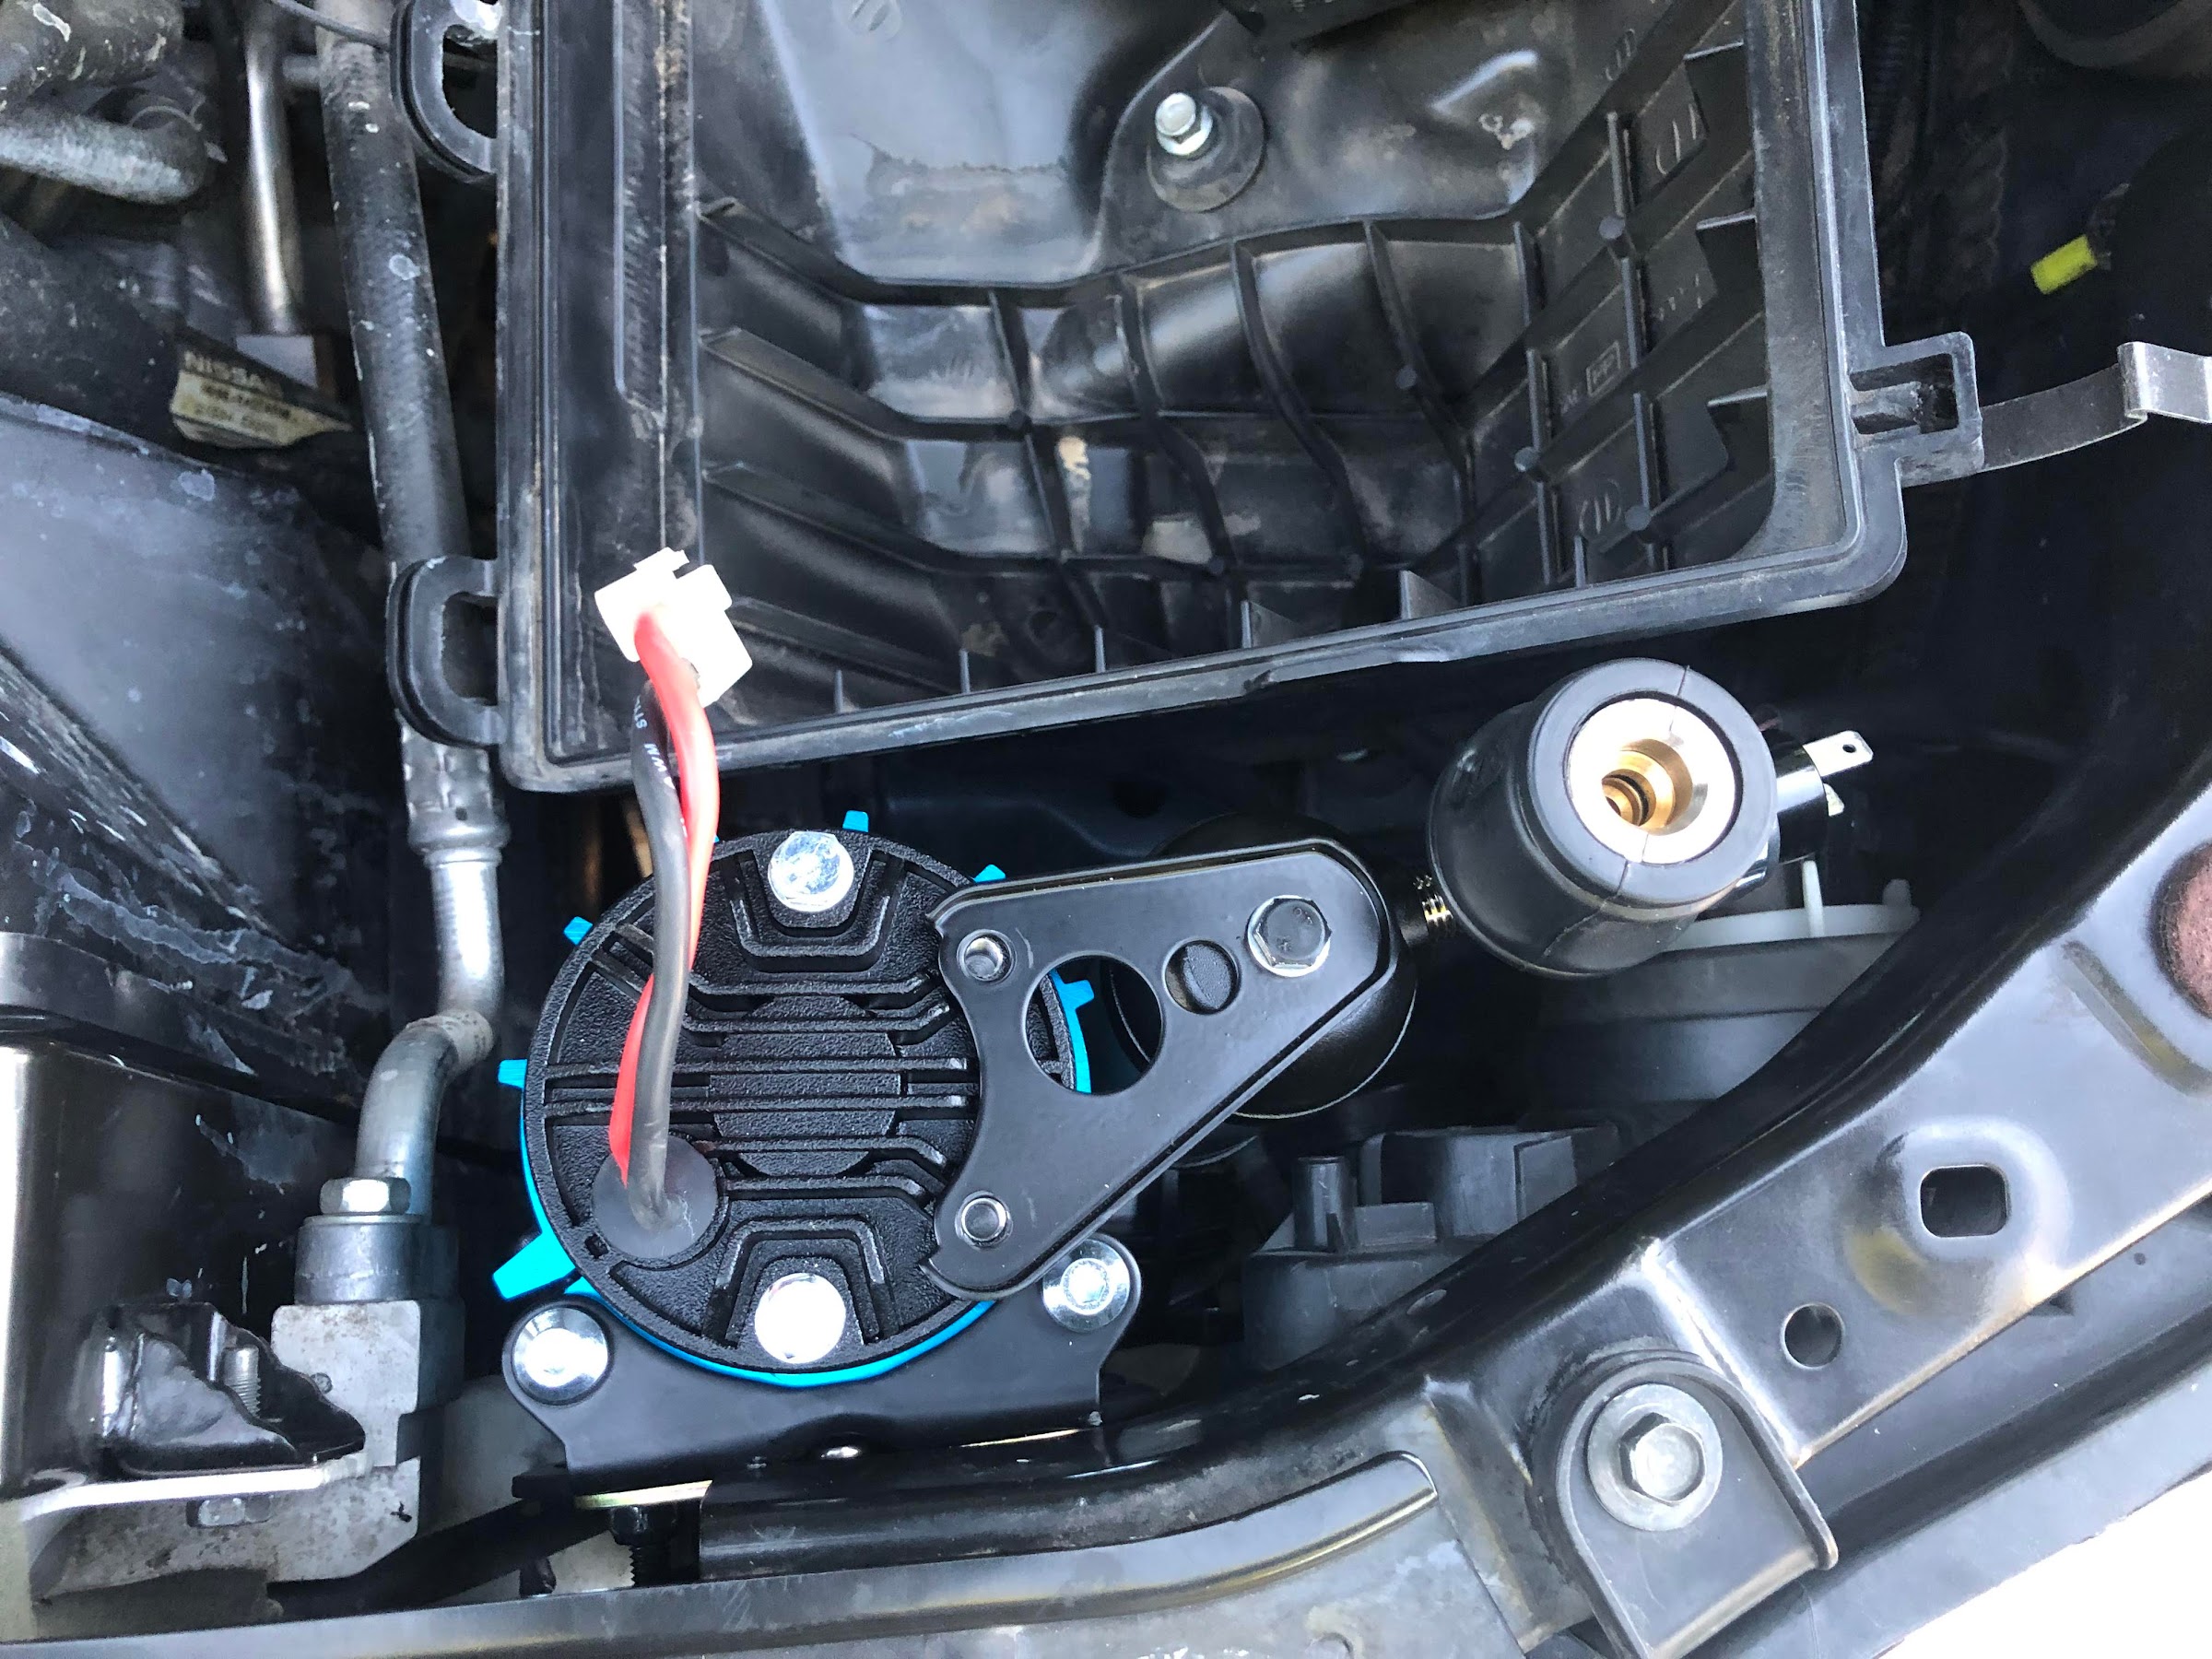
I looked at various mounting location options and weighed the pros and cons before settling on mounting behind the drivers side headlight and in front of the airbox. For me, this location made the most sense. I didn’t need an in cab switch, though it’s not too hard to do that with this setup. I didn’t want the compressor in the cab. I didn’t want to run power wires to the rear. And, my winch controller is on top of the fuse box, so that area wasn’t an option.
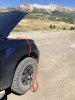
The finished product:
Josh (former Xterra owner and s/n five9341 on TNX) had a great how to on his blog, but some of the photos are currently MIA. I followed his install method closely, making a few subtle changes for my particular needs.
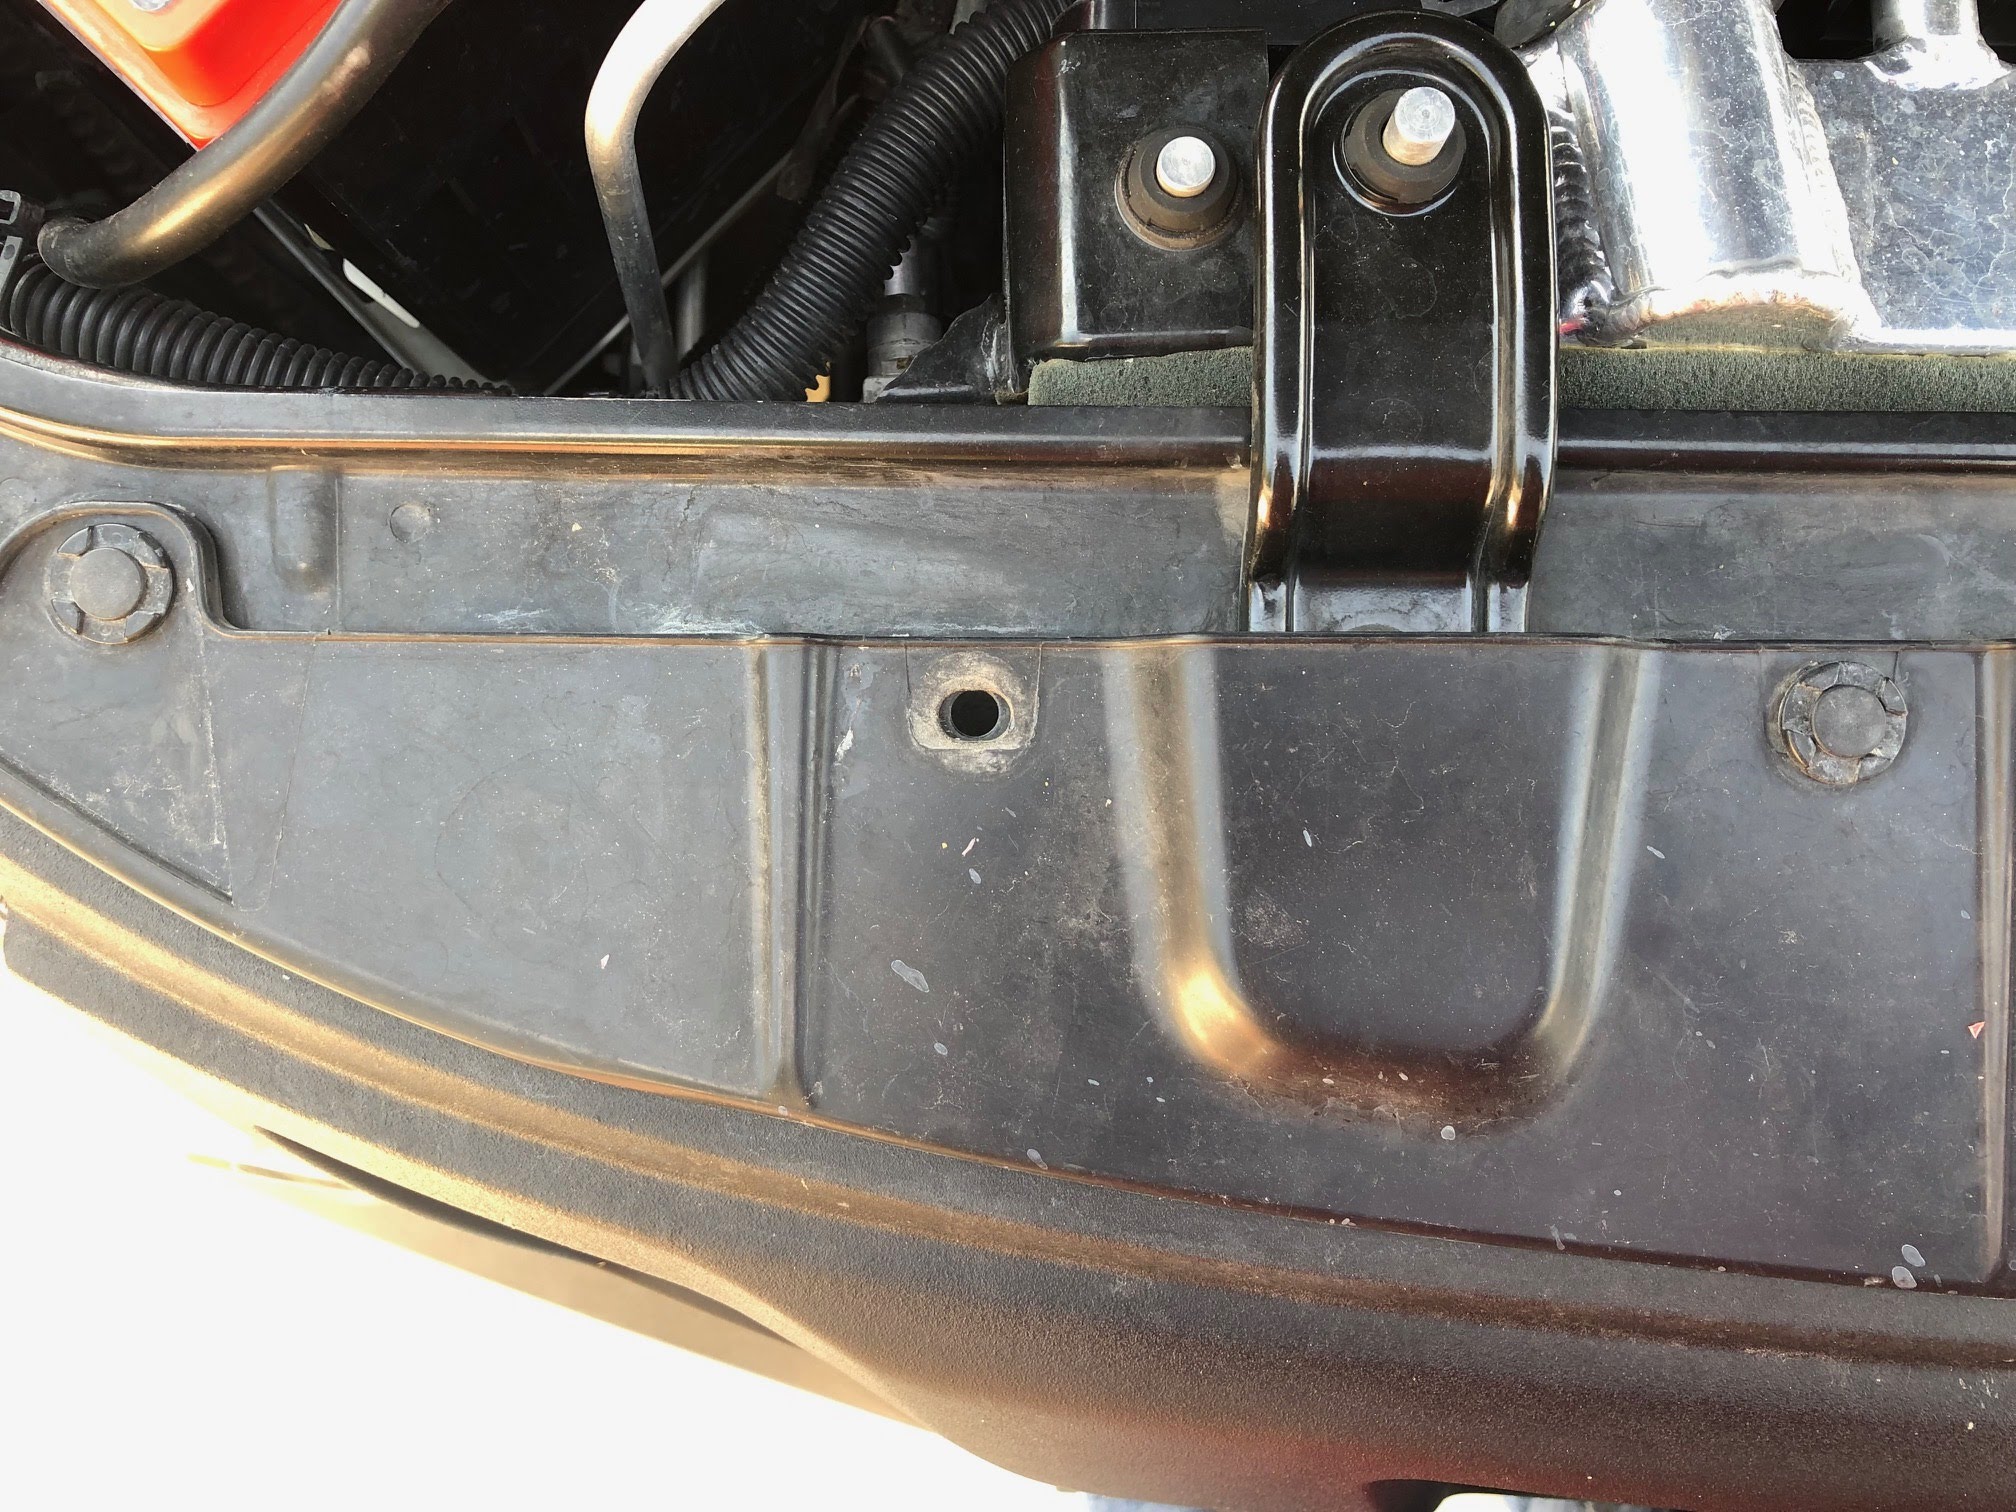
This is not a comprehensive how-to, just a guide showing how I did this install. In order to get some room to work in this area, I removed a bunch of stuff and did this while working as time allowed over several days. I have pictures of most of the important bits, but not necessarily of all the steps of removing things to get to this area.
Here we go.
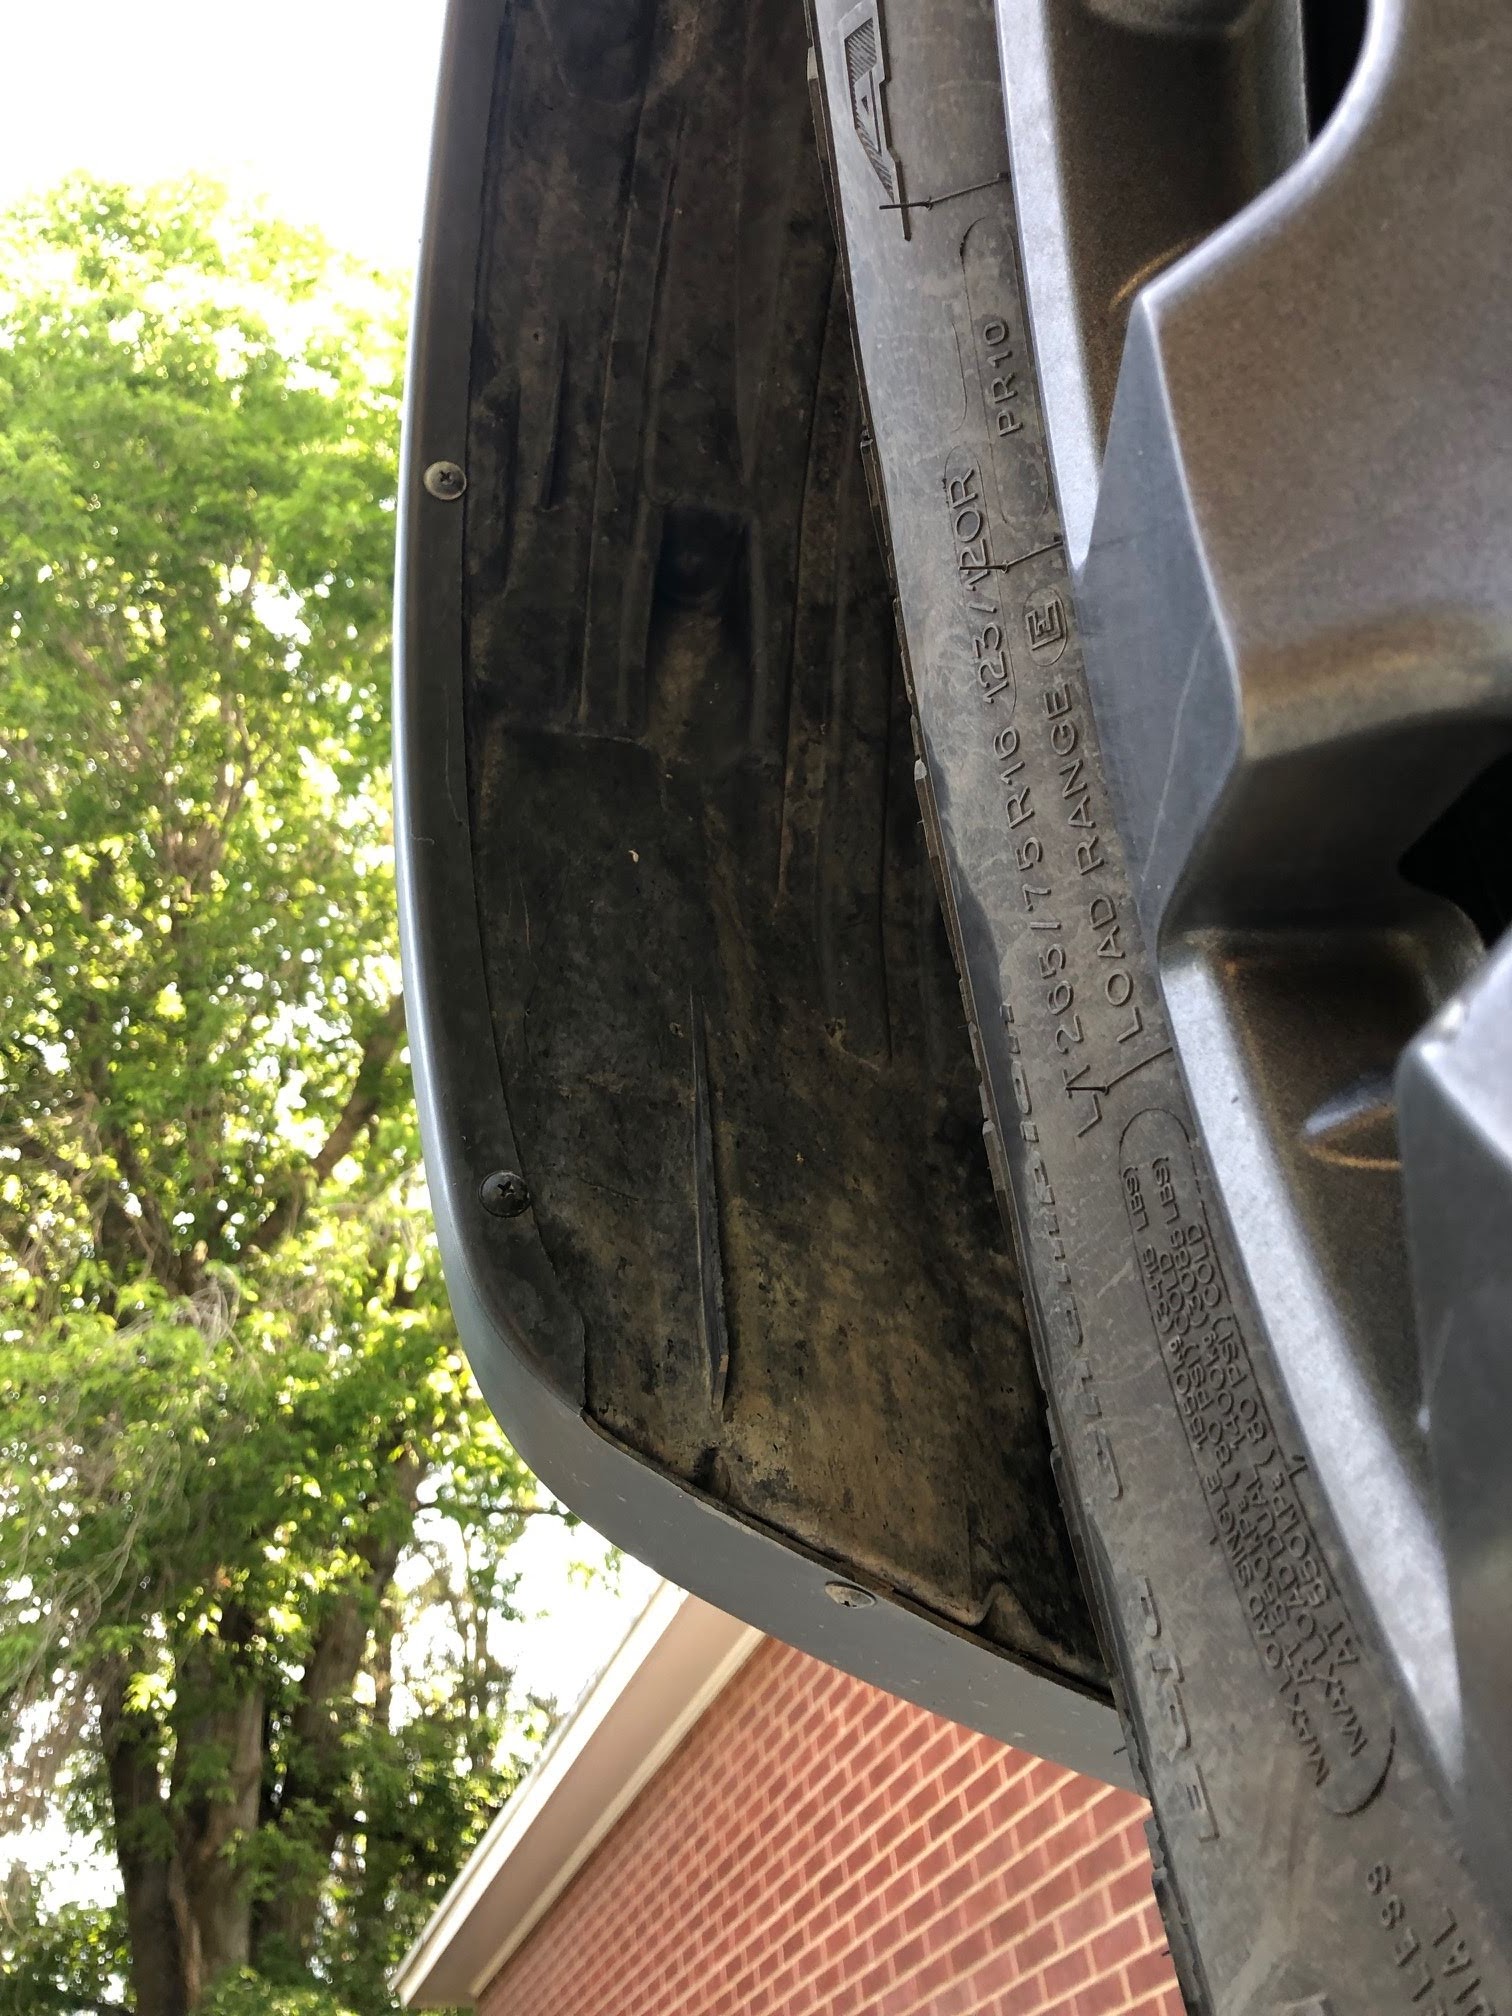
Park on a level surface and turn your steering wheel to the right (passenger) side. This will give you a little more room to remove the fender liner screws.
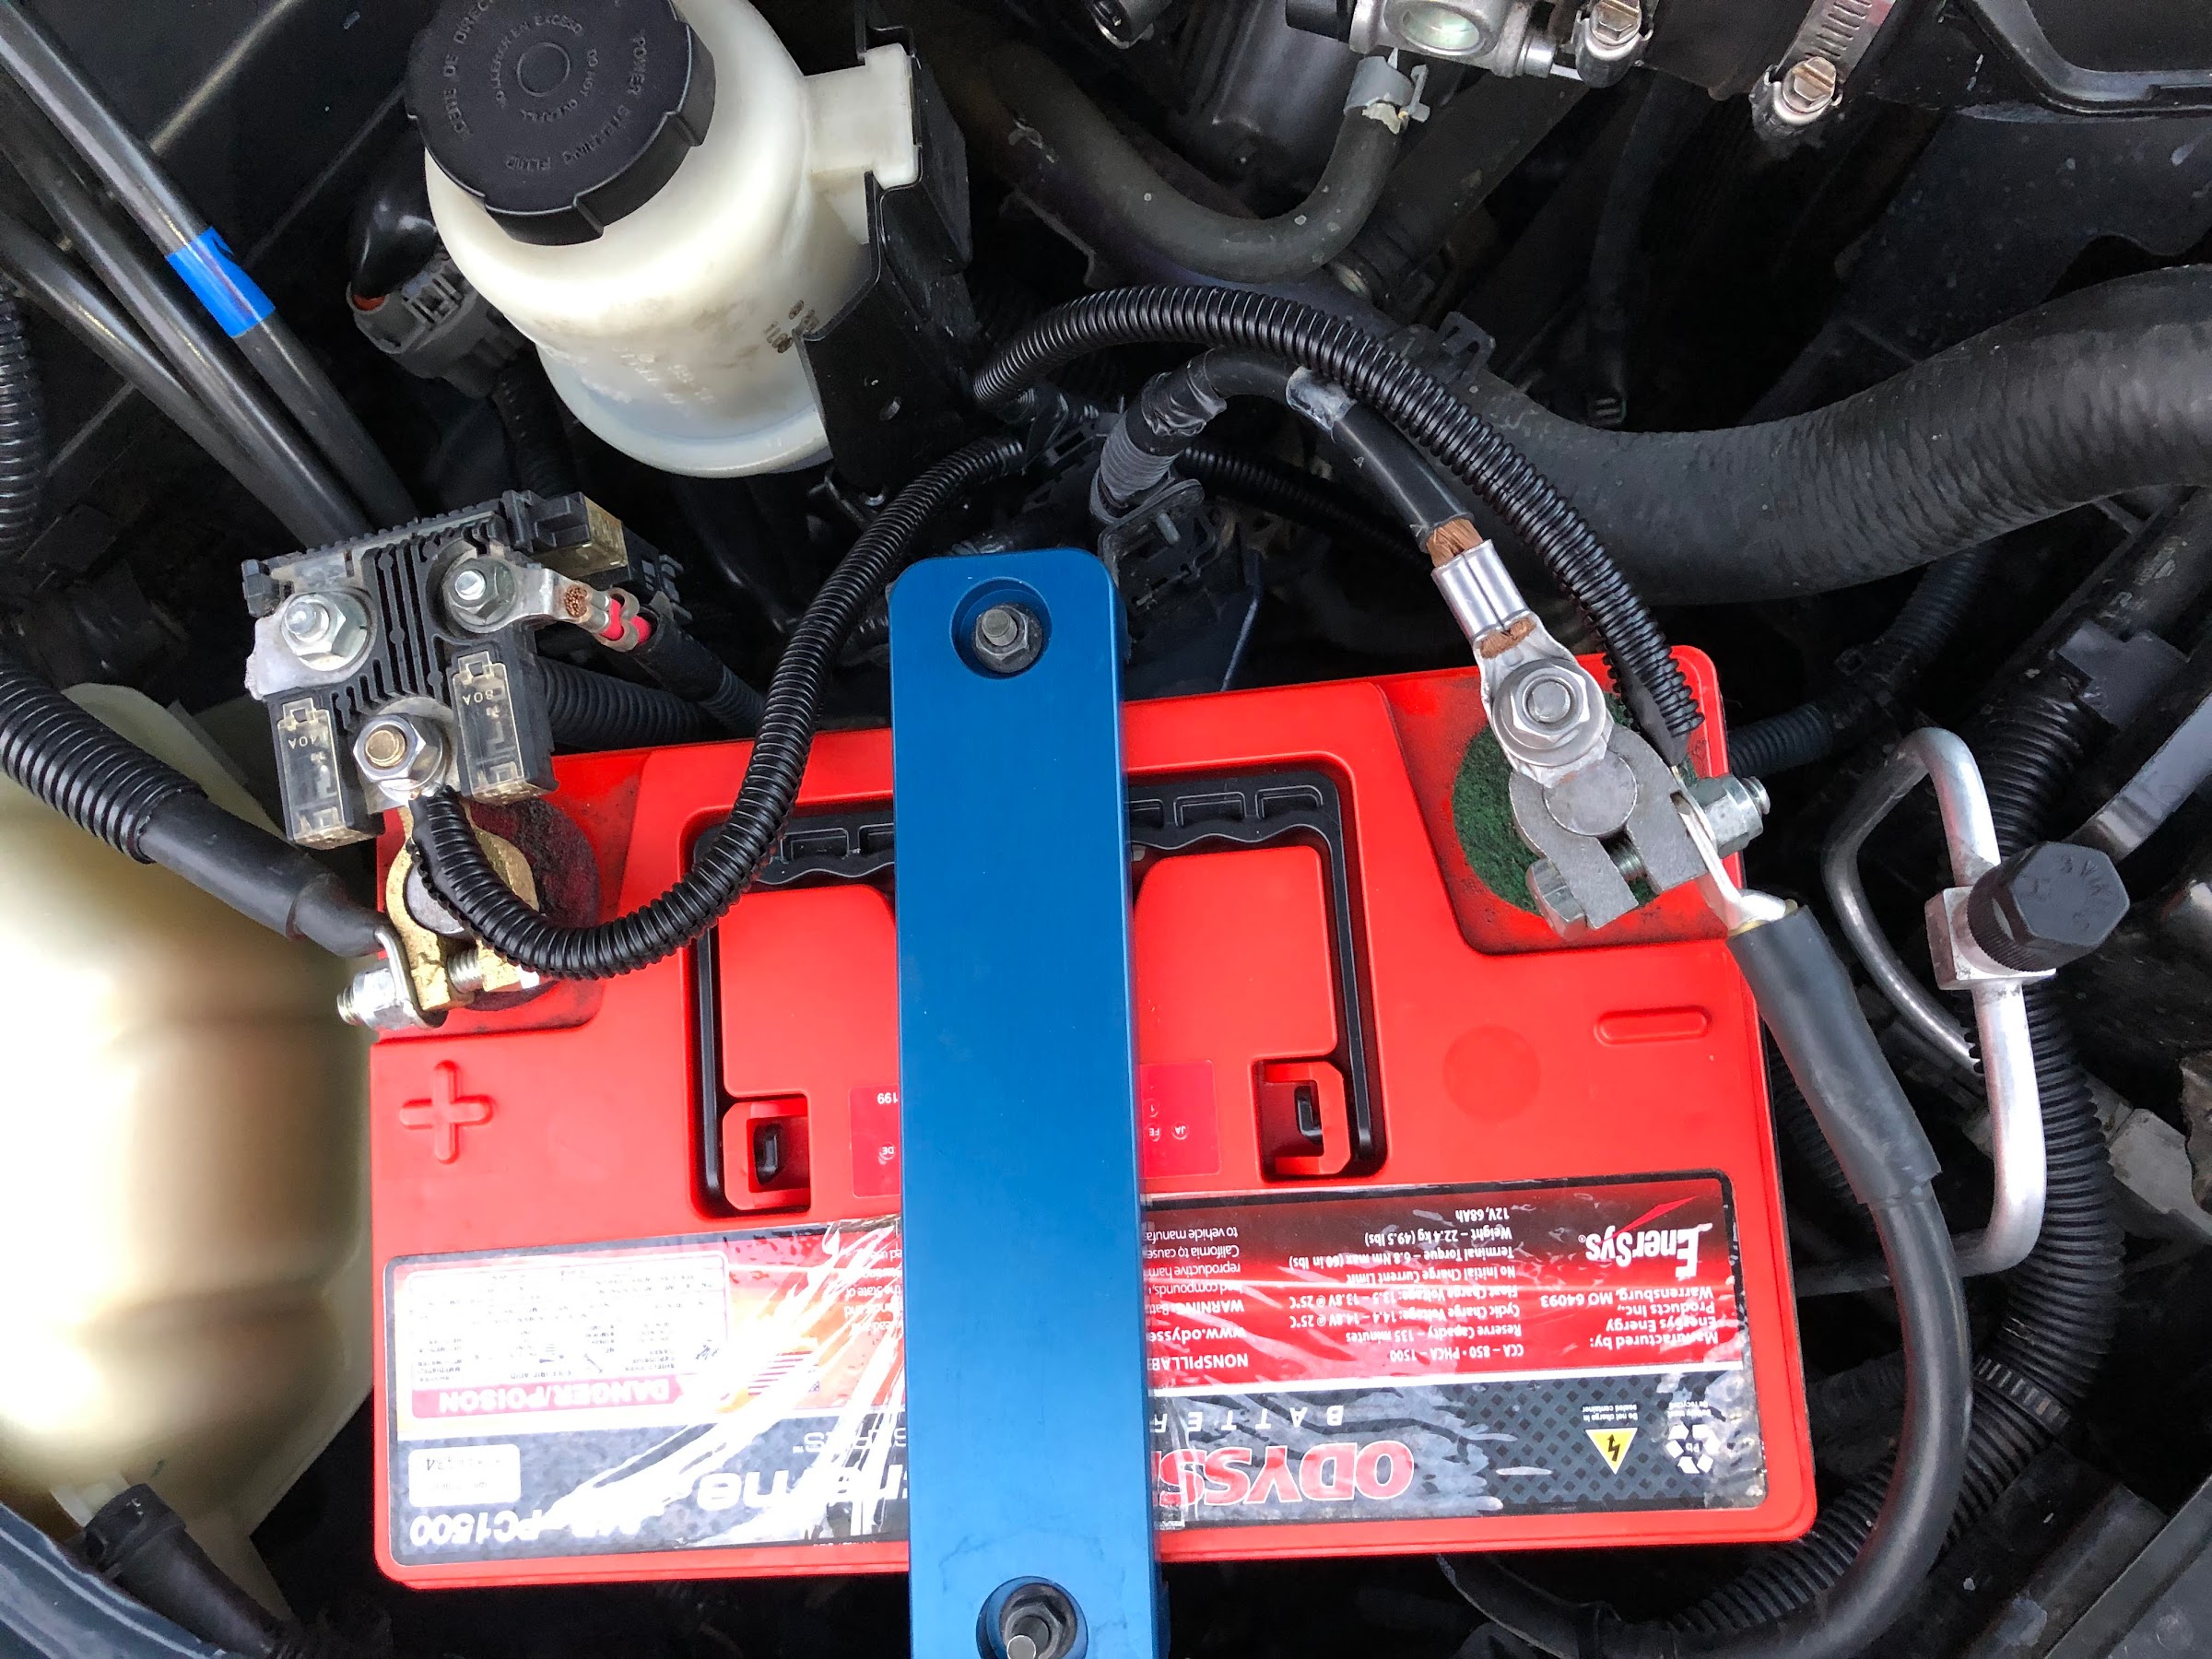
Open the hood and remove the negative battery cable.
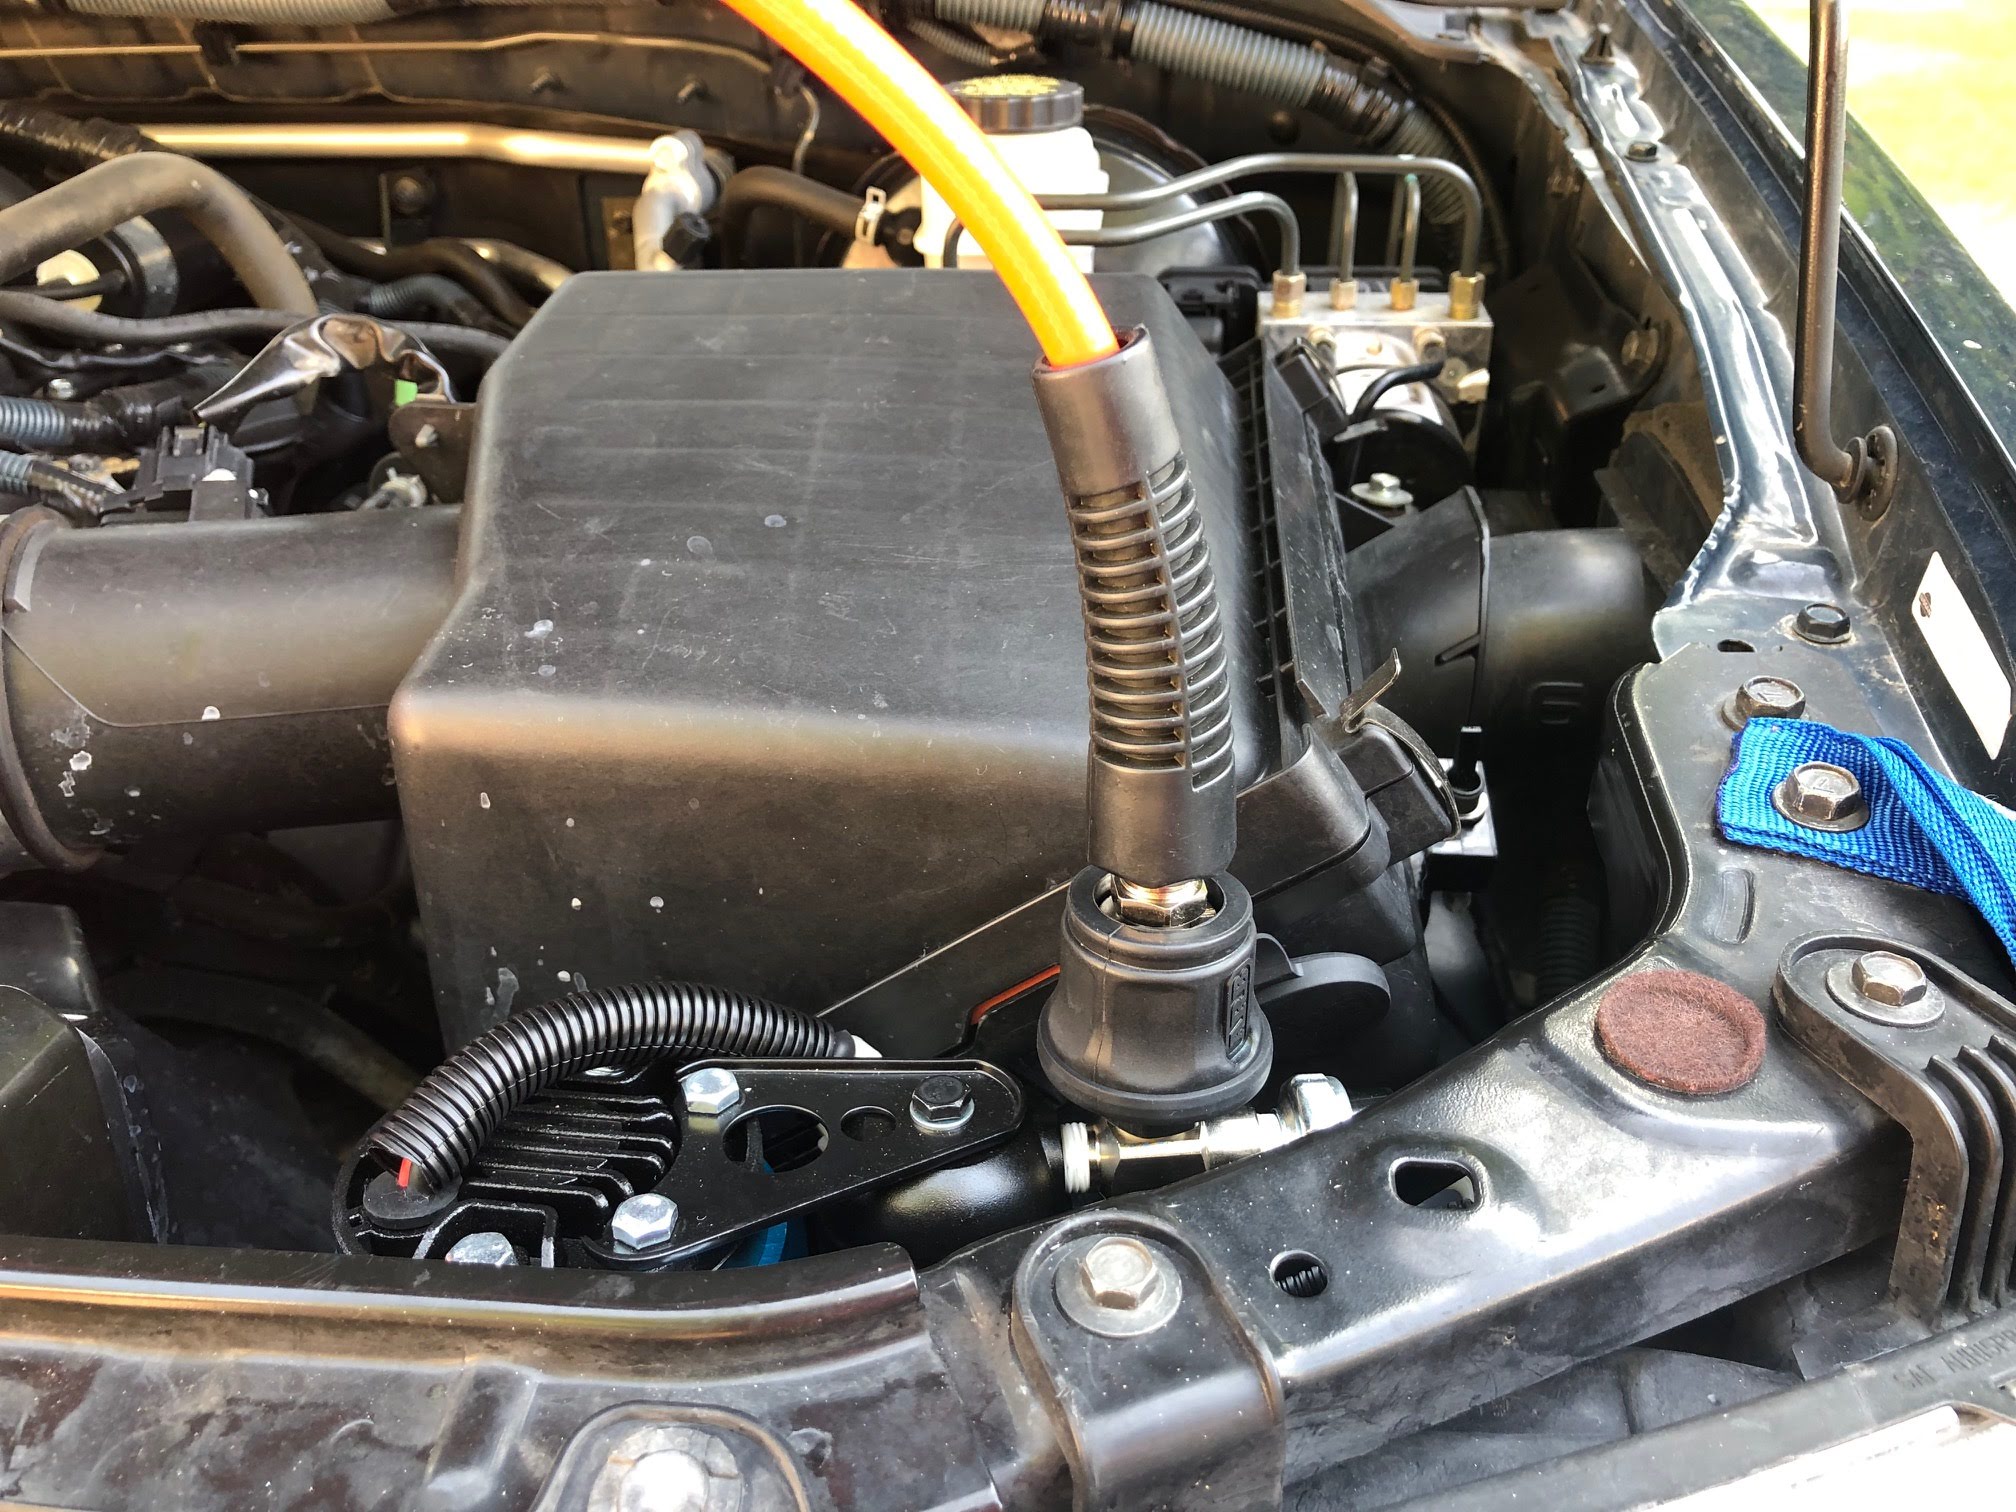
Remove the air filter housing. Undo clips, remove filter, loosen hose clamp on air intake, remove plug, pull housing off and set it aside. I stuck a clean rag in the intake and tucked the wiring harness into that.
Use 10mm socket / wrench to remove three bolts from the lower part of the housing.
Now that the air cleaner housing is out of the way, remove the wires from the back of the headlight housing.
Remove the horns (optional but it’s easy, one bolt, 12mm IIRC, and the wire harness)
Remove the plastic push rivets and unclip the grille.
I have been wanting to install a simple on board air compressor (no air lockers, no tank, just airing up 32” to 33” tires) in my 2nd Gen Xterra for a while. I have a couple portable 12V units, an old MV-50 and a newer Viair 88P, and while they both work OK, I wanted something faster and more convenient. The ARB CKMA12 fit the bill. The 171302 Inflation Kit completes the setup.
I looked at various mounting location options and weighed the pros and cons before settling on mounting behind the drivers side headlight and in front of the airbox. For me, this location made the most sense. I didn’t need an in cab switch, though it’s not too hard to do that with this setup. I didn’t want the compressor in the cab. I didn’t want to run power wires to the rear. And, my winch controller is on top of the fuse box, so that area wasn’t an option.
The finished product:
Josh (former Xterra owner and s/n five9341 on TNX) had a great how to on his blog, but some of the photos are currently MIA. I followed his install method closely, making a few subtle changes for my particular needs.
This is not a comprehensive how-to, just a guide showing how I did this install. In order to get some room to work in this area, I removed a bunch of stuff and did this while working as time allowed over several days. I have pictures of most of the important bits, but not necessarily of all the steps of removing things to get to this area.
Here we go.
Park on a level surface and turn your steering wheel to the right (passenger) side. This will give you a little more room to remove the fender liner screws.
Open the hood and remove the negative battery cable.
Remove the air filter housing. Undo clips, remove filter, loosen hose clamp on air intake, remove plug, pull housing off and set it aside. I stuck a clean rag in the intake and tucked the wiring harness into that.
Use 10mm socket / wrench to remove three bolts from the lower part of the housing.
Now that the air cleaner housing is out of the way, remove the wires from the back of the headlight housing.
Remove the horns (optional but it’s easy, one bolt, 12mm IIRC, and the wire harness)
Remove the plastic push rivets and unclip the grille.