
- Location
- Rhode Island
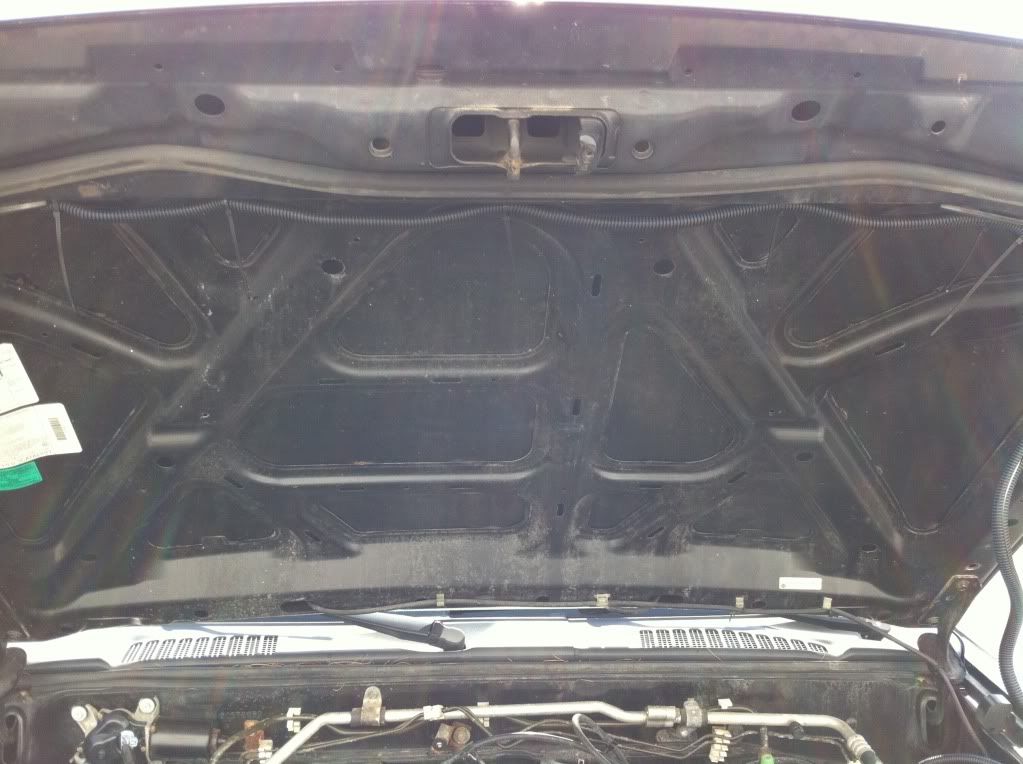
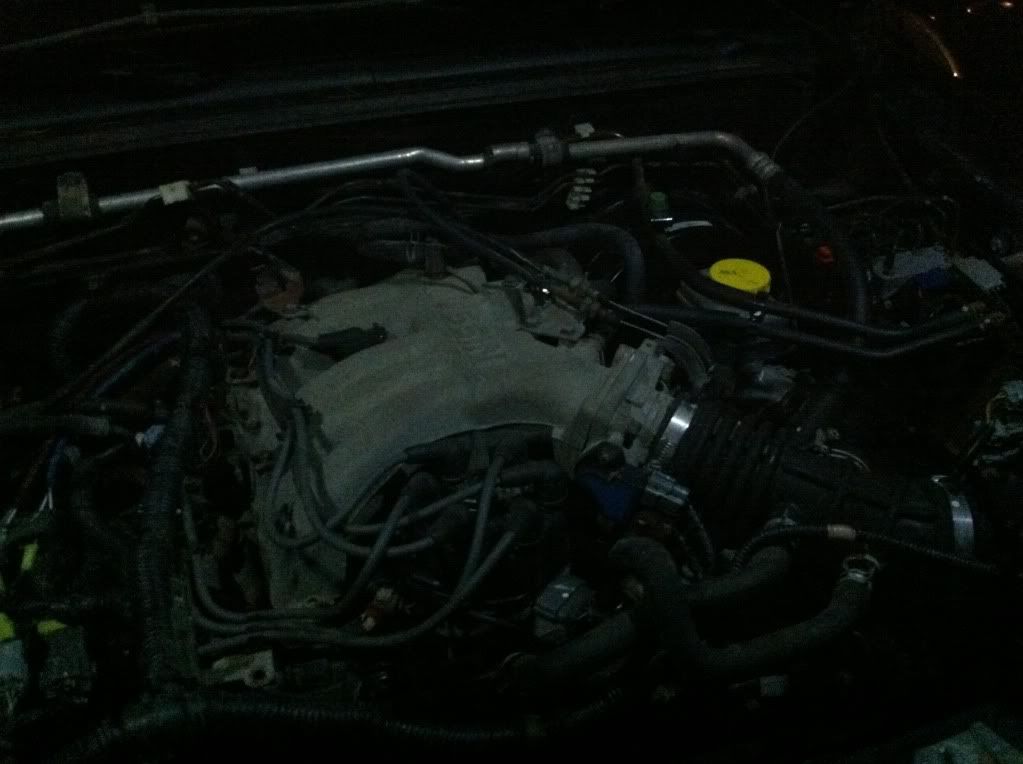
Since I've got my X I've done a lot of work on it late at night and something that really bothered me was the lack of engine bay lights in my '02.
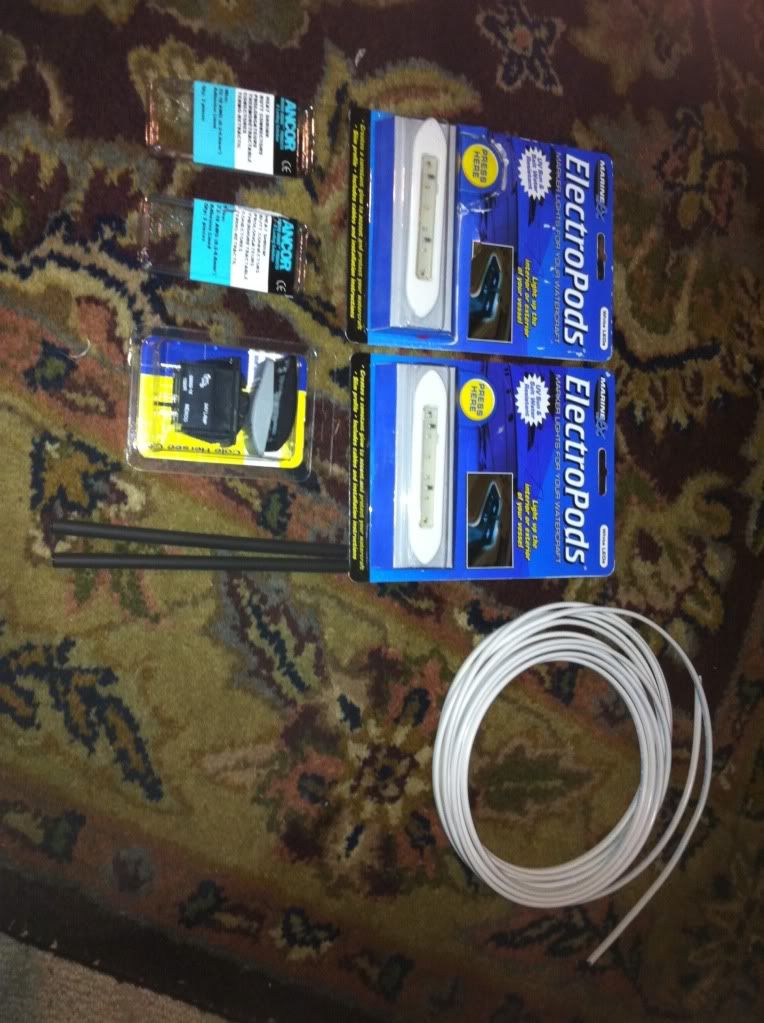
A guy came in the other day to work and wanted lights for his boat and that's when I saw these little sweet puppies.

Great idea for some low draw high lumen lighting for my engine. I picked up two lights (white) about 15ft wire (prob too much) a light up rocker switch to tell me if they are on, connectors, zip ties (small), and wire loom (plastic covering)
Next I cleaned off a perfectly angled section and adhered the lights with the double sided foam tape it came with.
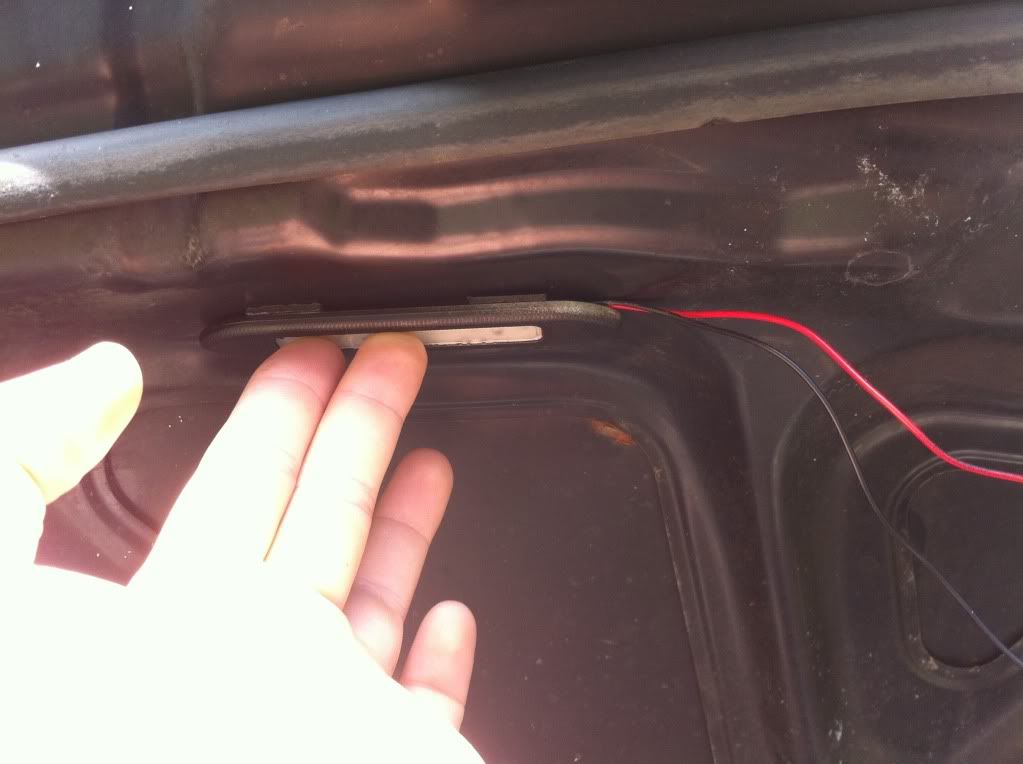
I then connected them together with heat shrink butt connectors and put more heat shrink over the connections. Try to avoid electrical tape, over time it breaks down and looses it's stickiness. Just look at your engine loom.
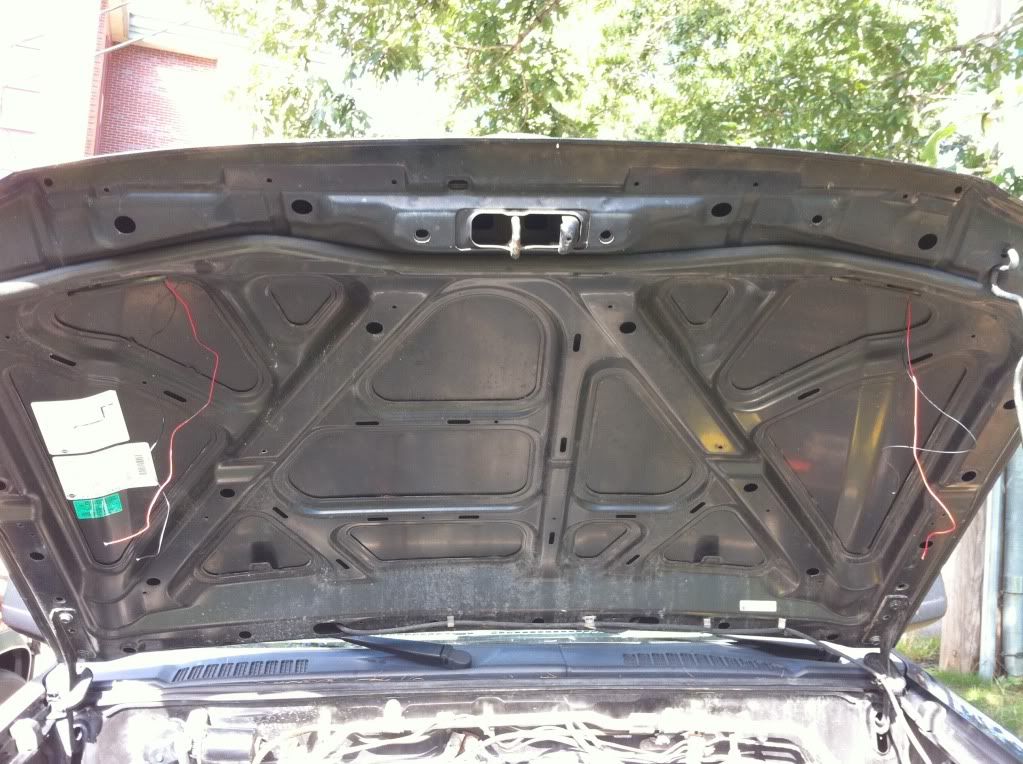
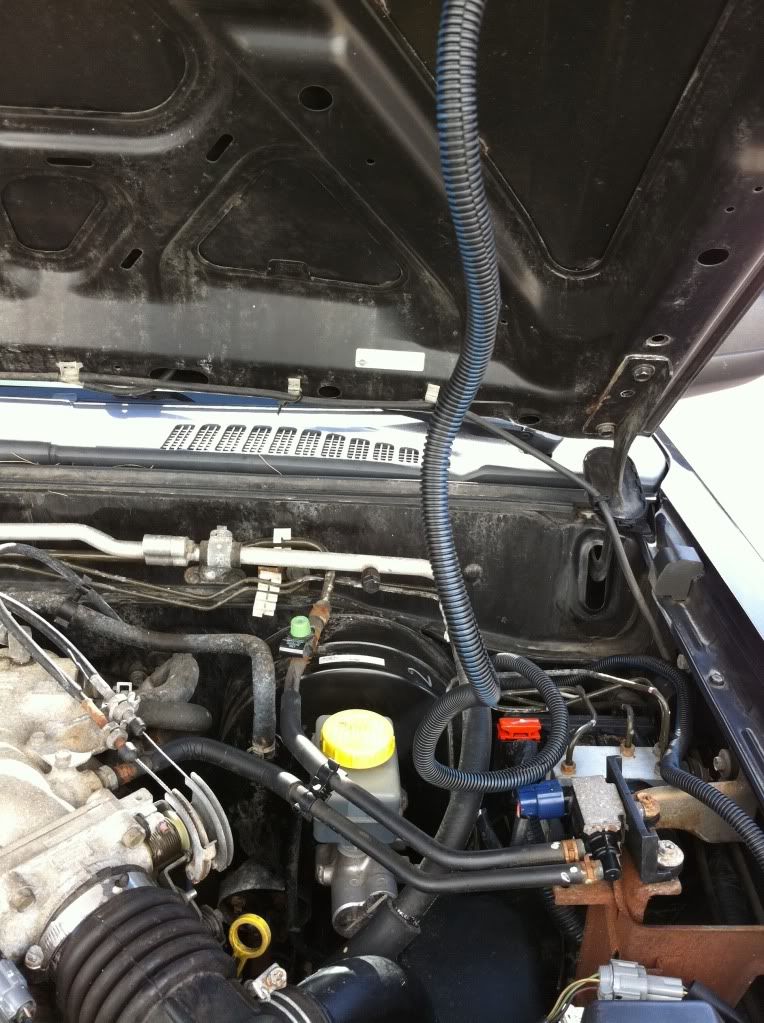
Next I connected the longer piece of wire in the same manner and fed it through the fire wall.

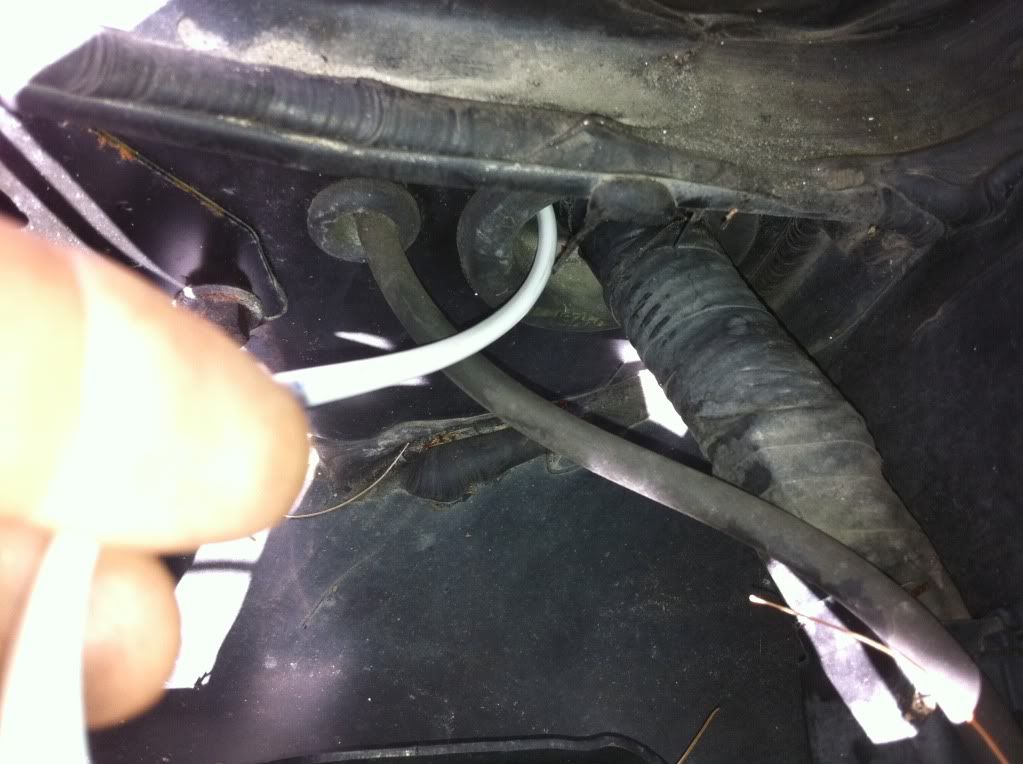
A simple screwdriver can give you a hand at poking it through
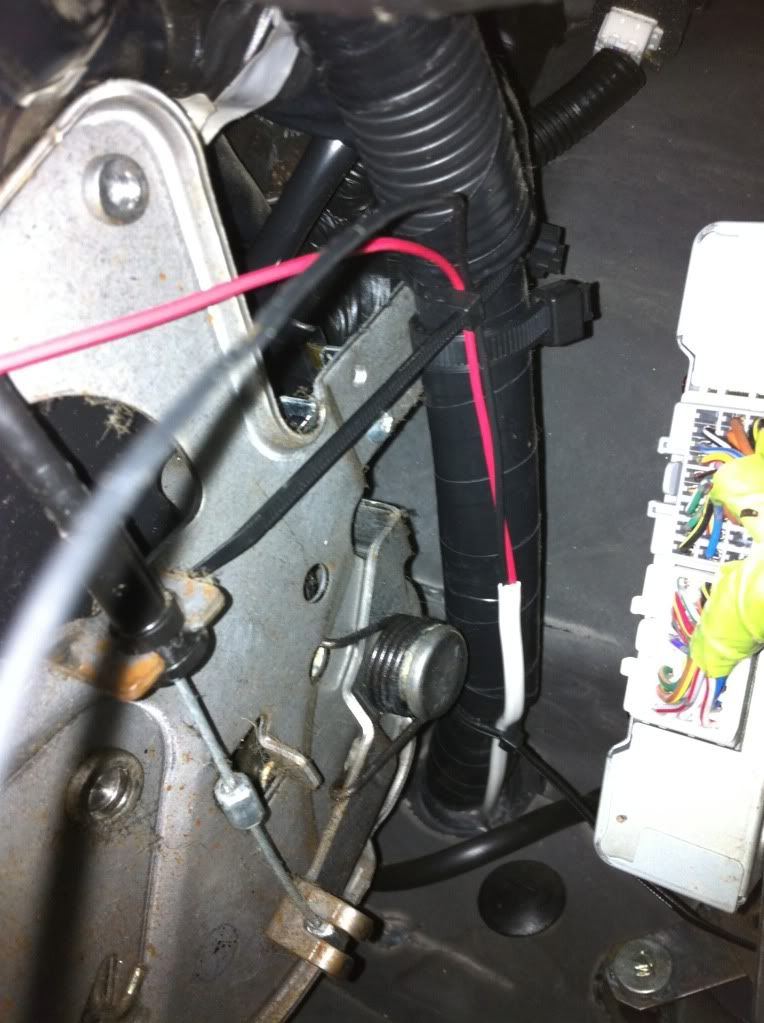
After you have run your wire you should protect it with a wire loom.
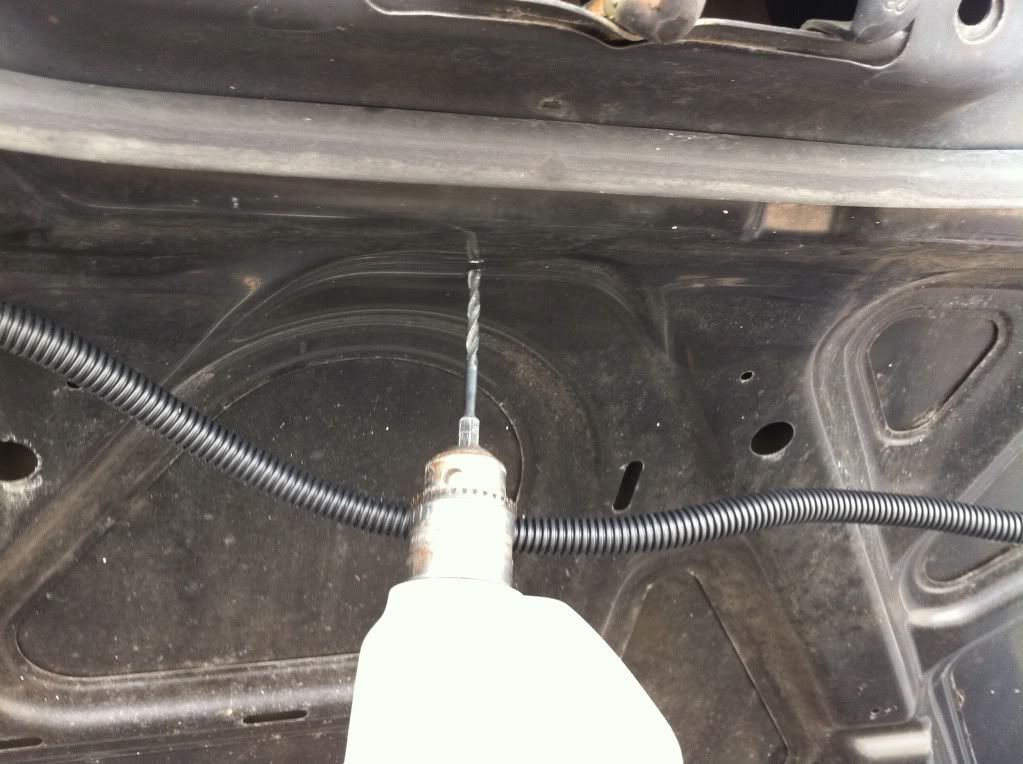
You are going to need to secure the loom down by ziptieing it, but without any good points for zipties you have to make your own. Take a small drill bit, little larger than your zipties and drill a hole on eater side of where you want the loom to lie. It is mainly double layered here under the hood but take your time and care not to pop outside the hood. Coat the holes in silicone to prevent rust and pop in your zipties. Bend them such as below and you can work them right out.
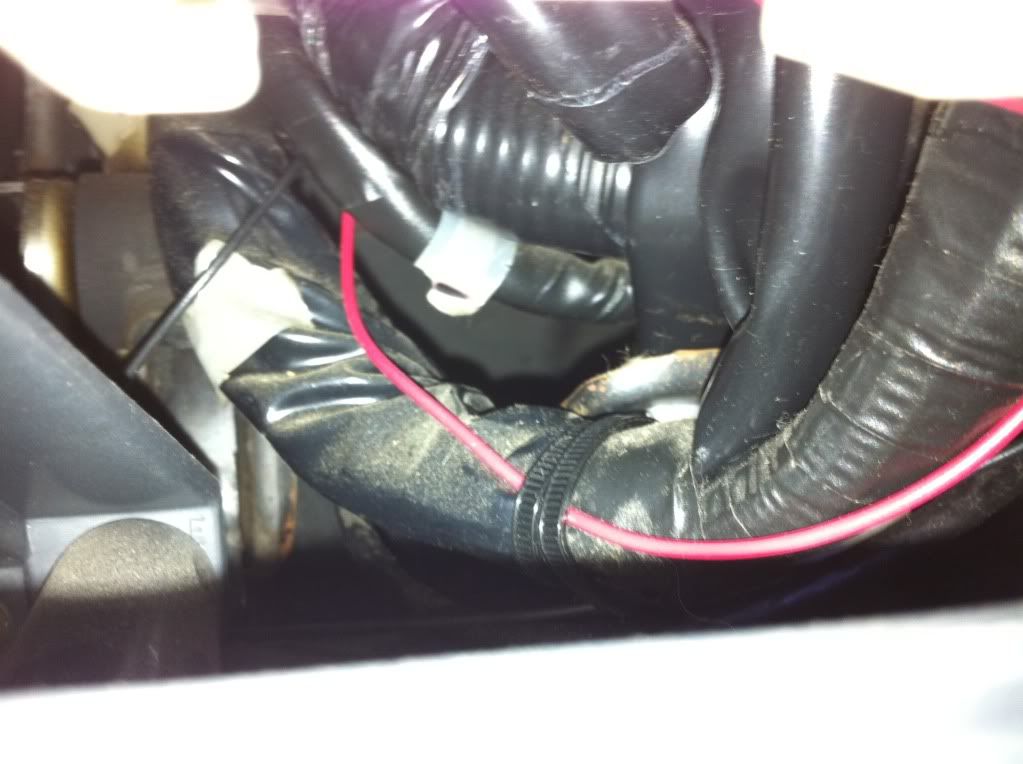
Once all your zipties are done snip off the tails and make sure you leave enough room between your firewall and hood when hood is up.
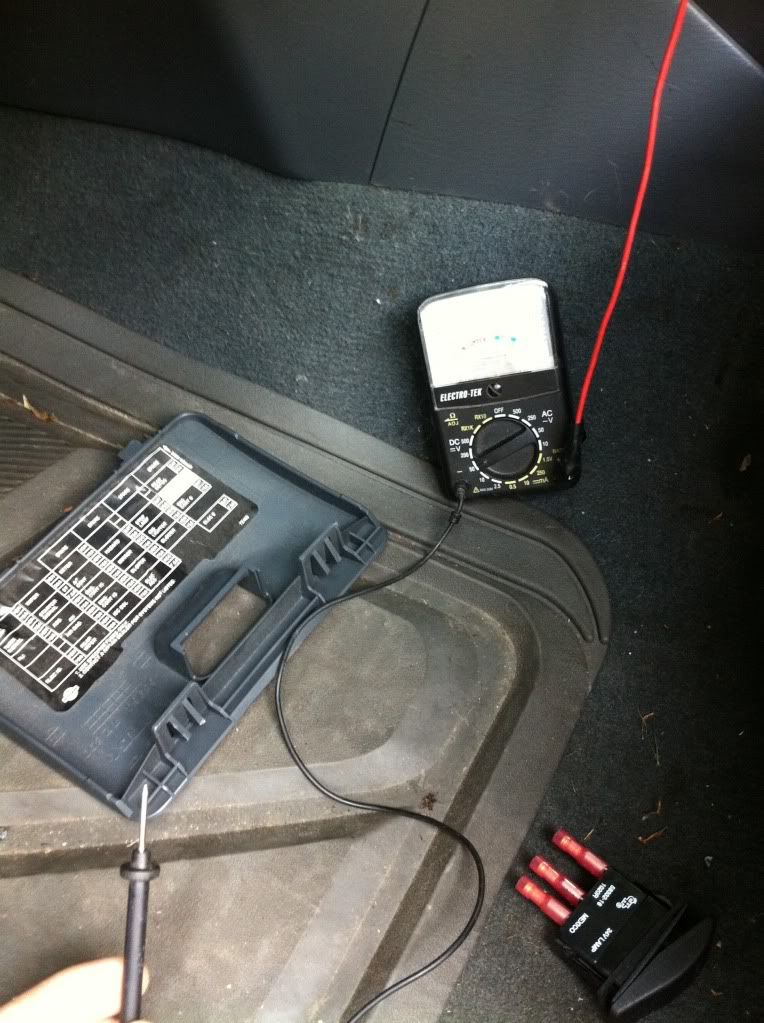
Time for the real fun to begin! Grab a volt meter, your switch and end connections. On my switch it came with a indicator light so I have 'In, Out, Ground' on the back of my switch. If you don't get an indicator don't worry about the switches ground wire.
I ziptied the new wire to the exsiting loom and tucked everthing in nicely. (I hate messy wiring jobs!) Haha
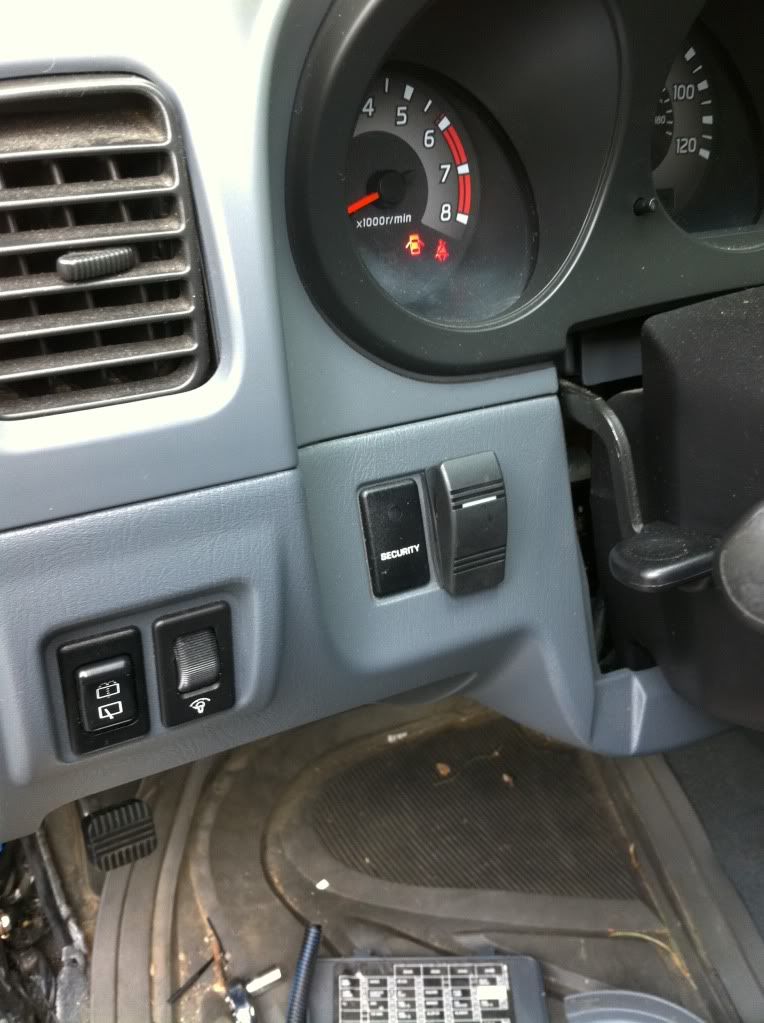
I picked the empty spot left of the steering wheel for my switch. Had to cut the notch out of the way to get it to fit.
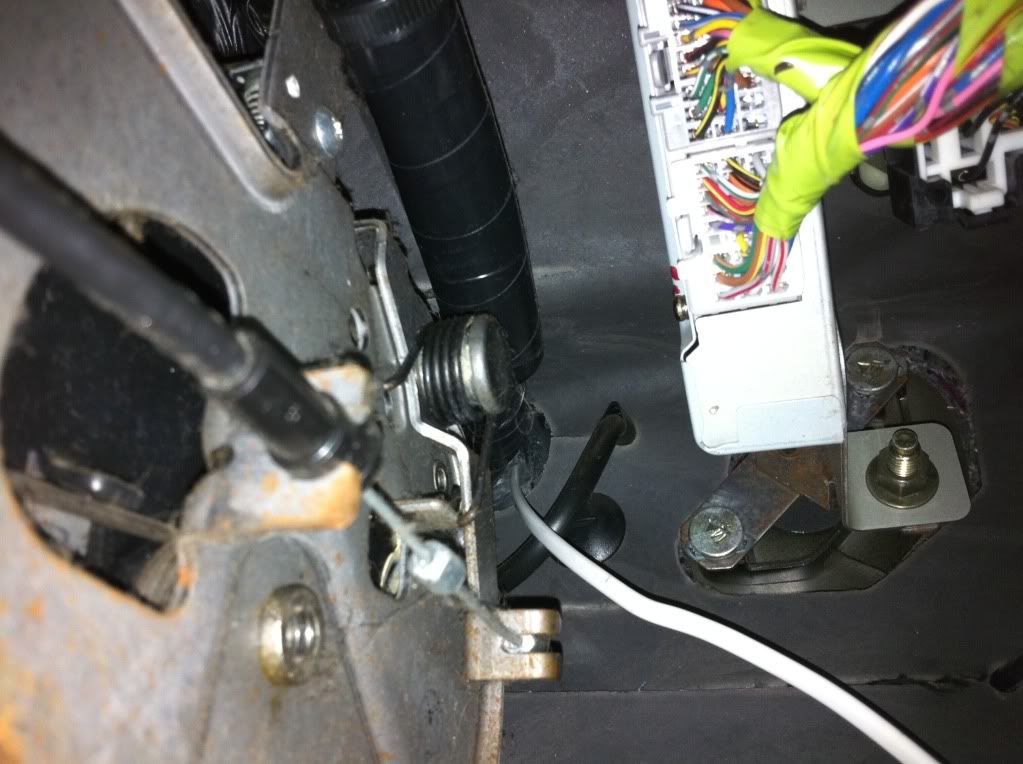
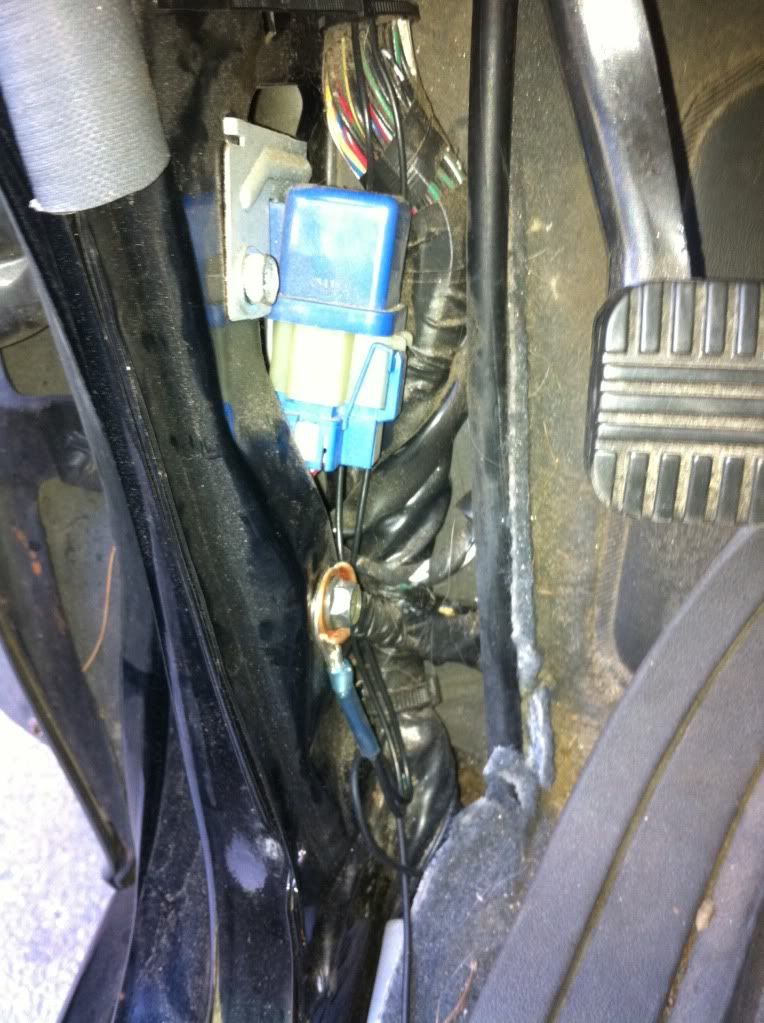
Taking the ground wire from the lights and the switch I ran it down by the Parking Brake pedal and found a nice grounding bolt already for me to use.
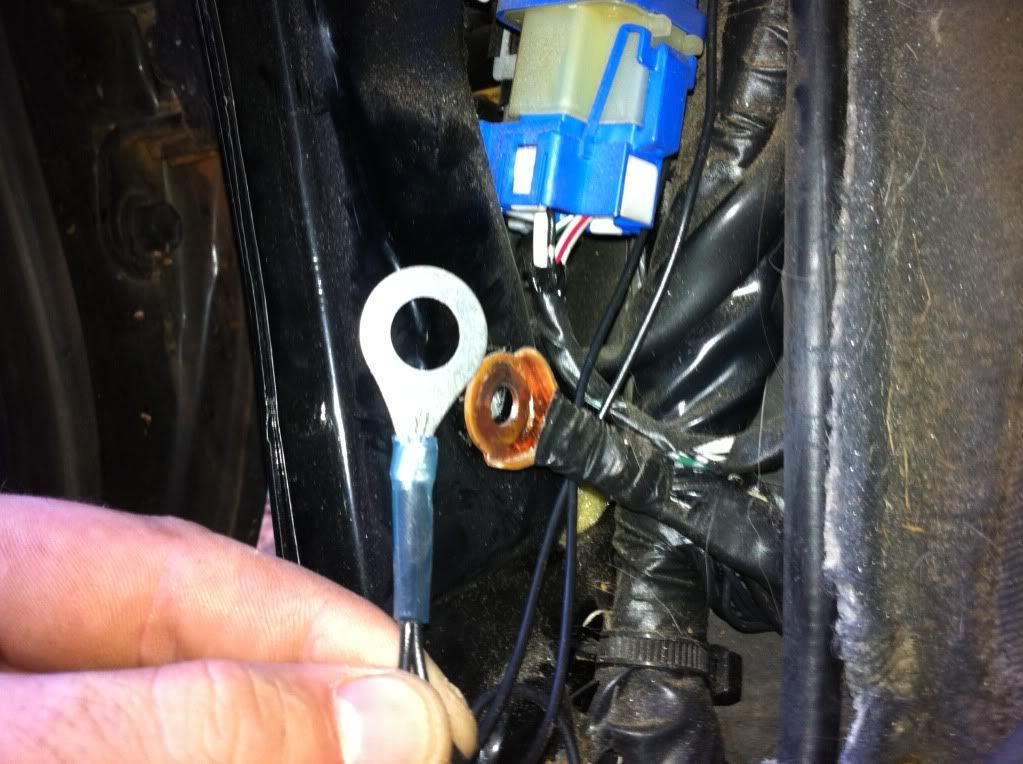
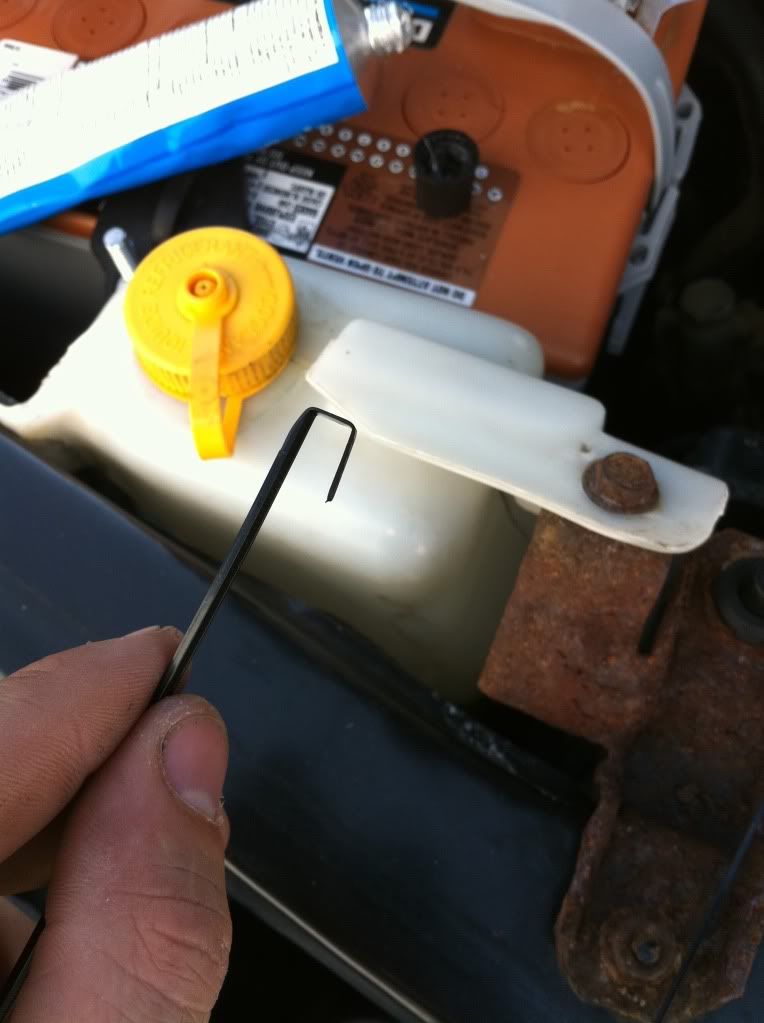
Twisted the two wires together and poped on a terminal end. (shrink wrapped of course)
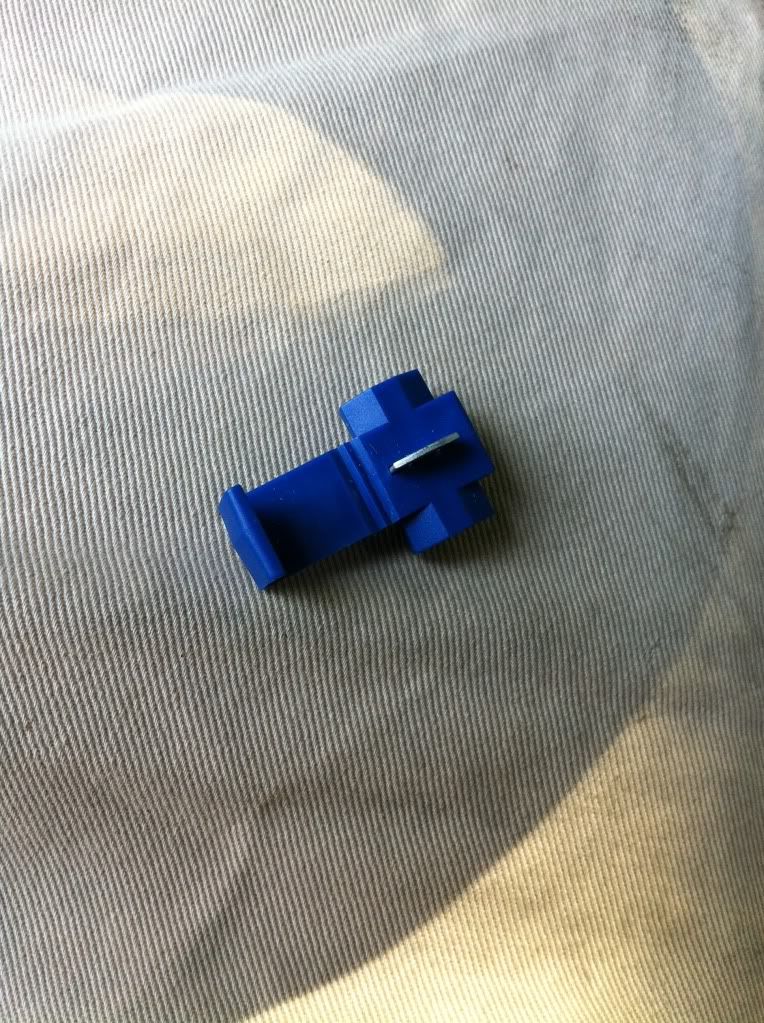
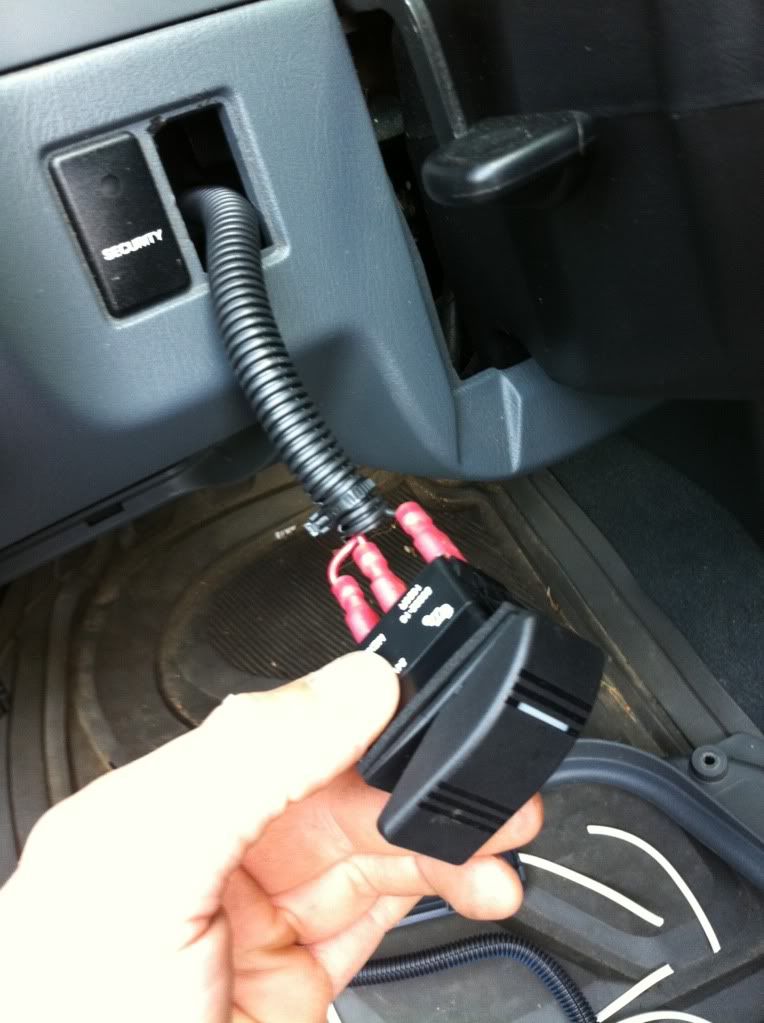
Now to find some power to light up these bad boys. A great simple power source is the cig lighters. These lights take nothing for power so tying into this already existant source is a no brainer. Pick up some t-connectors. This allows you to use existing wires and tie off from them without cutting em. Just pop it on the existing wire, push it against the side and slide in your new wire. When your ready just squeeze down the metal pin and cover.
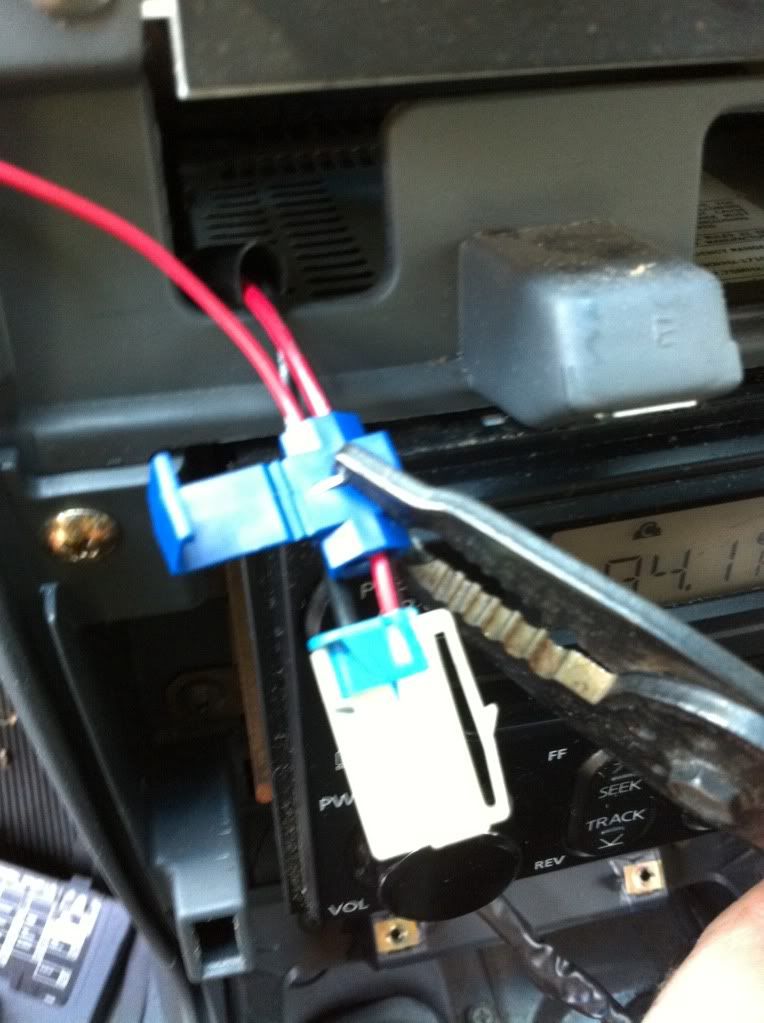
Now run your power back to your switch location and attach all the spade ends to your wires. I threw another loom onto the three wires again for the clean look.
Pop your switch in and test em out
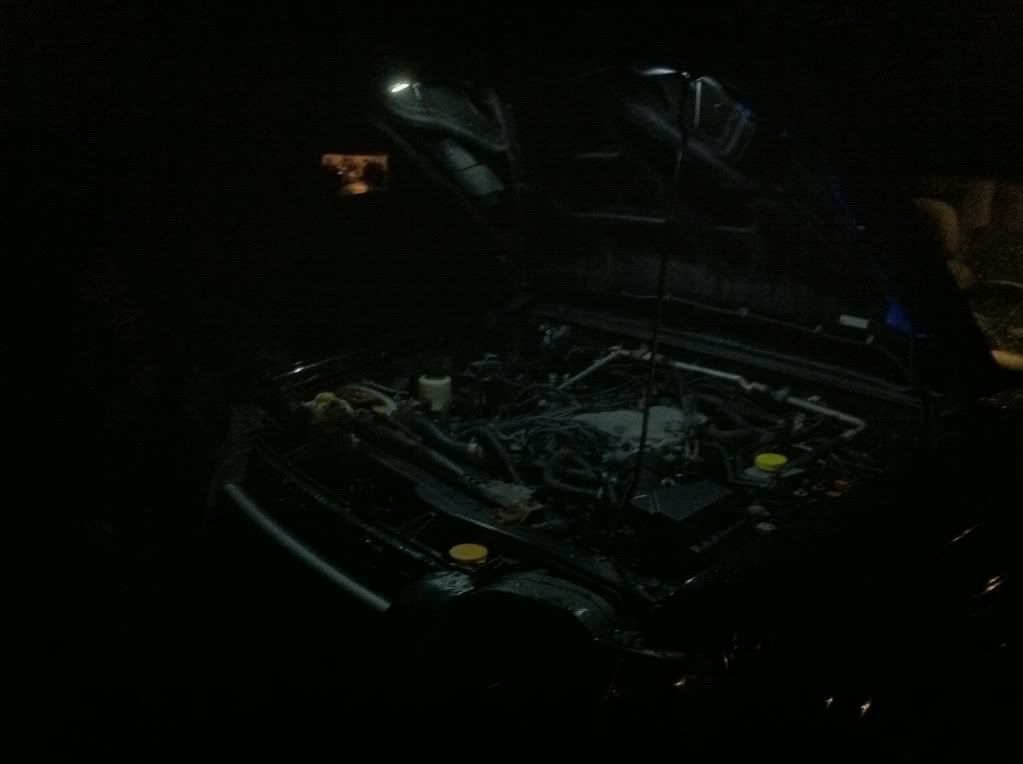
Heres some night shots.
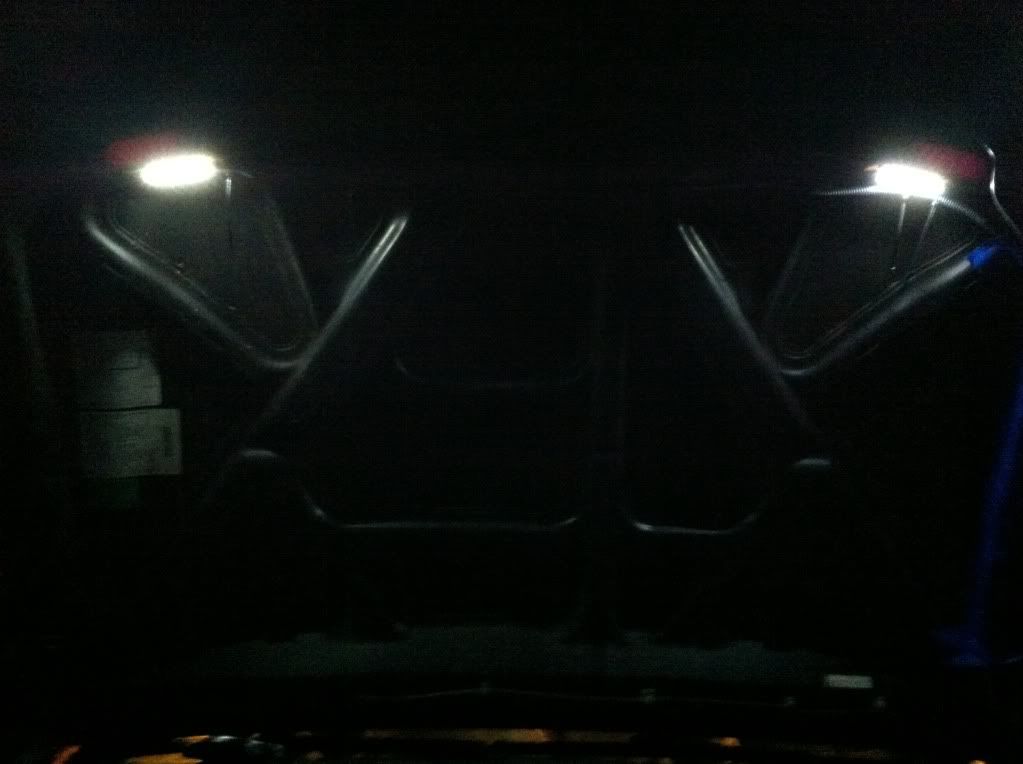
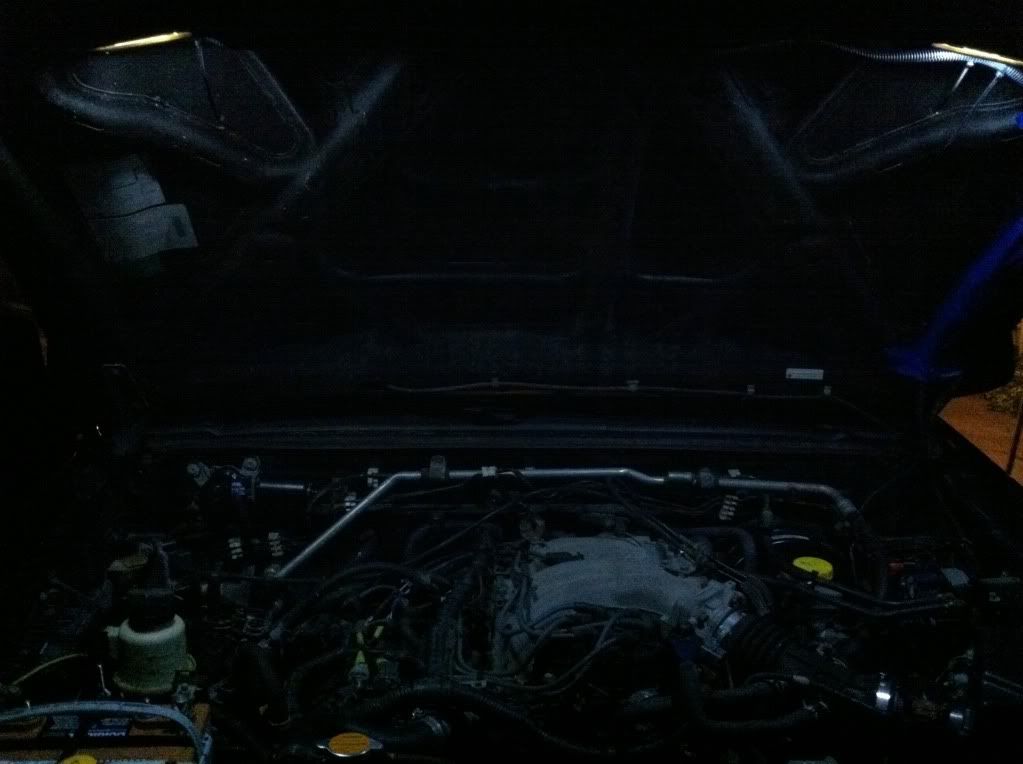
(pitch black out, no moon)
Before After
Questions Comments, hit me up.
A guy came in the other day to work and wanted lights for his boat and that's when I saw these little sweet puppies.
Great idea for some low draw high lumen lighting for my engine. I picked up two lights (white) about 15ft wire (prob too much) a light up rocker switch to tell me if they are on, connectors, zip ties (small), and wire loom (plastic covering)
Next I cleaned off a perfectly angled section and adhered the lights with the double sided foam tape it came with.
I then connected them together with heat shrink butt connectors and put more heat shrink over the connections. Try to avoid electrical tape, over time it breaks down and looses it's stickiness. Just look at your engine loom.
Next I connected the longer piece of wire in the same manner and fed it through the fire wall.
A simple screwdriver can give you a hand at poking it through
After you have run your wire you should protect it with a wire loom.
You are going to need to secure the loom down by ziptieing it, but without any good points for zipties you have to make your own. Take a small drill bit, little larger than your zipties and drill a hole on eater side of where you want the loom to lie. It is mainly double layered here under the hood but take your time and care not to pop outside the hood. Coat the holes in silicone to prevent rust and pop in your zipties. Bend them such as below and you can work them right out.
Once all your zipties are done snip off the tails and make sure you leave enough room between your firewall and hood when hood is up.
Time for the real fun to begin! Grab a volt meter, your switch and end connections. On my switch it came with a indicator light so I have 'In, Out, Ground' on the back of my switch. If you don't get an indicator don't worry about the switches ground wire.
I ziptied the new wire to the exsiting loom and tucked everthing in nicely. (I hate messy wiring jobs!) Haha
I picked the empty spot left of the steering wheel for my switch. Had to cut the notch out of the way to get it to fit.
Taking the ground wire from the lights and the switch I ran it down by the Parking Brake pedal and found a nice grounding bolt already for me to use.
Twisted the two wires together and poped on a terminal end. (shrink wrapped of course)
Now to find some power to light up these bad boys. A great simple power source is the cig lighters. These lights take nothing for power so tying into this already existant source is a no brainer. Pick up some t-connectors. This allows you to use existing wires and tie off from them without cutting em. Just pop it on the existing wire, push it against the side and slide in your new wire. When your ready just squeeze down the metal pin and cover.
Now run your power back to your switch location and attach all the spade ends to your wires. I threw another loom onto the three wires again for the clean look.
Pop your switch in and test em out
Heres some night shots.
(pitch black out, no moon)
Before After
Questions Comments, hit me up.

