Taylor Spaulding
Bought an X
- Location
- Vacaville, CA
I got inspired by the videos here and here posted on another thread on another site (TNX) I decided to take the best of both worlds and design a roll-up awning with folding legs.
Materials:
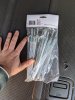
3 sticks of 1/2" x 10' EMT
1 4" ABS Pipe 10' long
1 4" ABS Cap
1 4" ABS Cleanout
1 8' x 10' Heavy Duty Tarp
2 1/4" x 2" Hex bolt
2 1/4" ID x 1/2" OD x 1/4" Height Nylon spacer
2 1/4" Nylock bolts
2 5/16" x 1" bolts
2 5/16" wing nuts
4+ 5-7" Hose Clamps
10 1/2" #6 oval headed sheet metal screws
10 #6 finishing washers
1. Cut Your Pieces of EMT and ABS
I wanted a large footprint. Yes, it means that my awning hangs out about two feet but it's still pretty solid.
I cut my ABS pipe to 8' 2", my front cross bar 8' 1.25" and my legs at 8'


After cutting the pieces comes the first of two difficult parts.
2. Drill 1/4" holes in the front cross bar.
The front crossbar needs four total holes drilled two at each end on either side. These holes need to be parallel, so a vice or drill press would be handy...mine are about 5 degrees off. Mine were drilled 1/2" from each end. Pass the 1/4" bolt through to test the fit.


3. Drill 1/4" holes in the legs.
Next drill holes in the legs. The legs only need one set of holes, in the top where the 1/4" bolt will pass through. Test fit to make sure everything lines up correctly. Notice the nylon spacer in between the two poles.

Now is the second hardest part.
4. Attach the awning.
The awning gets screwed into the cross bar at 10 points using the sheet metal screws and finishing washers. This line of screws should be approximately 90 degrees from the holes for the legs, that way the tarp wraps around the front of the crossbar.
The easiest way to do this is to start from the center of the cross bar and make a pilot hole with a tiny 1/16" bit. Then find the middle of the tarp, measure 1/2" in from the edge and screw the screw through the finishing washer and the tarp, then place in the pilot hole and screw in. Then do each end, and fill in the spaces in between. Try to place screws near grommets, but far enough that the grommet is still useful for tying down.
The angle I tried to maintain;

Pilot hole

Place the screw thought the washer and tarp first


6. Attach the legs.
One leg goes on ones side of the crossbar, the other goes on the other side the allows the whole thing to fold flat and the legs don't interfere with each other.
Remember the front is the part the tarp wraps around. Once everything is tight, roll it all up, it should roll up nicely, use a bungee cord or three to secure it.
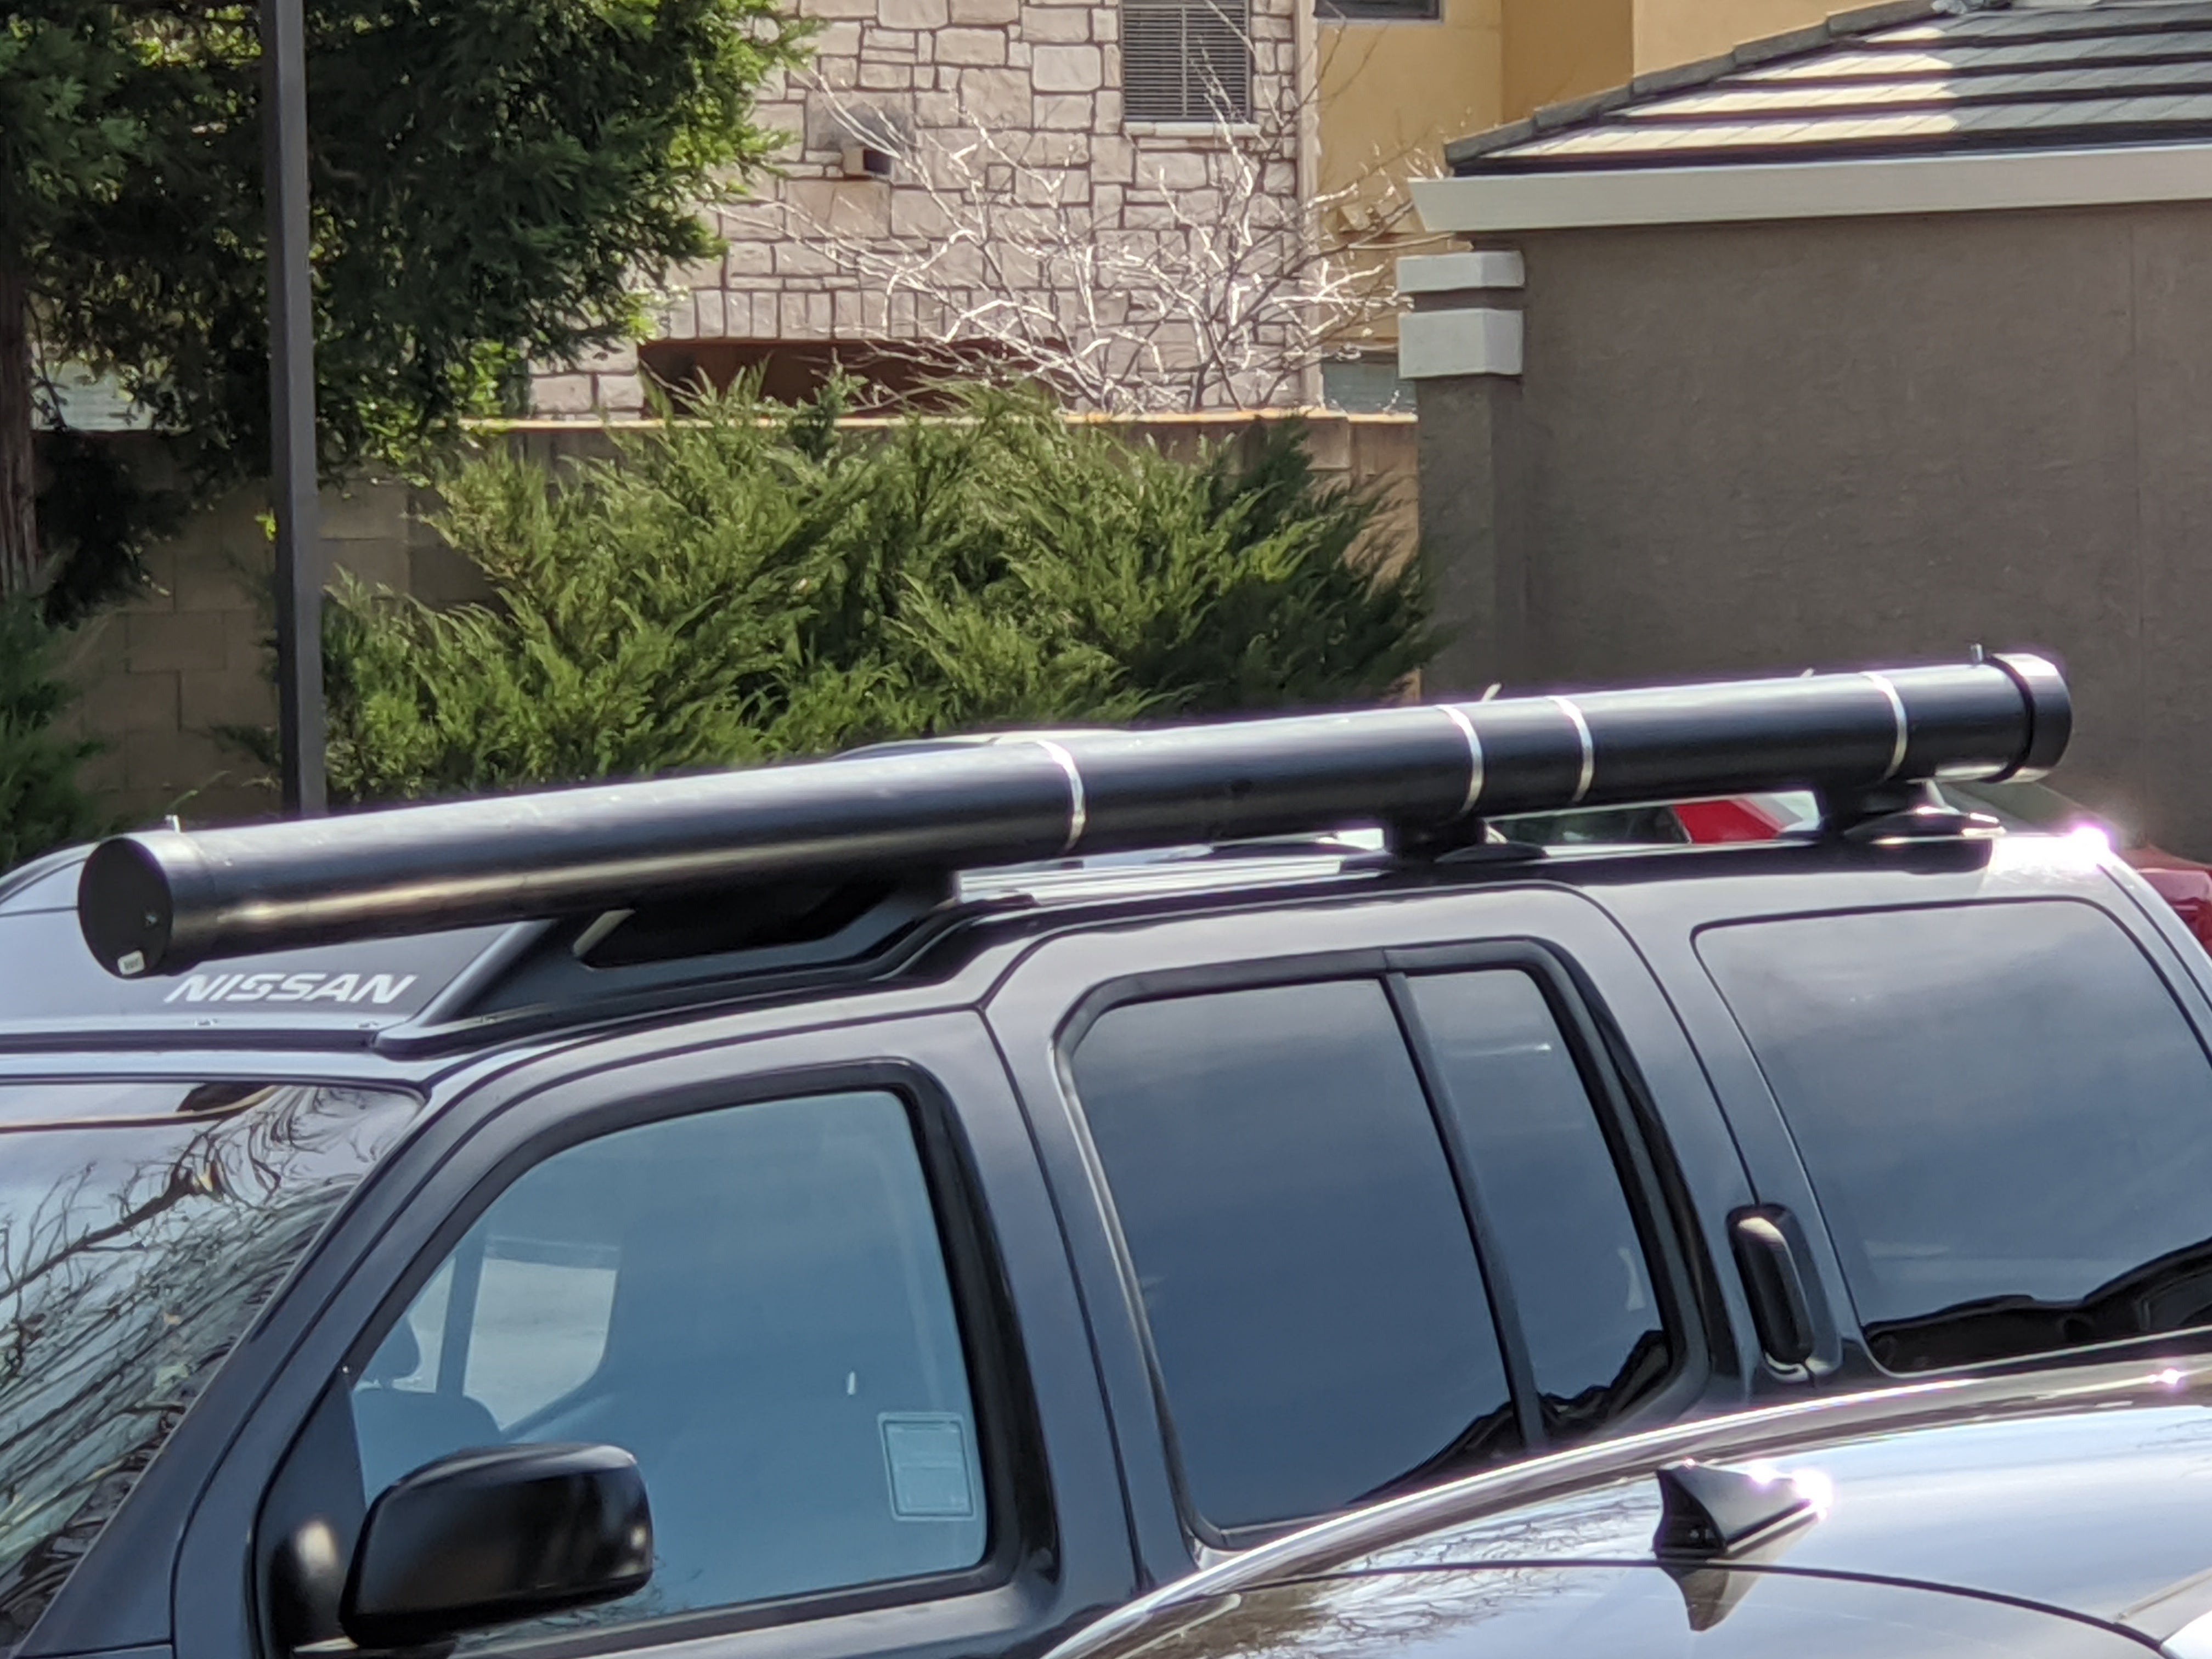
7. Attach the ABS to your roof rails.
Using the hose clamps, at least 4, attach the ABS pipe to the roof rails. Go ahead and crank down a bit. But don't break anything. Make sure the back end clears your tailgate at full open.
8. Drill Holes in the ABS.
Using a 1/4" drill bit, drill two holes in the top of the ABS pipe. The first should be drilled 2.5" from the back end. The other is drilled 94" from the first. DO NOT MEASURE FROM THE OPPOSITE END. Once these are drilled, take the 5/16" bolt and your rachet wrench and thread the bold up from the inside of the pipe. By drilling the hole too small and threading it in you are creating a water-resistant attachment.

Once the bolt is all the way up on the front, glue on the front cap. Fit the Cleanout on the back. You may find you need to cut a notch for the hex bolt head.

Slide your awning in to check fit:

If it fits with the Cleanout, great, if not use a normal cap like on the front.
To set up the awning, slide out of the pipe. Keeping it rolled up, fit the grommets over the 5/16" bolts in the abs pipe and thread on the wing nut.

Unroll the rest of the way and unfold the legs. Tie some guy lines around the nylon spacer and stake down. Position the legs closer or further from the truck to adjust height. I'm tall so 8' is a nice height. It also will direct rain towards the roof and the gutters instead of on people.


Materials:
3 sticks of 1/2" x 10' EMT
1 4" ABS Pipe 10' long
1 4" ABS Cap
1 4" ABS Cleanout
1 8' x 10' Heavy Duty Tarp
2 1/4" x 2" Hex bolt
2 1/4" ID x 1/2" OD x 1/4" Height Nylon spacer
2 1/4" Nylock bolts
2 5/16" x 1" bolts
2 5/16" wing nuts
4+ 5-7" Hose Clamps
10 1/2" #6 oval headed sheet metal screws
10 #6 finishing washers
1. Cut Your Pieces of EMT and ABS
I wanted a large footprint. Yes, it means that my awning hangs out about two feet but it's still pretty solid.
I cut my ABS pipe to 8' 2", my front cross bar 8' 1.25" and my legs at 8'
After cutting the pieces comes the first of two difficult parts.
2. Drill 1/4" holes in the front cross bar.
The front crossbar needs four total holes drilled two at each end on either side. These holes need to be parallel, so a vice or drill press would be handy...mine are about 5 degrees off. Mine were drilled 1/2" from each end. Pass the 1/4" bolt through to test the fit.
3. Drill 1/4" holes in the legs.
Next drill holes in the legs. The legs only need one set of holes, in the top where the 1/4" bolt will pass through. Test fit to make sure everything lines up correctly. Notice the nylon spacer in between the two poles.
Now is the second hardest part.
4. Attach the awning.
The awning gets screwed into the cross bar at 10 points using the sheet metal screws and finishing washers. This line of screws should be approximately 90 degrees from the holes for the legs, that way the tarp wraps around the front of the crossbar.
The easiest way to do this is to start from the center of the cross bar and make a pilot hole with a tiny 1/16" bit. Then find the middle of the tarp, measure 1/2" in from the edge and screw the screw through the finishing washer and the tarp, then place in the pilot hole and screw in. Then do each end, and fill in the spaces in between. Try to place screws near grommets, but far enough that the grommet is still useful for tying down.
The angle I tried to maintain;
Pilot hole
Place the screw thought the washer and tarp first
6. Attach the legs.
One leg goes on ones side of the crossbar, the other goes on the other side the allows the whole thing to fold flat and the legs don't interfere with each other.
Remember the front is the part the tarp wraps around. Once everything is tight, roll it all up, it should roll up nicely, use a bungee cord or three to secure it.
7. Attach the ABS to your roof rails.
Using the hose clamps, at least 4, attach the ABS pipe to the roof rails. Go ahead and crank down a bit. But don't break anything. Make sure the back end clears your tailgate at full open.
8. Drill Holes in the ABS.
Using a 1/4" drill bit, drill two holes in the top of the ABS pipe. The first should be drilled 2.5" from the back end. The other is drilled 94" from the first. DO NOT MEASURE FROM THE OPPOSITE END. Once these are drilled, take the 5/16" bolt and your rachet wrench and thread the bold up from the inside of the pipe. By drilling the hole too small and threading it in you are creating a water-resistant attachment.
Once the bolt is all the way up on the front, glue on the front cap. Fit the Cleanout on the back. You may find you need to cut a notch for the hex bolt head.
Slide your awning in to check fit:
If it fits with the Cleanout, great, if not use a normal cap like on the front.
To set up the awning, slide out of the pipe. Keeping it rolled up, fit the grommets over the 5/16" bolts in the abs pipe and thread on the wing nut.
Unroll the rest of the way and unfold the legs. Tie some guy lines around the nylon spacer and stake down. Position the legs closer or further from the truck to adjust height. I'm tall so 8' is a nice height. It also will direct rain towards the roof and the gutters instead of on people.
")