TJTJ said:
If making a comparison, you'd use the same sized tires at the same PSI, etc...as the PSI itself raises and lowers the truck a surprising amount.
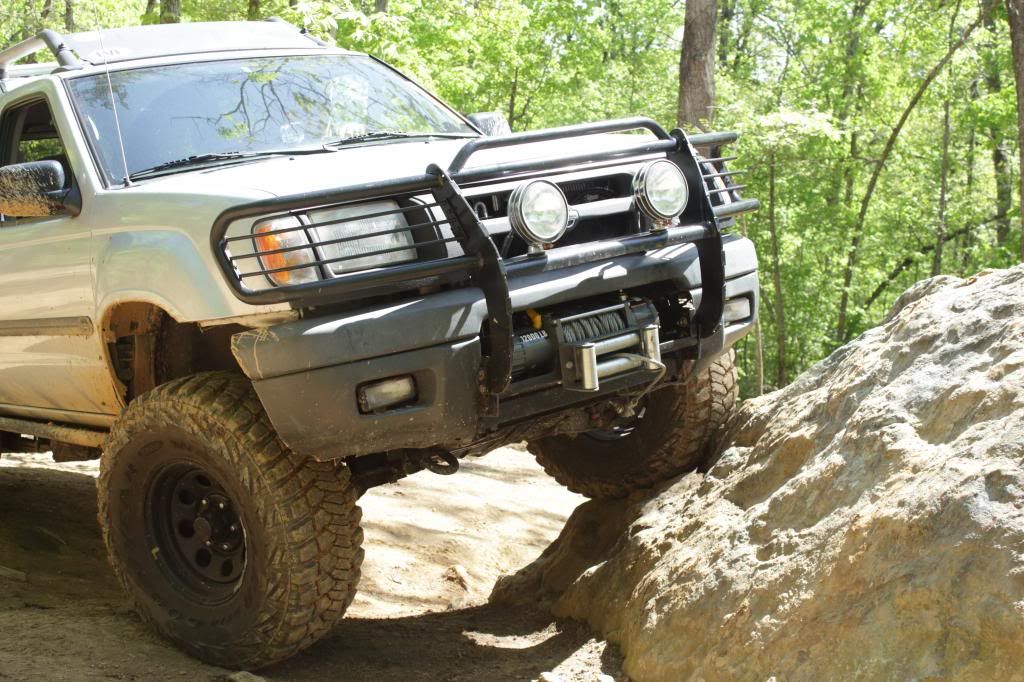
Of course, but I was mesuring on the mouting points and on how much the bumper sticks forward from where I had planned to have my brush guard installed.
I would need another truck again to compare, but approach angle is maybe negligable...but depending on the height of the obstable. My brush guard sticks out more at the frame rails than a shrock bumper would, but the shrock bumper sticks out farther higher up because of the space for the winch. But arguments aside, I`m not doing to say that it`s better, than a shrock or a stock bumper, and just say that it`s not as bad and people say it is.
TJTJ said:
You can check your rear (Departure angle) the same way if you're in research mode too...stuff like a hitch, how low the spare is mounted, etc, make a surprising difference.
Absolutely, but in the end, those are just numbers. I still have and am keeping my OEM hitch and spare under the truck, and have off-roaded like this since I`ve owned her. Yes I`ve smacked the hitch a few times, but it`s never been an inconvinient or an issue, except when I smack my shin off of it. I COULD take out the spare and the hitch for a better departure angle, but i find I dont NEED to. I totally undertand why people do, but what I do to my truck in terms of mods is based on my desires and experiences, and not based on what others recommend and on the numbers (say in this case the mesuragle departure angle) saying why I should.
The rear I'm leaving as it, the brush guard, it may be a win, an ok or a fail, but I'm wanting and willing to give this a try to see the results, cause I wont know until I do...
TJTJ said:
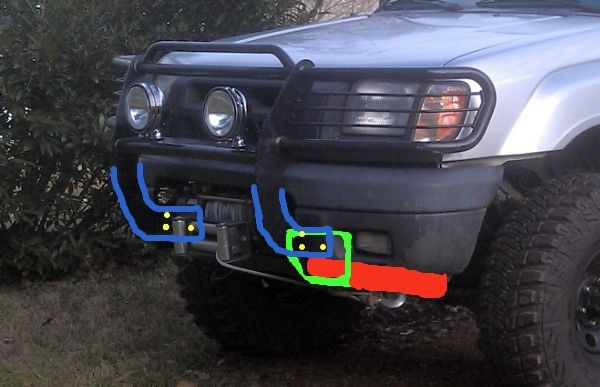
essentially address the way a brush guard mounts on the X....essentially bracing it to be more like a bumper than a brush guard. What you want to do if mounting a brush guard-bumper is to NOT have the mount loop down under the frame and back up again, and to go straight to the frame horns, with triangulation to keep it from being pushed into the grill/hood, etc.
This is hardest because the wall thickness of the guards is very thin compared to the real bumpers, so the guard LOOKS beefy, etc, but is mostly air with a thin coating of metal, so the tubes collapse under impact/stress, etc. Added bracing where appropriate can beef that up to take at least some force.
Most what I tried to address. The brush guard is mounted above the frame horns, and the shop assures me that all is overkill for strength for the tubing both truck and brush guard end, as well as to brackets. The reinforncements aren`t done all the way to the top, but I dont think it`s necessary either. The reinformcements are done at bumper level, and with the truck lifted also, it should be hard and rare to have an impact only on the top section of the brush guard. Most of the damage I`ve seen is because the WHOLE brush guard (because of it`s lower and weak mounting points) folds back, and hits the hood/grill/headlights/etc. If the reinforcement on mine holds like it should, folding should be minor if it does (pending on the impact/force/object; this isn`t a tank), and the upper section that doesn`t have the sandwiched reinforcement plating, even if it`s much weaker, you`re still trying to fold it on it`s it`s own length rather than the width, so it should hold up better.


")