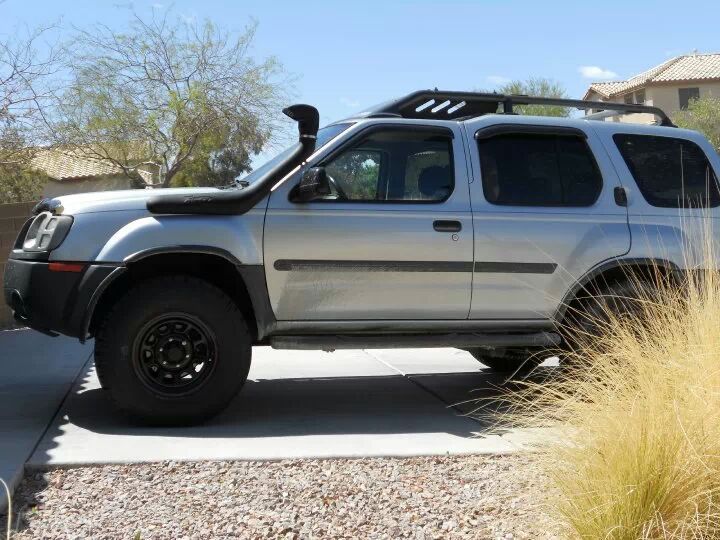
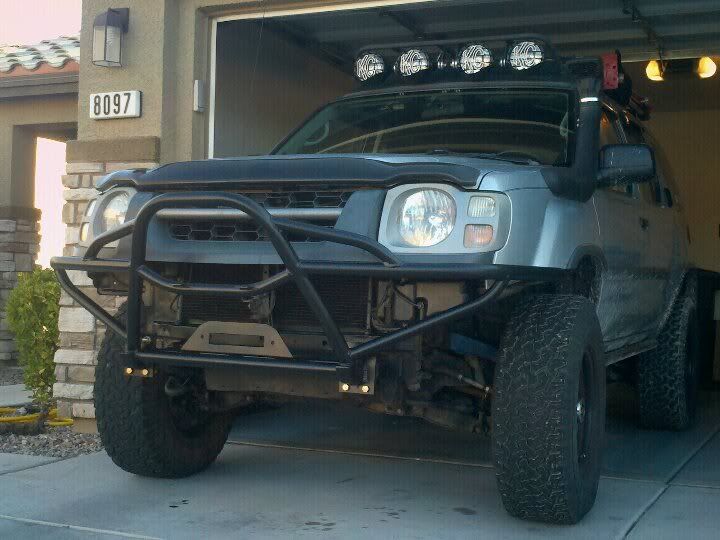
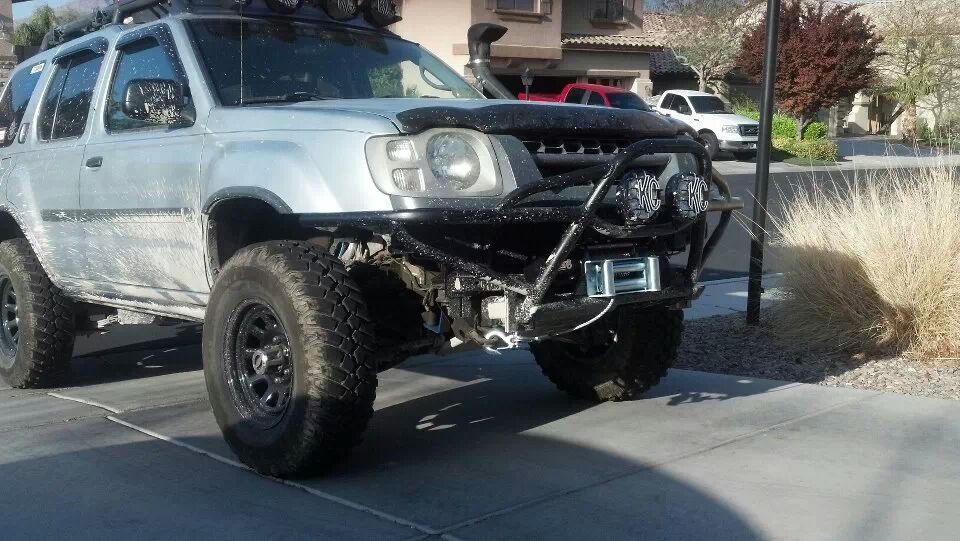
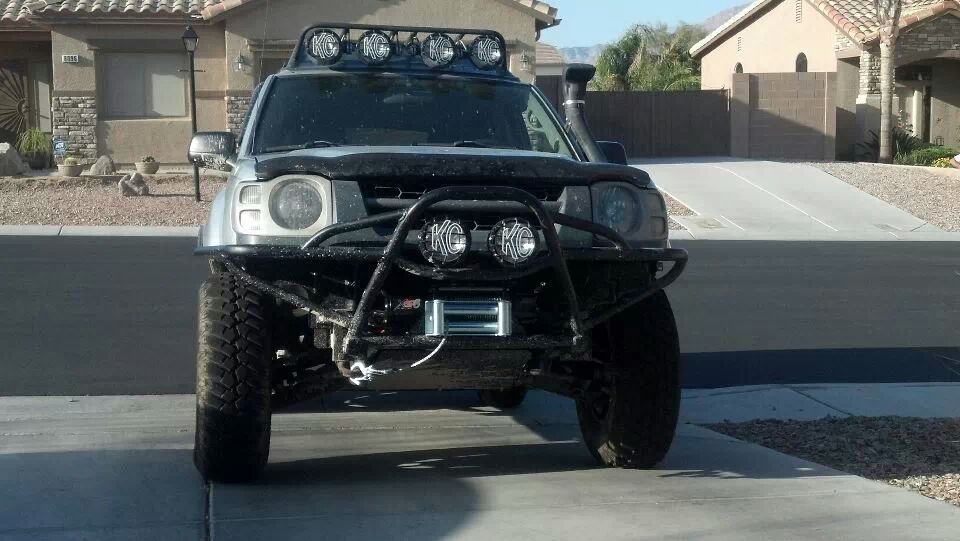
2002 Xterra 4x4 Supercharged aka "The Silver Bandit"

SlvrGen1_X

Test Drive
Location
Las Vegas
Hey everyone, here is my Xterra known as "The Silver Bandit". I have owned her for the last almost six years, four of which were as my daily driver. I have traveled all of the west of the Mississippi with her and she has been great for adventuring. Anyways here is my build she thus far and it continually grows all of the time.


Year: 2002
Make: Nissan
Model: Xterra SE Supercharged 5-Speed 4x4


MODIFICATIONS


Suspension:
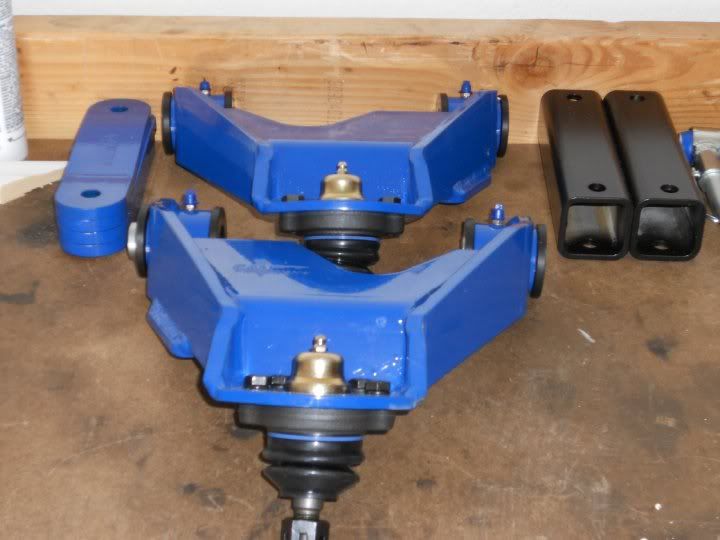
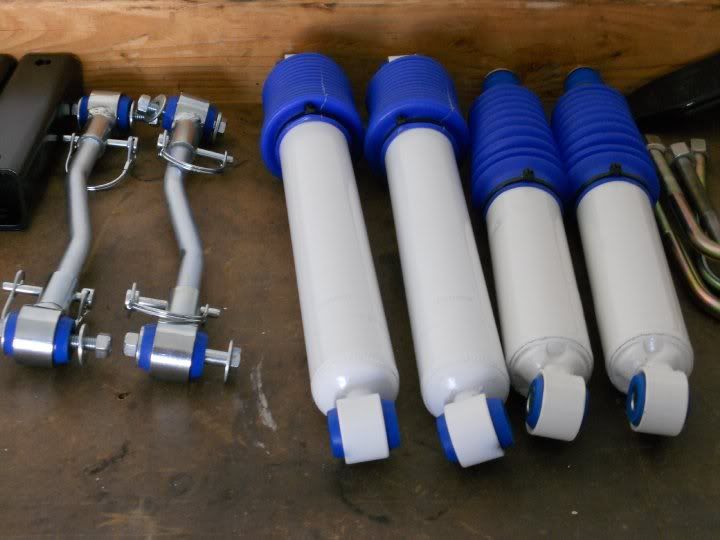
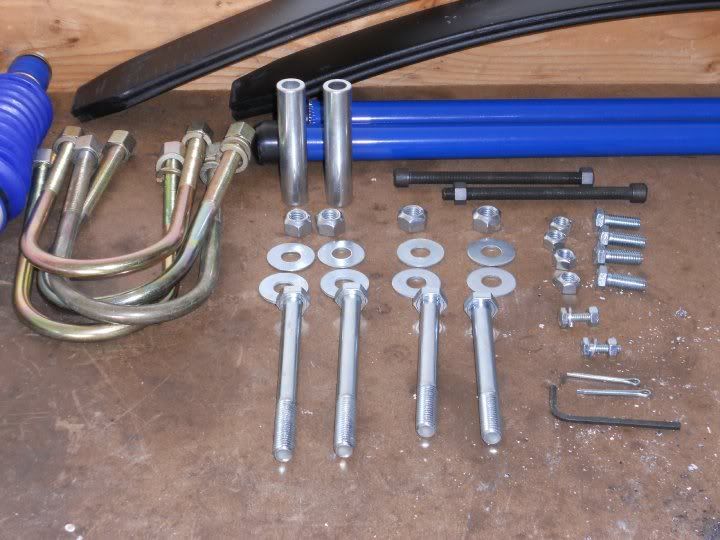
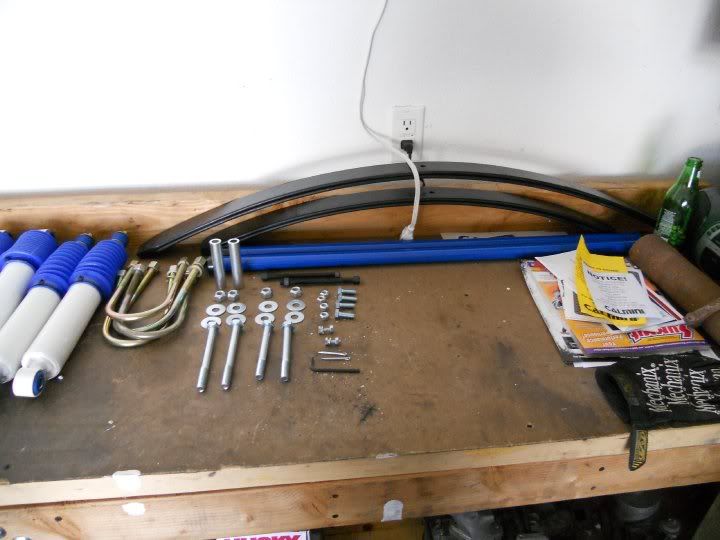
3" Calmini Suspension Full Lift Kit
Rear Sway Bar Delete
Energy Suspension Front Sway Bar End Links
Energy Suspension Front Sway Bar Bushings


Steering:
Automotive Customizers HD Tie Rod Adjusters
Grassroots 4x4 HD Centerlink
Calmini Idler Arm Brace
Nissan (OEM) Power Steering Pump
Nissan (OEM) Power Steering Hardlines
Nissan (OEM) Power Steering Hoses
Moog Inner/Outer Tie-Rod Ends


Drivetrain/Driveline/Axle:
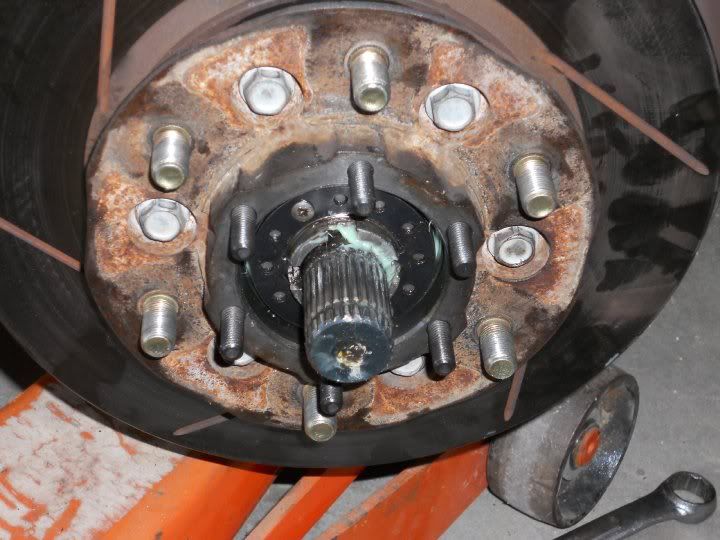
Timken Wheel Bearings & Seals
Automotive Customizers TX-10 3.7:1 T-Case Gears
Timken T-Case Bearings & Seals
Centerforce II Clutch
ARB Rear Air Locker


Brakes/Wheel/Tires:
Definity Dakota M/T 265/75-16
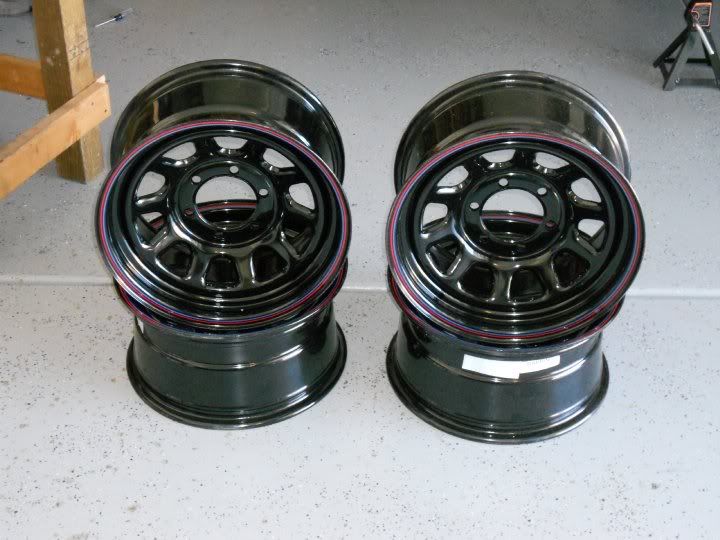
Cragar Black D-Window 16x8 5.0" BS
Goodridge Stainless Steel Braided Brake Lines (Front)
Automotive Customizers 27" Stainless Steel Braided Brake Line (Rear)
Power Slot Cross-Drilled/Slotted Rotors
Hawk Performance Brake Pads & Shoes
Warn Premium Manual Locking Hubs


Armor/Bumpers:
Skid Row Radiator Skid Plate
Skid Row Engine/Transmission Skid Plate
Skid Row T-Case Skid Plate
Skid Row Gas Tank Skid Plate
Trail Gear 67" Weld On Rock Sliders
Shrockworks Rear Tire Carrier & Bumper
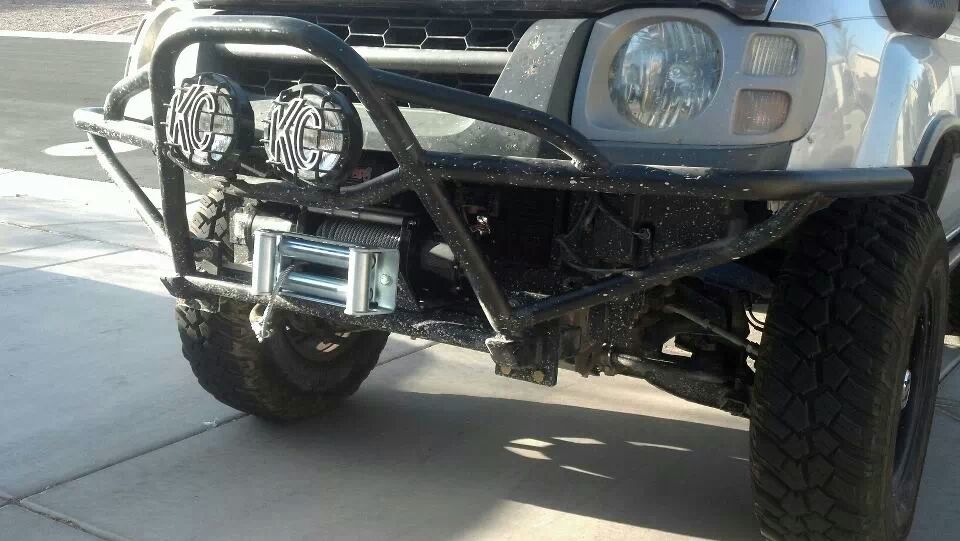
Custom Front Tube Bumper


Accessories:
KC HiLites 6" Slim Lites (Driving)
KC HiLites 6" Daylighters (Long Range) (x 4)
KC HiLites 2" x 6" All-Season Lites
Xoskel Front Light Cage
Xoskel Rear Light Bar
Xoskel Glare Shields
QuickFists (x4)
Hi-Lift Tube Mounts
Hi-Lift 48"
Smittybilt XRC8 8000lbs winch
Firestik 48" Antenna
Cobra 25 Nitewatch CB Radio
Yakima Bike Rack
Optima Yellow Top
ARB Air Compressor
ARB Air Accessories Pack
TJM Airtec Snorkel


Performance:
Nismo 2.5" Performance Exhaust
Doug Thorley Headers
K&N Drop-In Air Filter
NTK Spark Plug Wires
NGK Spark Plugs
OTK O2 Sensors
Jim Wolf Technology S1 Performance Camshaft
Engine rebuild
- (.020) overbore
- new pistons
- new rings
- new seals
- new bearings
Cylinder head rebuild
- 5-Angle valve job
- complete port-n-polish
- port matched
- flow matched injectors
New seals, gaskets, hoses, clamps, sensors, nuts & bolts
Everything in the engine was replaced, cleaned or rebuilt.


This pretty much sums up the whole truck. There are a few more items I am sure but cannot think of them at the moment. I will post pictures soon, as I need to look through multiple memory cards and load them to computer. Enjoy guys!
 

SlvrGen1_X

Test Drive
Location
Las Vegas
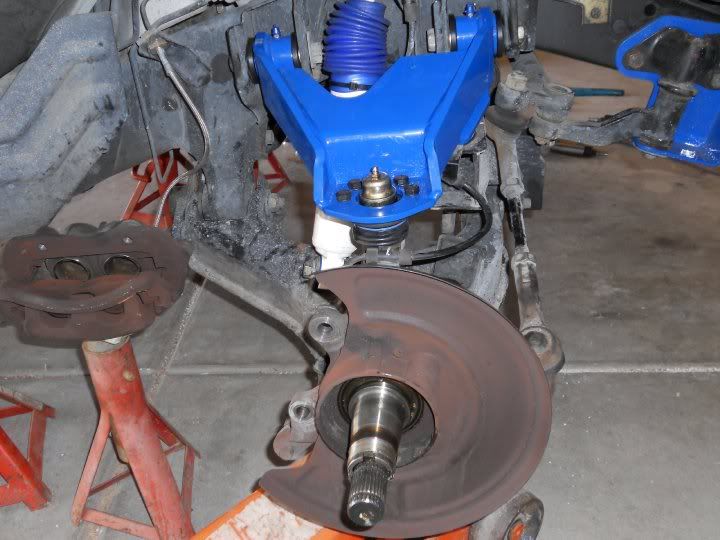
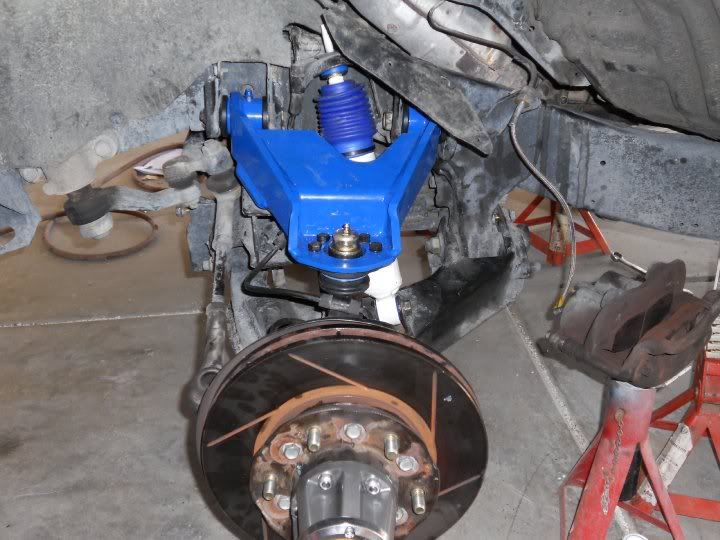
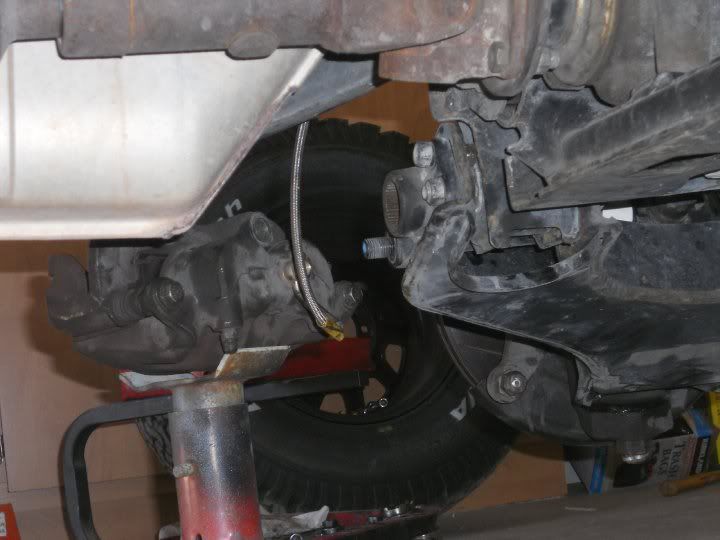
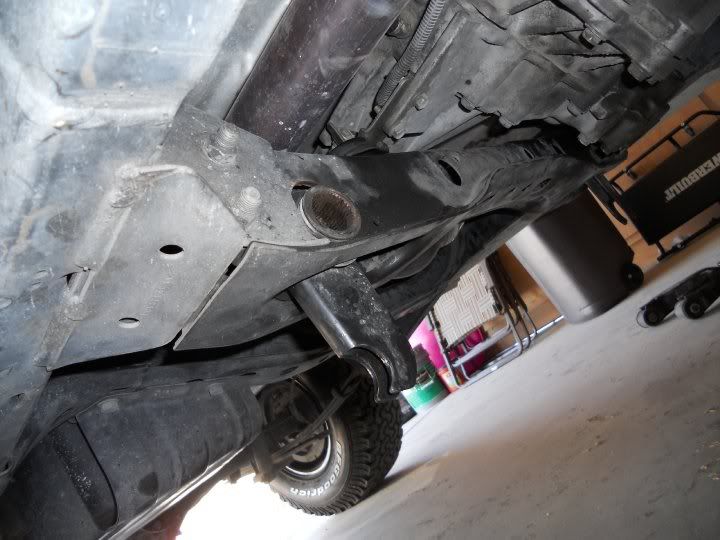
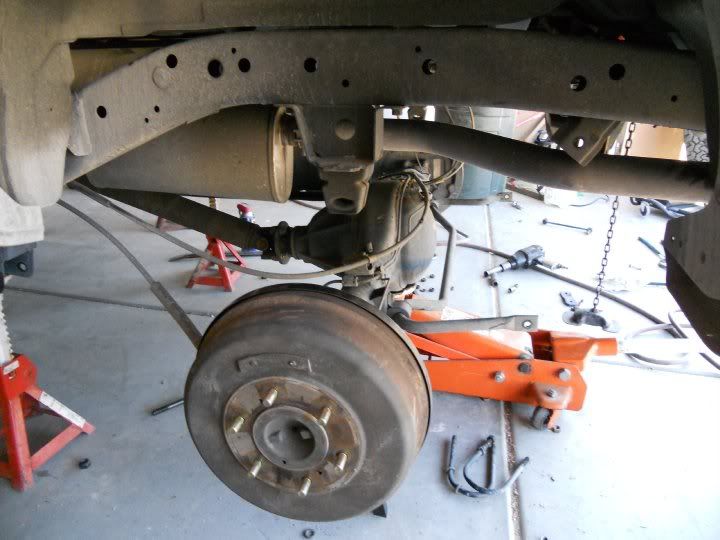
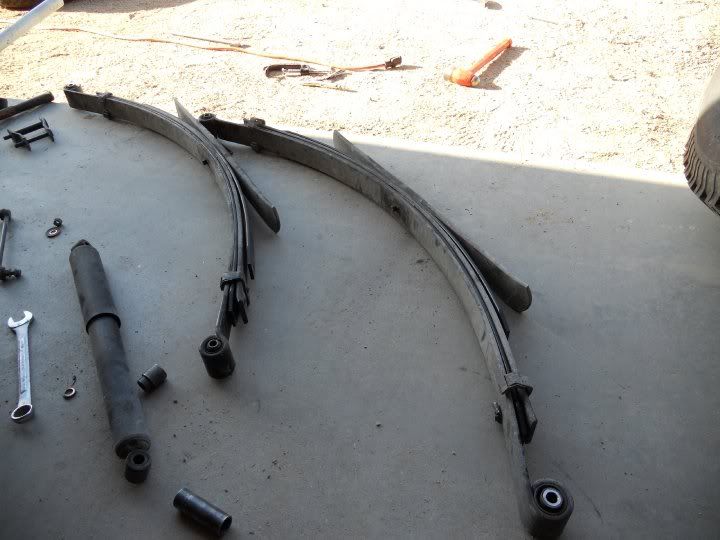
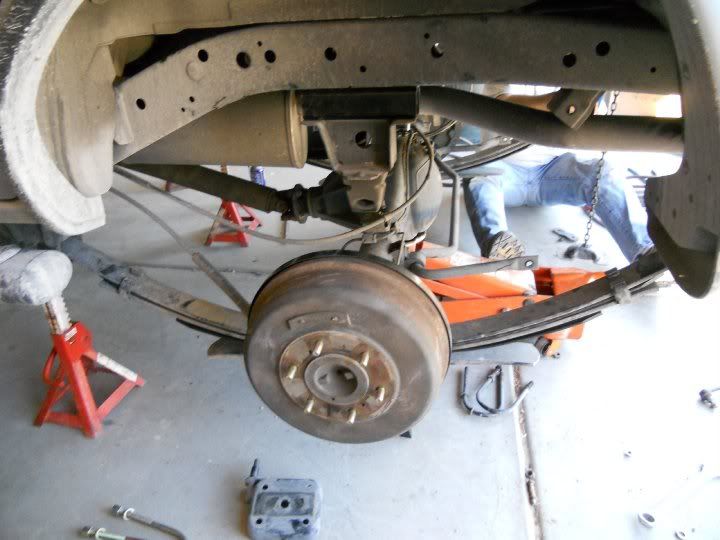
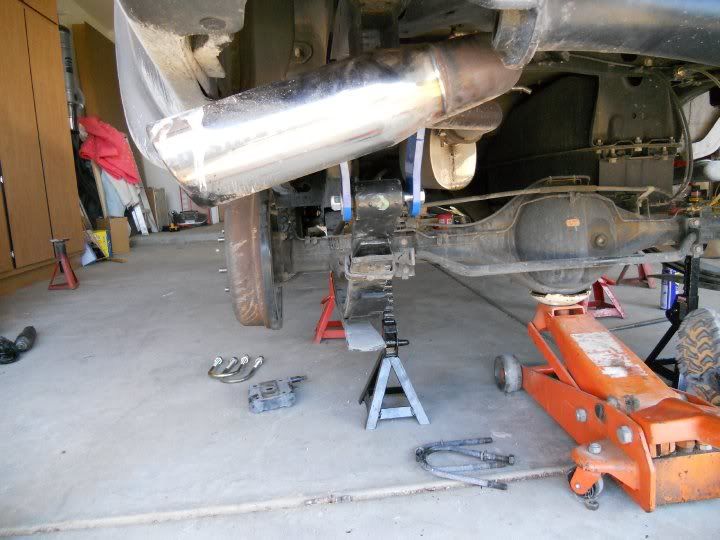
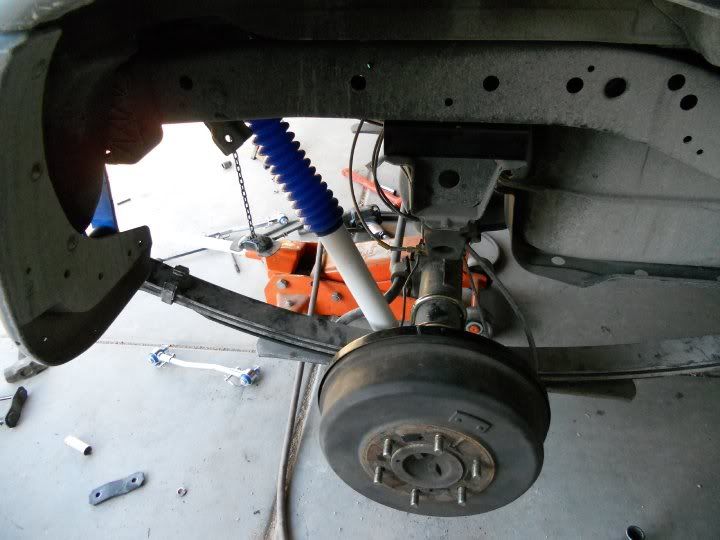
So here is the install of the lift on my Xterra, or I should say the beginning of the never ending project/money pit. The lift was very easy to install and only took about 5-6 hours. I tried to accomplish this in my garage the first time by myself but after a few phone calls to my uncle (ASE Mercedes-Benz Mechanic) we thought it would be a good idea to install the kit at his house in Phoenix. I struggle with not being able to dislodge the upper ball joint and was not versed in the ways a BFH or where to strike. This worked out well as he gave me some pointers on working on vehicles. In general it benefited me as he had a few tools that made it easier while only using jack stands. Again, it was an easy kit to install so here are the pics.


Here is The Bandit pre install with my snorkel and new wheels and tires.


And the lift begins!


SlvrGen1_X

Test Drive
Location
Las Vegas
Here are my sliders. I decided to against the grain that most have chosen and stayed clear of shrockworks. I don't want that to sound like I am saying that are a bad company but the wait time was way too long for me to wait on many of their products offered for Nissan's. So I contacted my buddy over at Rugged Rocks Offroad (Steev-o) and ordered a set of the Trail Gear 67" Rock Sliders with the 6 leg kit. These are need to have some assembly done by the buyer and as I do not own a welder I talked to neighbor of mine down the street who is a metal worker and had him weld them up for me. These really a re a great buy as you can angle them how you would like and can cut the legs to the length you want as well. One problem of them is they are not specifically design for a Nissan and I did not feel like drilling wholes in frame and hope I drilled correctly so I decided to just weld them to the vehicle. They turned out great and have little to no flex on them while using a Hi-Lift or humping rocks. Anyways, here they are.


Not more than 4 months after the rock sliders, I decided it was time for a front bumper upgrade. Again I decided against the standard full size fabricated bumper and went for a pre-runner tube bumper. There have been many benefits of going with this instead of a heavy ARB or Shrockworks bumper, mainly the weight savings. Adding a heavy bumper with a winch can add a lot of stress on the Torsion Bars and I did not want to crank on them to keep the front end from sagging, which was the main reason why chose the tube bumper. The own down side to this is that makes me vulnerable to protruding objects that could potentially stab my radiator. Well its been almost 4 years and not incidents or accidents with it and it has given me a foot hold when leaning into the engine compartment for repair or servicing. Anyways, I went to my buddy Aaron (Penski61) and asked if i could enlist him to fabricate me one and he was in for it. It turned out great and the winch fits tightly in there with very little room behind it (about a fingers width). I also had the bumper made with some light tabs to fit my Slim Lites up front. Unfortunately it looks as if I will be changing it in the near future. I am planning on hugging it tighter to the core support and raising the winch in preparation for my future SAS next year.


SlvrGen1_X

Test Drive
Location
Las Vegas
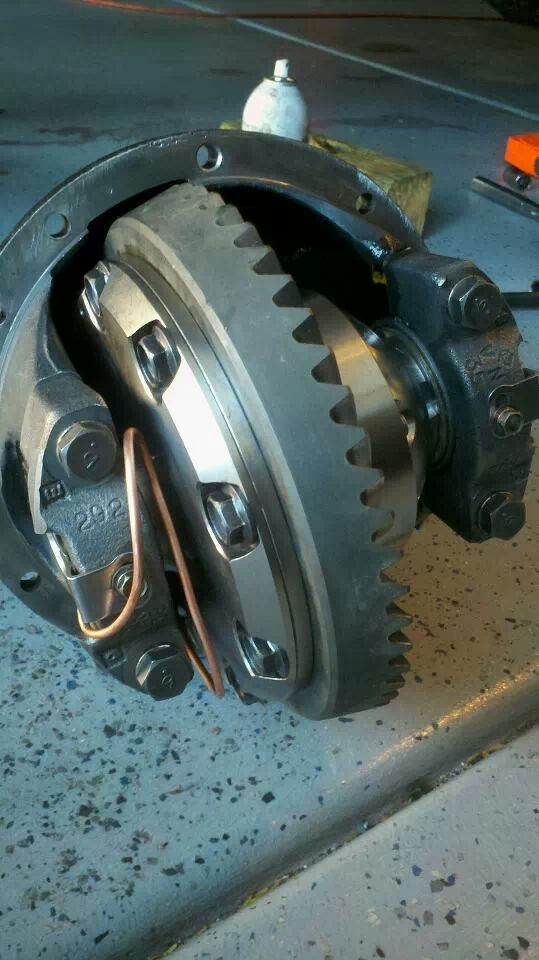
Here is the rear locker I ordered from a ARB dealer here in Las Vegas. Some of the FJ40 guys may have heard of the place, BTB Products. Own of the Owners; Brian, has been installing and selling ARB products for close to 20 years. It didn't take very long to do the install while trying to fit me in, in between other custom builds. Gave me a great deal on both locker and air compressor. I gave him the third member (H233B) and I was left to my own thoughts on how to configure the air compressor. I finally found a spot in the engine bay that needed some custom bracketry to work around the ABS hard lines and keep it located in the engine compartment. Here ya go.


SlvrGen1_X

Test Drive
Location
Las Vegas
So after my second trip to goneMOAB, I began to notice the tiredness in the VG33ER. On my return home to Las Vegas from Moab, the engine was struggling to make it through the passes; not breaking 48 MPH in 4th gear. However there was a lot of wind, gusting at nearly 60 MPH but it still provoked me to look at the engine and see future upgrades. I had a hard time with this decision as it was my daily driver and needed to figure out what I would do in the down time if I took on such a major overhaul, not to mention the cost involved with such a project. While I pondered it, I talked to my dad and decided to go to Phoenix over fathers day weekend. My dad and I have been wanting to take the drive to Crown King and thought my Xterra would be the perfect vehicle to do that. Anyways while we started on the Back road to Crown King, I noticed a strong missfire in the engine which brought me to the final decision of rebuilding that dog of a motor. I made it back to Vegas and started my investigation. I had a major misfire in my NO. 5 cylinder which turned out to be two very tired valves. I did not want to do this as I initially had been saving my money for SAS on the ole girl but I think developing a stronger more reliable motor was the better choice, as having a very capable vehicle does not trump having a reliable engine that does not break down on the trail.


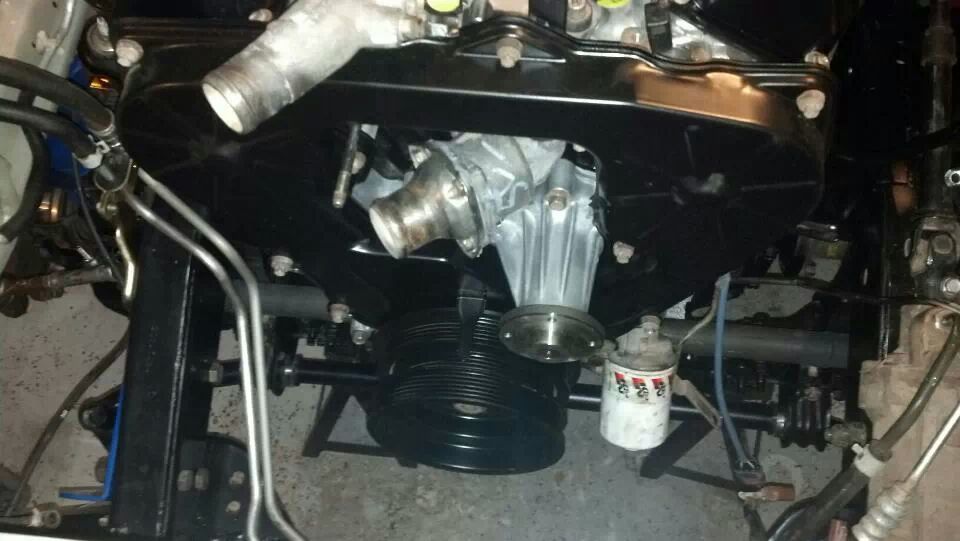
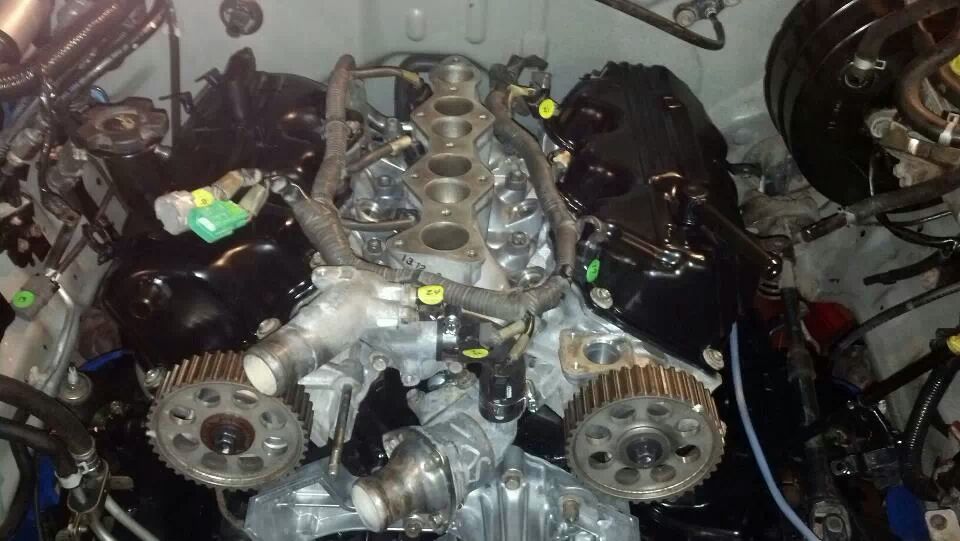
This build was not as easy and took the added cost of purchasing a 2011 Toyota Camry for a daily driver; now the wife's car and I drive a 2006 GMC Sierra 2500HD 4x4 Duramax. On top of that due to down time and purchasing of a second vehicle and a 5 month deployment, it took close to 18 months to accomplish. The end result was great, even with a few hiccups through the process. After talking to a buddy of mine in Las Vegas who happened to be having some of the same issues. We talked to a local Hot Rod Boutique we knew and asked for recommendations on who to go to for engine rebuilds. He suggested Vegas local; Dan Fultz, who owns and operated Fultz Machine off of Bonanza and Rancho. He was a on stop shopping for everything engine related. He only does block work and milling and does not do cylinder heads but had a third party who operates a 1-Man shop out of machine shed in his backyard; High Price Heads. Both places had great turn around periods (2-3 Weeks) and very low costs. The costs may have been low from me having all of the parts for the short block and heads except pistons. So on to the engine short block build, I went with a .020 overbore, VG33E pistons installed (turns out VG33ER forged pistons are no longer available and did not feel like spending an arm and a leg to have custom ones made), Fel Pro Gasket set, Nissan OEM Oil Pump, and every single nut, bolt, seal, gasket, bearing, and anything else I am forgetting was replaced. On the cylinder head, I wanted/needed some work to be done to increase the efficiency so I had a 5-angle valve job, complete port-n-polish, port matched exhaust & intake, installed a Jim Wolf Technology Series 1 performance Camshaft, deburred all casting flaws, and again new nuts, bolts, seals, gaskets, and everything else. To save costs I also requested to do final assembly of the mating of the heads to the block as I was doing the work in my garage with a cherry picker. Along with this I replaced every hose, clamp, valve, sensor, switch and nuts and bolts under the hood. While I was doing this I chose to focus on fueling as well, my friend who went through this process flow matched his injectors to which I did the same thing and took it a step further by installing an adjustable fuel pressure regulator. Well here ya go, this is the final product. A beautifully clean and refreshed VG33ER engine, with power to go with it.


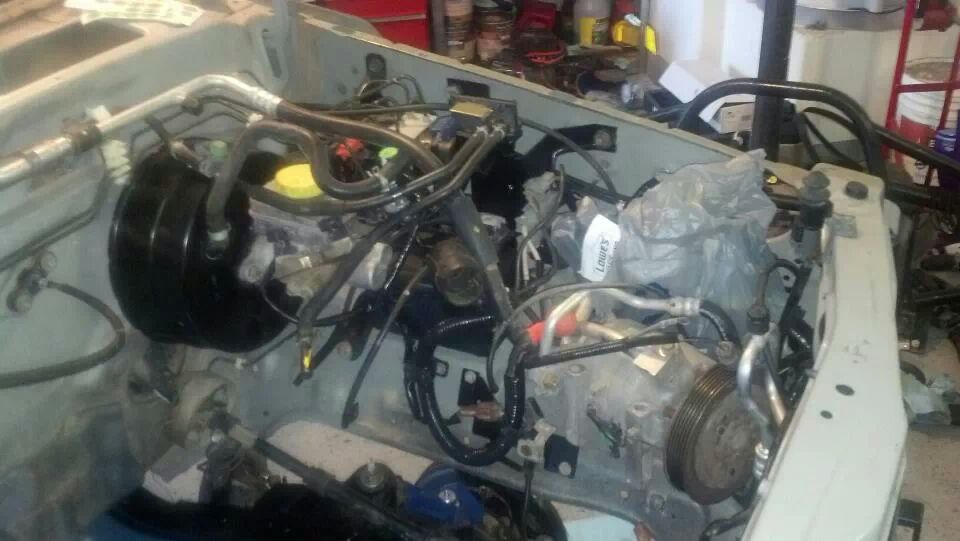
I thought it was easiest to remove the hood. fenders, grille, bumper, and cowl so I would not damage it and I could clean better as I went along. I made the mistake of going through a very large mud hole in Moab and Sedona. Removing red clay mud from a vehicle is daunting to say the least and will never go through a mud hole again as I removed 1/2" of caked on dirt under the intake manifold (may be the reason for misfire).


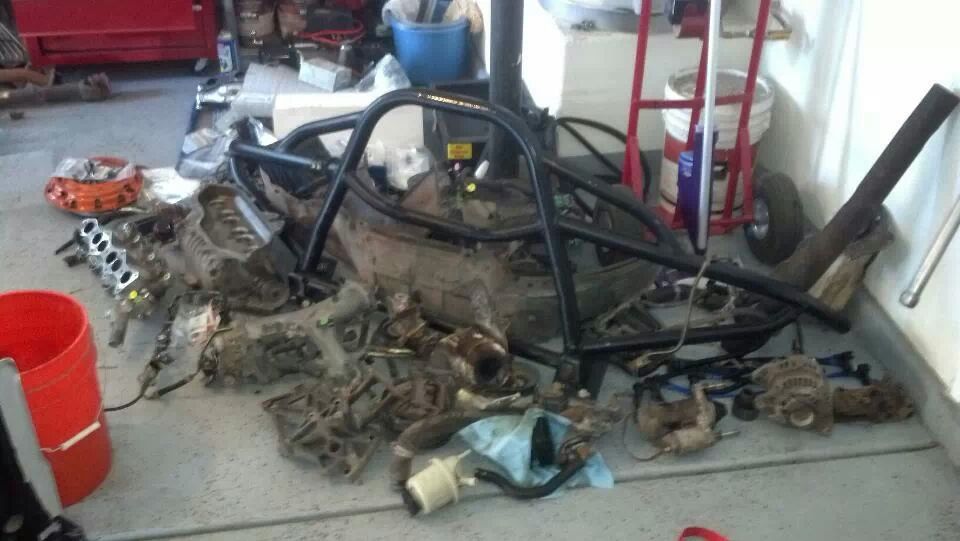
All of the external components of the engine that were removed, I am sure you can see the hints of red clay built up on the parts.


More dirty engine bay.


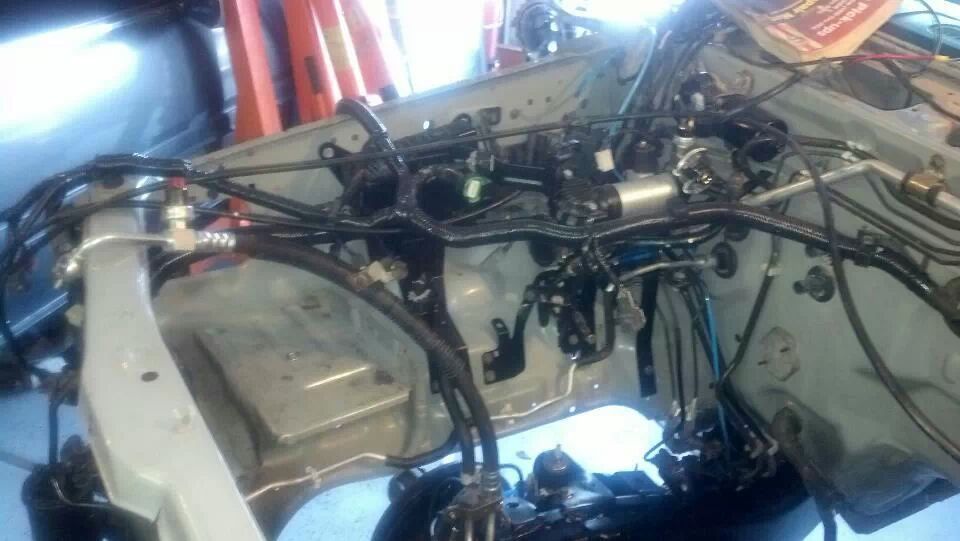
Freshly cleaned engine bay, with re-wrapped harnesses and some of the new hoses.


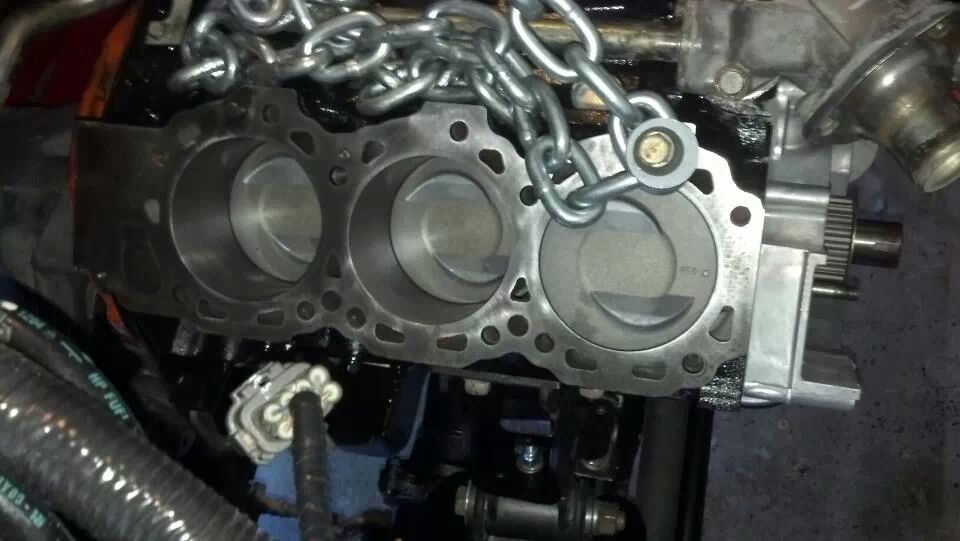
Short block after some assembly by me.


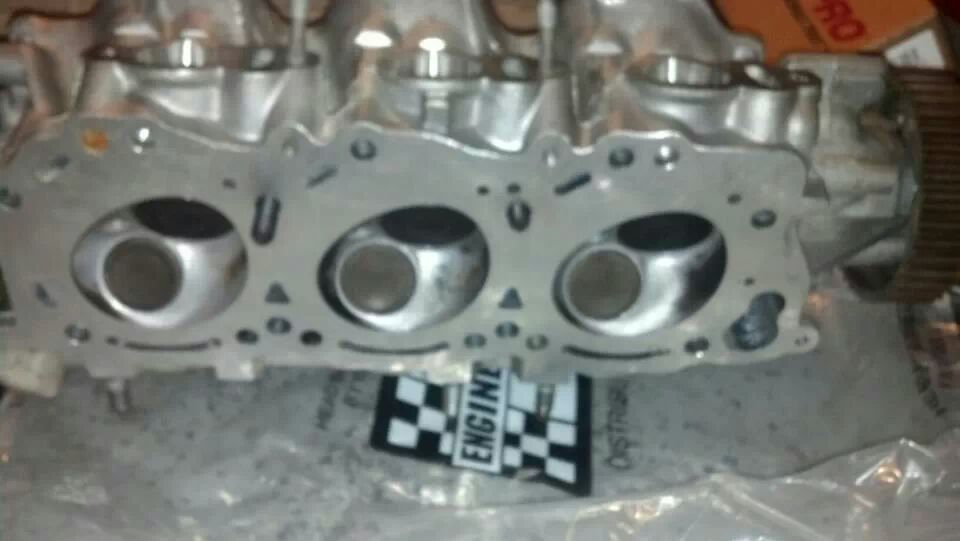
Cylinder Heads and Doug Thorley Headers.


Final top end assembled.


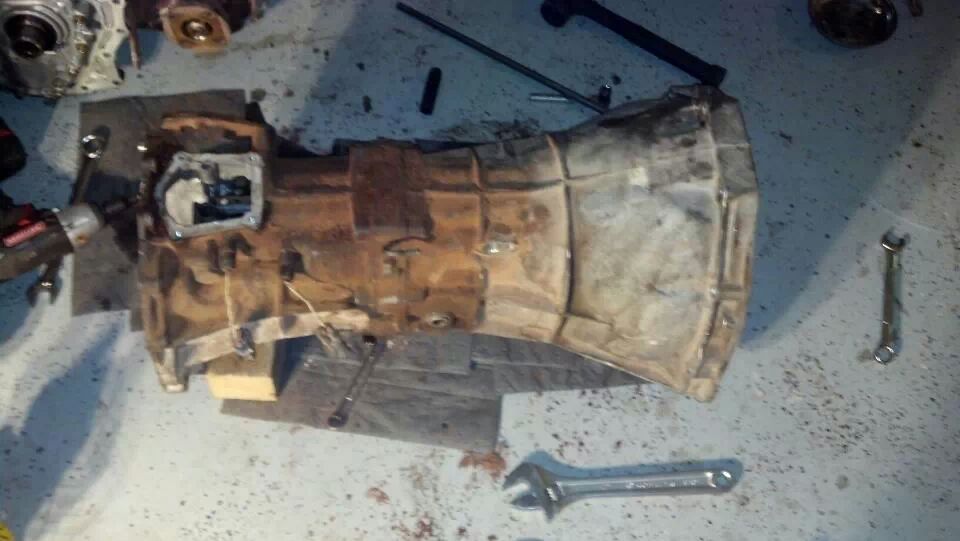
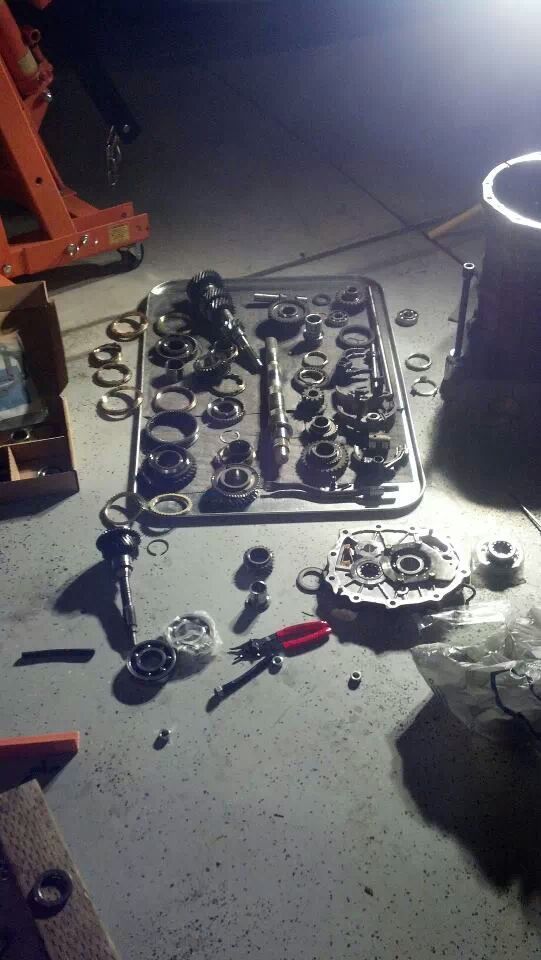
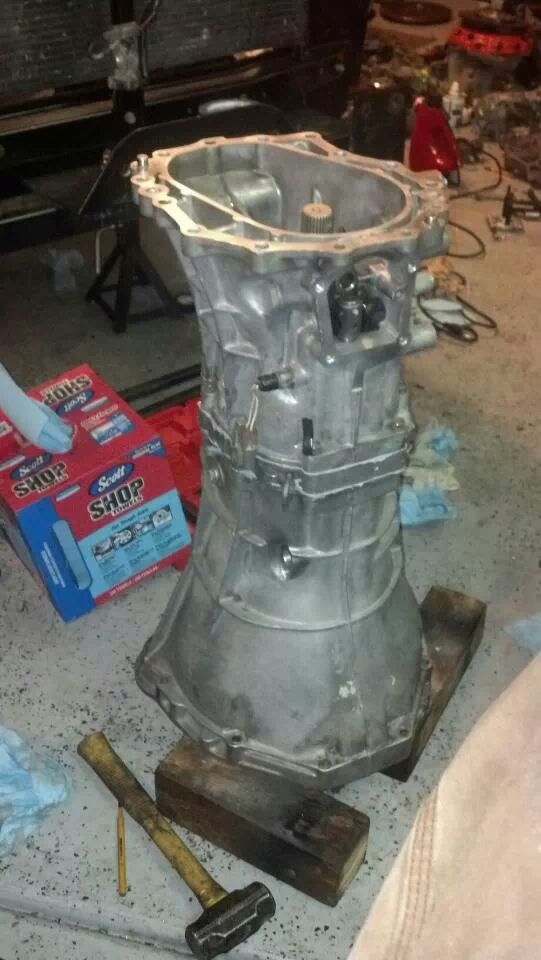
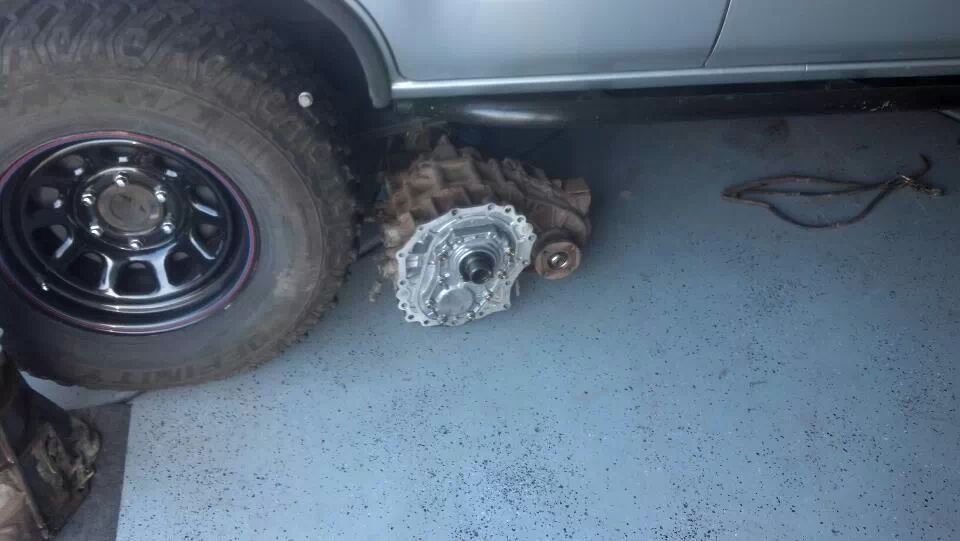
While I was accomplishing the engine rebuild, I thought why not make everything new and decided to go ahead and rebuild the transmission and transfer case. Since I was rebuilding the transfer case I wanted to increase its capabilities and changed out the gears from the factory 2.6 to 1 to a lower 3.7 to 1 offered by the Automotive Customizers a.k.a. 4x4 Parts. I tried to get the Calmini 4.0 to 1 gears but either they are out of production at the moment or no longer available (they weren't very clear at the time). At any rate I am very happy with the gears I went with and to be honest I wish I would have gotten them first over the rear locker. Now to the transmission, this one I had problems with. I had rebuilt its two wheel drive counterpart on a 1984 300ZX and had great luck with its rebuild, however, I was not so fortunate on this rebuild. I went with the same company I previously went to for the parts and apparently received a bad main drive bearing. I did not know it at the time and all seemed well after I assembled everything but about 600 miles down the road I heard a lovely whining noise coming from the drivetrain. Guess what happened at 70 MPH......BOOM!!!! lost fourth gear. I was on my way to my third goneMOAB about 2 weeks after my build and lost it. That story is for another day, so to continue on the current one, I did not know the extent of the damage until a few weeks later when I developed the courage to suck up my pride and take it all back apart again. Yep....I sure did lose fourth gear, stripped it clean and disintegrated the main drive bearing. I tried contacting the company I ordered the parts through and as I am not a transmission shop I was unable to receive any sort of compensation for the parts/equipment lost. Now I am stuck with this hungry vehicle waiting for its transmission to move again. At this point I had exhausted much of my savings to accomplish the first build and needed to save again to rebuild the trannsmission. During this time I had many ideas and thoughts passed along to me and decided to go junkyard hunting so I can get by until funds develop (future deployment in the works). I was lucky enough to find a 1996 Pathfinder with the same transmission and snagged it for 180 Bucks. Anyways I have got installed and it works great! So here is the rebuild of the two!


Cleaned and rebuilt. If you see how filthy the first image is you can imagine how long it took to clean it. I am sure it would have been simple enough to take it and have it hot tank but I decided to kill some wait time and do it myself in the rocks by my house. That took FOREVER, 8-10 hours of hand cleaning with scrub brushes, wire brushes, dremel, and 10 cans of engine degreser and some simple green. Turned out great except now its just a trophy of sorts.


Here is the t-case, pre-rebuild/upgrade, I failed to take a picture after rebuild.


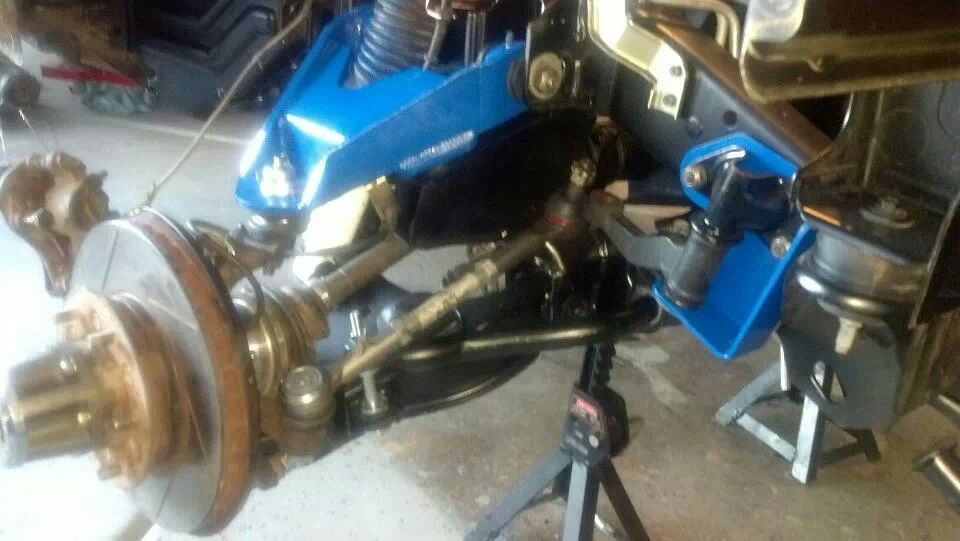
Also while doing this I decided it would be a good idea to give the front end a refresh. I cleaned and repainted most all of the surfaces, replaced tie rod ends, upper and lower ball joints, brake pads, rebuilt calipers, regreased bearings, replaced seals, replaced CV axle shafts (lifetime warranty), sway bar end links, sway bar bushings, and did I say clean? I had a leaking power steering pump and it bled all over the red clay mud that had now become an uncontrollable slurry that took forever to clean.


Xado89

Skid Plates
Location
Ocala, FL
Wow, this thing is sexy. Kudo's to doing all this work yourself too! Makes you appreciate things much more when it's your hard earned time and money going into it. How do you like the Calmini shocks with your suspension lift? I just see everyone go with the Bil's. Also, I'm digging your front bumper.
 

SlvrGen1_X

Test Drive
Location
Las Vegas
Wow, this thing is sexy. Kudo's to doing all this work yourself too! Makes you appreciate things much more when it's your hard earned time and money going into it. How do you like the Calmini shocks with your suspension lift? I just see everyone go with the Bil's. Also, I'm digging your front bumper.

Thanks man, it sure is gratifying to say I have done 90% myself. Wish it was 100% though. The calmini kit is nice and beefy. The shocks have been worn out for a while now but as its not my DD anymore, I have not been too concerned with replacement. At the time when I purchased the kit (5 years ago), the 5100's werent available and didnt think about piecing together the kit on my own with what components I wanted and didnt want. My buddy has the 5100 and loves them so if i decide to replace them, that will be the route i go. Thanks on the bumper comment, my buddy Penski61 made it for me. Modeled closely to his old one.
 

SlvrGen1_X

Test Drive
Location
Las Vegas
Thanks everyone else for the compliments. If i had time during the tear down and rebuild I would have knocked out as many HOW-TOs as i could. But due to the short time between goneMOAB and my return from deployment I had little time.
 

SlvrGen1_X

Test Drive
Location
Las Vegas
Thanks guys! Let me know if you any of you have any questions. As I am sure you can tell. I have touched about every nook and cranny of the thing and seen where many problems come from or potentially will come from. I am working on a few how-tos as well.
 

SlvrGen1_X

Test Drive
Location
Las Vegas
Thanks! And if you do take it on, my condolences to your wallet. Haha, but seriously, do it. It's awesome! I know you already know Steve and Kenny, so I don't how nice it is to deal with those guys.
Yes, you are right. i do know those guys and they do great work. I know how it take s hit on the wallet. I have already been acquiring parts over the last year. Im looking forward to seeing how you perform on the trail....I am leading a few of your trails at goneMOAB this year......I will be tailgunning for Eric on Hell's Revenge on Monday, Leading Top of the World (R) on Tuesday, Leading Poison Spider on Wednesday, attending Kane Creek, Leading Metal Masher on Friday. Looking
 

robcarync

Sliders
Location
Raleigh, NC
Oh...My...wow...killer build! I like seeing some engine work to waken these tired sluggish engines.

My timing belt will be due in another 20k miles...so I am researching what else I could do while under the hood...may as well pull the heads, get them ported and add a camshaft...I am happy to see some more information from people that have done this kind of thing

:)
 
Last edited:

xterraminator

Wheeling
Location
Maple Ridge,BC
Simply amazing! You made pulling out an entire engine and transmission look so easy as it was nothing. I can't believe you went to all that work and did it by yourself. Looks like you know what your doing. You a mechanic? How easy is it to install the 4:1 crawler gears? Must be nice to have those low gears. Good job, thanks for the pictures.
 
Top