
So a few people were asking me about this after i figured it out, i did talk to john over at piaa and he did confirm there is a fuse in the piaa relay and is very reliable to use with after market switches.
Before reading this please if your attempting this, disconnect your battery!!!! to avoid any damage and make sure you have the right size wire and connectors
Lights- http://piaa.com/Lamps/Lamp-pages/520atp.html
I went with the otrattw switch
Product ID: V1D1J66B-AFCN5-17U
Manufacturer: Carling Technologies
V-Series Contura II sealed rocker switch, Driving Lights
The instuctions were pretty simple as the guy from otrattw has upgraded his switch diagrams. This is the one i used.
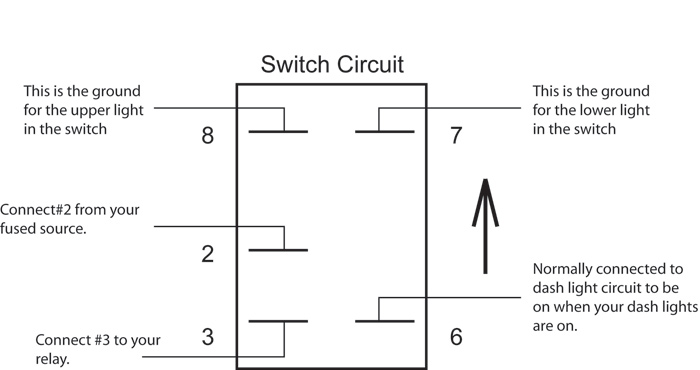
7) Ground- Have to do a separate do not jumper if using number six
8) Ground- Have to do a separate do not jumper if using number 6
2) this one went to my blue sea fuse box
3) this is to the relay which on the piaa is one of the white a red dotted wire far left
6) this is for the lower light illmunation- i tapped into the red wire on my hazards so it only comes on when my dash lights are on
So after following the piaa install and your ready to do the switch wire. I lead it through the fire wall.
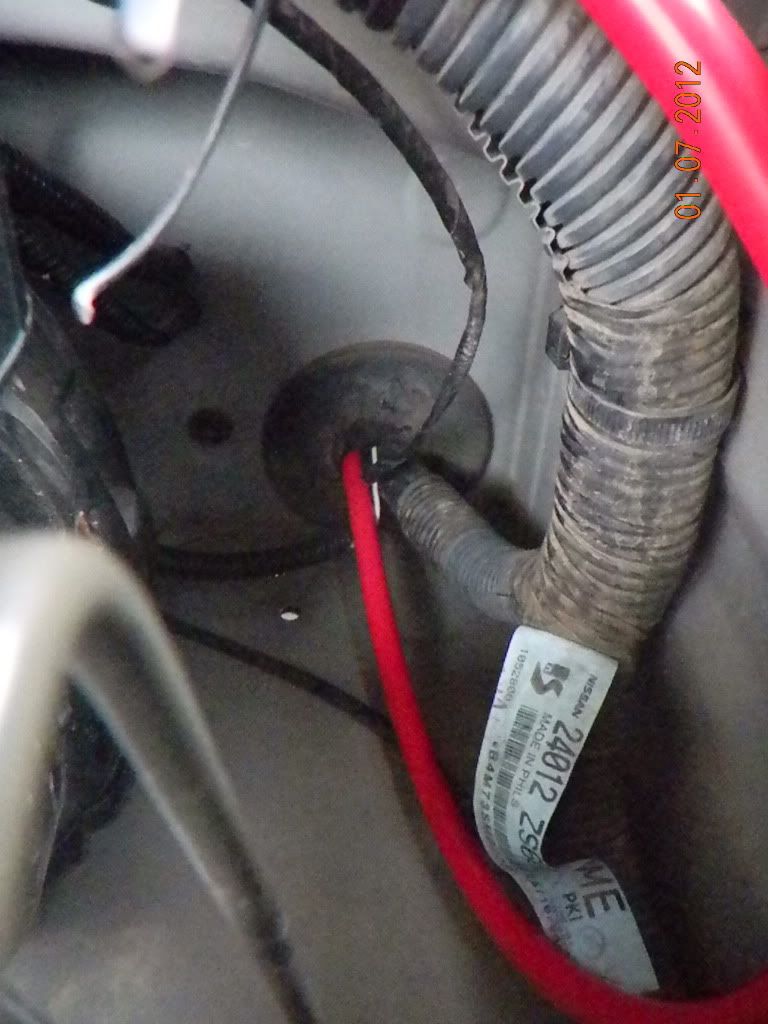
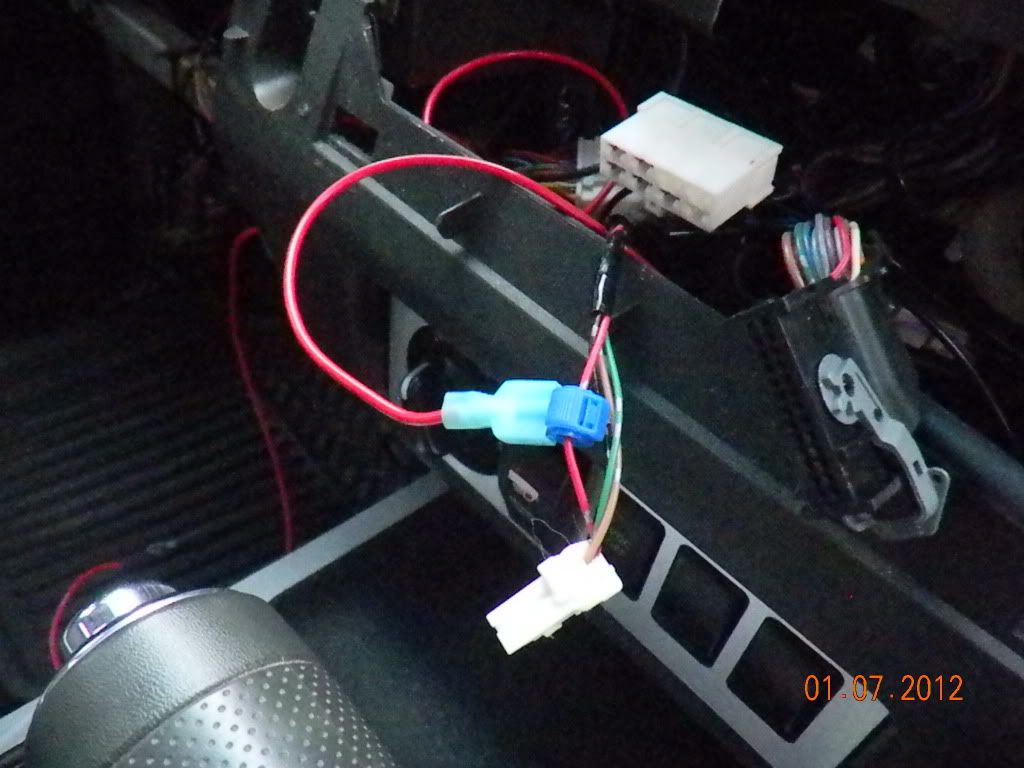
Next you will have to tap the middle white a red dotted wire into the ignition as this is your switched source. Using the t-tap that comes with the piaa kit tap into the red ignition wire.
From this picture its hard to tell but its the far left red and white dotted wire, you need to use a light gauge t- tap. For this i used a 18-22 gauge t-tap. Direct this to your wire lead that is the the (3) on the switch.
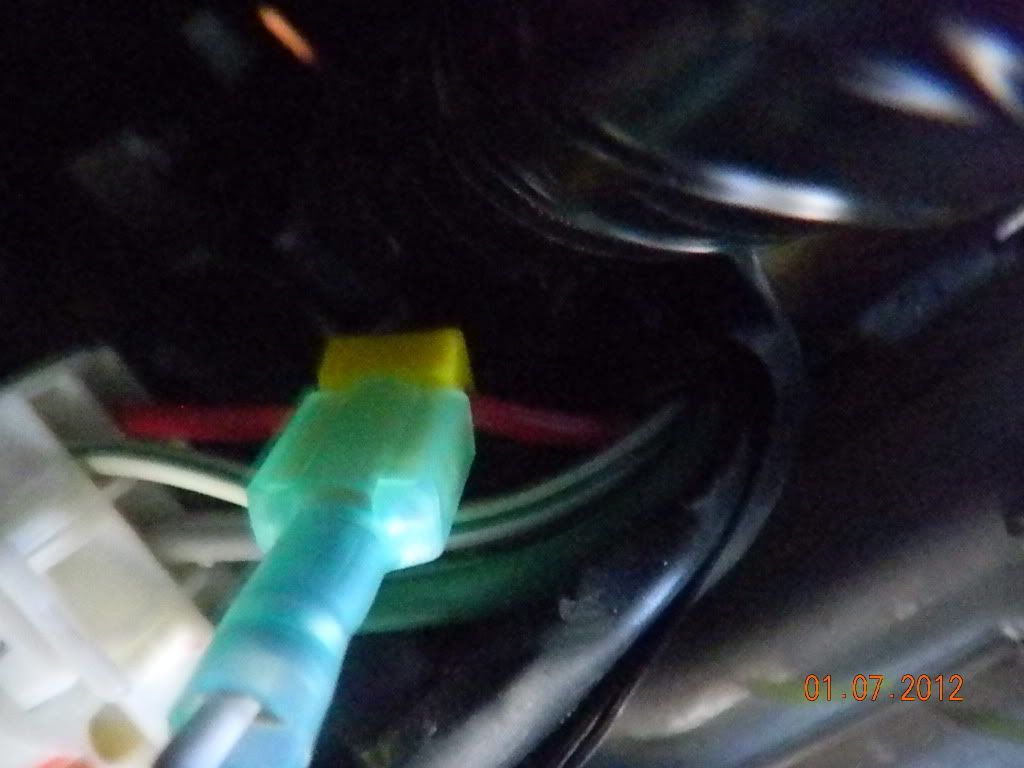
After youve done this it's time to finish hooking up the switch. Hopefully you have the dash ripped apart and have unplugged all of the accessories.
Next- if you are planning on using the lower dim light, tap into the red wire on the hazards. This will make it so that the lower light will only turn on when your dash lights are engaged which was what i wanted.
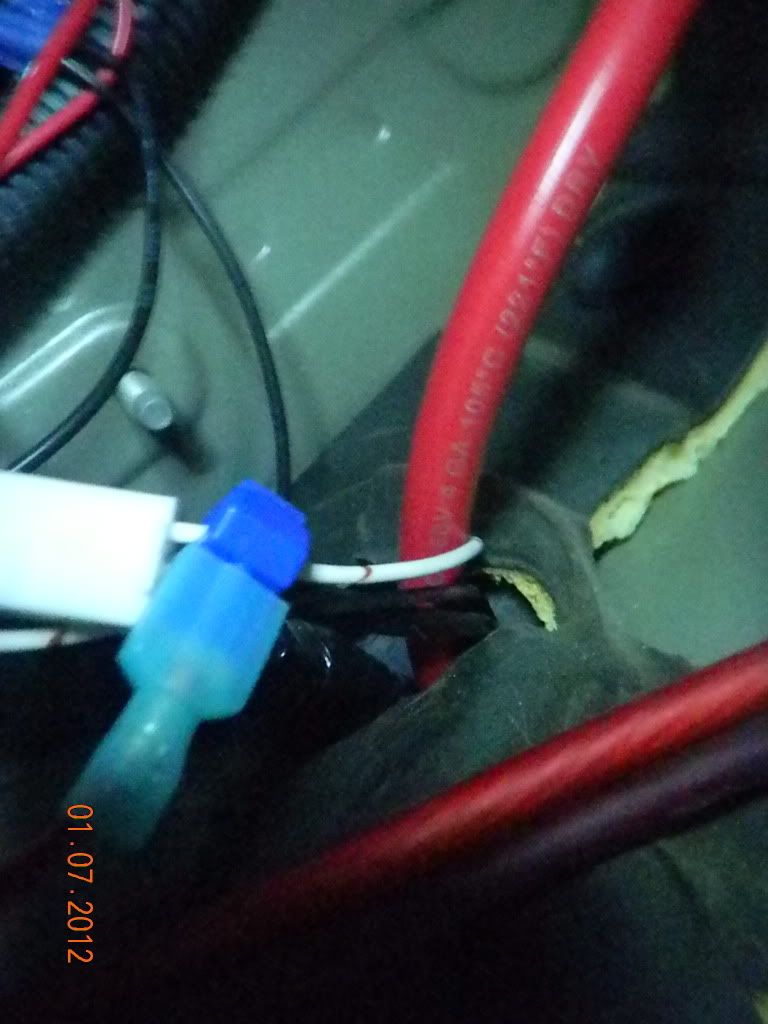
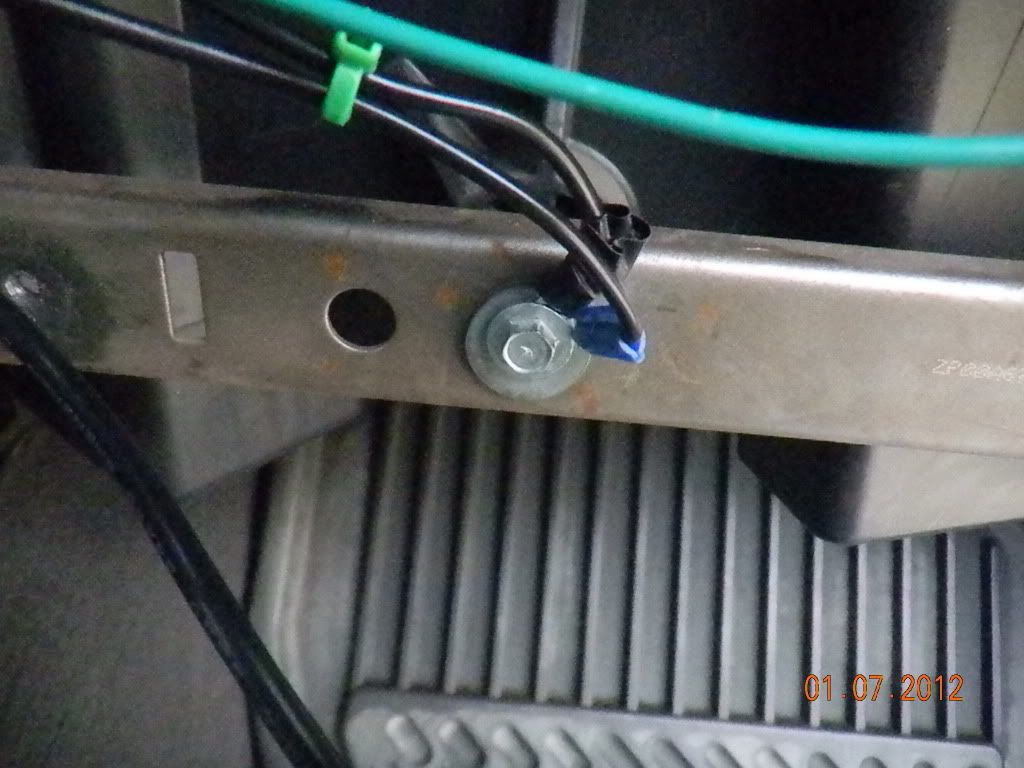
Next attach the grounds, i used this location as it was a definite ground.
And finally hook it up to your fuse slot, i wanted my lights to be able to turn on even when the truck was off, so i connected it to my blue sea fuse box which draws constant t power from my battery. Im not sure if you can tap into a switched fuse on the passenger side kick panel though, you'd have to talk to nissan or call piaa.
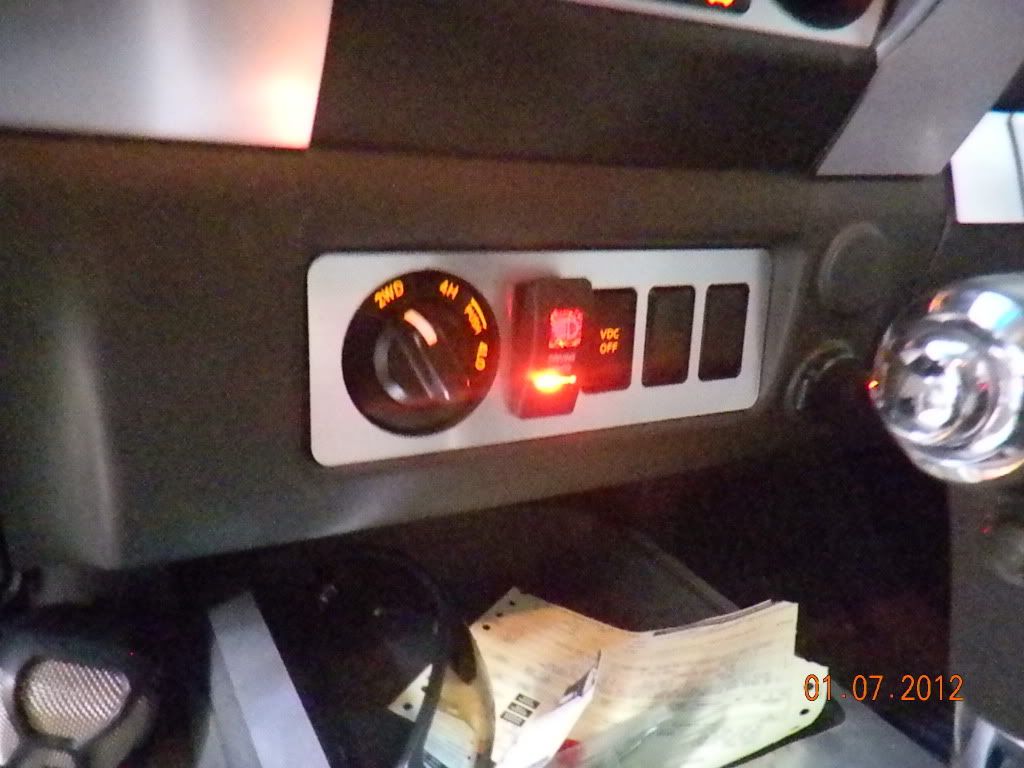
This is what it looks like all done
As for the third light all you need to do is splice into the postive and ground after the connector, its about 12-14 gauge wire. Do not splice into 16-18 gauge wire.
Worked like a charm and no issues to speak of.


As for a question in regaurds to the relay being able to handle it, this is whats in a piaa relay

Before reading this please if your attempting this, disconnect your battery!!!! to avoid any damage and make sure you have the right size wire and connectors
Lights- http://piaa.com/Lamps/Lamp-pages/520atp.html
I went with the otrattw switch
Product ID: V1D1J66B-AFCN5-17U
Manufacturer: Carling Technologies
V-Series Contura II sealed rocker switch, Driving Lights
The instuctions were pretty simple as the guy from otrattw has upgraded his switch diagrams. This is the one i used.
7) Ground- Have to do a separate do not jumper if using number six
8) Ground- Have to do a separate do not jumper if using number 6
2) this one went to my blue sea fuse box
3) this is to the relay which on the piaa is one of the white a red dotted wire far left
6) this is for the lower light illmunation- i tapped into the red wire on my hazards so it only comes on when my dash lights are on
So after following the piaa install and your ready to do the switch wire. I lead it through the fire wall.
Next you will have to tap the middle white a red dotted wire into the ignition as this is your switched source. Using the t-tap that comes with the piaa kit tap into the red ignition wire.
From this picture its hard to tell but its the far left red and white dotted wire, you need to use a light gauge t- tap. For this i used a 18-22 gauge t-tap. Direct this to your wire lead that is the the (3) on the switch.
After youve done this it's time to finish hooking up the switch. Hopefully you have the dash ripped apart and have unplugged all of the accessories.
Next- if you are planning on using the lower dim light, tap into the red wire on the hazards. This will make it so that the lower light will only turn on when your dash lights are engaged which was what i wanted.
Next attach the grounds, i used this location as it was a definite ground.
And finally hook it up to your fuse slot, i wanted my lights to be able to turn on even when the truck was off, so i connected it to my blue sea fuse box which draws constant t power from my battery. Im not sure if you can tap into a switched fuse on the passenger side kick panel though, you'd have to talk to nissan or call piaa.
This is what it looks like all done
As for the third light all you need to do is splice into the postive and ground after the connector, its about 12-14 gauge wire. Do not splice into 16-18 gauge wire.
Worked like a charm and no issues to speak of.
As for a question in regaurds to the relay being able to handle it, this is whats in a piaa relay
| Well, you might not even need to change the fuse. If the lights are 85W then you definitely don't need to and you'll be all good. If they're 135 then you'll be right on the edge of that fuse limitation but since the fuse is there the worst that would happen is you'd blow that fuse. |