
- Location
- New Mexico
I’ve been told by the “cool kids”, that I need a build thread. I’m not much of a cool kid but I trust the advice of my friends, so here’s my shot at it…
We bought the Xterra in early 2000 when my wife’s Camry was totaled by a dude who ran a red light. We really wanted to get her a 4Runner (yep… I’m a tried and true Toyota guy) but we were also trying to buy our first home and we didn’t want to pay the extra 10K. The Xterra had everything we needed, and nothing we didn’t.
A few months after we bought the Xterra, we took it up to Telluride, CO and I took my wife on her first real wheeling run over Imogene Pass. I was amazed at how well the stock Xterra performed and my wife was hooked on wheeling the high mountain passes of Colorado. That was the last real wheeling trip we took in the X for a while though, I managed to tweak one of the stock aluminum step rails and she freaked out a bit even though I was able to bend it back. The Xterra was then dedicated to being a mom-mobile for the next ten years and we used my old Montero and later my Tundra for wheeling trips.
Fast forward ten years…
A buddy and I were chillin’ in the shop when we get a call from my wife… she was at the top of the road to our house and the Xterra died and it wouldn’t start. I kinda knew right then that the timing belt gave out, so we headed up the road to help her out. With a glass of Scotch in hand, we coasted the crippled X down the hill and towed it into the shop.
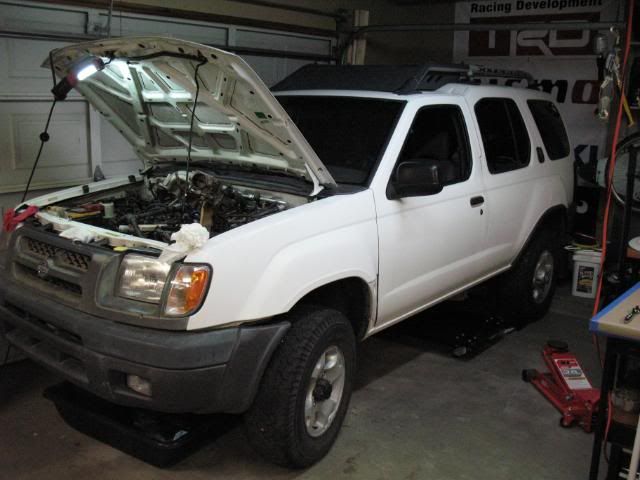
Once I confirmed that the timing belt failed, a quick internet search revealed that the VG33 is an interference engine. I explained to my wife that the engine valves were probably crunched, and the X was basically worthless at that point. Our best bet was to buy her a new vehicle without a trade in and let me try to revive the X. She agreed, I got a new rig to play with and she got the 4Runner that she always wanted.
Score!
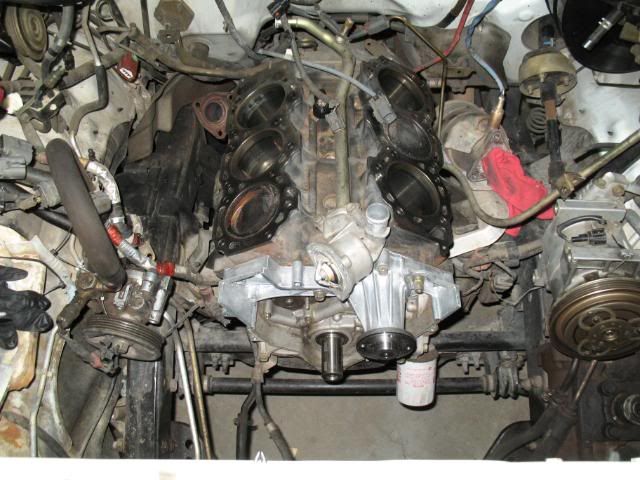
First order of business was to pull the heads on the VG33 and inspect for damage.
Yep… Timing belt is hosed:

I performed a leakdown test on each of the cylinders and all of them held pressure well within spec. After visually inspecting the valves and seats, I found no obvious damage. Apparently, my engine wasn’t an interference engine. I went ahead and had an engine rebuild shop inspect the valves, replace all of the oil seals, mill the heads flat and perform a vacuum test. All went well. I probably would have been ok with just a timing belt replacement but after disassembling the thing, I learned a lot about the VG33 and that was well worth the effort.
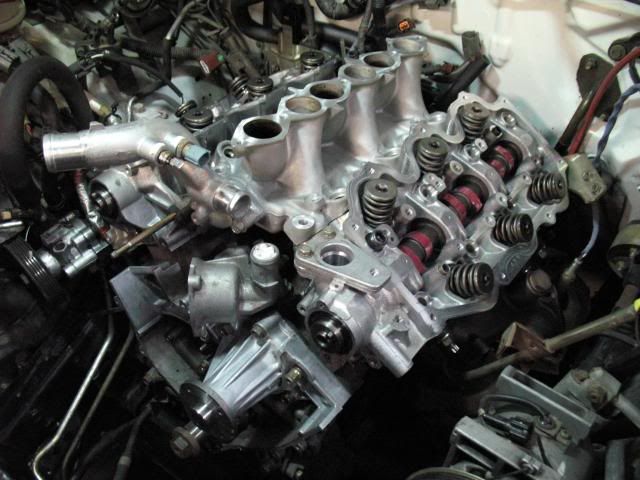
Now to reassemble the weapon…
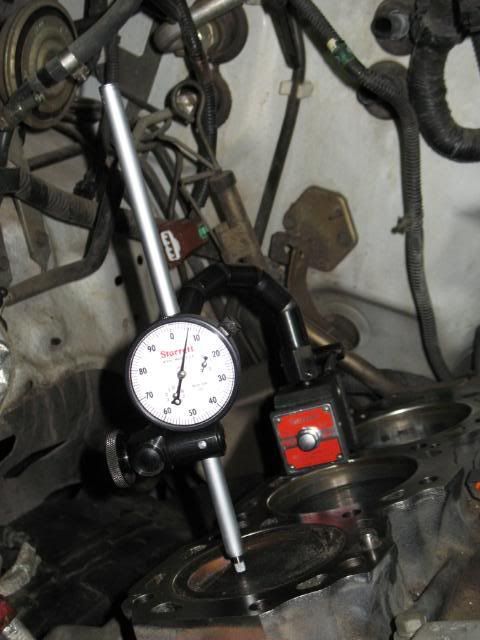
Finding top dead center before installing the refreshed heads:
Bling!
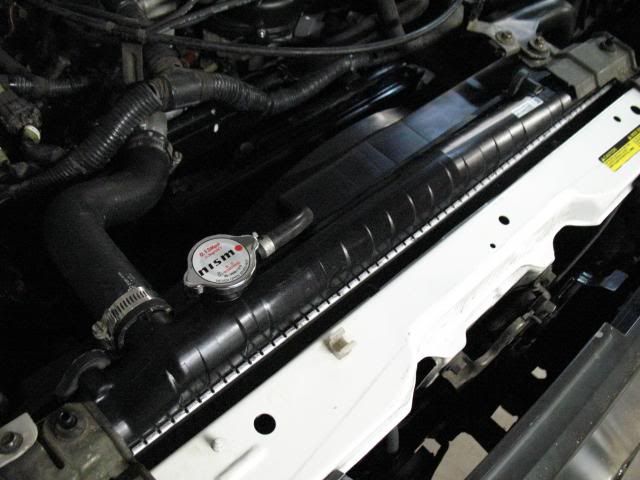
Upgraded the radiator to a larger, OEM Nissan one for the supercharged engine:
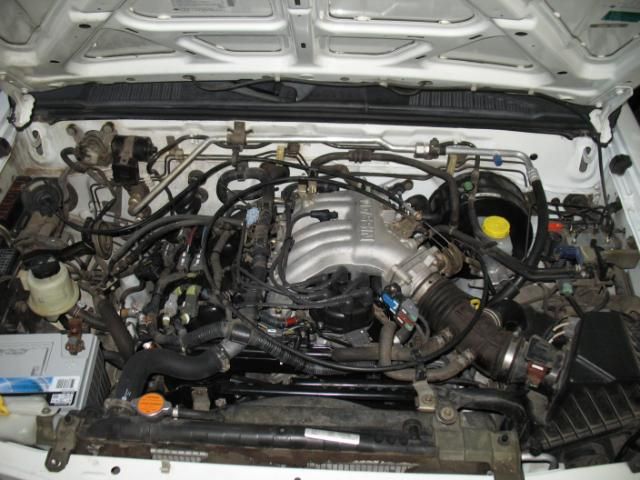
Two months later, after replacing all of the gaskets, seals and cooling hoses, all is well:
Now that the engine is happy, I was finally ready for the fun stuff…
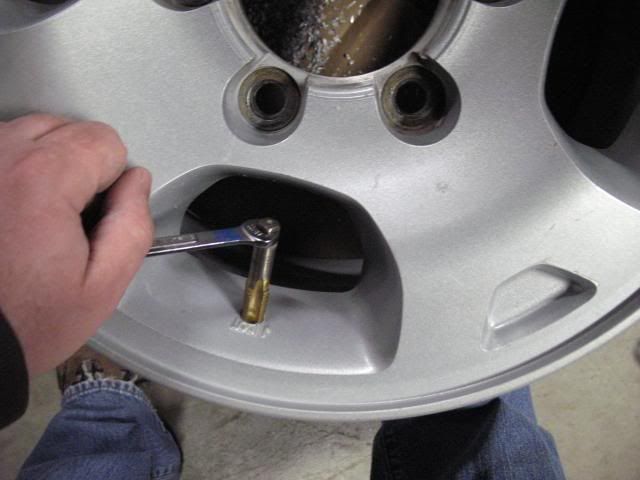
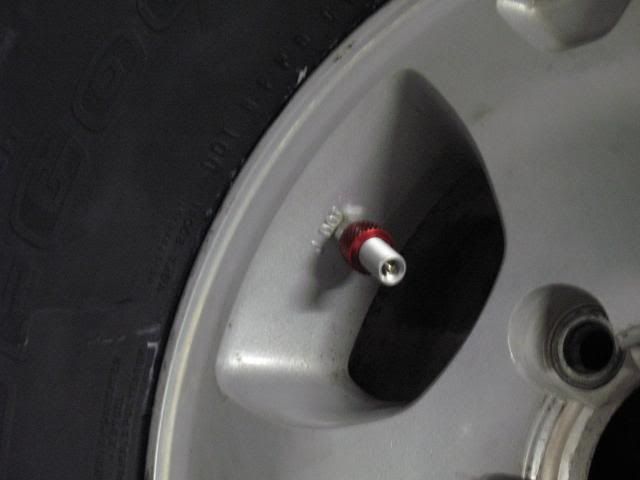
I grabbed a set of BFG KM2’s and installed a set of Powertank Monster valves minutes before I took the stock wheels to the tire shop. These babies allow me to deflate from 35psi to 15psi in less than fifteen seconds per tire. With the correct air chuck and pressure tank, I should be able to fill them just as fast.
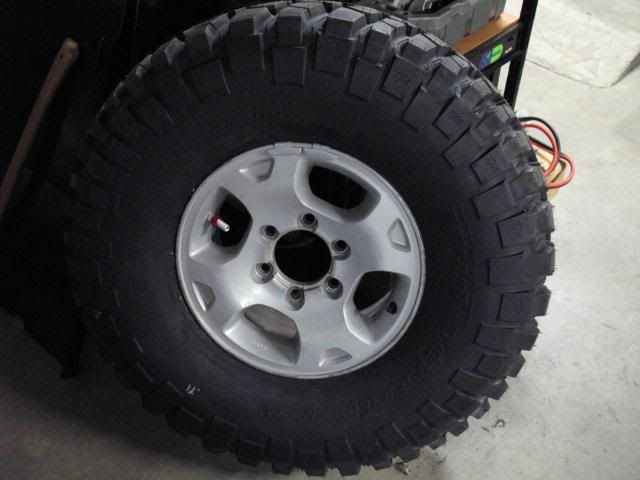
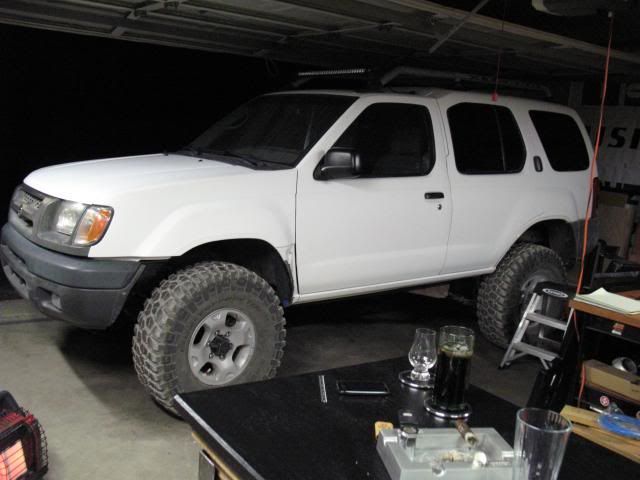
After I had the tires mounted and balanced, my first priority was to get the new 33” x 12.5” tires on the truck before I installed the suspension lift so I would be able to easily identify the spots that needed trimming.
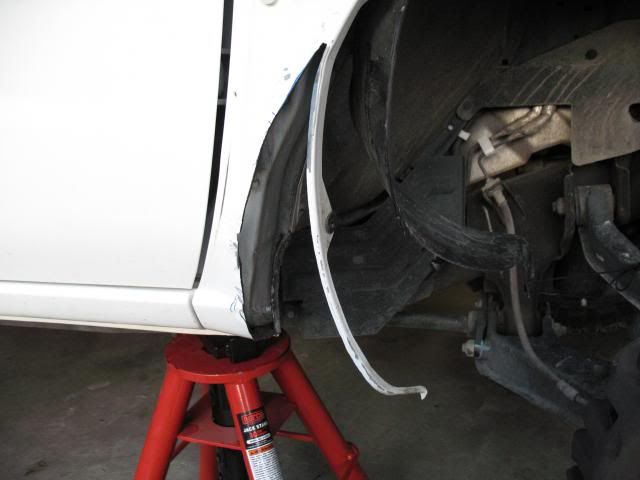
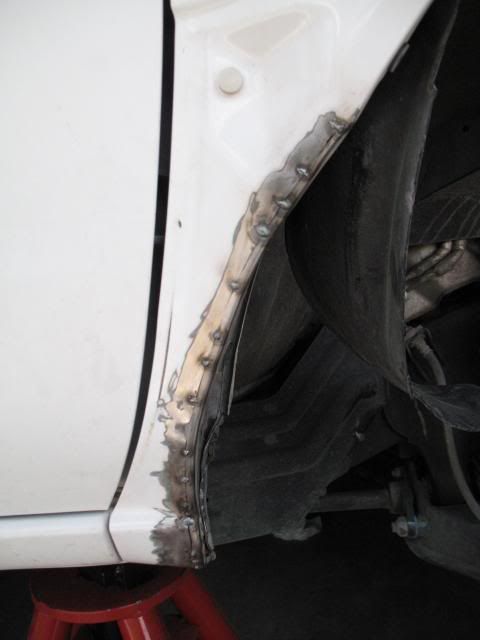
I’m not a fan of body lifts… they raise the vehicle’s center of gravity unnecessarily and increase the stresses on the body mounts. The Xterra has stronger body mount platforms than other off-road vehicles (Jeeps) but it wasn’t that hard to trim enough metal to make 33’s fit without rubbing. So screw the body lift:
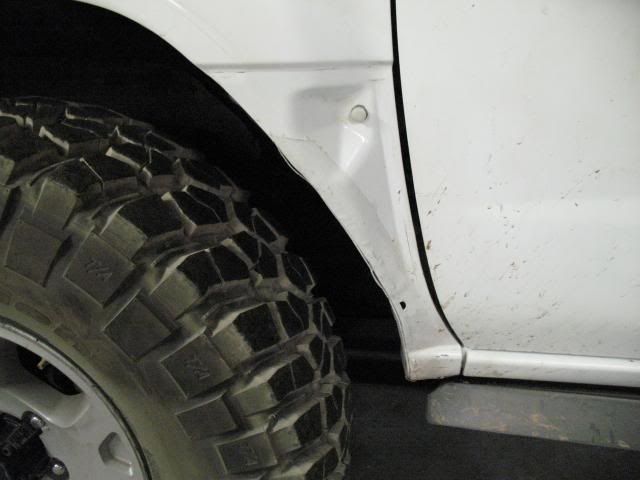
After I eliminated most of the rubbing, I was able move on to the suspension upgrades. I still need to fabricate a low profile brake/fuel line shield to get rid of the last bit of rubbing but I’m comfortable with the decision to avoid the body lift.
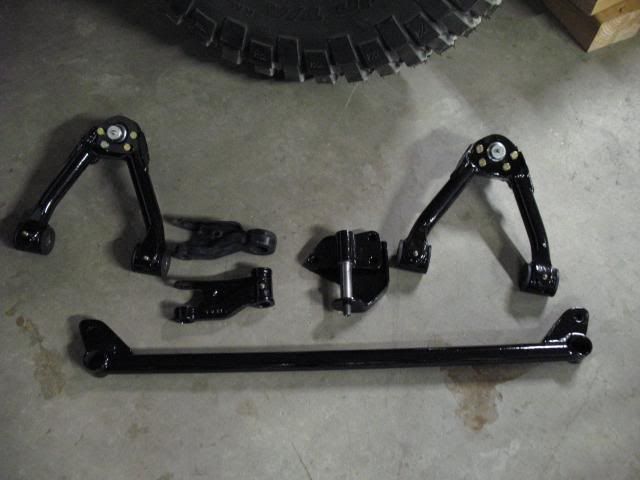
Now I was finally able to install the new SLR lift kit and steering setup that I picked up a couple of years ago.
By this point, GONEMoab was only a couple of weeks away and I had to make the decision whether or not to try to install my air lockers and 5.14 differential gears before the event. I had the truck on jack stands and was about to pull the axles when I started to think about gear break-in and I wasn’t sure if I was going to have time to break in the gears properly. I decided to play it safe and focus my attention on installing the Shrockworks skids and building a set of sliders.
The decision turned out to be a good one; I missed the first day of GoneMoab as I scrambled to finish welding the sliders.
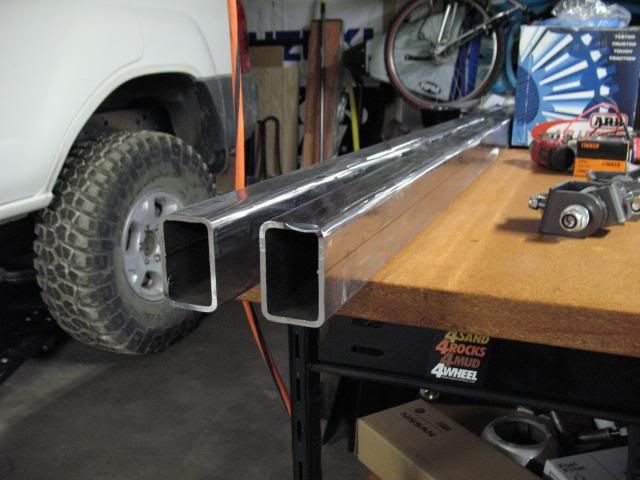
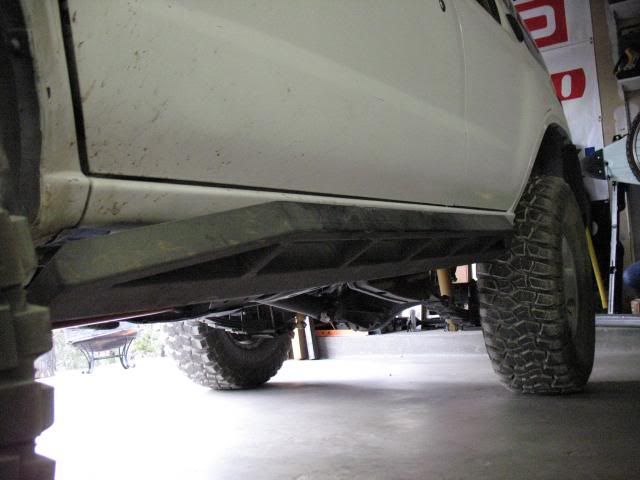
Two temporary coats of primer on the sliders and it was finally time to join the folks in Moab and see if I’ve built a worthy foundation…
(Thanks to Shiloh G.and RATTFINK for the great shots!)
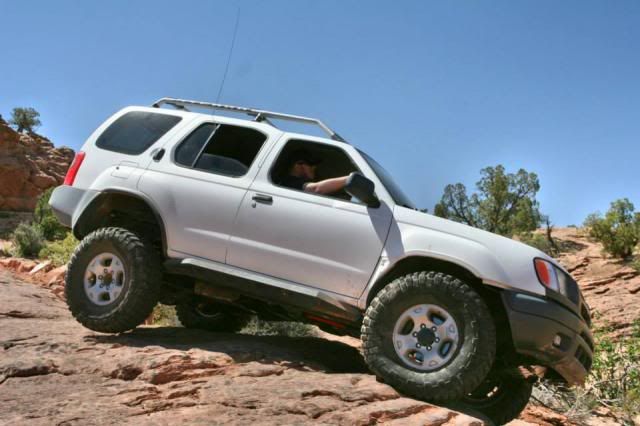
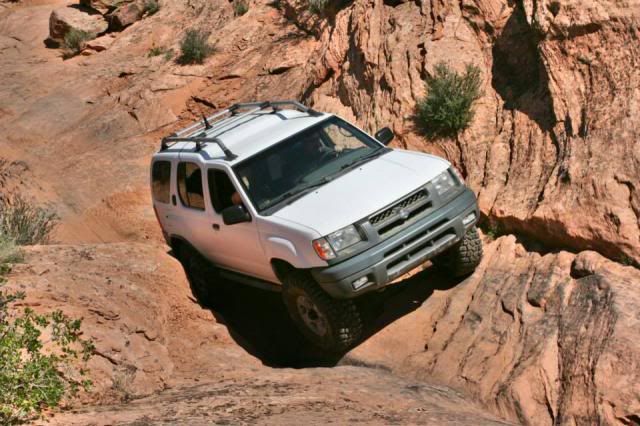

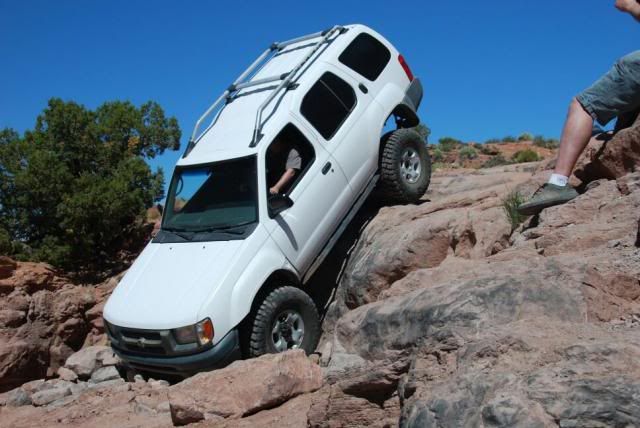
I had a blast in Moab and met a lot of great folks. Aside from a half-assed alignment job (the only work that I didn’t do myself) the X performed very well.
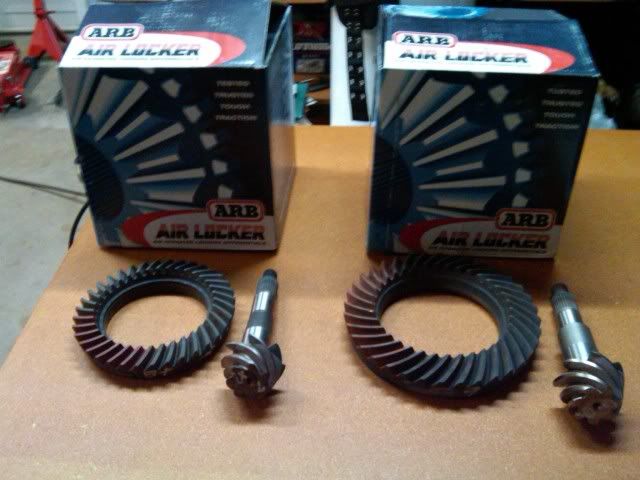
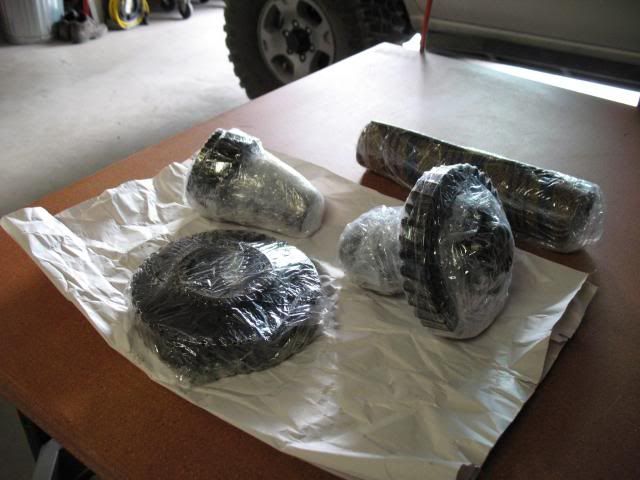
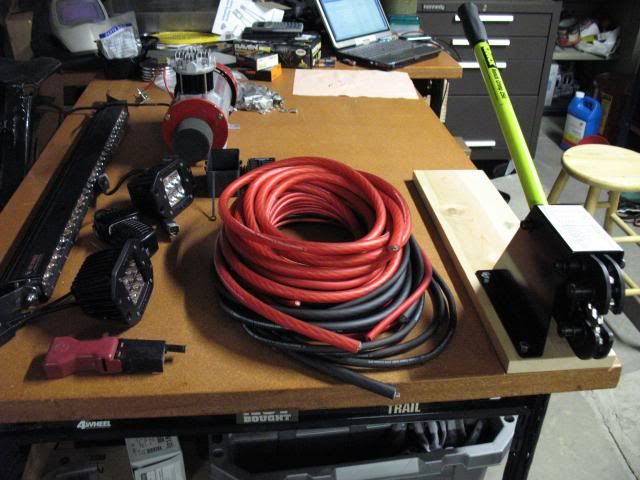
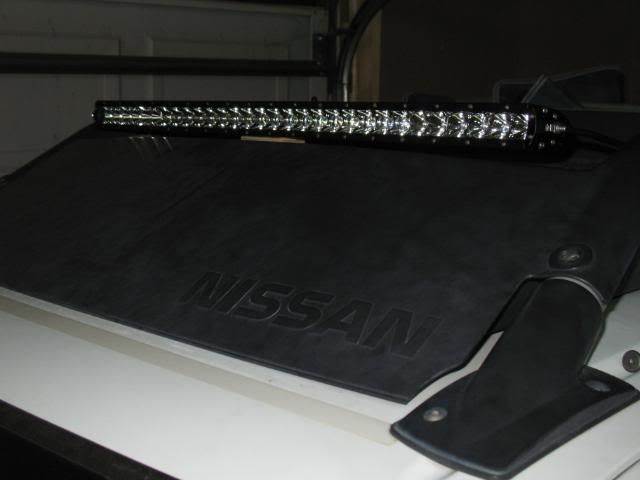
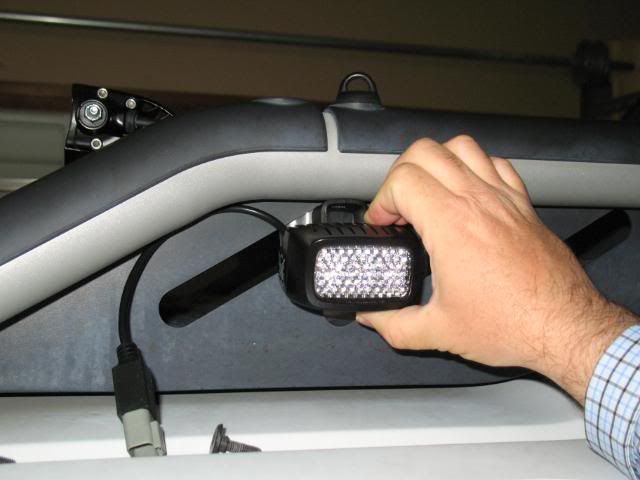
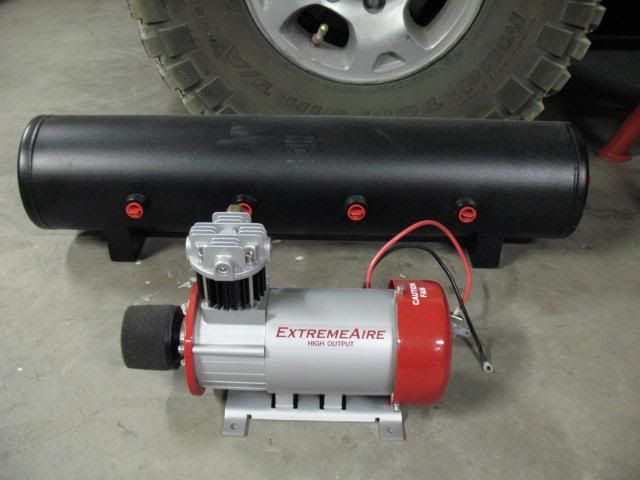
Now I’m looking forward to installing the air lockers, differential gears, transfer case crawler gears, electrical distribution system, OBA system and Rigid LED lighting. It’s taken me a year and a half to get this project started so this build thread will grow slowly… but that’s just how I roll.
To be continued...
-Rok
We bought the Xterra in early 2000 when my wife’s Camry was totaled by a dude who ran a red light. We really wanted to get her a 4Runner (yep… I’m a tried and true Toyota guy) but we were also trying to buy our first home and we didn’t want to pay the extra 10K. The Xterra had everything we needed, and nothing we didn’t.
A few months after we bought the Xterra, we took it up to Telluride, CO and I took my wife on her first real wheeling run over Imogene Pass. I was amazed at how well the stock Xterra performed and my wife was hooked on wheeling the high mountain passes of Colorado. That was the last real wheeling trip we took in the X for a while though, I managed to tweak one of the stock aluminum step rails and she freaked out a bit even though I was able to bend it back. The Xterra was then dedicated to being a mom-mobile for the next ten years and we used my old Montero and later my Tundra for wheeling trips.
Fast forward ten years…
A buddy and I were chillin’ in the shop when we get a call from my wife… she was at the top of the road to our house and the Xterra died and it wouldn’t start. I kinda knew right then that the timing belt gave out, so we headed up the road to help her out. With a glass of Scotch in hand, we coasted the crippled X down the hill and towed it into the shop.
Once I confirmed that the timing belt failed, a quick internet search revealed that the VG33 is an interference engine. I explained to my wife that the engine valves were probably crunched, and the X was basically worthless at that point. Our best bet was to buy her a new vehicle without a trade in and let me try to revive the X. She agreed, I got a new rig to play with and she got the 4Runner that she always wanted.
Score!
First order of business was to pull the heads on the VG33 and inspect for damage.
Yep… Timing belt is hosed:
I performed a leakdown test on each of the cylinders and all of them held pressure well within spec. After visually inspecting the valves and seats, I found no obvious damage. Apparently, my engine wasn’t an interference engine. I went ahead and had an engine rebuild shop inspect the valves, replace all of the oil seals, mill the heads flat and perform a vacuum test. All went well. I probably would have been ok with just a timing belt replacement but after disassembling the thing, I learned a lot about the VG33 and that was well worth the effort.
Now to reassemble the weapon…
Finding top dead center before installing the refreshed heads:
Bling!
Upgraded the radiator to a larger, OEM Nissan one for the supercharged engine:
Two months later, after replacing all of the gaskets, seals and cooling hoses, all is well:
Now that the engine is happy, I was finally ready for the fun stuff…
I grabbed a set of BFG KM2’s and installed a set of Powertank Monster valves minutes before I took the stock wheels to the tire shop. These babies allow me to deflate from 35psi to 15psi in less than fifteen seconds per tire. With the correct air chuck and pressure tank, I should be able to fill them just as fast.
After I had the tires mounted and balanced, my first priority was to get the new 33” x 12.5” tires on the truck before I installed the suspension lift so I would be able to easily identify the spots that needed trimming.
I’m not a fan of body lifts… they raise the vehicle’s center of gravity unnecessarily and increase the stresses on the body mounts. The Xterra has stronger body mount platforms than other off-road vehicles (Jeeps) but it wasn’t that hard to trim enough metal to make 33’s fit without rubbing. So screw the body lift:
After I eliminated most of the rubbing, I was able move on to the suspension upgrades. I still need to fabricate a low profile brake/fuel line shield to get rid of the last bit of rubbing but I’m comfortable with the decision to avoid the body lift.
Now I was finally able to install the new SLR lift kit and steering setup that I picked up a couple of years ago.
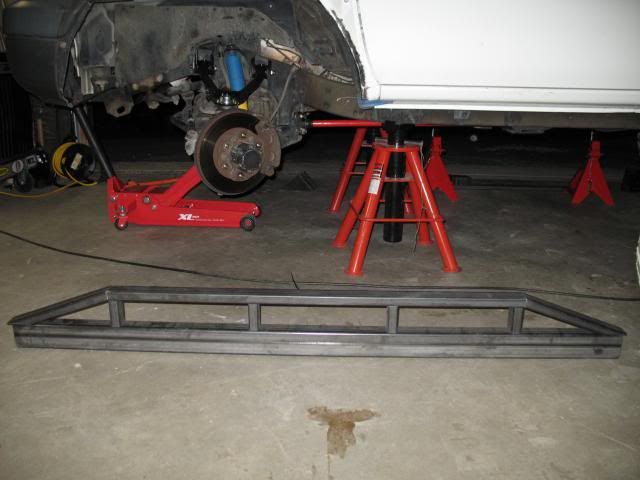
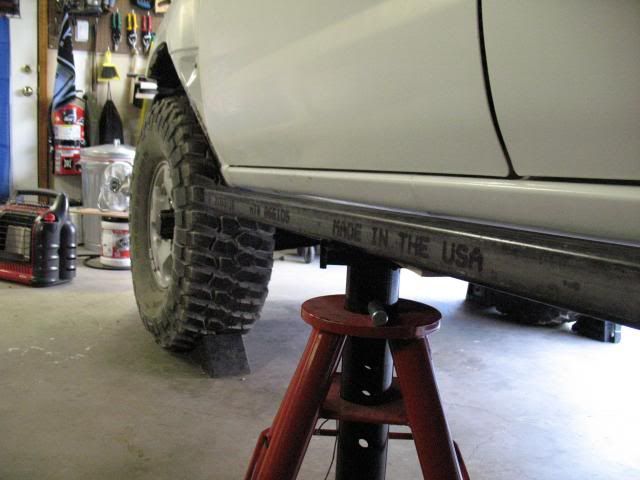
By this point, GONEMoab was only a couple of weeks away and I had to make the decision whether or not to try to install my air lockers and 5.14 differential gears before the event. I had the truck on jack stands and was about to pull the axles when I started to think about gear break-in and I wasn’t sure if I was going to have time to break in the gears properly. I decided to play it safe and focus my attention on installing the Shrockworks skids and building a set of sliders.
The decision turned out to be a good one; I missed the first day of GoneMoab as I scrambled to finish welding the sliders.
Two temporary coats of primer on the sliders and it was finally time to join the folks in Moab and see if I’ve built a worthy foundation…
(Thanks to Shiloh G.and RATTFINK for the great shots!)
I had a blast in Moab and met a lot of great folks. Aside from a half-assed alignment job (the only work that I didn’t do myself) the X performed very well.
Now I’m looking forward to installing the air lockers, differential gears, transfer case crawler gears, electrical distribution system, OBA system and Rigid LED lighting. It’s taken me a year and a half to get this project started so this build thread will grow slowly… but that’s just how I roll.
To be continued...
-Rok
Last edited:
")


