For a few years, I've been looking at this hackjob done to my father-in-law's bed frame. His bedroom furniture was bought by his great-grandfather around the year 1890. Apparently back in the day, people were not as tall - so beds were shorter in length. This bed my father-in-law has been using for years was lengthened by his father by 8", which permitted a full-size mattress to fit. The headboard and footboard are beautiful pieces of oak, the grain is unlike any you can buy today. The two rails were cut and an 8" piece of plywood was added to each solid oak rail. Then some dark red stain was applied, here's a couple of pictures of the hack job:
The visible side, notice the carriage bolts, very attractive
The hidden side, even prettier
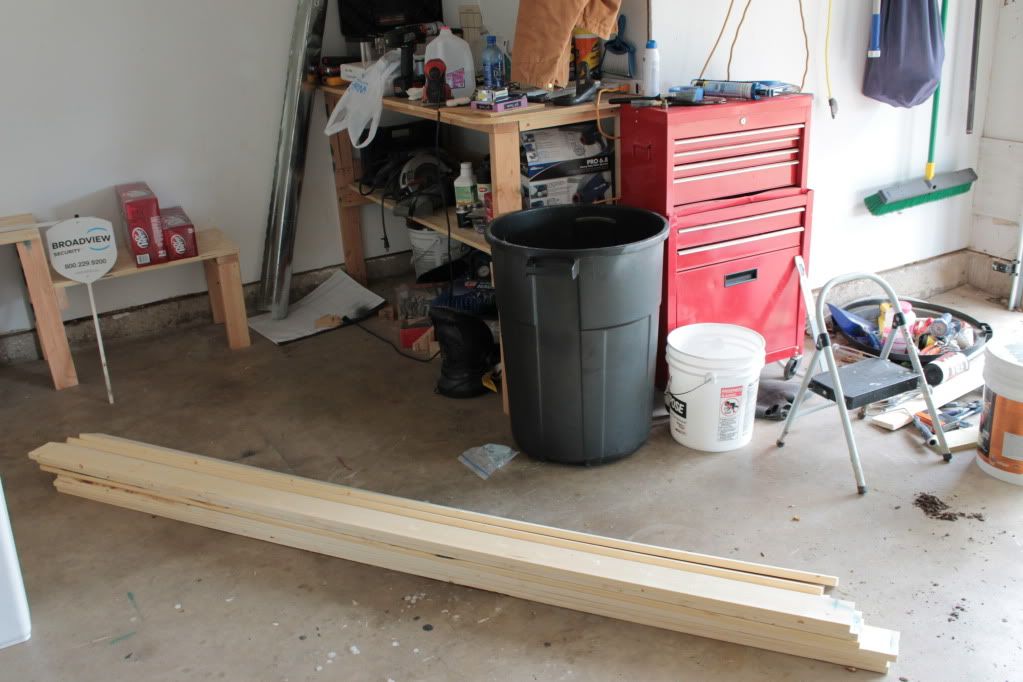
By adding this patch in the middle, the rails became unstable and my father in law even had coat hangers and duct tape to keep them from spreading out and the slats dropping. It was a real rig to say the least, for me it seemed so pitiful to see such a pretty piece of furniture in such sad shape. I discovered that my father in law was purchasing a new mattress, so I sprang into action - purchased about $150 in red oak, and went to work.
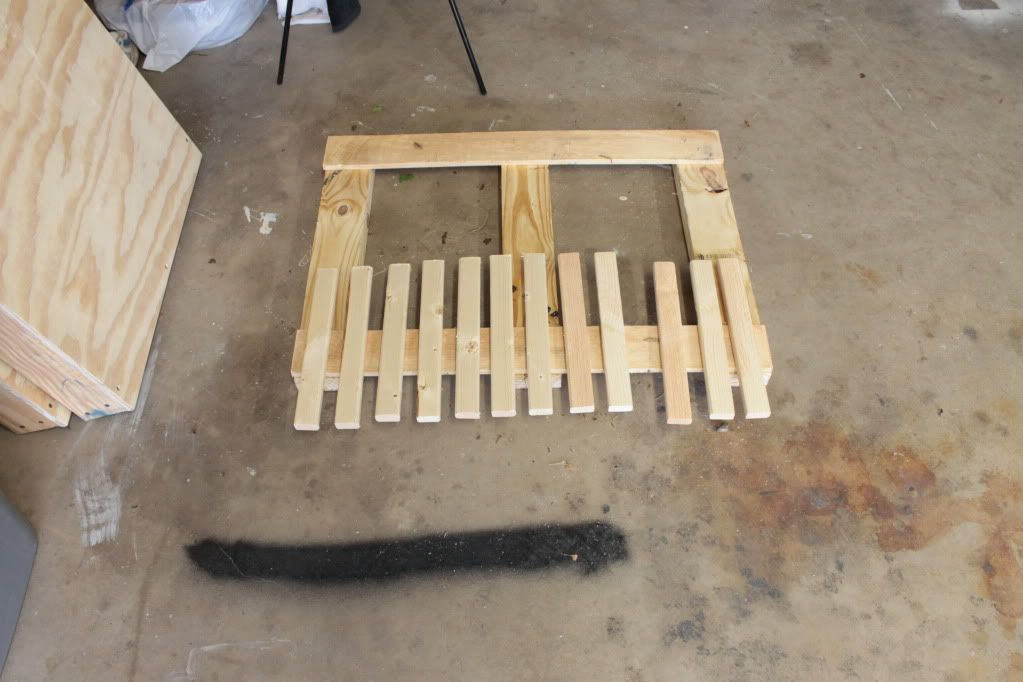
The rails hang into the headboard and footboard by these steel brackets. I made a test piece as to experiment with hanging this bracket, and testing the finish. There are actually a couple of 5/16" steel pins that hold the bracket into the rail, but then the rail sits on a couple more steel pins inside the foot/head boards. It was really no problem to transfer the bracket over, here's my test piece, and a trial fit.
After installing the bracket, the test piece is sitting on top of the footboard - this will give you an idea of why I wanted to repair it:
The bracket fit well into the footboard, only a couple of minor adjustments were needed after I did the final fit on the real rails later:
You can probably see the scratches in the footboard above, I can only figure that was from years of abuse from the old steel springs used under mattresses. I'm not too worried about those scratches because they are hidden when the box springs and mattress are in the frame.
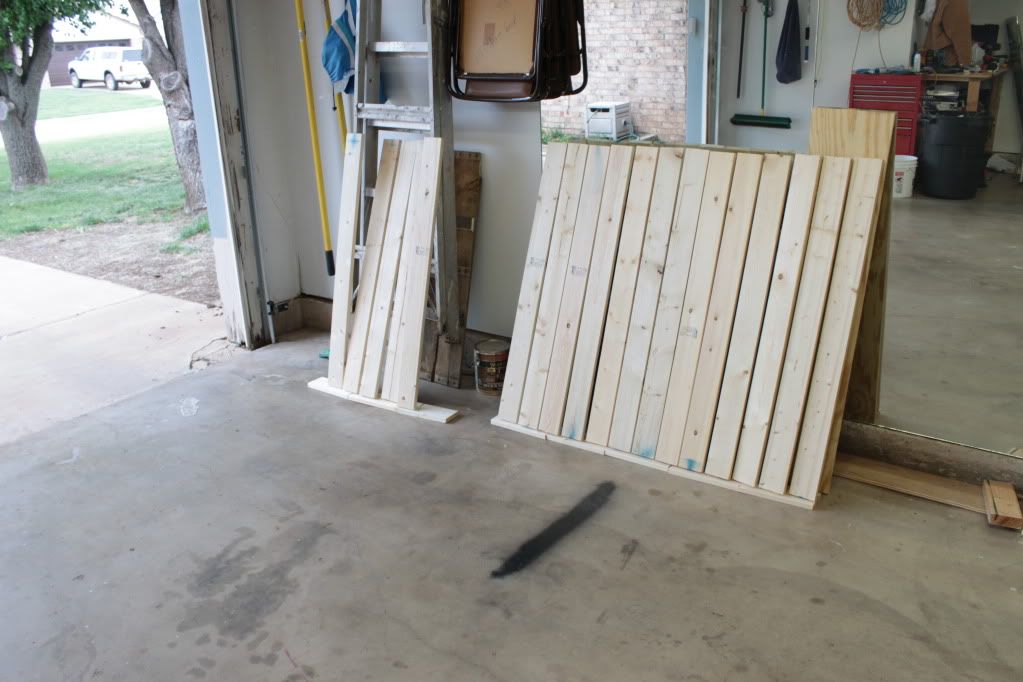
Here are the full length rails after completion, with the wood conditioner applied just prior to staining.
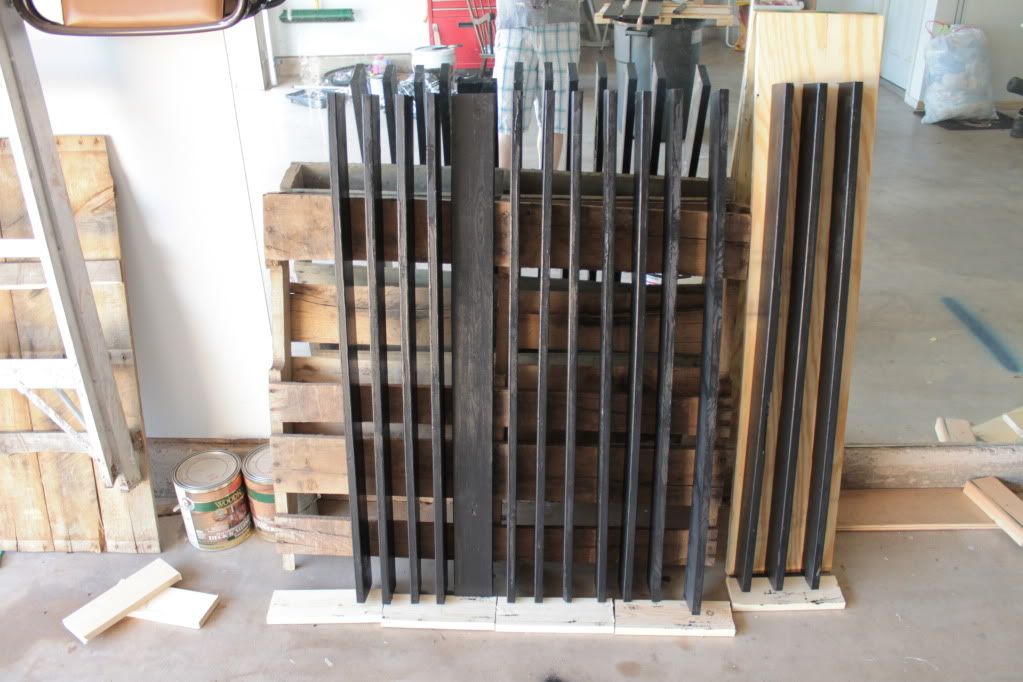
I had made a couple of attempts at paint stores to have the finish matched, but no luck. I assume the original manufacturers had techniques that are not in use today. Who knows what 120 years may do to finishes? So I reached into my supply of pieces of cans of stain and started experimenting. I used Ipswitch pine as the first coat, then dark walnut as the second coat of stain. I didn't wipe the excess off from the walnut stain, I just let it dry a couple of days. It seemed to match the original finish pretty well.
Here's the rails after applying the walnut stain - looks like it has the polyurethane on it, but it doesn't.
The final finish, includes 3 coats of minwax fast drying polyurethane, sanded after the first two coats:
It's not exact, but I'm very satisfied with the color match. Looks way better than the original hack-job:
Here's a picture of the headboard, part of my inspiration for repairing it. Wonder who might inherit this family heirloom?