robcarync
Sliders
- Location
- Raleigh, NC
Ladies and Gentlemen...I am migrating my build thread from ClubX over to here. I am going to reserve the first few posts so I can keep everything organized and next to each other instead of having to filter through 30 pages of discussion...I will start with a current mod list at the top, then a photo timeline below.
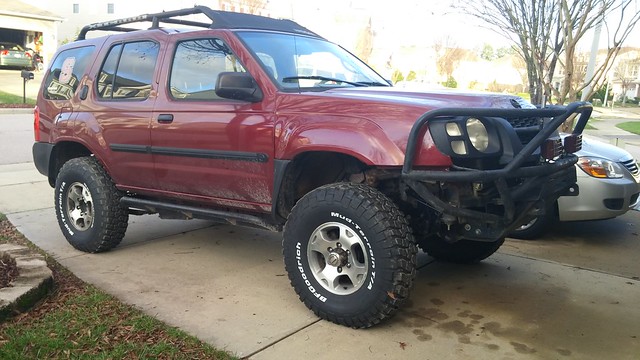
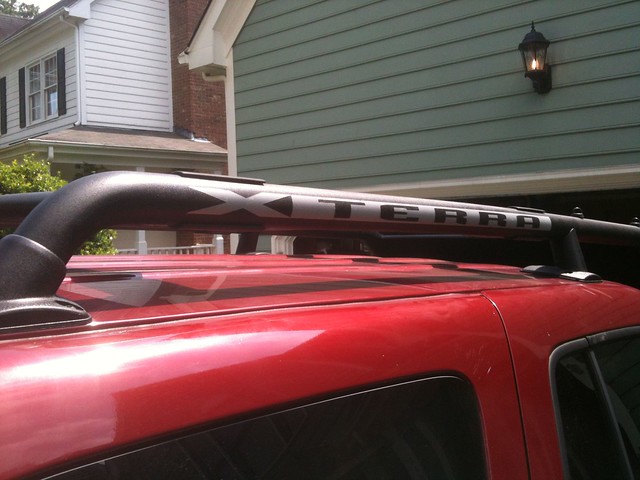
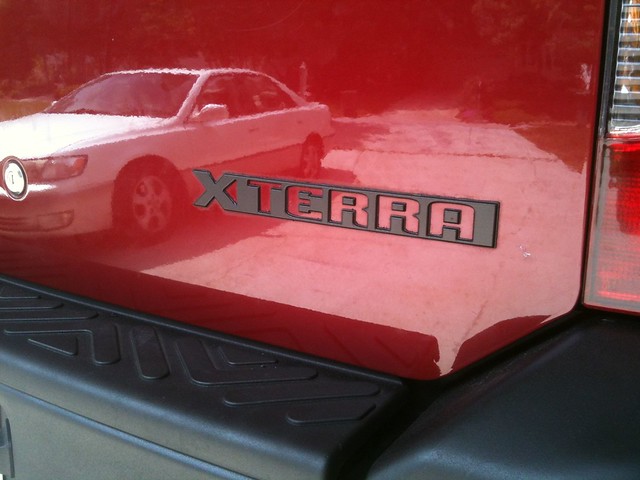
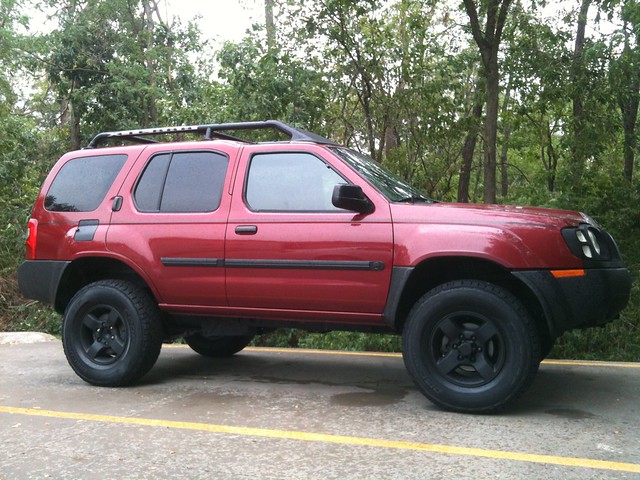
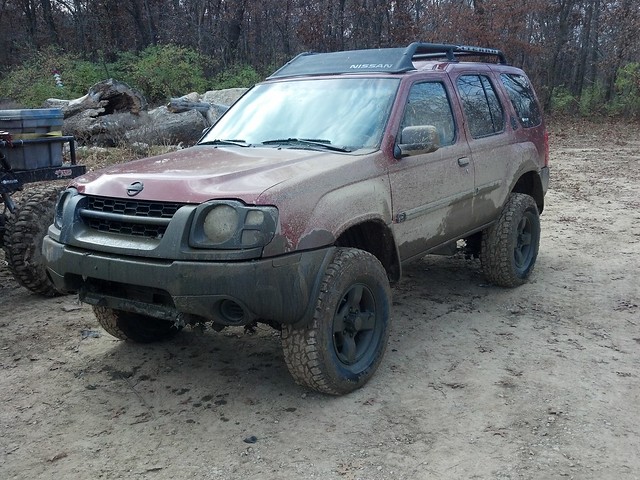
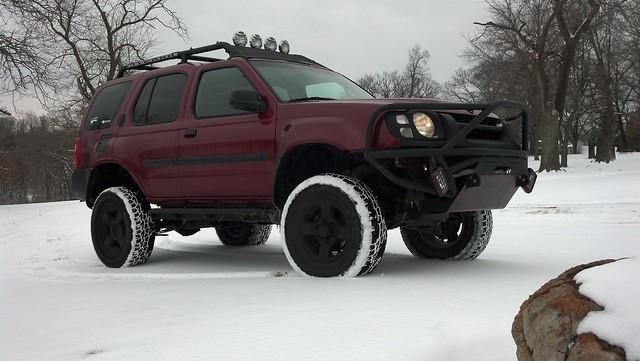
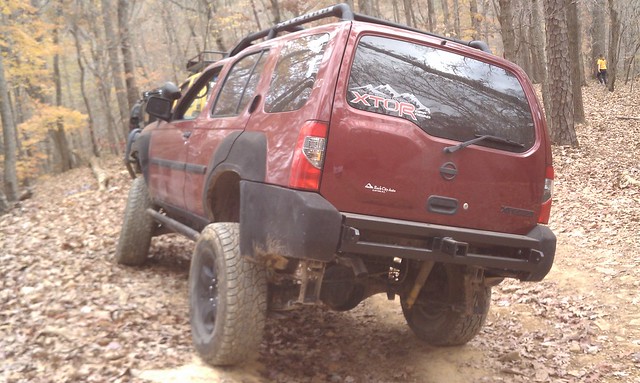
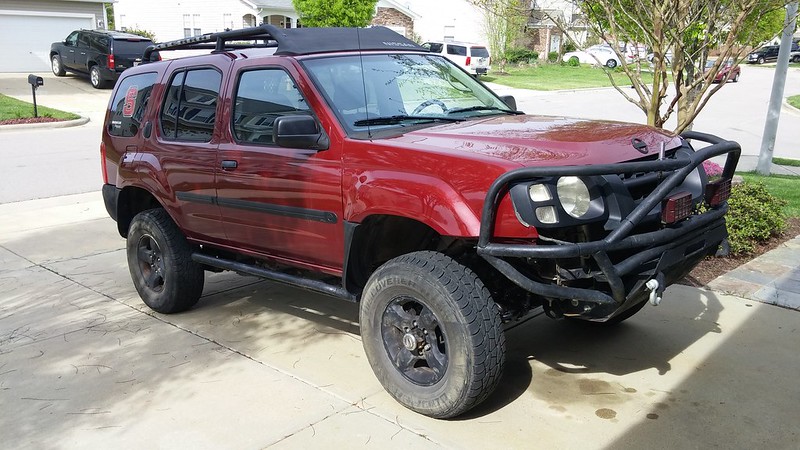
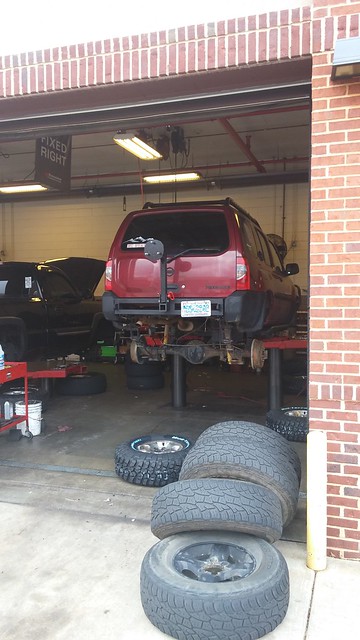
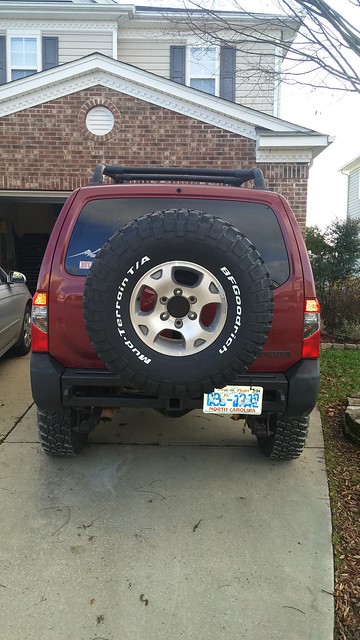
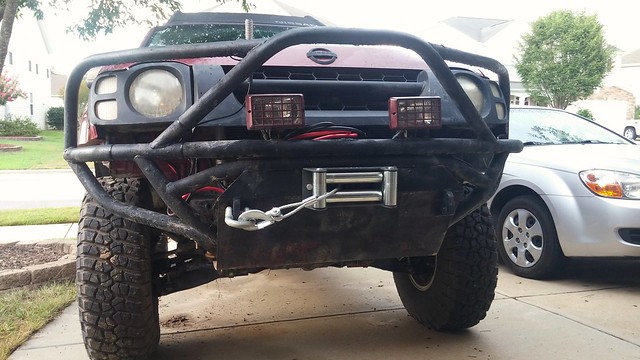
Current Photo
Mod List
Suspension
>2.125" AC adjustable lift shackle
>3" lift AC upper control arms
>3" Bilstein HDs
>2" DIY body lift
>Rear sway bar delete
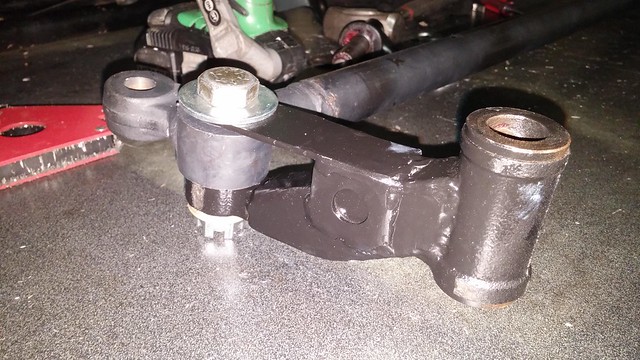
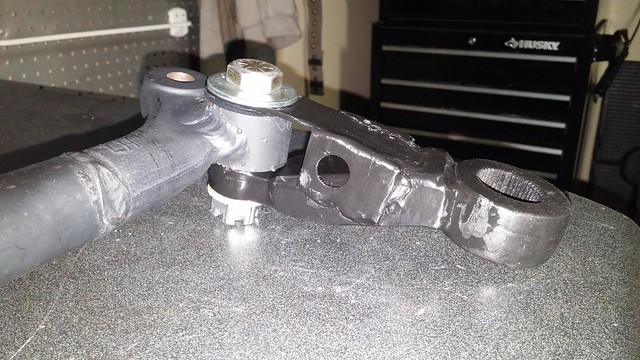
Steering
>GrassRoots4x4 center link
>Total Chaos idler arm brace
>Bandit 4x4 idler arm bushings
>AC heavy duty tie rod adjusters
>Double shear idler and pitman arms
Traction
>Lokked and dropped front differential
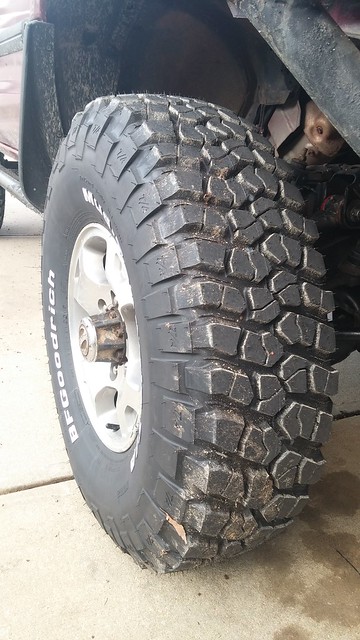
>33x10.50R15 BF Goodrich MT KM2
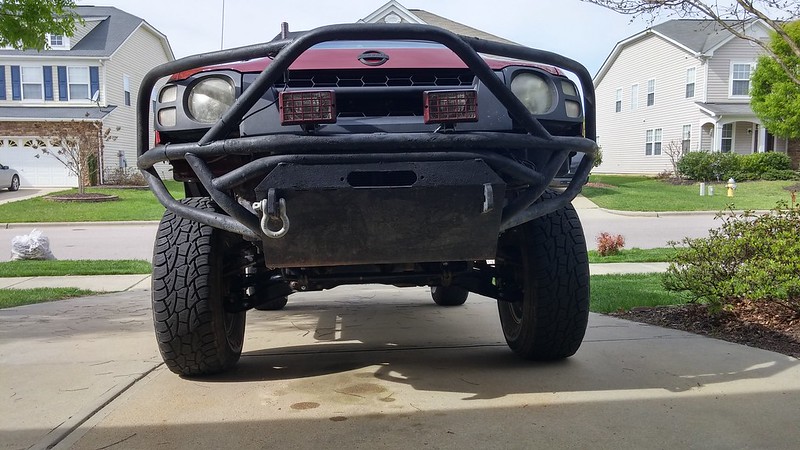
Armor
>Custom front bumper
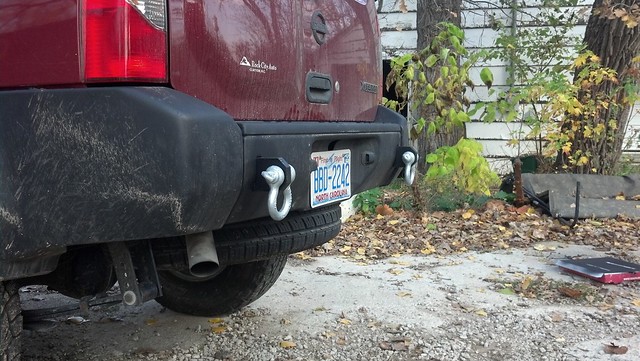
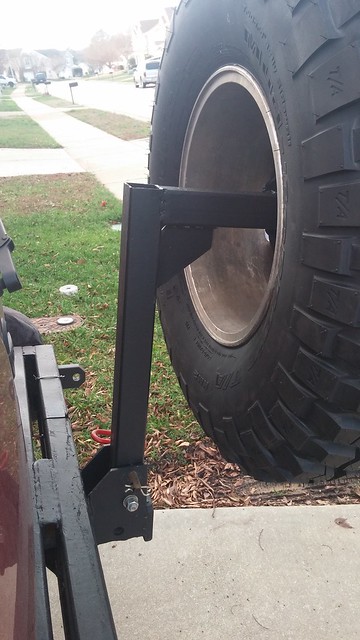
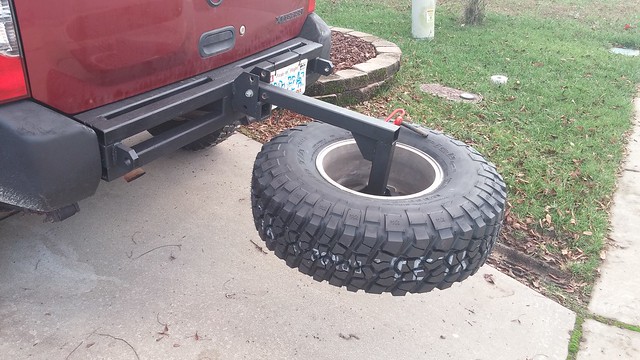
>Custom rear bumper + tire carrier
>Shrock sliders
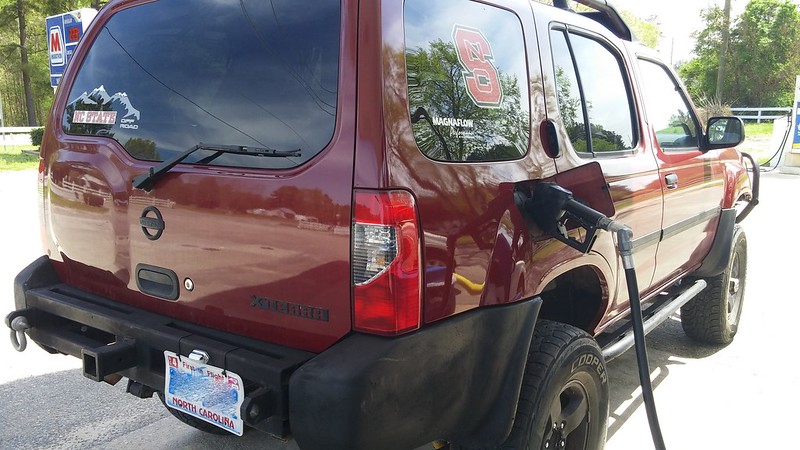
Miscellaneous
>Custom Magnaflow exhaust, replacing stock crossover
>Rustoleum bedliner wherever I feel like putting it
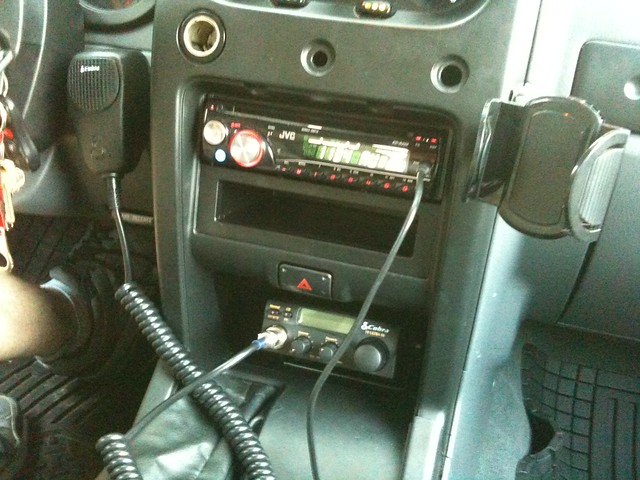
>Cobra 19 DX III CB radio with 4' Firestik Firefly antenna
>Pioneer head unit
>Front differential drop bushings
>Macco paint and body work
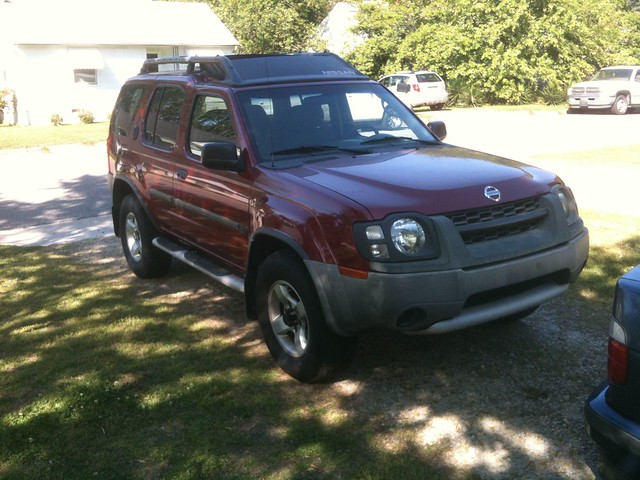
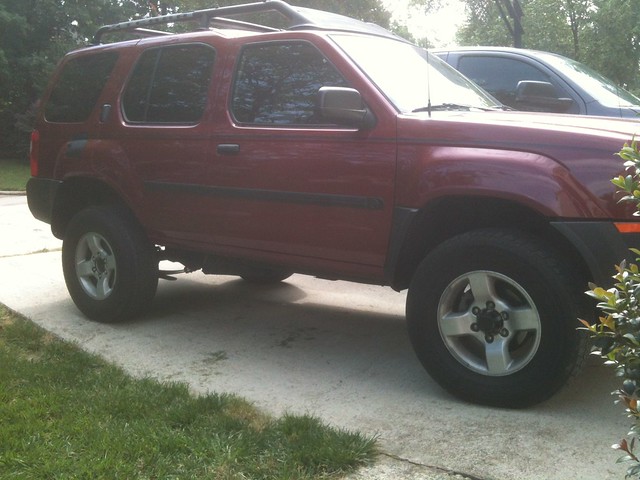
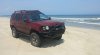
How did I get there? Let's start with stock, when I first brought it home in April 2012:
Grey was gross...First thing that had to happen...RUSTOLEUM BEDLINER!!!!

Plasti-Dip rules too!
I told myself I wouldn't mod this vehicle...oops...PML using adjustable shackle:
Removed the rear sway bar to get that sexy flexy stance:
I got tired of having the extra shackle hang over the end. Obviously I had to get UCAs to lift the front up further. I maxed out the adjustable shackle at 2.125" in the rear, and added 3" with the UCAs in the front. Then I got some all terrain tires, and bedlined my rims too! This happened by August of 2012.
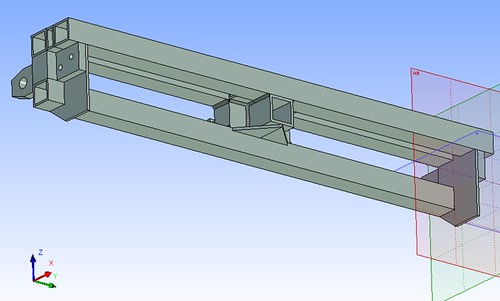
I needed rear recovery points to wheel, so I custom fabricated these bad boys:
Needed a CB radio so I could get off road. Picked up a Cobra DX 19 III:
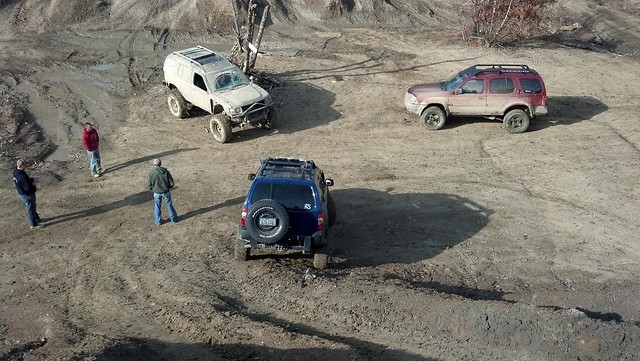
Got to enjoy my first time out wheeling with Xterror04 and Midget28 October 2012:
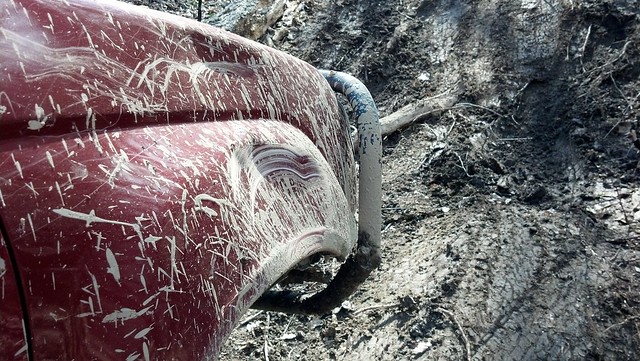
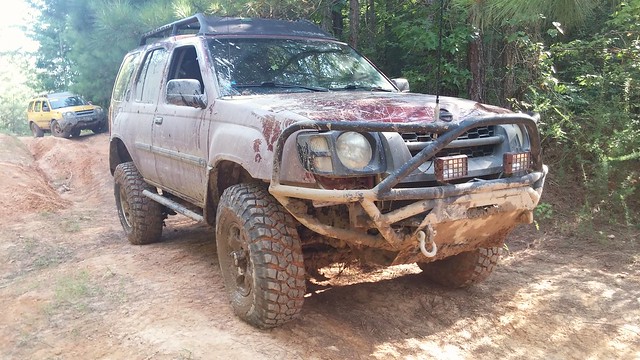
I felt at home in the mud:
Obviously, I needed to get a body lift done since I had maxed out the suspension lift. Xterror04 helped me get this done December 2012:
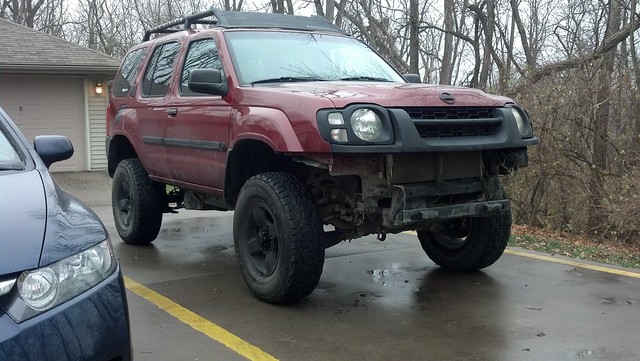
Notice I lost my front bumper due to a pot hole:
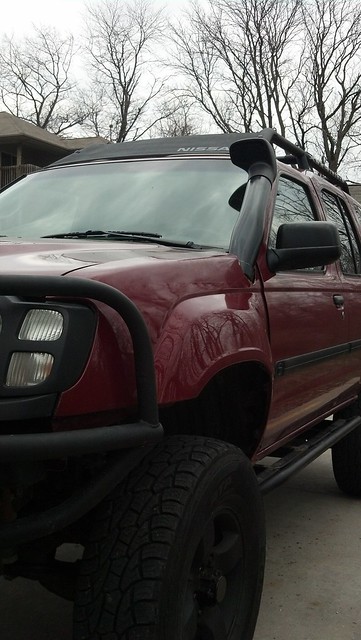
I had to get a custom bumper fabricated for the front by January 2013...it just didn't make sense to NOT upgrade:
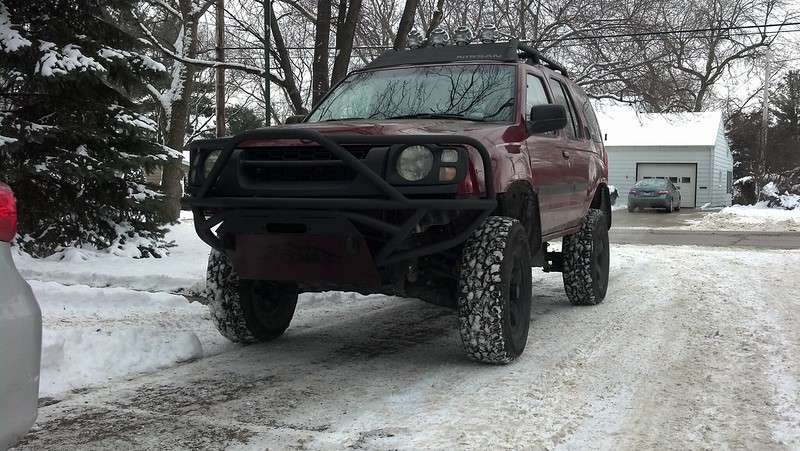
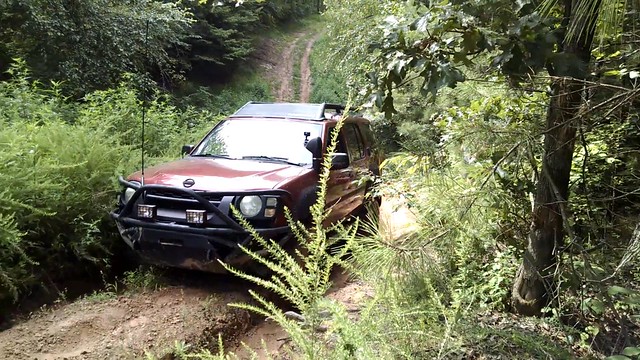
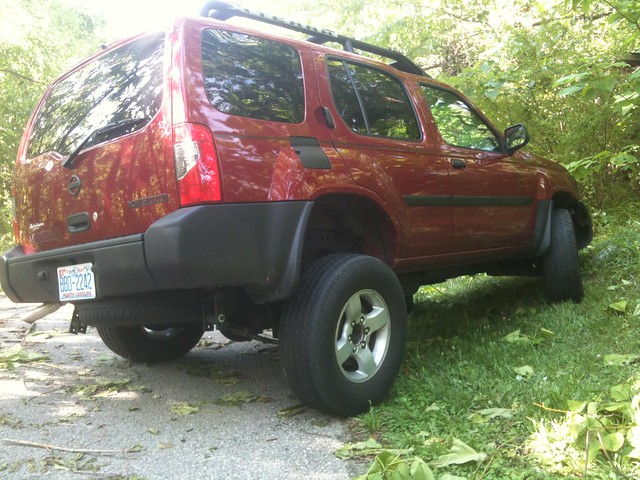
I installed some fog lights and roof lights...looks sweet. They didn't last long before a tree branch took them off for me. Note the Shrock sliders too!
I decided to give a DIY snorkel a try. I was just bored and wanted to make something...
Sadly, I got the first dent offroading:
I did put a 4' Firestik Firefly CB antenna on the front bumper...FINALLY people can hear me!...I also shortened the snorkel:
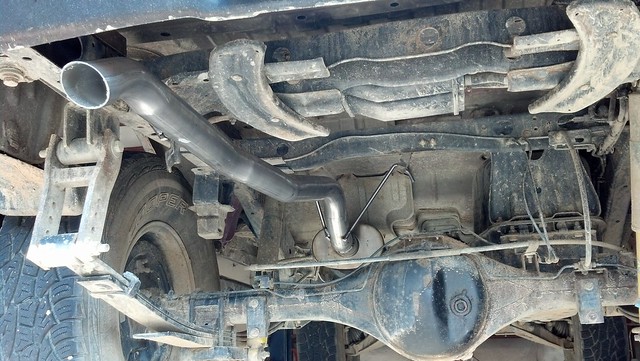
My Xterra at this point was very cool looking, but not sounding. A custom bent Magnaflow exhaust from the cats back solved it!
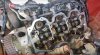
I decided I wanted to learn to weld...so I obviously had to create a project:
Once I built that bad boy...it was only logical to test it offroad (note the Herculiner on the fenders now, too):

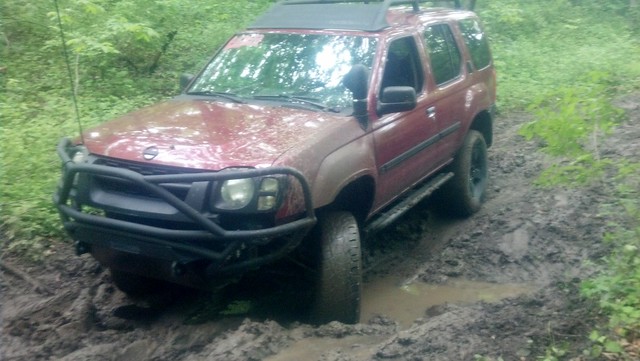
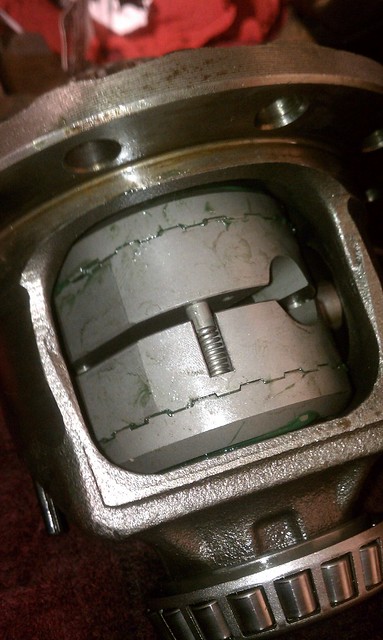
I had to get rid of that pesky open differential in the front...Front Lokka installed along with the diff drop January 2014:
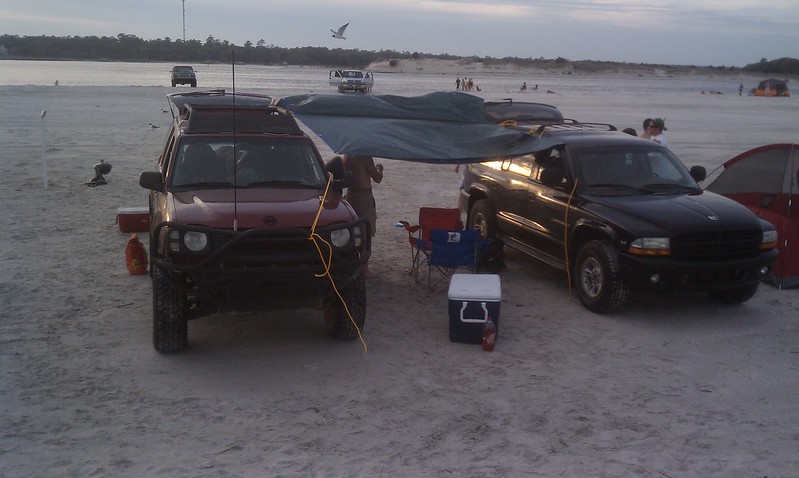
With my truck Lokked and dropped and all built up, it was time to play. My bachelor party was camping out on the beach:
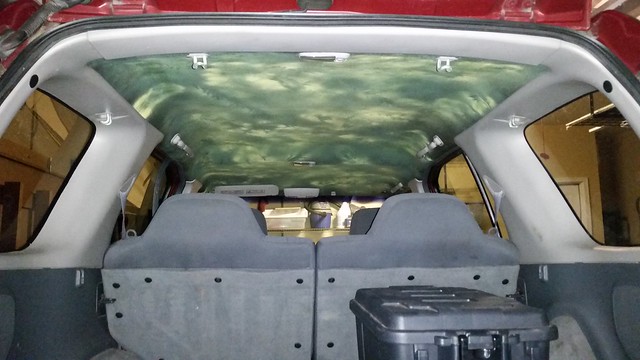
After an undisclosed number of beers, I crawled into the Xterra to pass out. All of a sudden, it appeared that my sagging headliner was trying to attack me in the middle of the night. I got into a tussle...but I won. I ripped every bit of fabric off the headliner...only to realize the headliner foam would sprinkle on me the rest of the night. Tired of having a steady shower of foam every time I drove, I decided to finally fix the headliner:
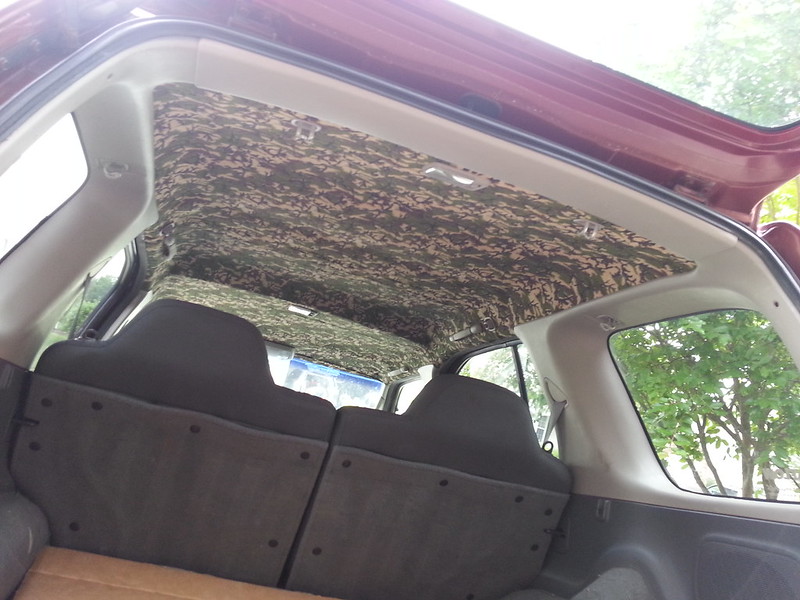
Let me tell you what...I can't be an expert at everything...and 2 days of sitting in the work parking lot all day in the 100F heat had this thing sagging again. Angry at fabric, I went with a paint job. I decided to be fancy and try spray painting my own camo design...turned out pretty cool, and I NEVER have to deal with this thing again!
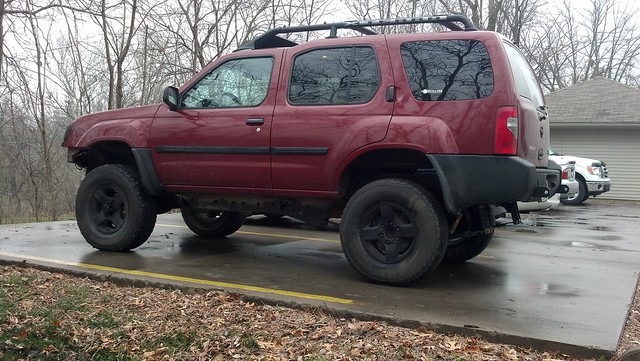
Current Photo
Mod List
Suspension
>2.125" AC adjustable lift shackle
>3" lift AC upper control arms
>3" Bilstein HDs
>2" DIY body lift
>Rear sway bar delete
Steering
>GrassRoots4x4 center link
>Total Chaos idler arm brace
>Bandit 4x4 idler arm bushings
>AC heavy duty tie rod adjusters
>Double shear idler and pitman arms
Traction
>Lokked and dropped front differential
>33x10.50R15 BF Goodrich MT KM2
Armor
>Custom front bumper
>Custom rear bumper + tire carrier
>Shrock sliders
Miscellaneous
>Custom Magnaflow exhaust, replacing stock crossover
>Rustoleum bedliner wherever I feel like putting it
>Cobra 19 DX III CB radio with 4' Firestik Firefly antenna
>Pioneer head unit
>Front differential drop bushings
>Macco paint and body work
How did I get there? Let's start with stock, when I first brought it home in April 2012:
Grey was gross...First thing that had to happen...RUSTOLEUM BEDLINER!!!!
Plasti-Dip rules too!
I told myself I wouldn't mod this vehicle...oops...PML using adjustable shackle:
Removed the rear sway bar to get that sexy flexy stance:
I got tired of having the extra shackle hang over the end. Obviously I had to get UCAs to lift the front up further. I maxed out the adjustable shackle at 2.125" in the rear, and added 3" with the UCAs in the front. Then I got some all terrain tires, and bedlined my rims too! This happened by August of 2012.
I needed rear recovery points to wheel, so I custom fabricated these bad boys:
Needed a CB radio so I could get off road. Picked up a Cobra DX 19 III:
Got to enjoy my first time out wheeling with Xterror04 and Midget28 October 2012:
I felt at home in the mud:
Obviously, I needed to get a body lift done since I had maxed out the suspension lift. Xterror04 helped me get this done December 2012:
Notice I lost my front bumper due to a pot hole:
I had to get a custom bumper fabricated for the front by January 2013...it just didn't make sense to NOT upgrade:
I installed some fog lights and roof lights...looks sweet. They didn't last long before a tree branch took them off for me. Note the Shrock sliders too!
I decided to give a DIY snorkel a try. I was just bored and wanted to make something...
Sadly, I got the first dent offroading:
I did put a 4' Firestik Firefly CB antenna on the front bumper...FINALLY people can hear me!...I also shortened the snorkel:
My Xterra at this point was very cool looking, but not sounding. A custom bent Magnaflow exhaust from the cats back solved it!
I decided I wanted to learn to weld...so I obviously had to create a project:
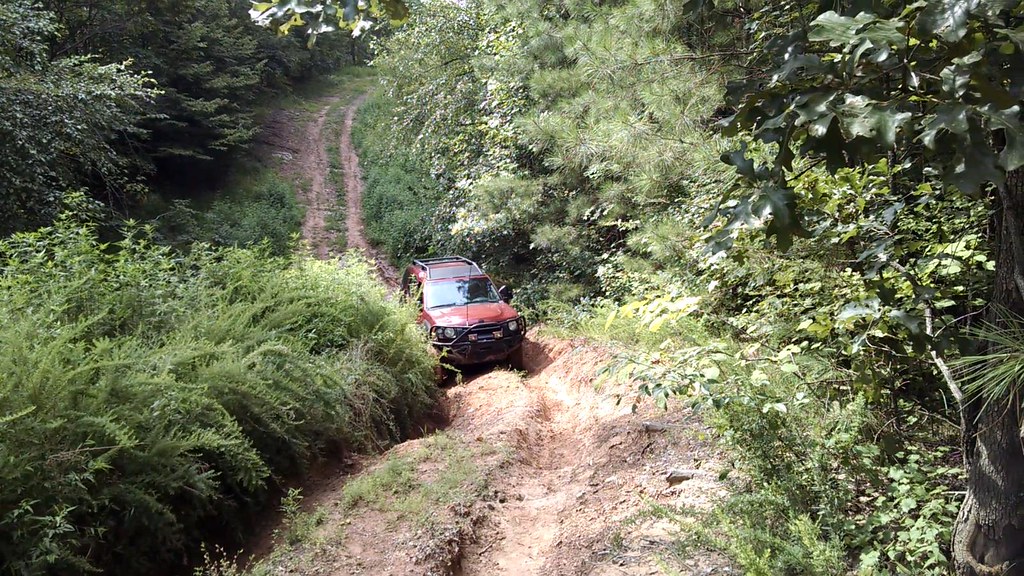
Once I built that bad boy...it was only logical to test it offroad (note the Herculiner on the fenders now, too):
I had to get rid of that pesky open differential in the front...Front Lokka installed along with the diff drop January 2014:
With my truck Lokked and dropped and all built up, it was time to play. My bachelor party was camping out on the beach:
After an undisclosed number of beers, I crawled into the Xterra to pass out. All of a sudden, it appeared that my sagging headliner was trying to attack me in the middle of the night. I got into a tussle...but I won. I ripped every bit of fabric off the headliner...only to realize the headliner foam would sprinkle on me the rest of the night. Tired of having a steady shower of foam every time I drove, I decided to finally fix the headliner:
Let me tell you what...I can't be an expert at everything...and 2 days of sitting in the work parking lot all day in the 100F heat had this thing sagging again. Angry at fabric, I went with a paint job. I decided to be fancy and try spray painting my own camo design...turned out pretty cool, and I NEVER have to deal with this thing again!
Last edited:

")