OR/P4X light upgrade to LED?

maillet282

If you bleeding, Imma fix you
Moderator
Location
Ontario Canada
ok been searching through the threads here and wondering on the possibilities of replacing the stock OR/ P4x lights to LED light bars like the rigid duellers or the 2x2" that other vendors sells in their GB in the air dam

has this been done? or has this been discussed
 

Airmapper

First Fill-Up (of many)
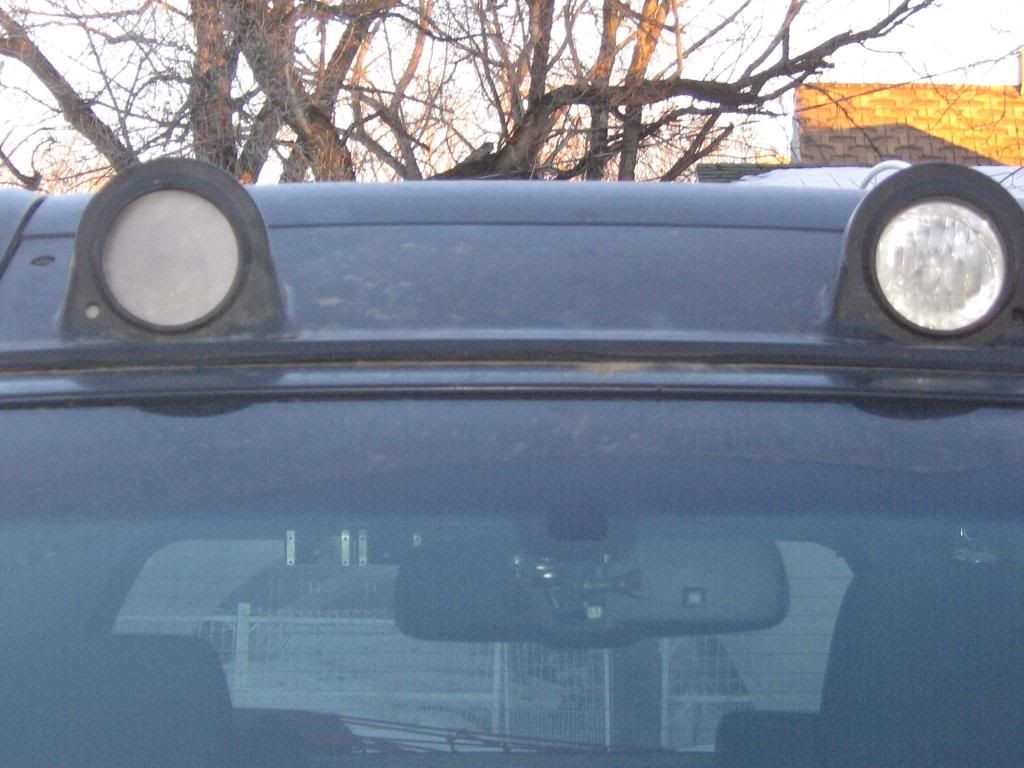
I've seen light bars added to an air dam, but as far as replacing the stock lights, it sounds like your wanting to stick a square peg in a round hole?

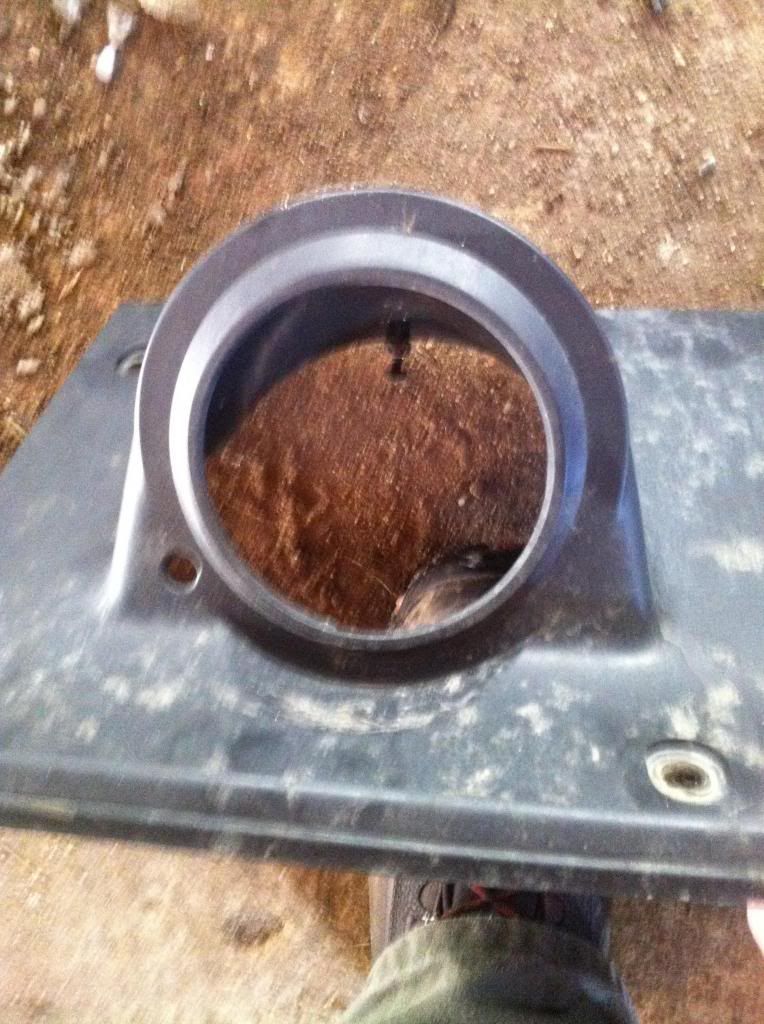
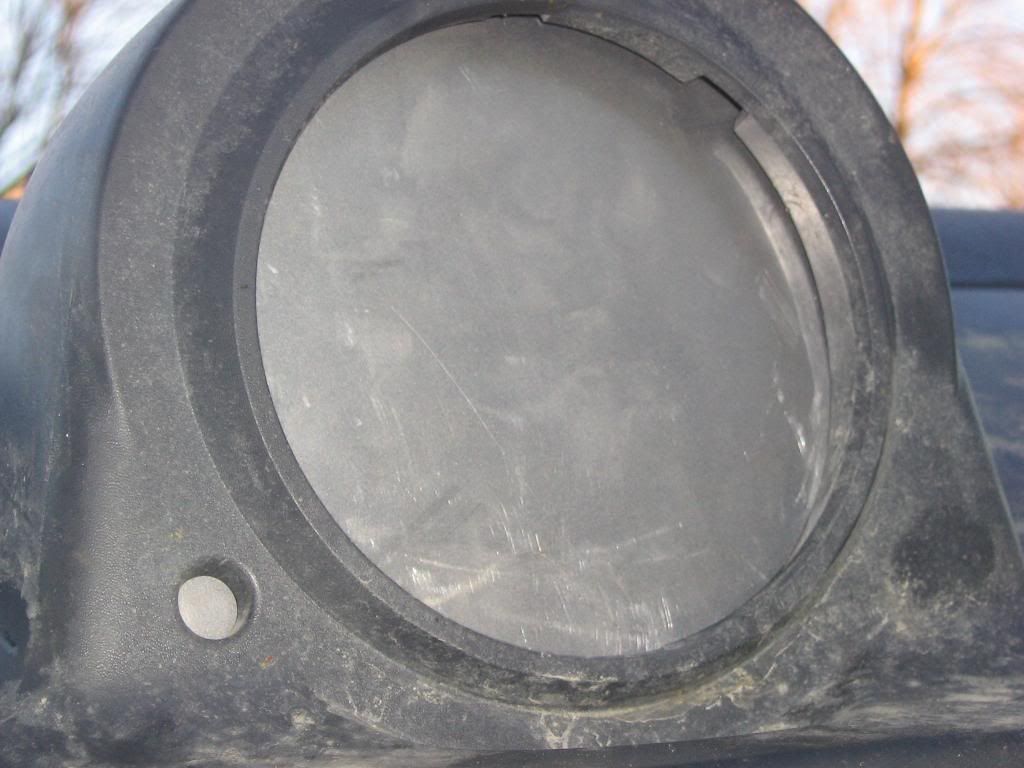
I've seen some round LED housings occasionally, it might be possible to integrate those into the stock housings somehow with maybe a little fabbing of a mount and rewiring. I've never seen an example of it though. It's something to explore I'd say, might turn out really well if you find a LED product that fits in the stock light hole.

Personally I'm not a fan of seeing LED light bars on OR/P4X stock air dams, in the way I've seen it done by some. You have round lights, and a long rectangular bar in the middle, and I just think it looks tacky. The mixing of round and squared shapes doesn't look aesthetically well planned to me. If I were to go that route I'd just remove and sell my air dam and lights (which you can get good money for sometimes) and get a normal air dam without the frog eyes to mount stuff to with a cleaner slate to start with.
 

maillet282

If you bleeding, Imma fix you
Moderator
Location
Ontario Canada
I was thinking more of using an adapter plate to make the square lights fit into a round hole

something like rigid has for the tundra
40155-2T.jpg
 

TJTJ

Skid Plates
Founding Member
Location
NJ
The BEST round LED headlamps (Actual headlamps) are the JW Speaker 8700 Evolutions.

They have a strong beam with a good pattern and cut off, etc, waaay better than the Jeep JK headlights they are normally used to upgrade from.

The advantage is that the lights designed as driving lights and spots waste a lot of light in the air because the pattern is rounder, and a dedicated headlight pattern is designed to throw more light out far where you need it, and to not "over illuminate" too close to you where it just wrecks your night vision, etc.

There are adapters to essentially just let your OEM harness plug into the backs of the lights, and work with the CANBUS system, etc.
 

maillet282

If you bleeding, Imma fix you
Moderator
Location
Ontario Canada
Prime: I fully understand that there are alot more companies other the rigid. i am simply using the adaptor plate as an example/ visual refrence that I was able to find.

as for the other responces. I am just asking around to see if it has been done? I haven't even taken the air damn off yet to take a look at how the stock lights are held in. that being said as well. I am also looking at possibly HID convirsion. but it's starting to get a bit too cold up here for me to have any motivations to go work on the truck when I get home from work. that being said, I have a few days off coming up soon. Might crawl up there on one of my days off and start looking to see what I can find
 

maillet282

If you bleeding, Imma fix you
Moderator
Location
Ontario Canada
stared working on this

ok this is now in phase one of the project. I've started fabricating an adaptor plate to be able to fit a square peg into a round hole. ( will take more pics and document the process better when I have the lights and am going to do a proper install )

keep in mind guys/gals that it's still early in the development phase.

was able to take off my air dam this afternoon and started by removing one of the stock off road lights. what I found was the stock light housing is held on by 3 screws.

[URL="http://s1109.photobucket.com/user/mailmar282/media/square%20peg%20round%20hole/IMG_0452_zpsed2e36ff.jpg.html"][TABLE="class: ncode_imageresizer_warning"]
[TR]
[TD="class: td1"][IMG]http://www.thenewx.org/forum/images/statusicon/wol_error.gif
[/TD]
[TD="class: td2"]This image has been resized. Click this bar to view the full image.
[/TD]
[/TR]
[/TABLE]

IMG_0452_zpsed2e36ff.jpg

[/URL][/IMG
( sorry for the crappy cell phone pic)

then made up a template with a piece of cardboard to fit the hole.


once that I was happy with the cardboard template, I transferred it to a piece of sheet metal that I had laying around.

this is what I came up with

[/COLOR][URL="http://s1109.photobucket.com/user/mailmar282/media/square%20peg%20round%20hole/IMG_0341_zps976ce74b.jpg.html"][TABLE="class: ncode_imageresizer_warning"]
[TR]
[TD="class: td1"][IMG]http://www.thenewx.org/forum/images/statusicon/wol_error.gif
[/TD]
[TD="class: td2"]This image has been resized. Click this bar to view the full image.
[/TD]
[/TR]
[/TABLE]

IMG_0341_zps976ce74b.jpg

[/URL][/IMG]

[/COLOR][URL="http://s1109.photobucket.com/user/mailmar282/media/square%20peg%20round%20hole/IMG_0342_zps57915890.jpg.html"][TABLE="class: ncode_imageresizer_warning"]
[TR]
[TD="class: td1"][IMG]http://www.thenewx.org/forum/images/statusicon/wol_error.gif
[/TD]
[TD="class: td2"]This image has been resized. Click this bar to view the full image.
[/TD]
[/TR]
[/TABLE]

IMG_0342_zps57915890.jpg

[/URL][/IMG]

[/COLOR][URL="http://s1109.photobucket.com/user/mailmar282/media/square%20peg%20round%20hole/IMG_0343_zpsc7aed89d.jpg.html"][TABLE="class: ncode_imageresizer_warning"]
[TR]
[TD="class: td1"][IMG]http://www.thenewx.org/forum/images/statusicon/wol_error.gif
[/TD]
[TD="class: td2"]This image has been resized. Click this bar to view the full image.
[/TD]
[/TR]
[/TABLE]

IMG_0343_zpsc7aed89d.jpg

[/URL][/IMG]

as stated above, today started out with me wanting to see how difficult it would be to do.

will add more as I progress and will make sure to take a few more pics and document the process
 

J Everett

Suspension Lift
Founding Member
Location
Houma, LA
How is that bit of sheet being attached to the air dam? I was interested in trying this once upon a time, but I couldn't see a way of attaching the plate to the dam without drilling holes in it.
 

maillet282

If you bleeding, Imma fix you
Moderator
Location
Ontario Canada
the sheet metal is attached using the stock lights attachment points. ( 3 screws). once I get a warmer day that I can stand to be outside with out the need to artic mits ( it's -36*C here with the wind chill)

I will post up more pics when I get a chance to work on this project a bit more.
 

maillet282

If you bleeding, Imma fix you
Moderator
Location
Ontario Canada
Adding a pole to the OP. after spending the whole summer brain storming and taking care of other issues I've run into my life right now I have come to the conclusion that I don't have the fab skills to improve the mounting points to make them strong enough to withstand the bouncing weight of the LED flush mount pods .

Now comes another ideas , some people have installed HID bulbs and ballasts into the stock reflectors for the roof lights. I have also seen LED light kits for headlights. ( same concept as the HID but it has LED's ) so the Pole is going to be pretty simple, HID vs LED vs Stay stock
 

maillet282

If you bleeding, Imma fix you
Moderator
Location
Ontario Canada
After spending the whole summer brain storming and taking care of other issues I've run into my life right now  I have come to the conclusion that I don't have the fab skills to improve the mounting points to make them strong enough to withstand the bouncing weight of the LED flush mount pods.

Now comes another ideas , some people have installed HID bulbs and ballasts into the stock reflectors for the roof lights.  I have also seen LED light kits for headlights. ( same concept as the HID but it has LED's ) so the Pole is going to be pretty simple,  HID vs LED vs Stay stock
 
Top