
- Location
- Winlsow Twsp, NJ
Well this weekend I FINALLY replaced my heater core. And to be quite honest... it wasn't nearly as bad as I thought it was going to be. My core was still good, but seeing as though NO ONE sells the hard plastic tubes that connect from the core and run thru the firewall I had no choice but to buy a whole new core. I did keep my old core and the lower of the two hard plastics tubes, incase anyone is to need these later on down the line.
I wasn't sure why there was cause to take out the entire dash, but I then realized while doing the break down... there are two bolts that are NOT accessable without taking the entire dash out.
I'll try to break down the pics for ya, sorry I didnt take one with each step but.. hey it's taking apart the dash.. it's TONS of screws. LoL
Mind you I already had my core bypassed before starting this.
Remove glove box

Remove center colsole, steering column plastic, trim for radio, heater controls, the radio, etc. I removed two metal brackets that are behind the plastic trim as well.

Unattach the A/C hoses from the engine side of the fire wall. Be mindful to loosen the cap for the antifreeze on the rad before loosening the connectors. If you don't do this you will have a lovey mist of antifreeze spew all over your engine.

I can see the witch of a heater core! ::Insert many curse words sworn at the core:: I have already removed the black box that contains the AC unit.

*sorry for the blurry shot* The center black unit is what you will be removing.

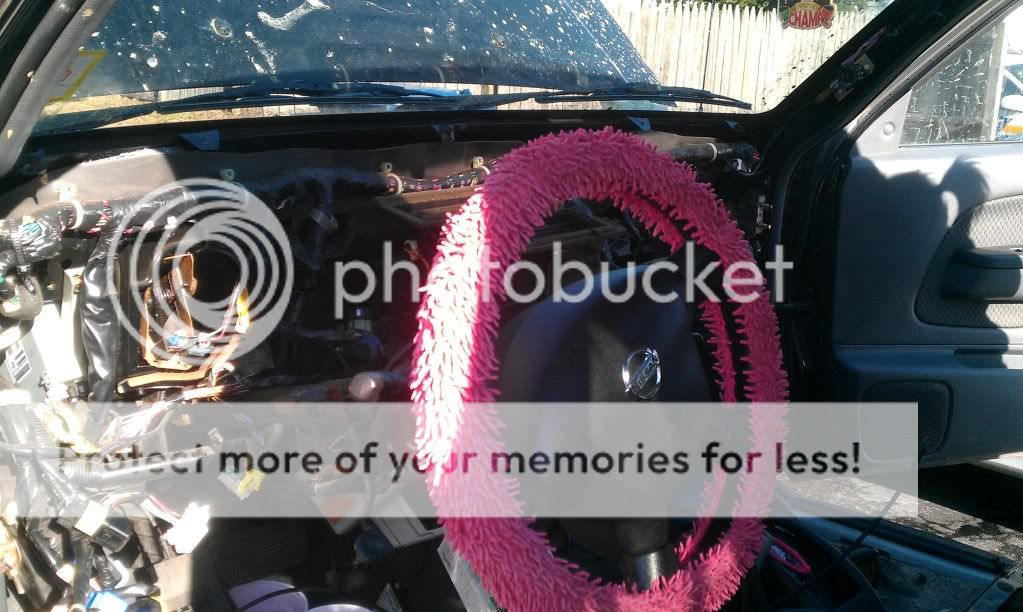
Driver side shot... you can thank the boyfriend for it being a crappy picture.
After I went Office Space on the old core are retreived it back from the other side of the front yard. The old core gets the finger. The whole core had to be replaced because of this little break in the heater core tube that was not even an inch of tubing.

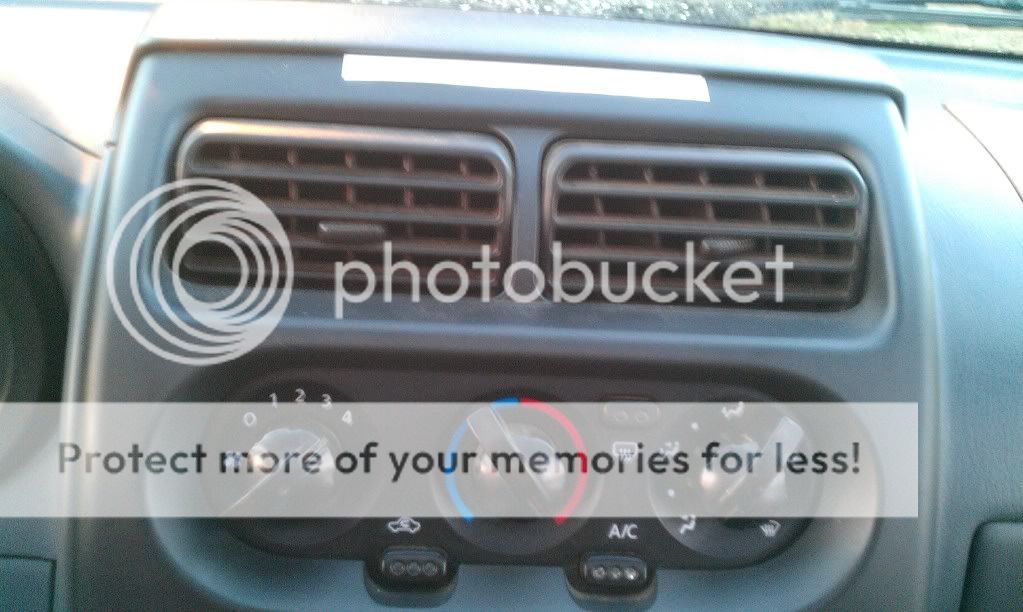
You can't see it but I can feel it! She's blowing hot!!! However, the blower only works on 3 and 4. I have to play around with the blower cable to get it to go back to the original setting.
I wasn't sure why there was cause to take out the entire dash, but I then realized while doing the break down... there are two bolts that are NOT accessable without taking the entire dash out.
I'll try to break down the pics for ya, sorry I didnt take one with each step but.. hey it's taking apart the dash.. it's TONS of screws. LoL
Mind you I already had my core bypassed before starting this.
Remove glove box
Remove center colsole, steering column plastic, trim for radio, heater controls, the radio, etc. I removed two metal brackets that are behind the plastic trim as well.
Unattach the A/C hoses from the engine side of the fire wall. Be mindful to loosen the cap for the antifreeze on the rad before loosening the connectors. If you don't do this you will have a lovey mist of antifreeze spew all over your engine.
I can see the witch of a heater core! ::Insert many curse words sworn at the core:: I have already removed the black box that contains the AC unit.
*sorry for the blurry shot* The center black unit is what you will be removing.
Driver side shot... you can thank the boyfriend for it being a crappy picture.
After I went Office Space on the old core are retreived it back from the other side of the front yard. The old core gets the finger. The whole core had to be replaced because of this little break in the heater core tube that was not even an inch of tubing.
You can't see it but I can feel it! She's blowing hot!!! However, the blower only works on 3 and 4. I have to play around with the blower cable to get it to go back to the original setting.
")