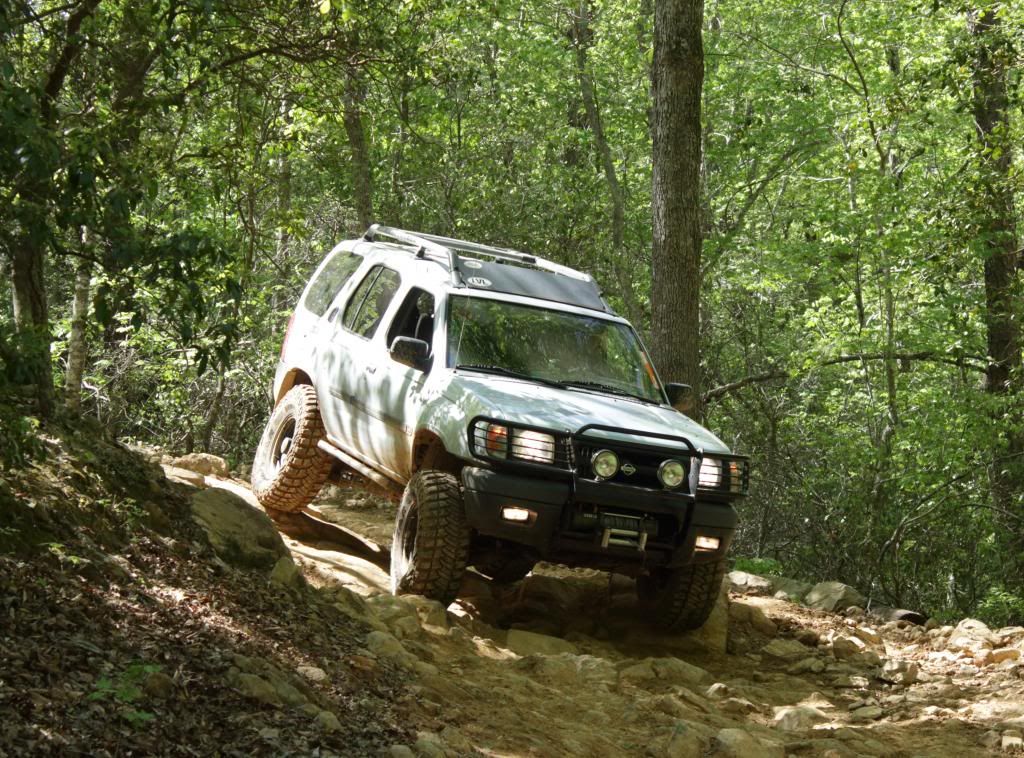
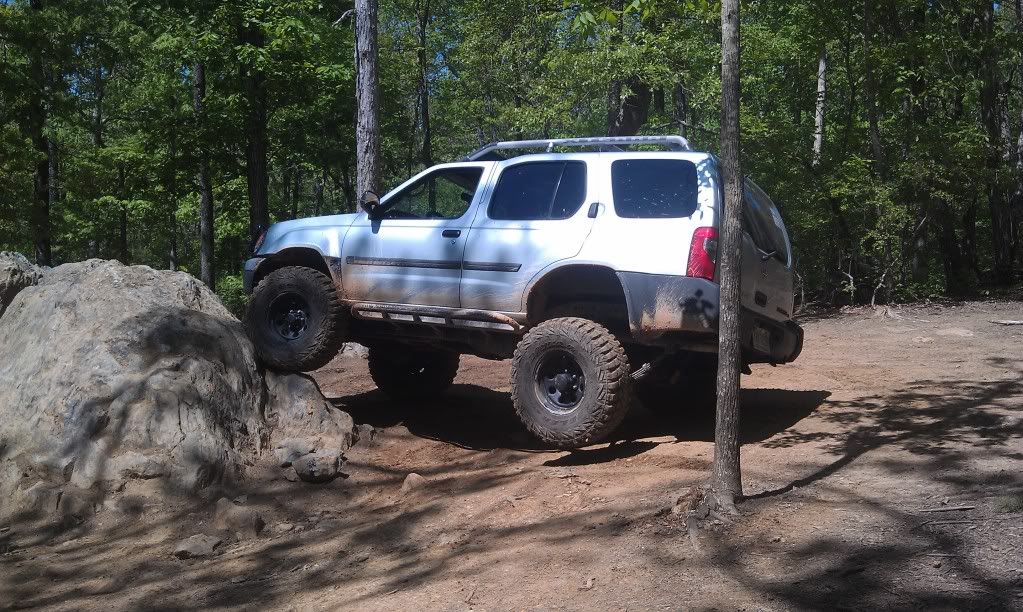
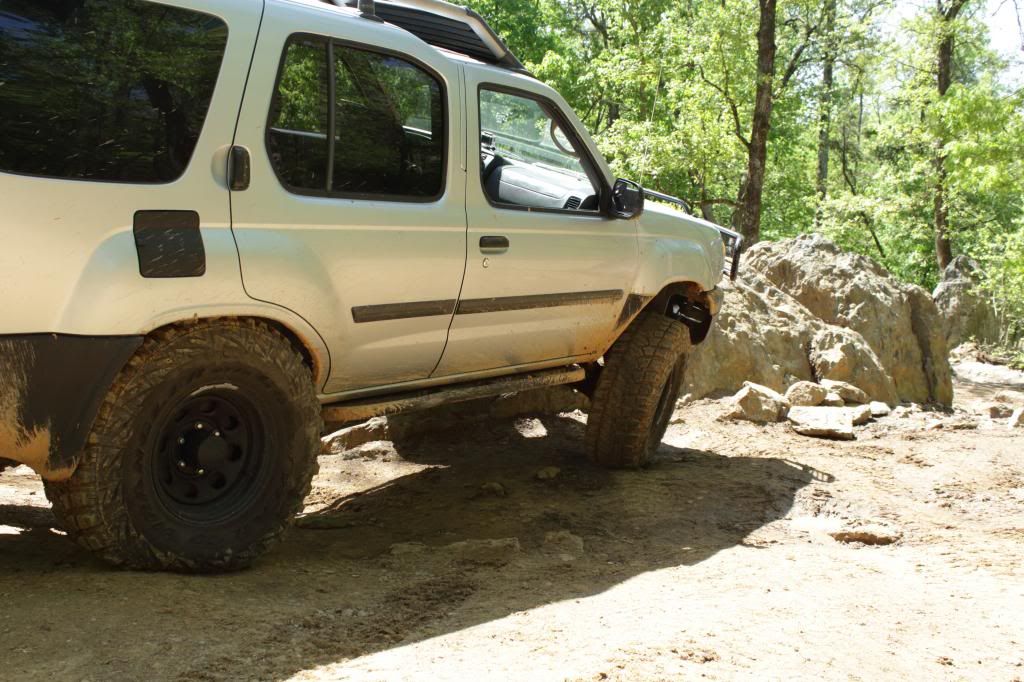
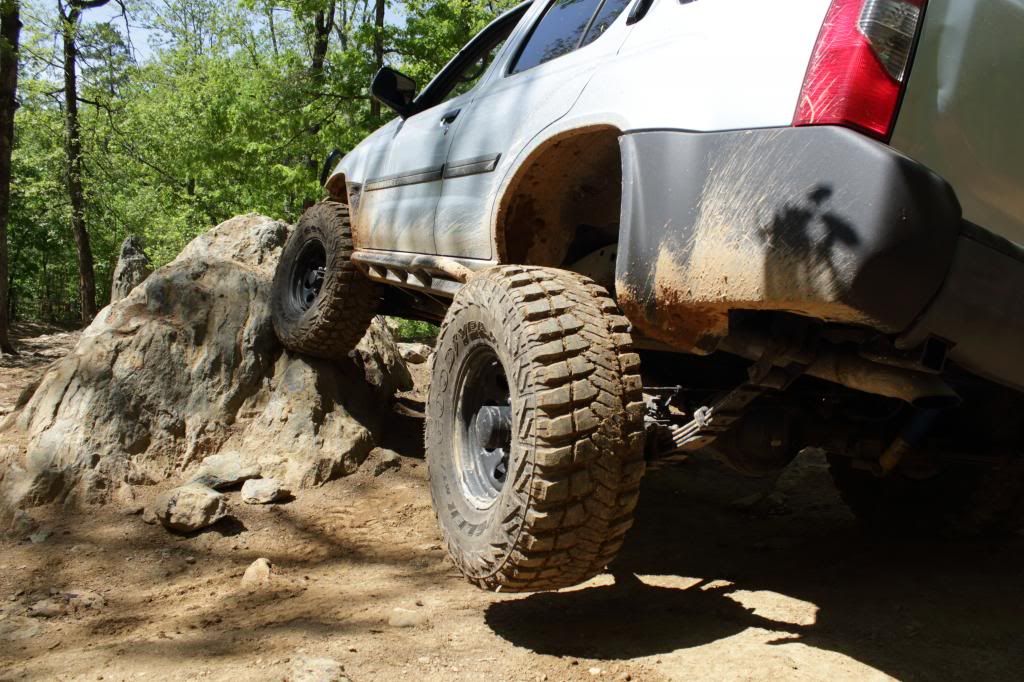
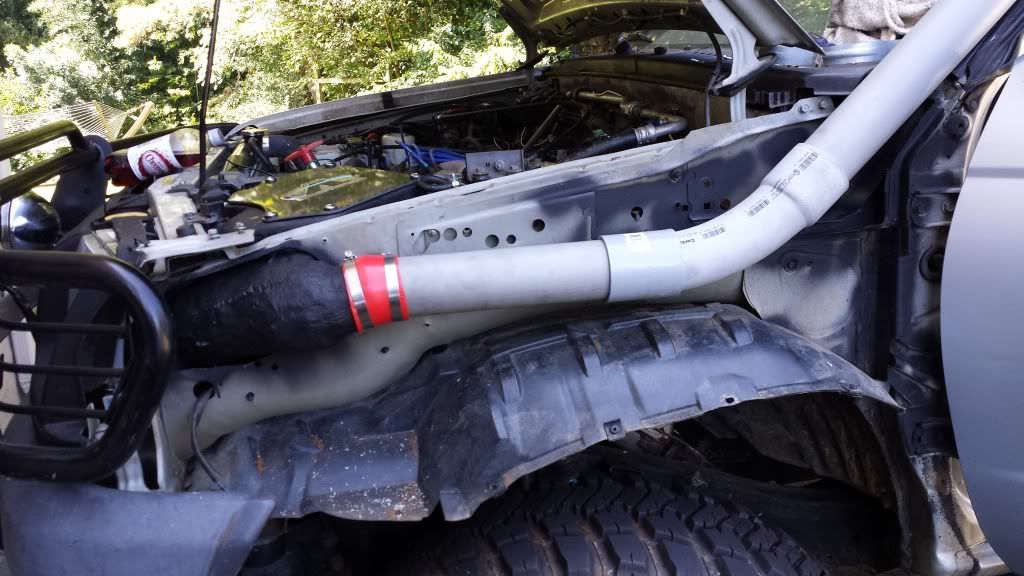
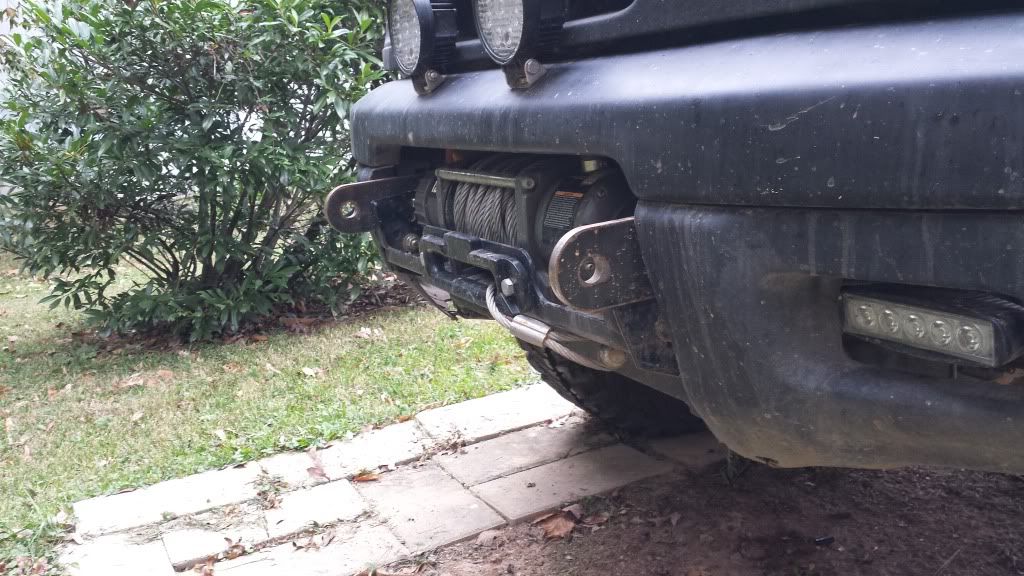
Well, I got the extended brake line installed today and fixed the abs lines so they wont tear in half (not that it works anway) Turns out the HD bilsteins are useless with the revolvers. They open about an inch and they max out the shocks. I am gonna start saving some money and measureing and modifiying things but hopefully sometime in the next couple of months I will have a new shock setup. Just have to decide how crazy I want to go with the setp. Might just go with some 5100's, or I might splurge and get some 7100's and maybe even do an A style setup (ala tjtj) If i decide to go that crazy I will need to find somebody with some air tools to really make it all work. Right now I am in the planning stage. Not a whole lot is going to get done between now and christmas with the move coming up.
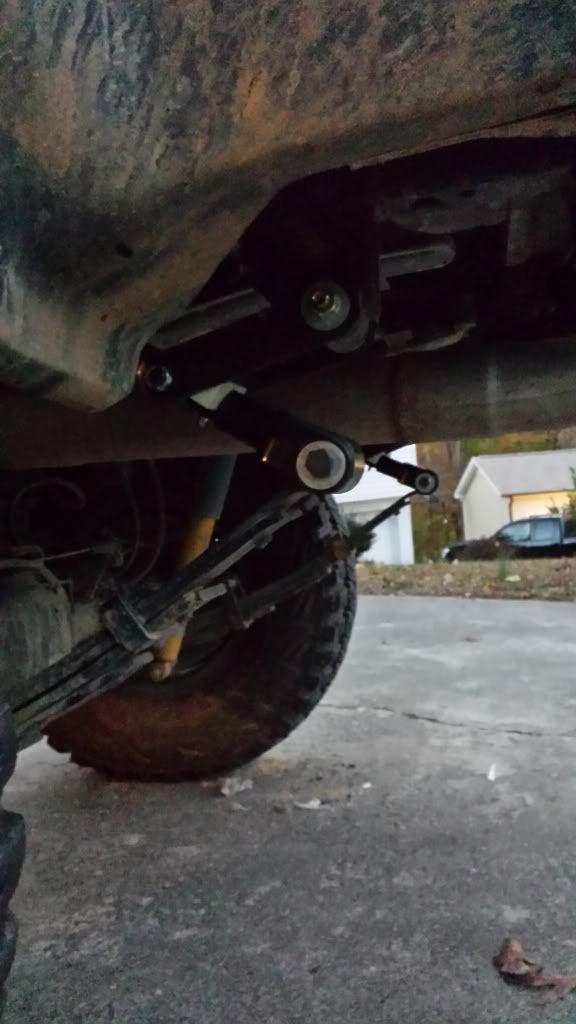
To see where you're at travel-wise: (REAR)
1) Disco the lower shock mounts
2) Jack the rear up watching the extended lower eyes of the shocks rise.
3) See how much higher the shock eyes end up relative to their lower mounts.
4) That difference is how much longer you need them to get to allow full travel.
Note that MAXIMUM shock extension is required when the axle is horizontal, NOT when it is up on one side/drooped on the other.
The next step is to determine how SHORT you need the shocks to get (Compressed length)
This is also measured with the axle flat, and, crushed to the stops....which is harder to do than it sounds, so most of us cheat.
1) At rest/ on flat ground, measure the axle to bump stop gaps on both sides...and the upper to lower shock mount distances that go with it.
2) Then - Get ONE tire up as high as you can with the other drooped. Driving up something at an angle will usually do that for you, if you don't have a fork lift or a tire jack handy, etc.
3) Look at the distance between the axle and the bump stop, and, the upper to lower shock mount distance on the stuffed side. Measure them.
4) Take the distance between the axle/stop, and assume the axle COULD go up by that much if fully stuffed, plus, another inch or so if it crushes the rubber on a harder landing, etc.
IE: If there's 4" left on the gap, the axle could go up another 5" or so...meaning the SHOCK would need to get ~ that much shorter too.
5) Take the stuffed upper/lower shock mount distance, and see what's left for compression. If that lower shock mount will rise about the same 5" as the axle for example, you'd assume that the shock will need to be able to compress down to that shorter length to still fit when stuffed FULLY.
IE: If there's 21" from the upper to lower shock mount, and it has to get 5" shorter, the shock needs to be able to compress down to 16" to not over compress on landings, etc.
6) OPTIONAL - Check the RATIO of the shock length at rest to your compressed measurements (What you actually measured, not the calculated lengths) vs the measurements for the bump stop gaps' RATIO.
IE: The shock is at an angle, the stop's gap to the axle is not. That means the shock mounts get closer to each other at a different rate than the axle gets to the stop. You can skip that check if you want to, but, its more conservative, as the shock mount distances will require less response to axle rise than the stop gap will. (It will calculate out that your shock needs to be
slightly shorter than absolutely necessary if you skip that step).
OK - After the above, you will now KNOW how long the rear shocks need to be to allow full droop, and, how short they need to compress to to allow full stuffage/uptravel and not be damaged from over compression.
Note that SOME shocks can be OK when they are limiting travel DOWN - IE: The axle can hang by the shock (HD and 5100 are ok for that, 7100's are NOT, etc - You'd need to check that)
NO shocks are "ok" on over compression, as that can bend the pistons, shear off mounts and/or damage the eyes, etc.
This means that the COMPRESSED length is typically your limiting factor, NOT the extended length.
Frustratingly, it is the extended length that seems to be the easiest spec to satisfy, and the spec we are mostly in search of to not LIMIT the droop...
..But finding a shock that CAN get long enough while ALSO being able to get short enough is the key...and the hard part typically.
This is because the long piston that enables down travel ALSO has to fit back into a BODY....and that body ends up being your bogey.
The theoretical limit is of course that the maximum length would be double the compressed length based upon that...but, by the time you add in the added lengths for the eyes, and, some valving IN the body, etc...you've used up another 4-6" or so depending on the shock itself.
If you do all of the above and find that there are actually shocks made that can get long enough and short enough, you're golden.
(THIS is what you want/hope for)

Plan B -
If not, typically because they can't get short enough, you THEN move the MOUNTS to change the geometry.
The more acute the angle the shock is leaned over to...the longer the distance between mounts, and therefore the more room to fit a longer shock, and the more room to compress it as well.
If you think of the upper shock mount and lower shock mount as two points at the corners of a triangle, and the third point of that triangle as the line dropped straight down to the axle from the upper mount (Forming a right triangle) you can then see the geometry involved.
The line connecting the upper and lower mount is the hypotenuse.
The line dropped down from the upper mount to the axle is the opposite, and the axle, from the lower mount to the point where the line from the UPPER dropped down TO, Is the adjacent.
The squares of the lengths of the opposite and the adjacent add up to the square of the length of the hypotenuse.
So, if you want to know your extended and compressed SHOCK lengths, the SHOCK ends up as your hypotenuse....and you can plug in new numbers for the opp and adj to see what that does to the hyp....until you get a hyp that works.
If you can do the angle related trig, you can plug in angles to do the same thing, etc....except just SOLVE for the answer instead of homing in on it, etc.