Tay-Lo
I'm the king of junk food!
- Location
- Upstate SC
Figured since I've had my X for about a year and a half it was about time to start a build thread. I haven't done any "Major" mods yet just little things to help improve the rig in various ways.
Silver 2004 SE 4x4
List of Mods:
Lift:
- 2" Body lift
Interior:
- Shovel and Axe mount on inside of hatch
- LED strip around the edge of hatch
- LED Maglite under drivers seat
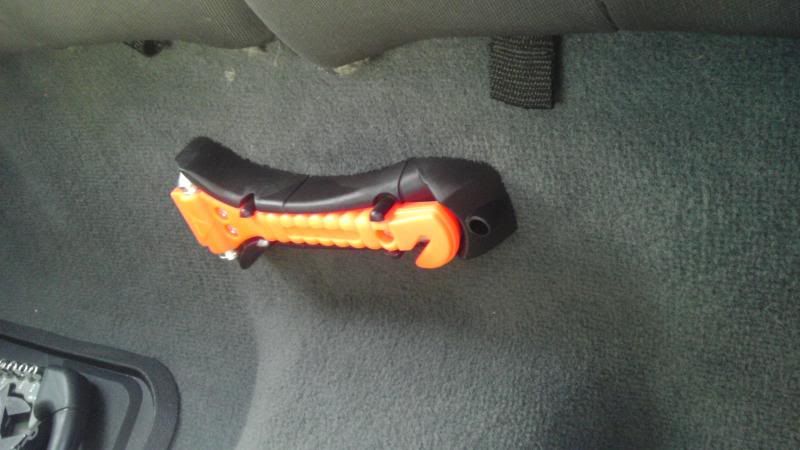
- Glass breaker / Seatbelt cutter under back seats
- Custom oh sh*t handles
- Bedliner on the headliner
- Installed CB setup (Mostly for now)
- Factory Sunroof Cover
Exterior:
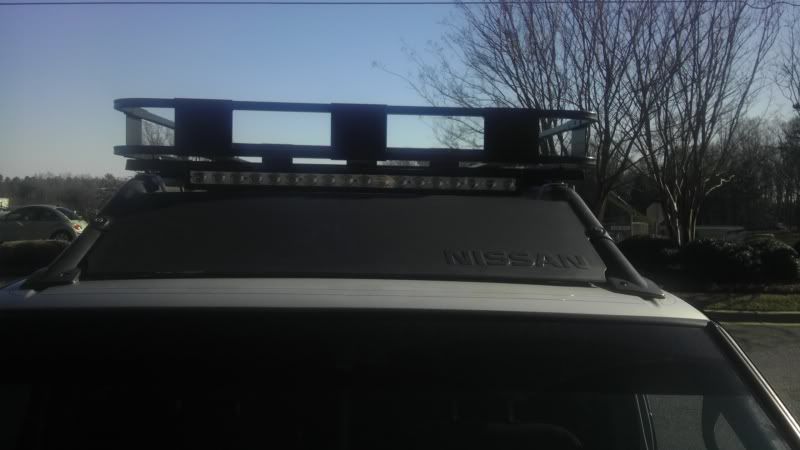
- Safari Basket
- 3rd tail light cover design
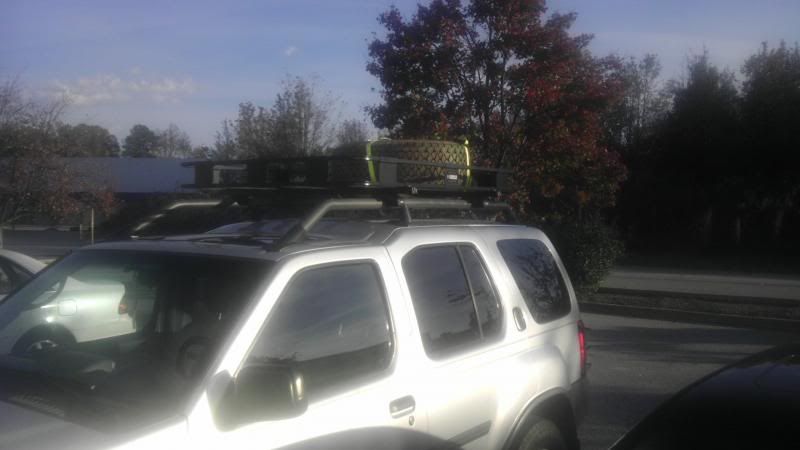
- Factory farring on the rack
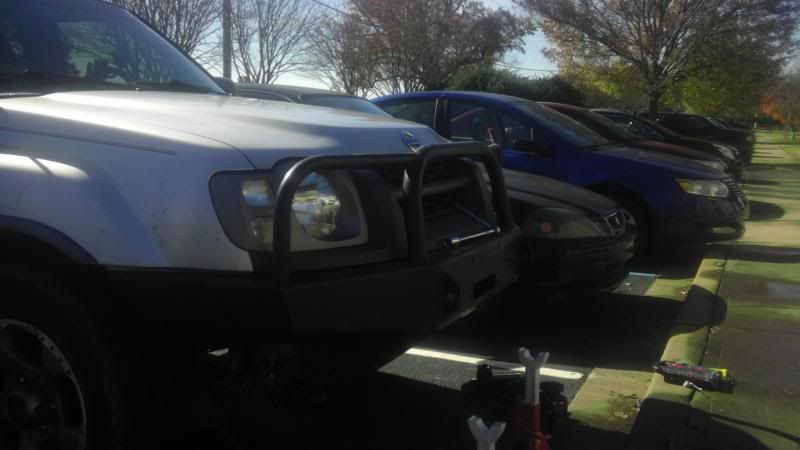
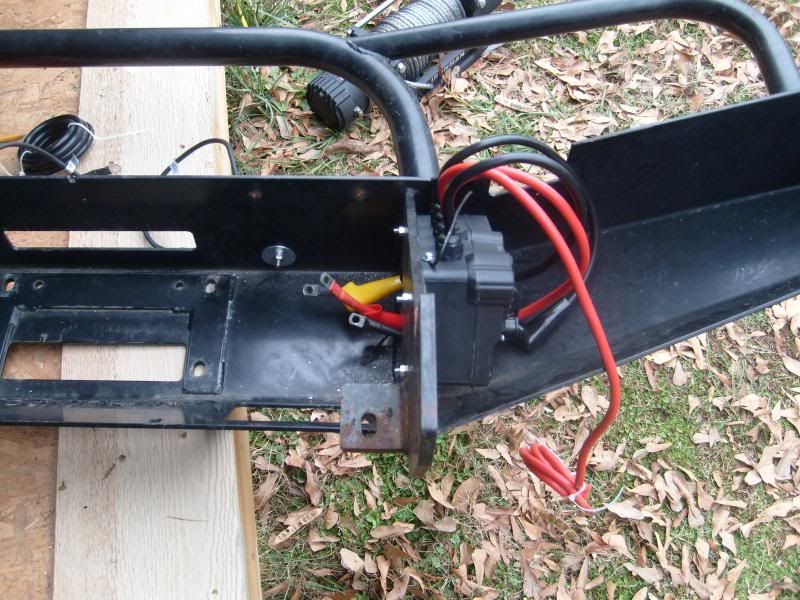
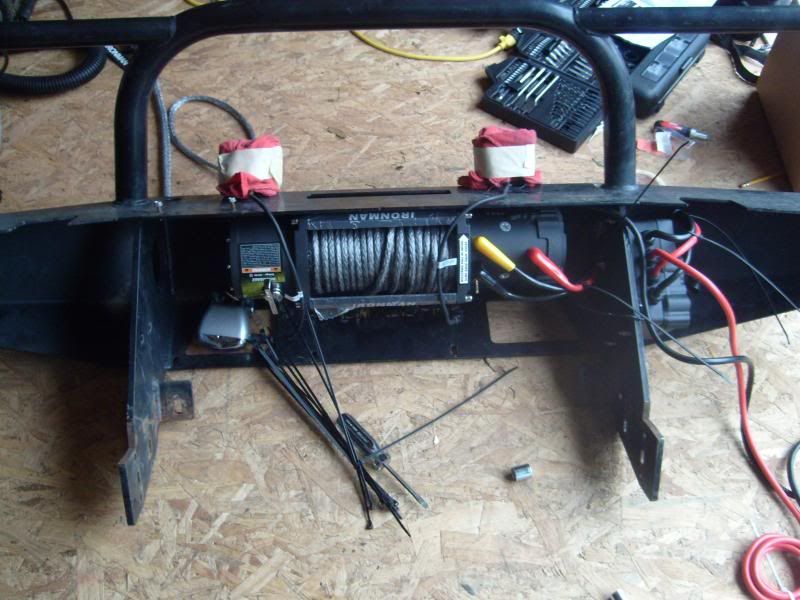
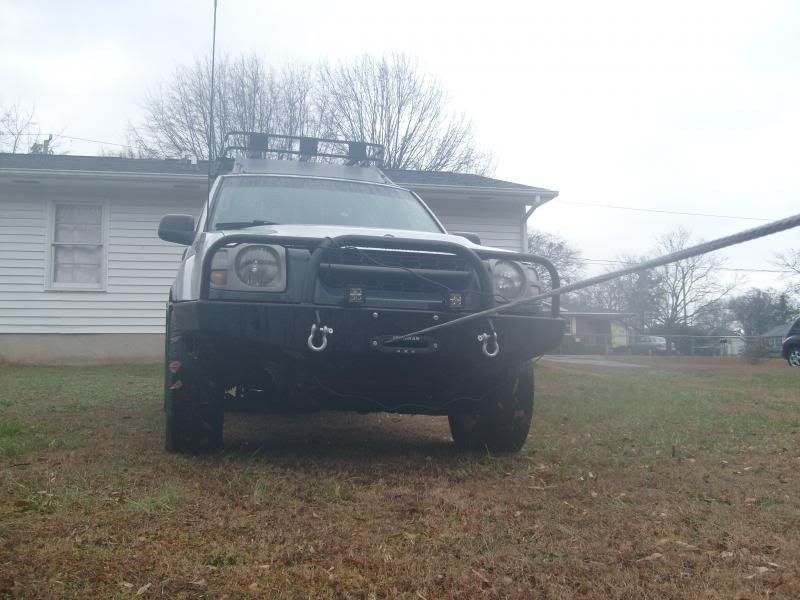
- Shrockworks front bumper
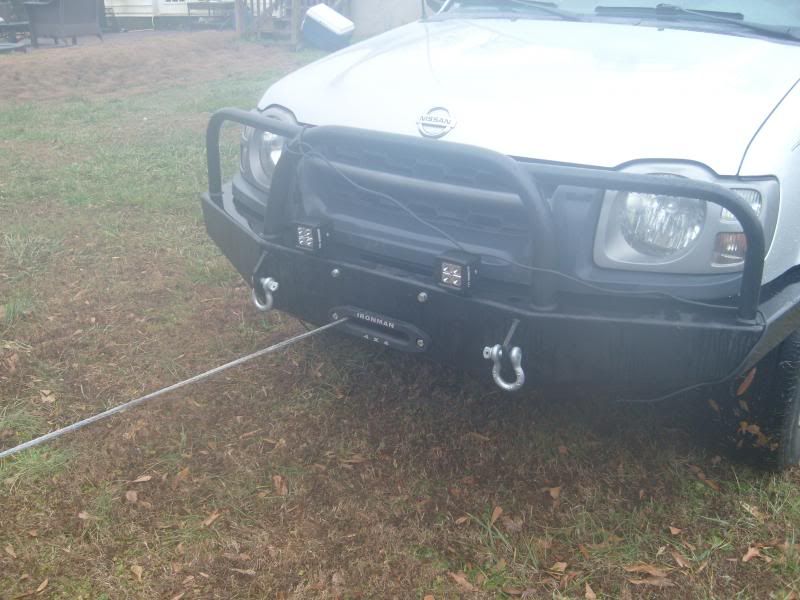
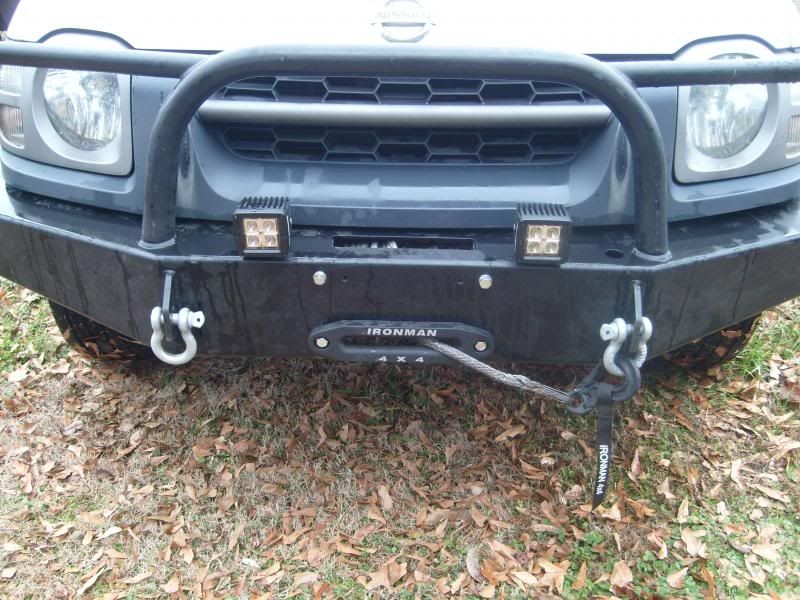
- Ironman 4x4 12,000 LB winch
- P&P Level III Sliders
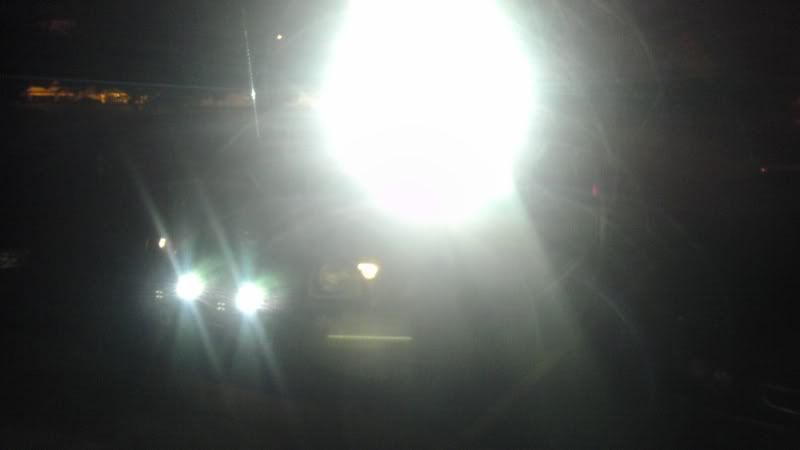
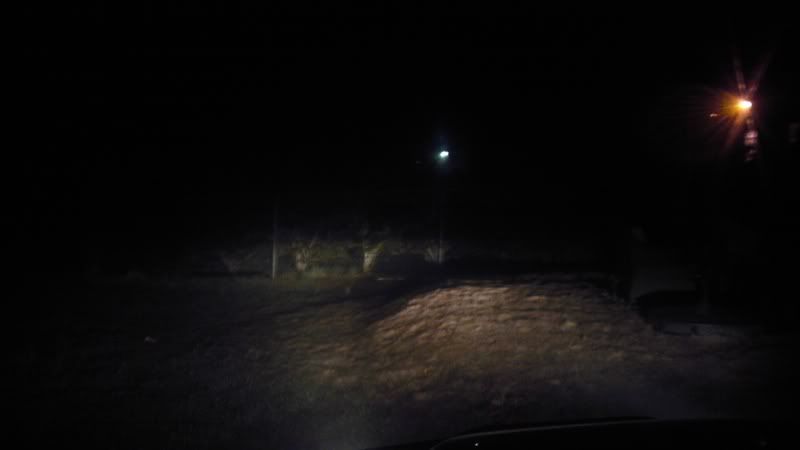
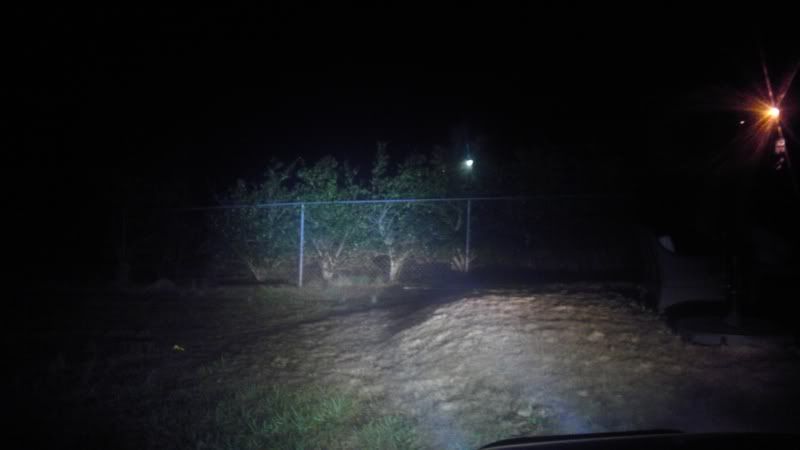
Moar Lighting:
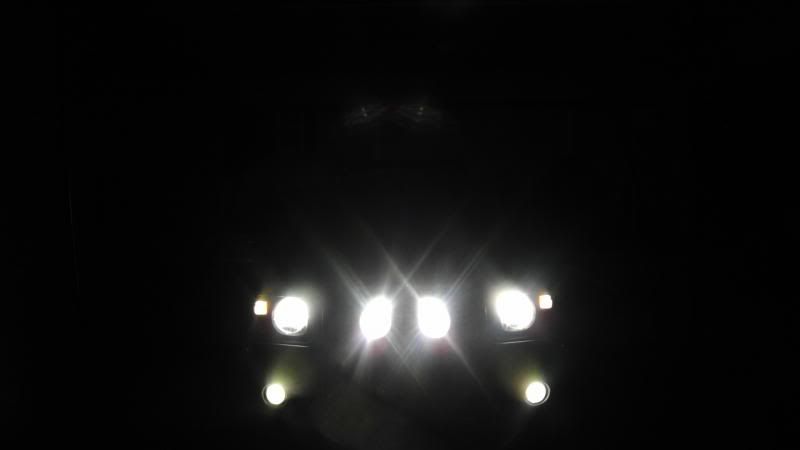
- Deleted - 100w KC daylighters on brushguard
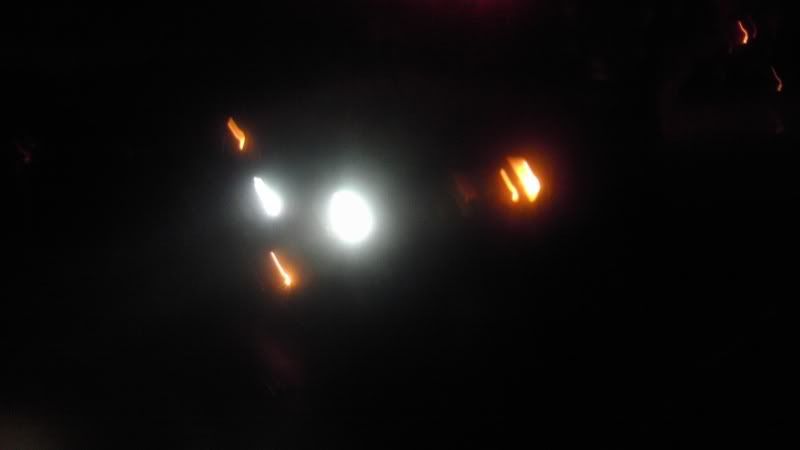
- 2 Ironman 16w LED's on bumper
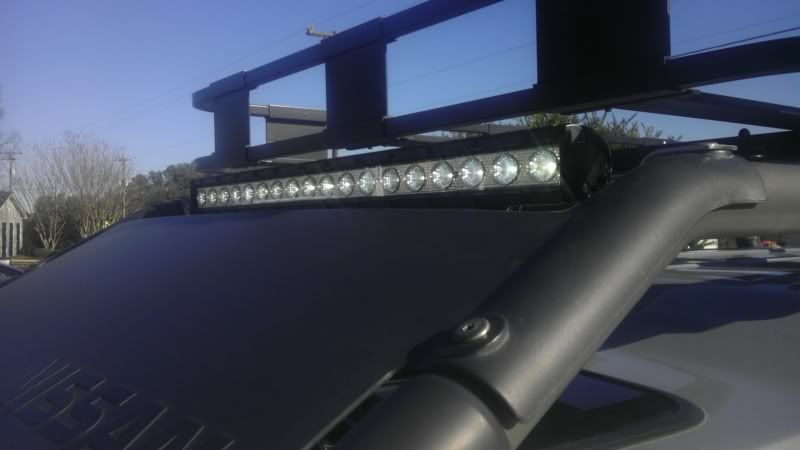
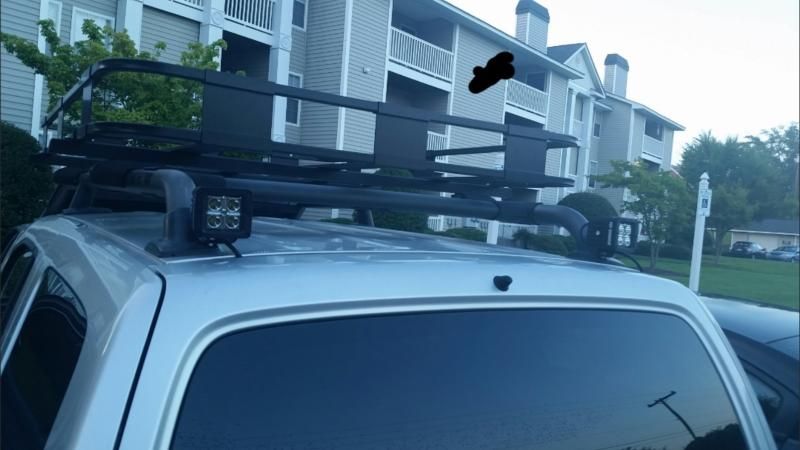
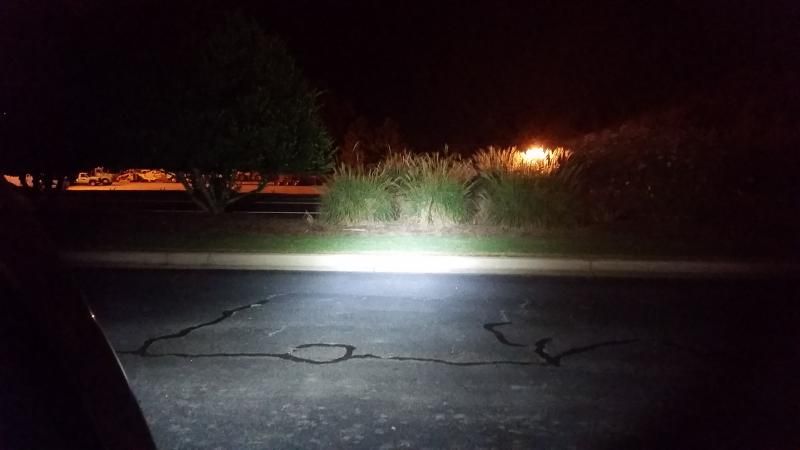
- Ironman 30" 90w LED bar across the rack
- 2 Ironman 16w LED mounted to the rack bolts on the back
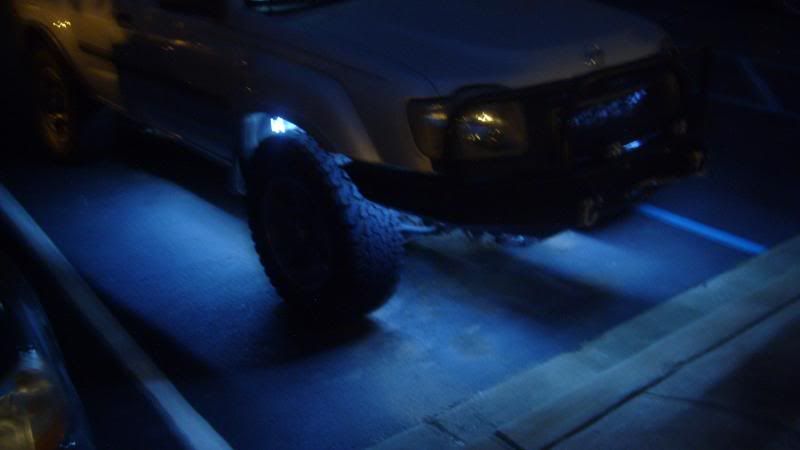
- LED strips underneath for rock lights
LED Swap:
- Interior Dome lights with V-LED's
- Brake Lights with V-LED's
- Red V-LED map lights
- V-LED reverse lights
Electical:
- Alpine head unit
- Cobra 1000w power inverter
- 500 Watt amp with 2 12" subs
- Sea Blue fuse block with 100A circuit breaker
- Optima Yellow Top Deep cycle (Side posts used for accessories)
Misc:
- Resonator Delete
- Swapped the hatch struts to lift it higher
- Tinted front windows and Visor strip
- Fog light bypass
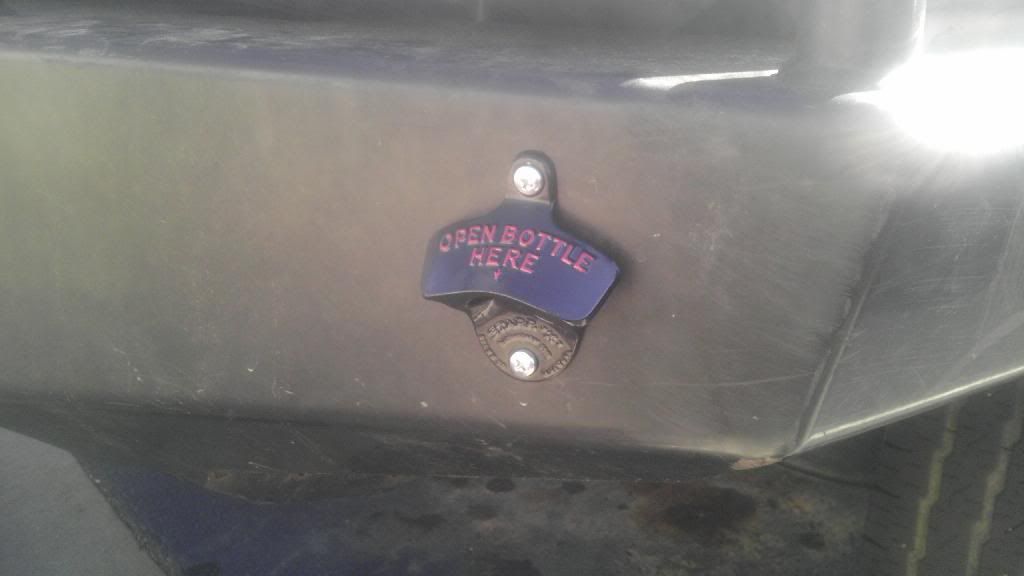
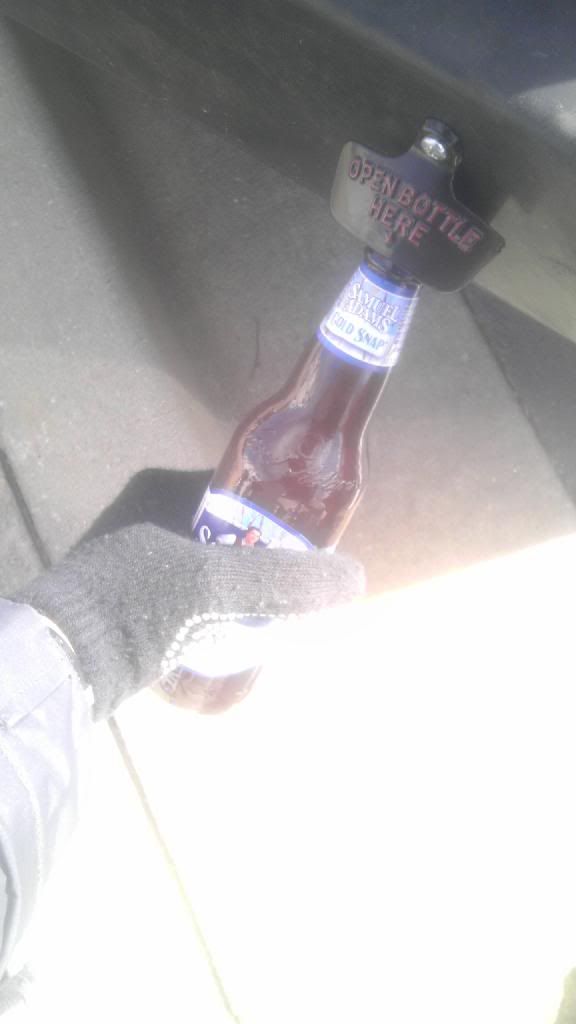
- Bumper Bottle Opener
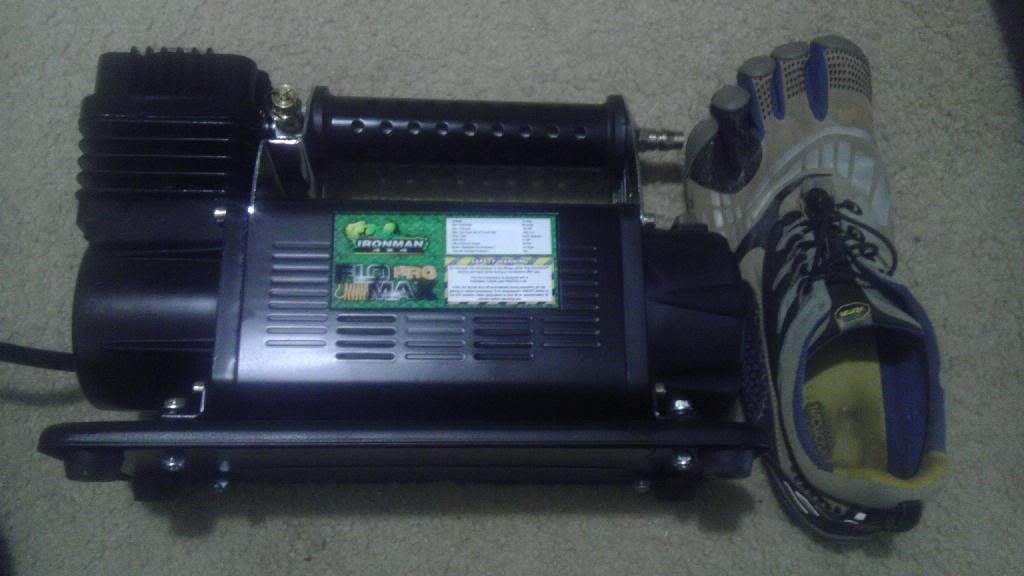
- Ironman Flo Pro Max Compressor
- Hi-Lift Xtreme
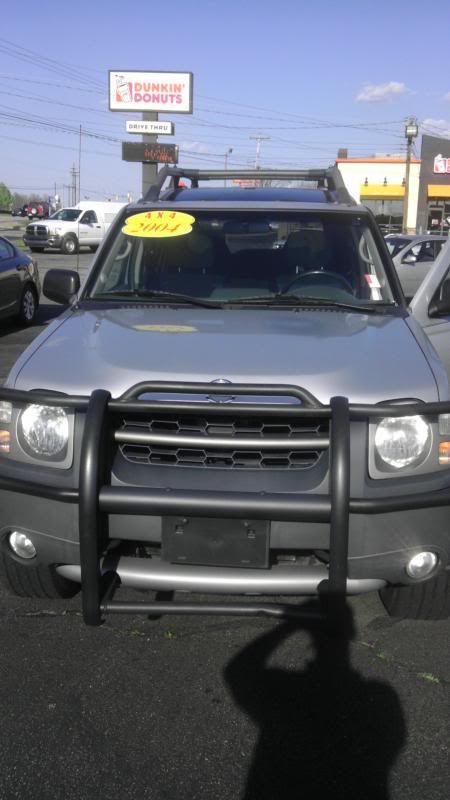
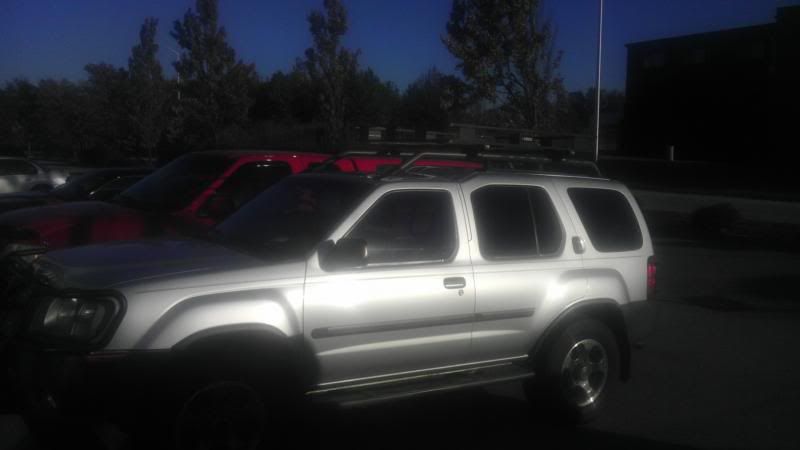
The day I got her.
Still on the lot:
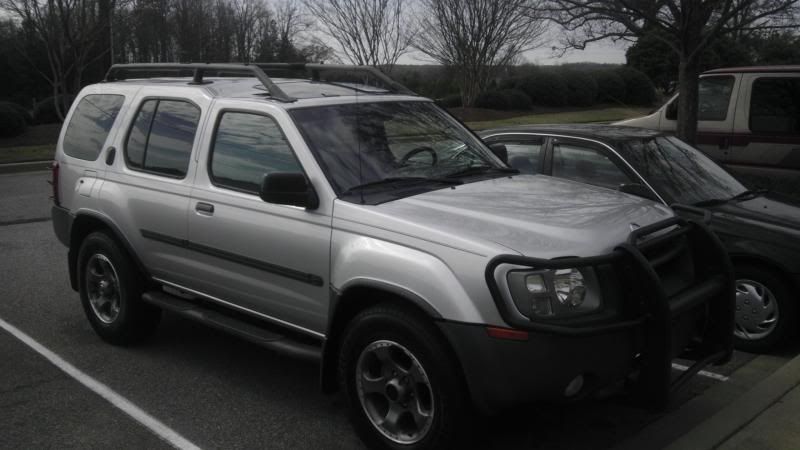
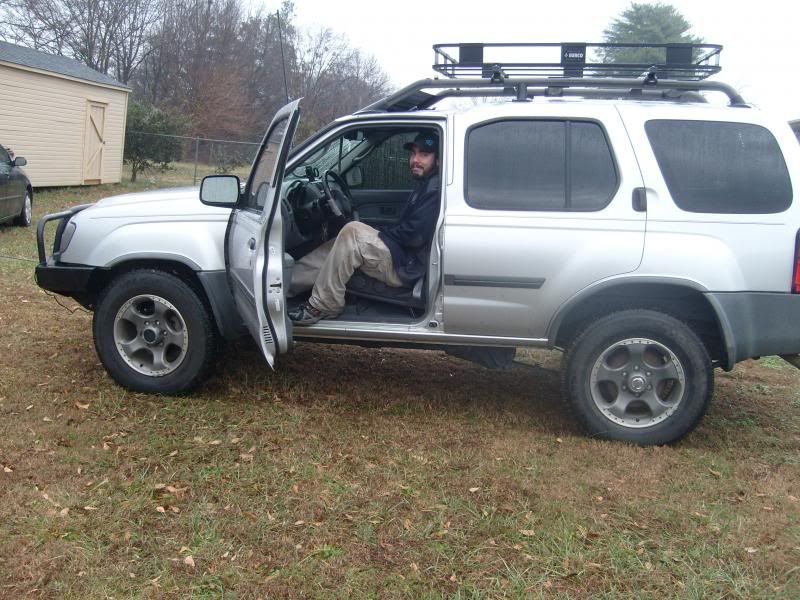
At home with my little 4 banger:
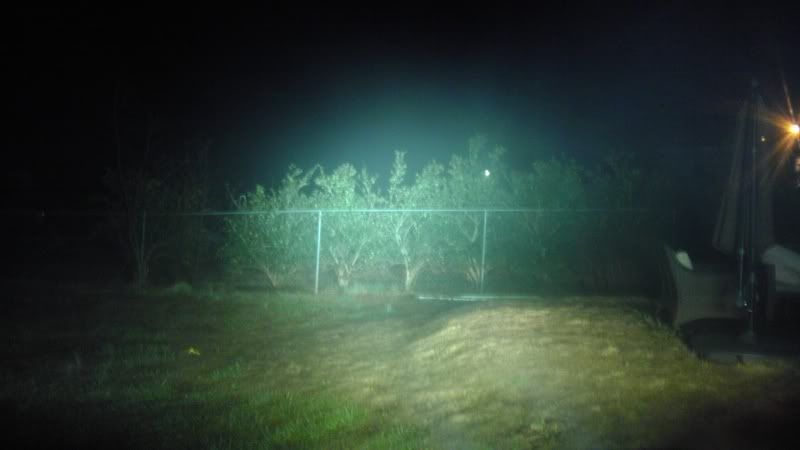
A few weeks later I went on my first adventure on a random dirt road that I found with google maps:
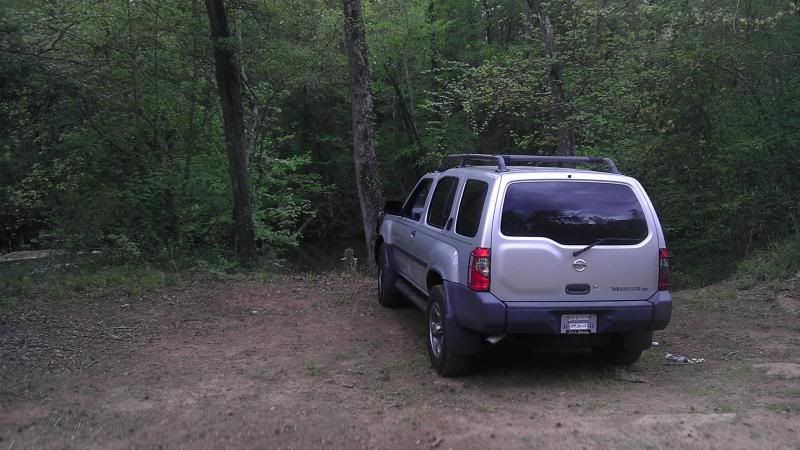
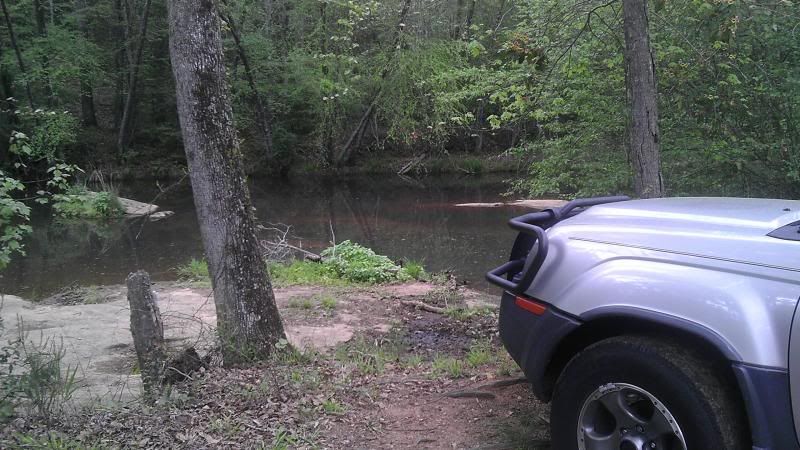
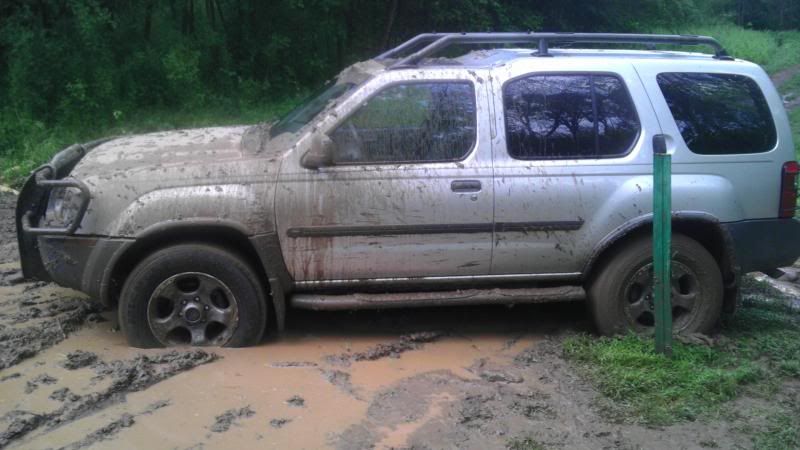
It was all fun until street tires met red clay.....they don't like each other:
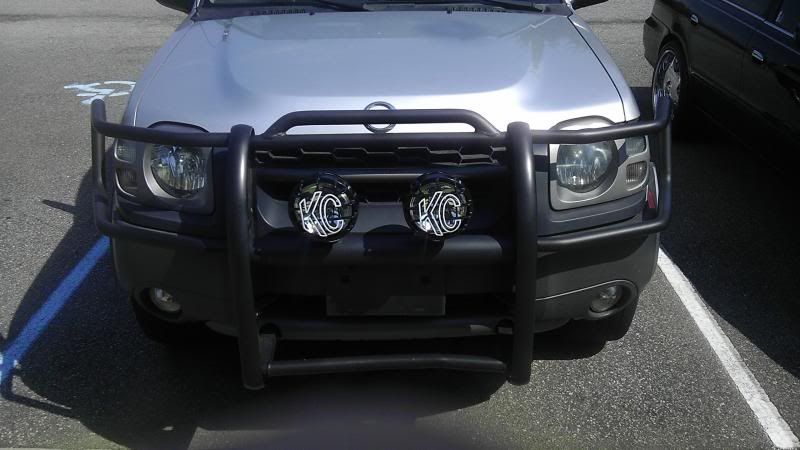
The first mod I did was add a pair of 100w KC daylighters:
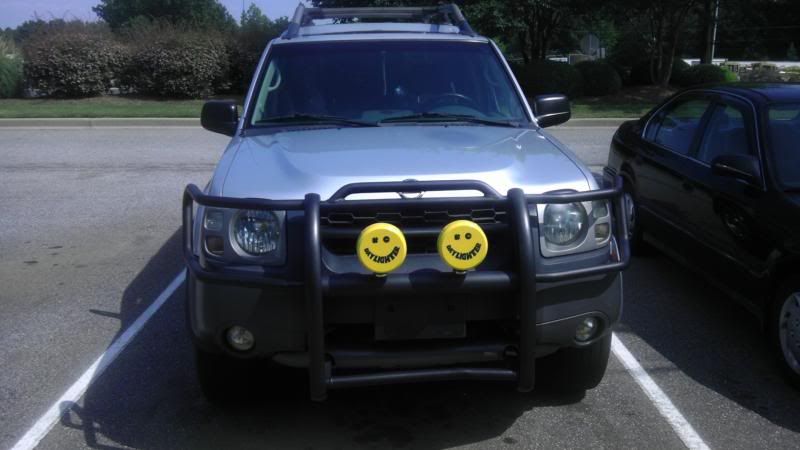
Decided to get rid of the smiley face covers:
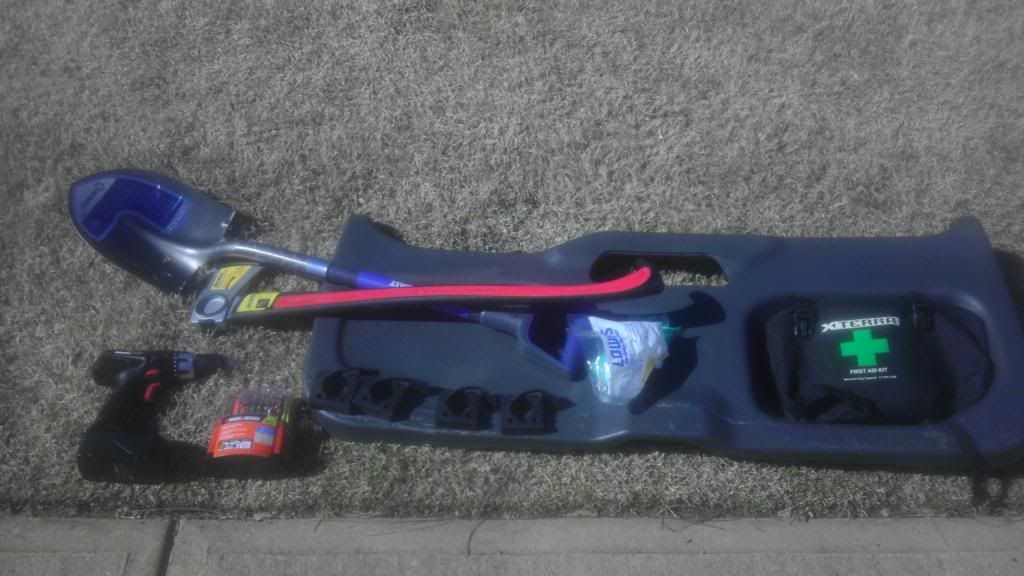
Glass breaker and seatbelt cutter mounted under the rear seats:
Safari Basket:
Axe and shovel mounted: (due to weight during winter the axe goes under the backseats:

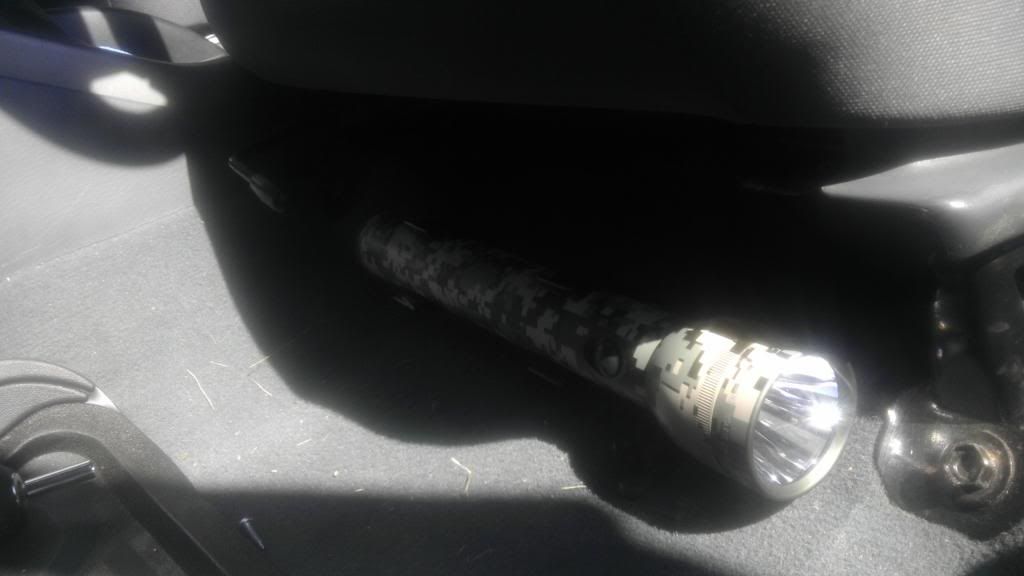
Maglite under the driver seat:
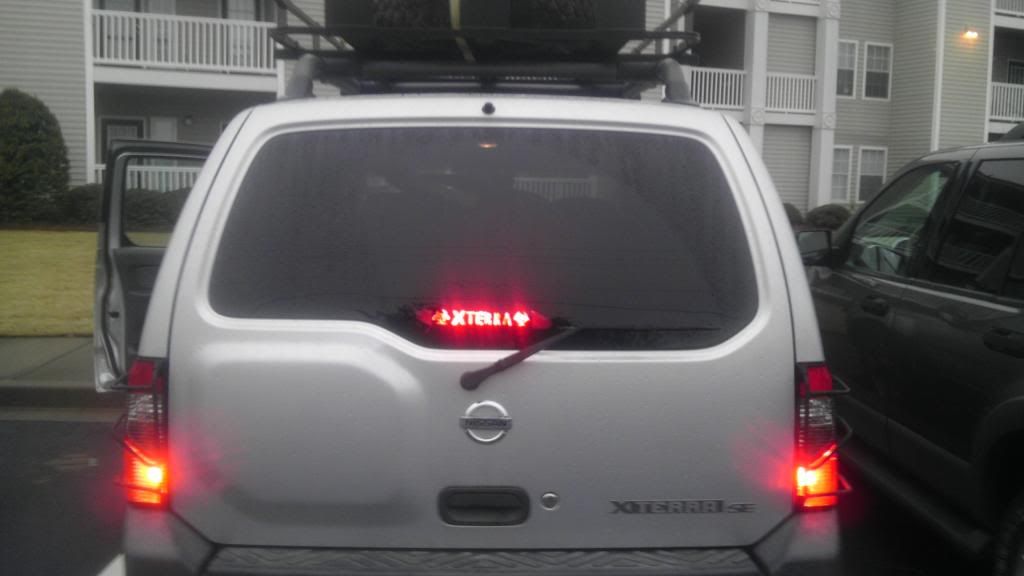
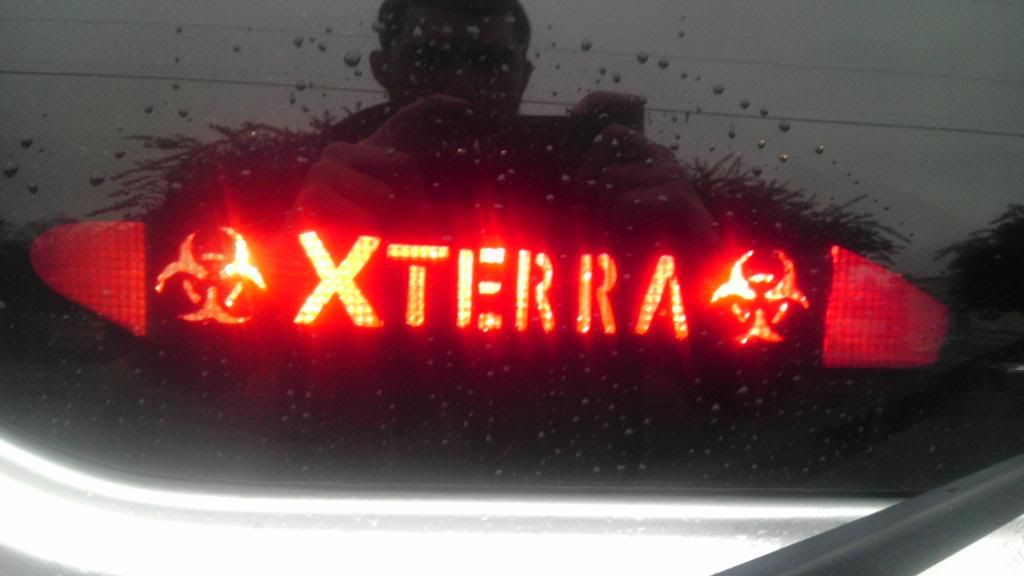
3rd tail light:
Handles:

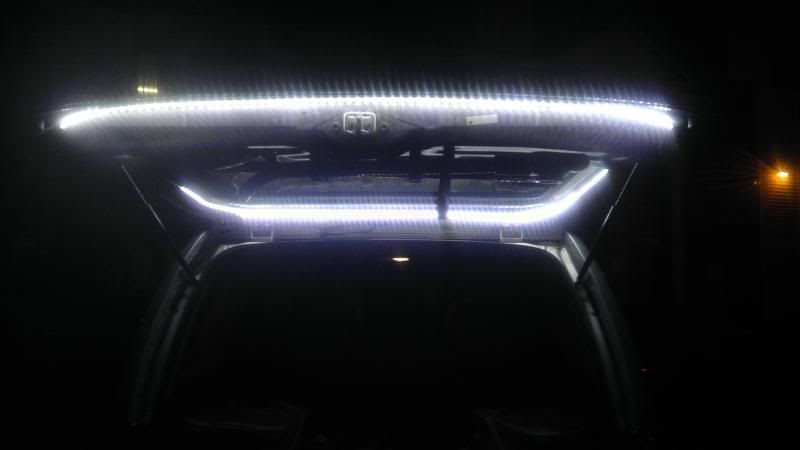
LED strip around the hatch:
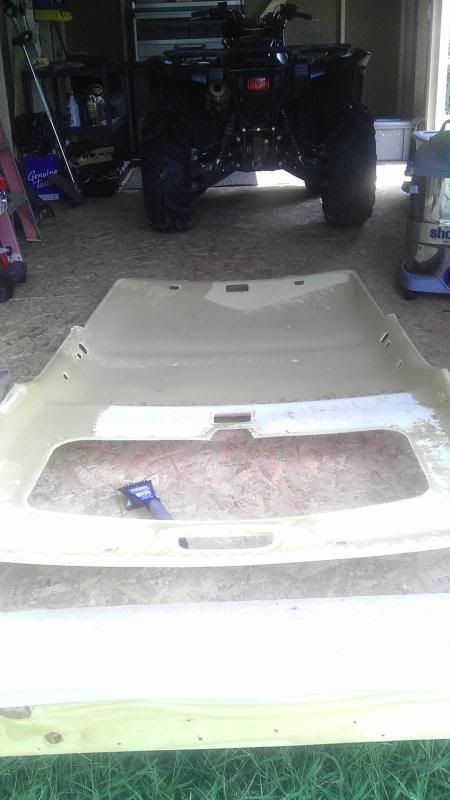
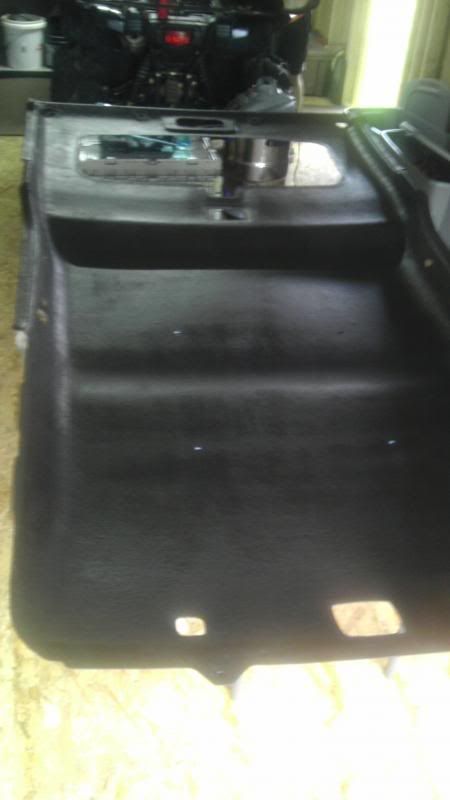
Bedlined Headliner:
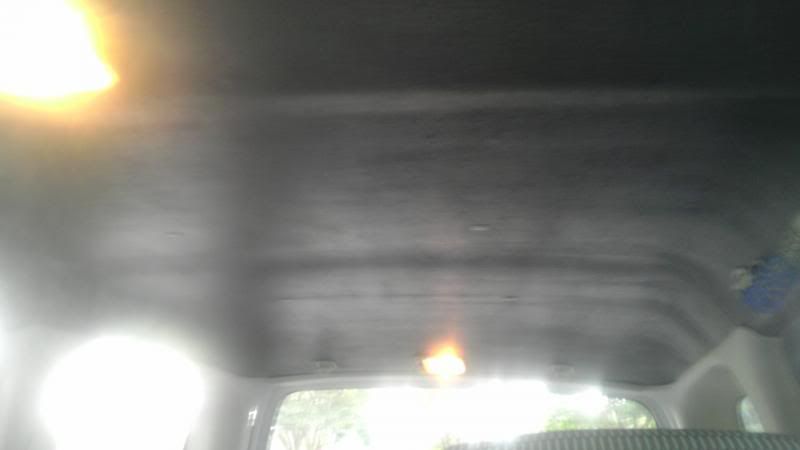
This is the best pic I could get of it installed:
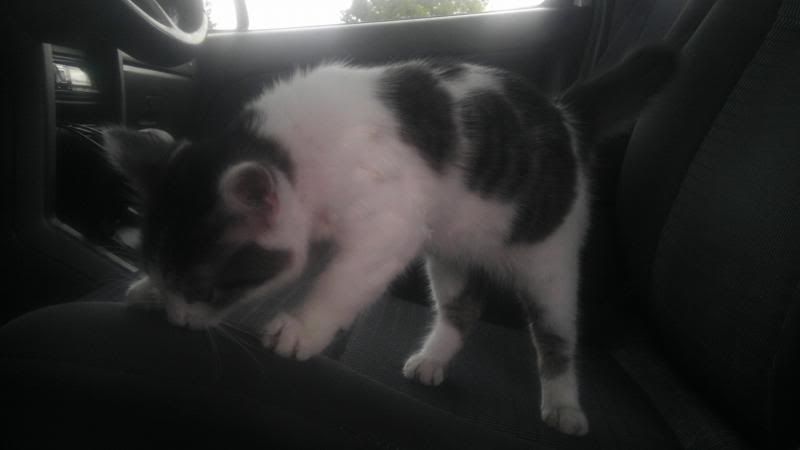
While I was putting all of the trim back up a little helper wondered over and chilled while watching me:

Notice only half a tail....this kitten has seen some stuff:
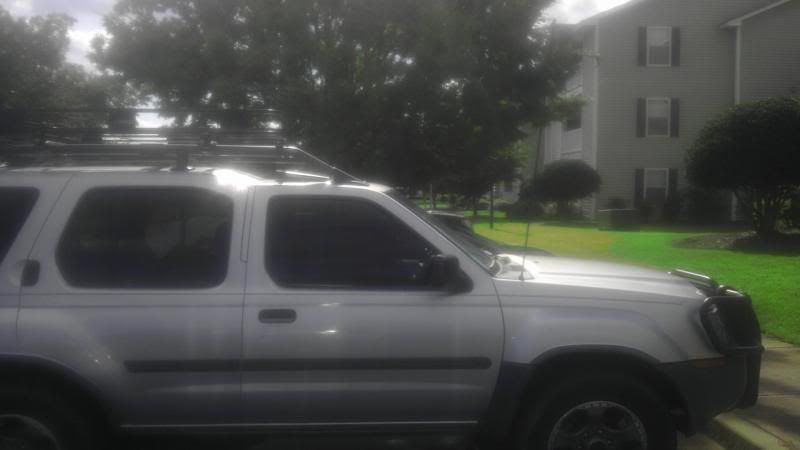
CB setup:
4 foot Firestik Firefly
18 foot Firestik coax
Match maker by Firestik (to split the AM FM and CB signals)
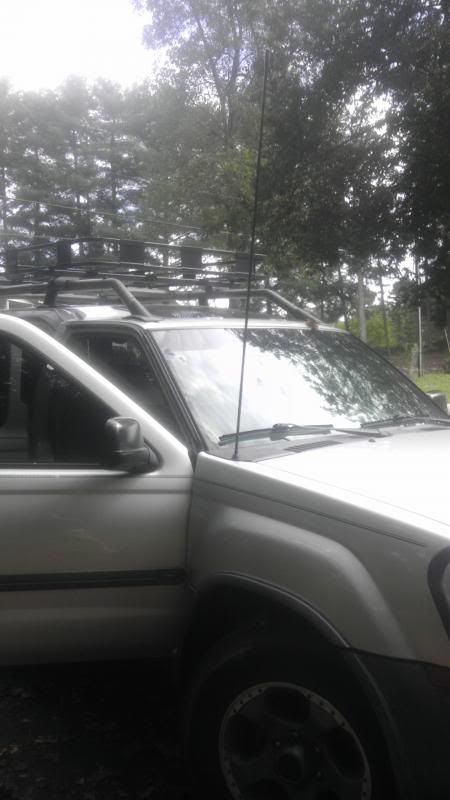
I wanted a clean, almost don't notice it's there install that was different from most, I did however get this idea from a guy on CX.
It leans forward a little but that doesn't bother me.
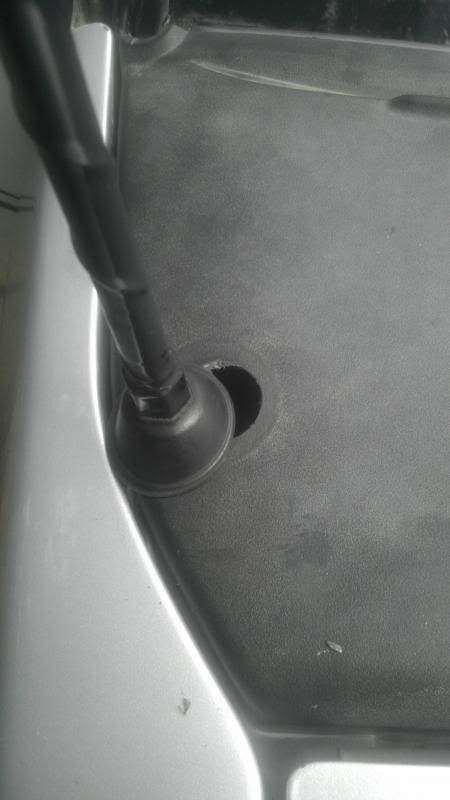
and at the bottom I had to "Modify" the plastic a bit.....
Not really a mod but my X didn't come with a fairing or Sunroof cover.
I immediately ripped the fabric off the cover.....can't have that stained fabric with the rest of the headliner bedlined
As for most X's this will always be a work in progress.
Silver 2004 SE 4x4
List of Mods:
Lift:
- 2" Body lift
Interior:
- Shovel and Axe mount on inside of hatch
- LED strip around the edge of hatch
- LED Maglite under drivers seat
- Glass breaker / Seatbelt cutter under back seats
- Custom oh sh*t handles
- Bedliner on the headliner
- Installed CB setup (Mostly for now)
- Factory Sunroof Cover
Exterior:
- Safari Basket
- 3rd tail light cover design
- Factory farring on the rack
- Shrockworks front bumper
- Ironman 4x4 12,000 LB winch
- P&P Level III Sliders
Moar Lighting:
- Deleted - 100w KC daylighters on brushguard
- 2 Ironman 16w LED's on bumper
- Ironman 30" 90w LED bar across the rack
- 2 Ironman 16w LED mounted to the rack bolts on the back
- LED strips underneath for rock lights
LED Swap:
- Interior Dome lights with V-LED's
- Brake Lights with V-LED's
- Red V-LED map lights
- V-LED reverse lights
Electical:
- Alpine head unit
- Cobra 1000w power inverter
- 500 Watt amp with 2 12" subs
- Sea Blue fuse block with 100A circuit breaker
- Optima Yellow Top Deep cycle (Side posts used for accessories)
Misc:
- Resonator Delete
- Swapped the hatch struts to lift it higher
- Tinted front windows and Visor strip
- Fog light bypass
- Bumper Bottle Opener
- Ironman Flo Pro Max Compressor
- Hi-Lift Xtreme
The day I got her.
Still on the lot:

At home with my little 4 banger:

A few weeks later I went on my first adventure on a random dirt road that I found with google maps:


It was all fun until street tires met red clay.....they don't like each other:

The first mod I did was add a pair of 100w KC daylighters:


Decided to get rid of the smiley face covers:

Glass breaker and seatbelt cutter mounted under the rear seats:

Safari Basket:


Axe and shovel mounted: (due to weight during winter the axe goes under the backseats:


Maglite under the driver seat:

3rd tail light:


Handles:

LED strip around the hatch:

Bedlined Headliner:


This is the best pic I could get of it installed:

While I was putting all of the trim back up a little helper wondered over and chilled while watching me:

Notice only half a tail....this kitten has seen some stuff:

CB setup:
4 foot Firestik Firefly
18 foot Firestik coax
Match maker by Firestik (to split the AM FM and CB signals)
I wanted a clean, almost don't notice it's there install that was different from most, I did however get this idea from a guy on CX.
It leans forward a little but that doesn't bother me.
and at the bottom I had to "Modify" the plastic a bit.....
Not really a mod but my X didn't come with a fairing or Sunroof cover.
I immediately ripped the fabric off the cover.....can't have that stained fabric with the rest of the headliner bedlined
As for most X's this will always be a work in progress.
Last edited:

 :
: