ThePlasticOne
First Fill-Up (of many)
- Location
- Boston, MA
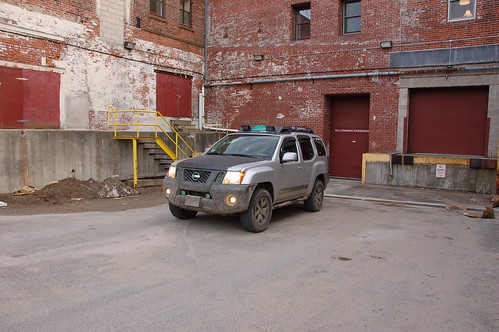
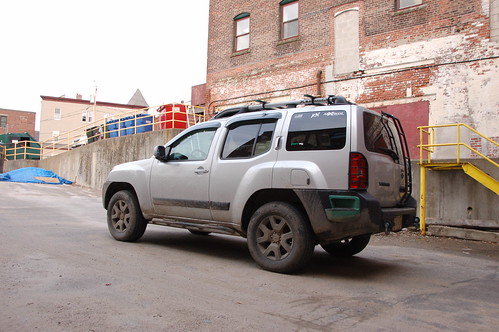
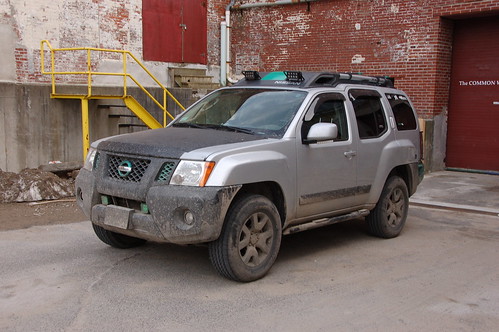
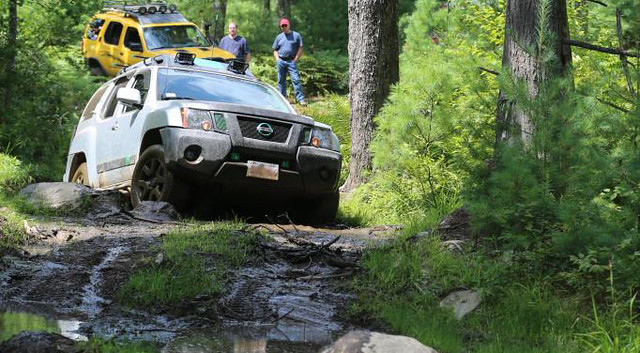
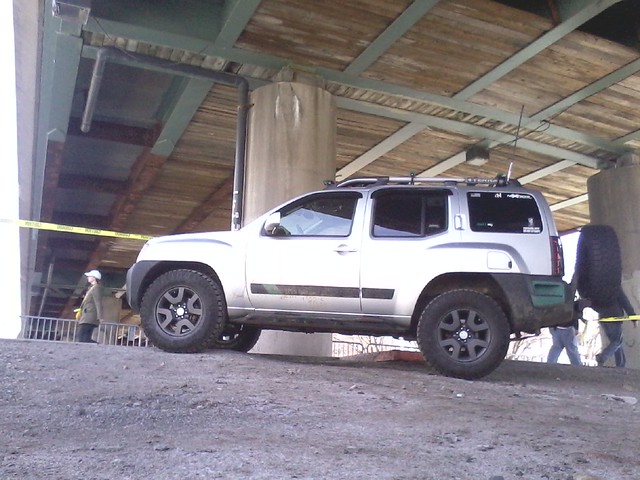
The XTerrance ("Calliope's Revenge"/"The Draggin'") - Tire carrier is done!
Username: ThePlasticOne
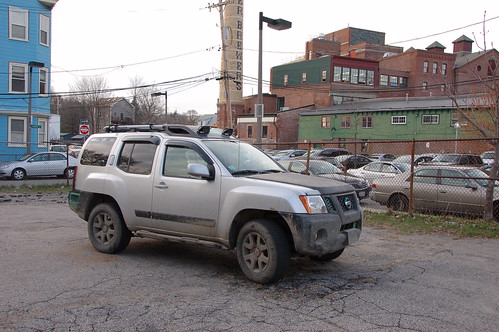
Make: Nissan
Year: 2010
Model: Xterra
Trim: SE
Color: Silver Lightning
Mileage: 51000
CURRENT MODS
Powertrain & Drive components:
Suspension:
Exterior:
Interior and Electrical:
Armor:
Upcoming Mods:
[*]Radflo 2.0 coilovers with 1" spacer
[*]Volant CAI (thanks Ripper!), awaiting new MAF gasket
Secondary Goals:
Dreaming about:
Replacement List:
Recovery List:


Lego Version:
Featured on 2013 ECXC shirt:

Mark 1:

Username: ThePlasticOne
Make: Nissan
Year: 2010
Model: Xterra
Trim: SE
Color: Silver Lightning
Mileage: 51000
CURRENT MODS
Powertrain & Drive components:
- Rear differential breather extension (01/13)
- AMSOIL Ea filter (02/13 - thanks va06nissan!)
- Stant locking gas cap (07/13 - thanks T100Trucker!)
- Goodyear Wrangler Duratracs, 285/70-R17 (09/13)
- EBC Greenstuff 6000 rear brake pads (07/15)
- Stillen Metal Matrix front brake pads (12/15)
- Raybestos Advanced Technology front rotors (12/15)
Suspension:
- Old Man Emu NitroCharger 607 coilovers, rear shocks, Dakar leaf packs with shims (01/13 - thanks rcheliman, rcheliman's friend Paul, and MainerX!)
- Rear sway bar deleted (08/13)
- NissTec adjustable rear shackles (10/13 - thanks Ricel and c3po!)
Exterior:
- Grip taped step rails, side steps, rear step (08/10, redone 11/11; removed 11/11)
- Badge accents (Testors Jade Green Metallic) (09/10)
- Door frame conspicuity tape (for bikers) (11/10)
- 16" Trico rear wiper with upgraded spring (01/11, replaced 11/11, 08/13)
- Rugged Ridge grab handles (01/11; destroyed by sunlight by 10/12)
- Front and rear mudflaps removed (03/11)
- OEM vent visors (03/11 - Thanks XterraCanuck!)
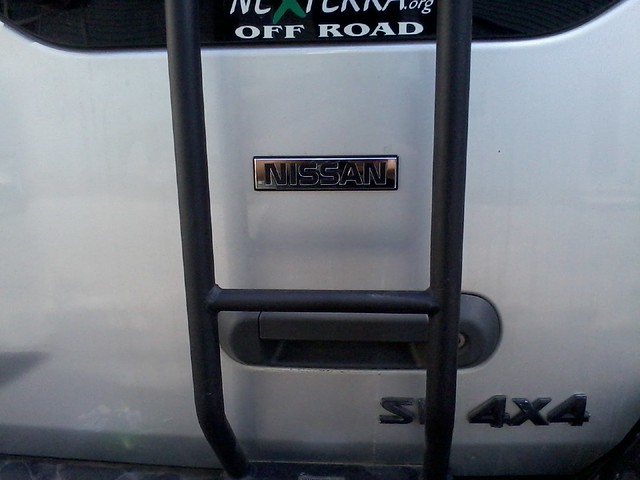
- Gobi ladder (04/11 - Thanks kneebuster!)
- K.H.A.O.S.-inspired horsepower stripe (07/11)
- Plasti-dip rear badges [1[2] (08/11)
- Tail light guards (08/11)
- 24" and 20" Scrublade wipers for front (11/11, replaced 08/13)
- REMOVE BEFORE FLIGHT (11/11, ironically removed 10/12)
- Custom NEXterra sticker (11/11, removed 03/12)
- Step rails removed (11/11)
- Side steps, door moldings Plasti-Dipped (11/11)
- Heated side mirrors (12/11)
- Mirror side markers (12/11)
- Plasti-Dip hood/grille blackout (01/12 removed 09/15)
- Gunmetal Plasti-Dip wheels (01/12; removed 04/14)
- WARNING: THIS VEHICLE PROTECTED BY SKID PLATES (01/12)
- More Plasti-Dip[1][2] (02/12 - redone 12/13-2/14 with bedliner, Anthracite Gray Plasti-Dip, Rustoleum)
- Better custom NEXterra sticker (03/12)
- Official NEXTerra stickers (04/12)
- Southco locking handle for roof box (06/12 - Thanks mistachael!)
- Custom Unistrut crossbars (08/12)
- Keyless Entry Keypad (08/12 - Thanks Hoagie27!)
- Stealthy Bug Deflector [1][2] (09/12 - redone in all silver - Thanks skyfaller!)
- Rear hatch strut upgrade (11/12)
- Custom rear light bar/CB mount (11/12)
- Paramount Restyling billet grille overlay (05/13)
- Headlight bezel blackout (05/13)
- New rear badge from a vintage Nissan (08/13, REMOVED 11/15)
- OEM bumper and fender liners replaced (11/13 - thanks firedawg225 and c3po!)
- Anthracite Gray PlastiDip wheels (04/14)
- EFX Euro Tail Lights (04/14)
- Bedlined and repainted rear plastics and front clip (10/14)
- Smittybilt tire cover
- Viggs Hood Blackout (09/15)
- AEV Hawse license plate bracket
- Vintage Nissan 4x4 emblem from a Hardbody (11/15)
Interior and Electrical:
- Title received (08/10)
- Lightspeed and Plaid gears (03/11)
- Passenger ejection button (03/11)
- Proton torpedo launcher (a.k.a. Switch for Nefarious Purposes) (03/11)
- Acu*Rite Indoor/Outdoor Temperature Gauge (05/11, removed 04/12)
- CRUSH KILL DESTROY (08/11)
- OEM Autodimming Mirror with Compass and Temp (04/12 - Thanks jerseyparts!)
- V-LEDS festoon bulbs (12/12)
- Silly (cheap, almost useless) Smittybilt clinometer (01/13)
- Raingler MIXN Mini Ceiling Net (02/13 - thanks dhyde79!)
- Mirror mounted fog/turn signal combo lamps (01/13) removed 09/15 and replaced)
- Xoskel Bumper Mouth Light Bracket (02/13 - thanks NEXTerra and rcheliman!removed 09/15)
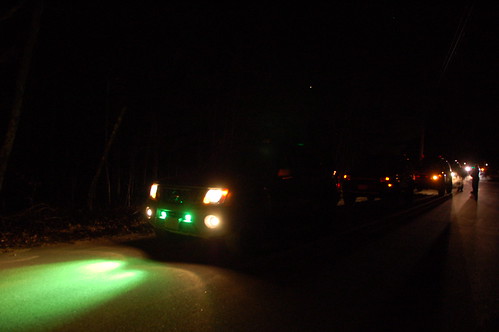
- Rigid Dually Flood lights with green optical covers (02/13 - thanks civicjoe!) RELOCATED 09/15)
- Superbrightleds super duty LED bars with custom cages (04/13)
- Accent/clearance lighting (04/13)
- Midland 75-822 CB radio with 2' Firestick to Firering (thanks ryandavenport!), HD spring, quick disconnect
(08/13 - thanks snowtrout for the battery holder!) - Utili-track fire extinguisher and shovel mount (08/13)
- Blue Sea fuse box (08/13)
- Backup beeper (08/13)
- Raptor Automotive/Metra Electronics 15" amplified FM antenna
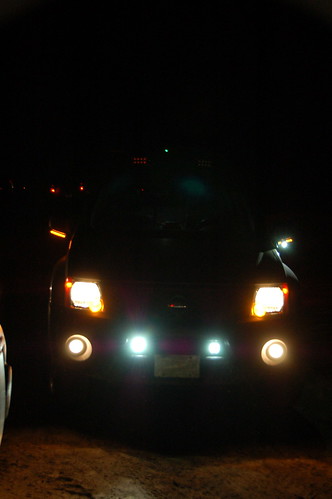
- GLOWIES!
- Wolo Big Bad Max installed in roof basket (11/13)
- Lazy Bones Interior Rack (01/14)
- iJDMToy LED reverse light bulbs (06/14)
- Nilights LED backup lights (10/14)
- Mirror-mounted LED bars (09/15) (replacing turn signal lamps)
- Relocated Rigid Duallys to hood mount from bumper mouth (09/15)
Armor:
- Hefty Fabworks Engine Skid (03/12)
- New bumper with RockyMtnX rear recovery brackets and shackles (06/12 - Thanks rcheliman, dave99w, and RockyMtnX!)
- Hefty Fabworks Radiator Skid (08/12 - Thanks rcheliman!)removed 10/15
- Hefty Fabworks NXRocks gas tank skid (09/12 - Thanks rcheliman!)
- Custom White Knuckle sliders (10/12)
- BoonDox-style recovery bracket tire carrier/"bumper" with backup sensors (10/13 - thanks BoonDox, chettacheez, and RockyMtnX!)
- Shrockworks C200k rear differential cover (10/13)
- Hefty Fabworks Transmission Skid (01/14)
- Hardcore Offroad Front Bumper, hawse fairlead (10/15)
Upcoming Mods:
[*]Radflo 2.0 coilovers with 1" spacer
[*]Volant CAI (thanks Ripper!), awaiting new MAF gasket
Secondary Goals:
- Utili-Track swap to unistrut
- Drop-in roof basket
- PIAA Superior Bass horn
- Modular snorkel system
- Hefty T-case skid
Dreaming about:
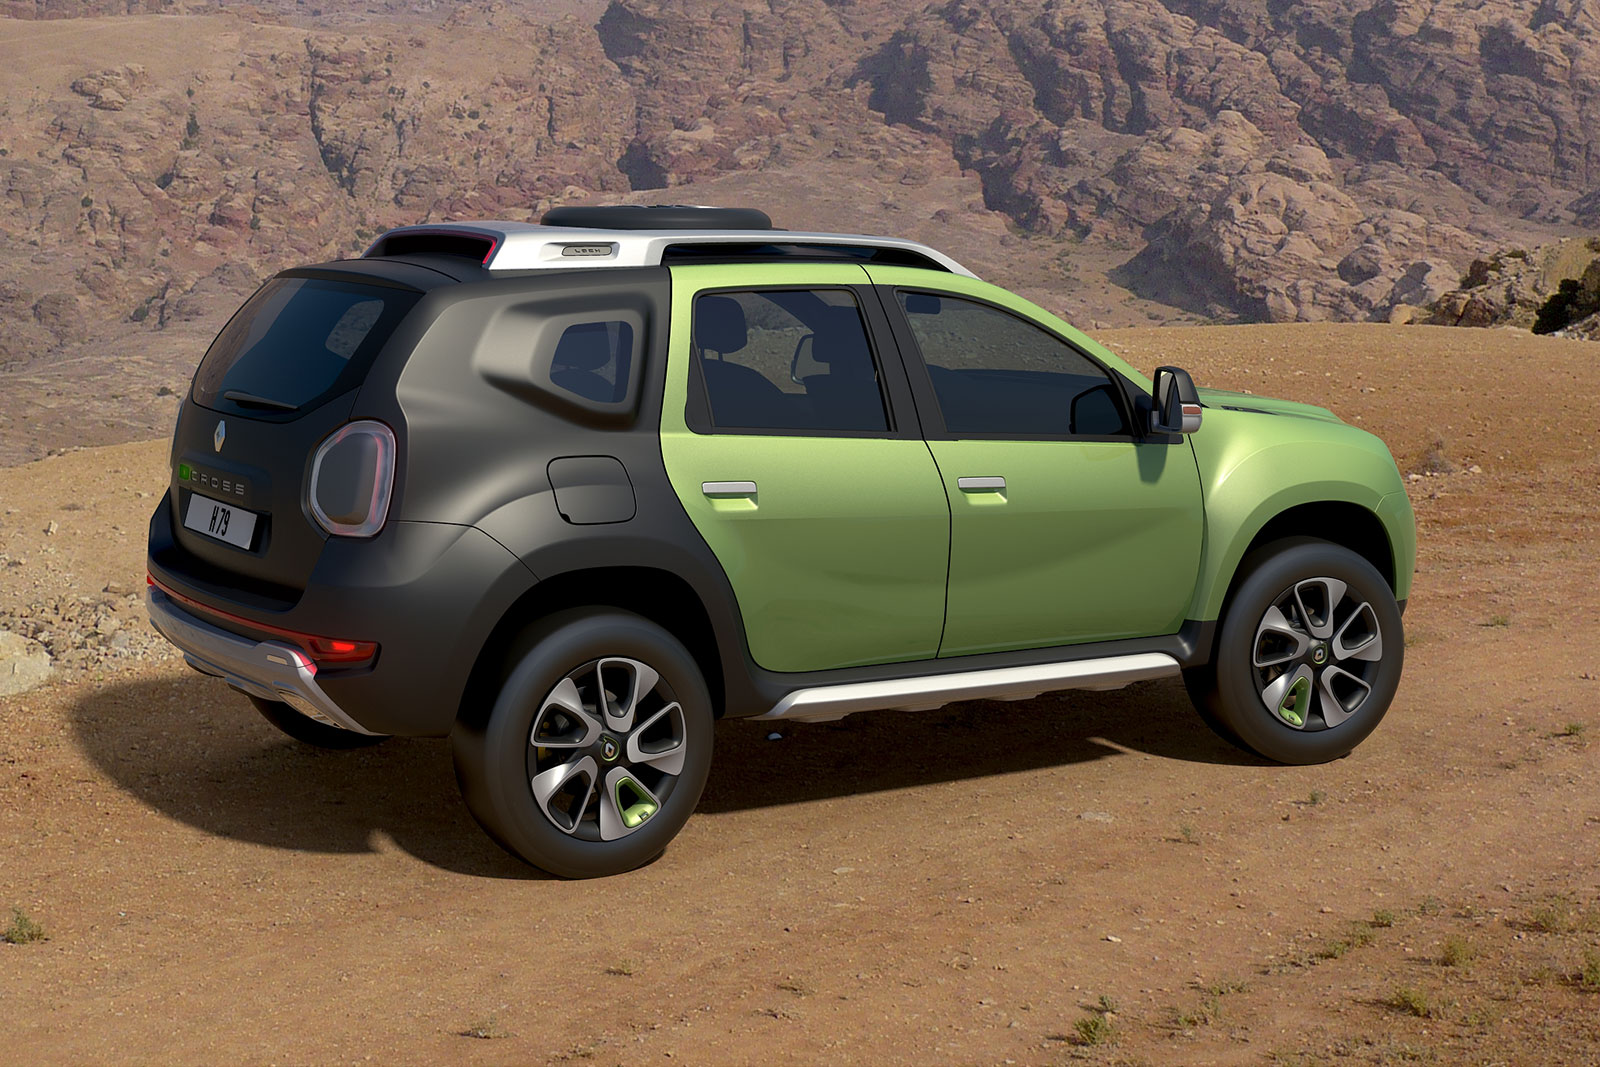
- Complete repaint to a nice olive drab
Replacement List:
- Battery terminals replaced 06/13 (stretched out, caused intermittent power loss)
- 3rd frame member to be replaced (broken weld nuts)
- 4th frame member to be replaced (general trail carnage)
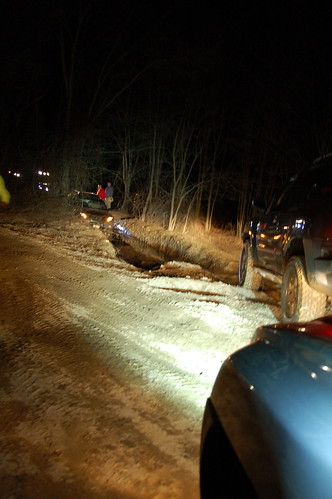
Recovery List:
- Recovered by: Bass4Runner, 07/08/13
- Recovered: Bass4Runner, 07/08/13
- Recovered by: rcheliman, 07/21/13
- Recovered by: DirtySocks, 08/17/13
- Recovered by: Bass4Runner, 02/09/14
- Recovered by: DirtySocks, 02/09/14
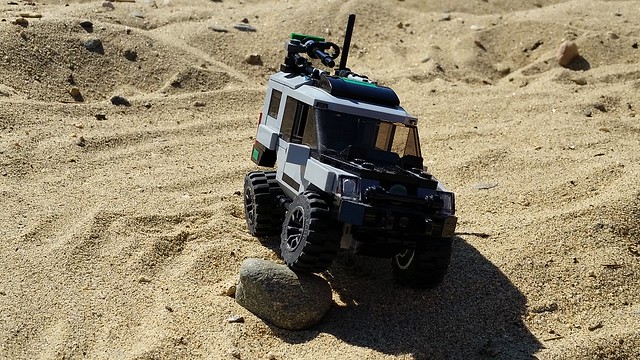
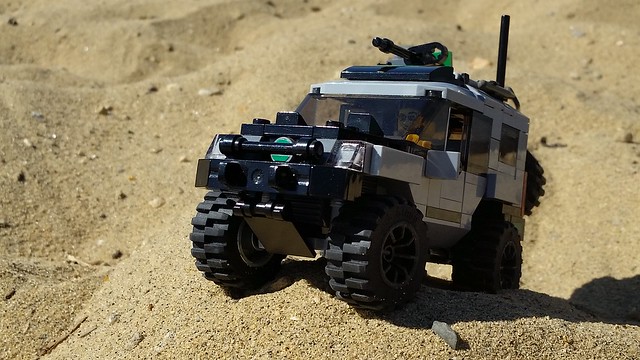
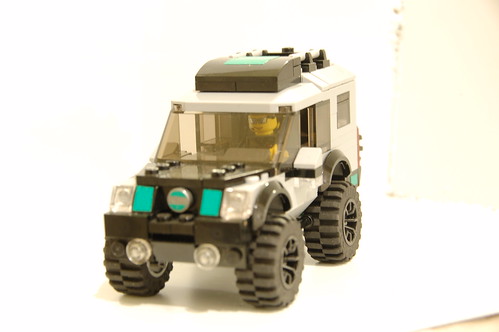
Lego Version:
Featured on 2013 ECXC shirt:
Mark 1:
Last edited:
")