- Location
- machesney park IL
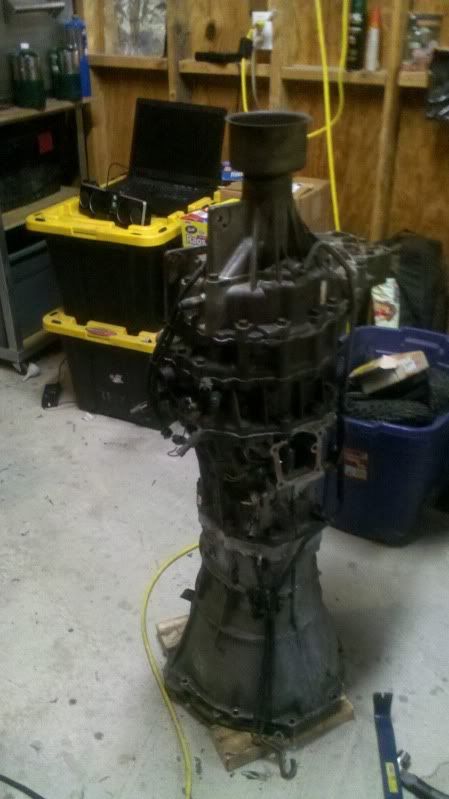
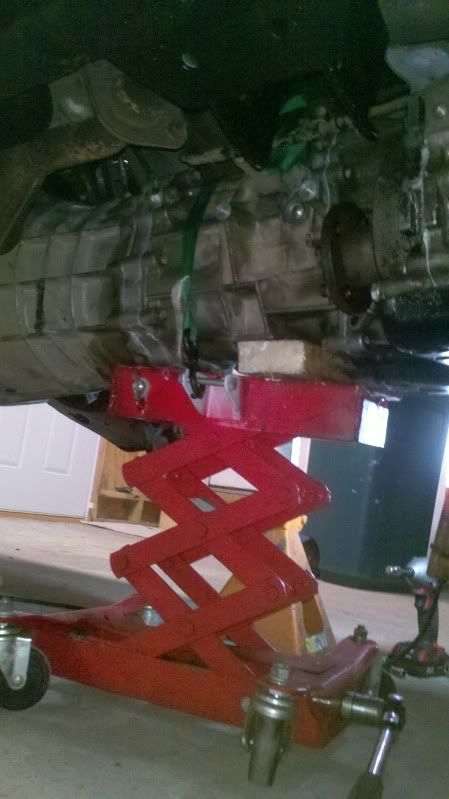
In this thread I plan to highlight the rebuild of my transmission. I had started in my build thread. But, face it when someone is searching for info they don't want to dig so I have decided to make a separate thread here. Every transmission is different, and individual problems may differ. I don't want to make this a how to thread as the FSM is the best reference and lays the path. Mearly show how I did it, and give tips real world tips along the way for those that might have to face this issue in the future. I am just a basic weekend garage mechanic not a transmission pro. My plan is to show that it can be done using a basic garage and inexpensive tools. I still have yet to do this I am not writing about something I have already done. So I hope it works if it doesn't at least you can learn from my mistakes. I'm hoping to perform it over the next several weeks.
Basic outline is as follows.
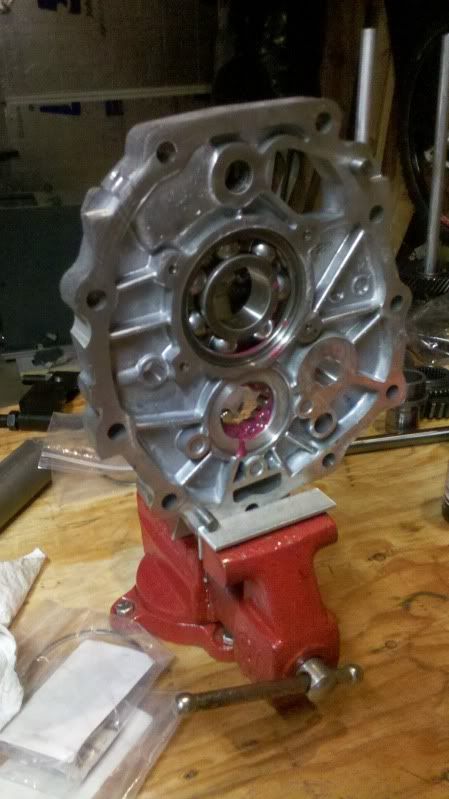
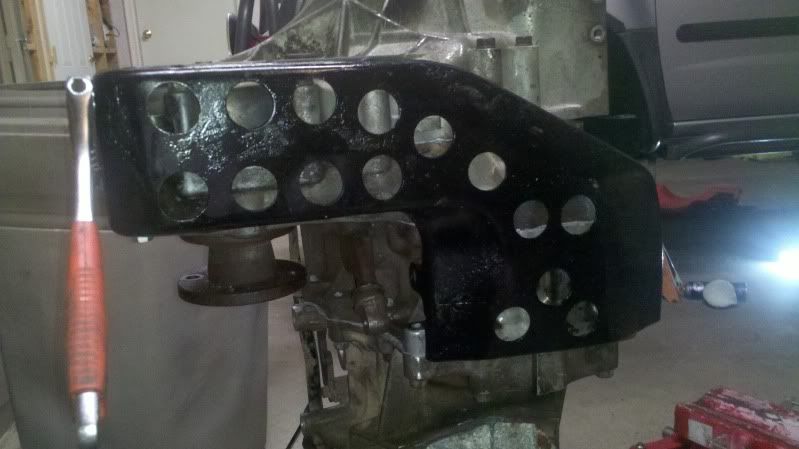
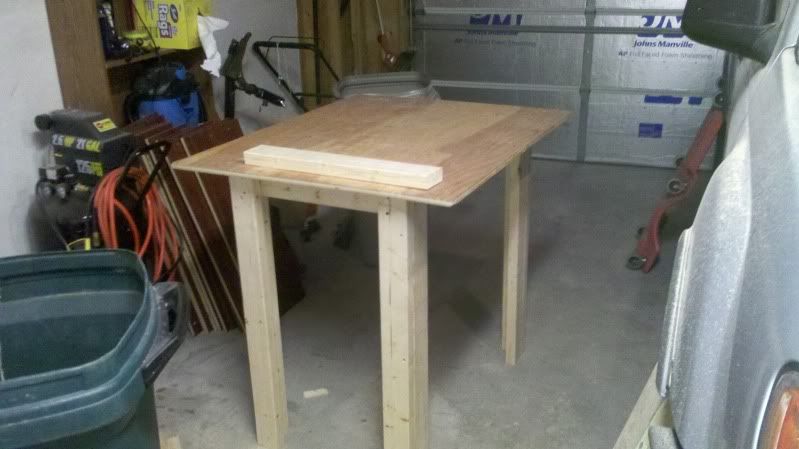
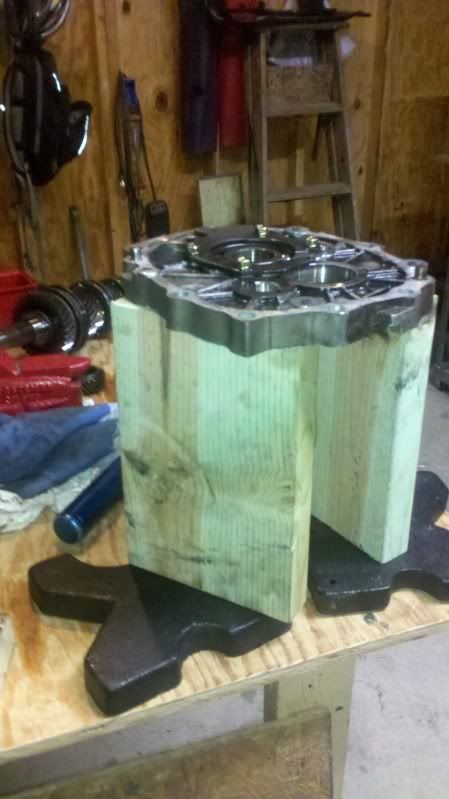
1. Make a workbench or work surface to hold the transmission while the rebuild is being performed.
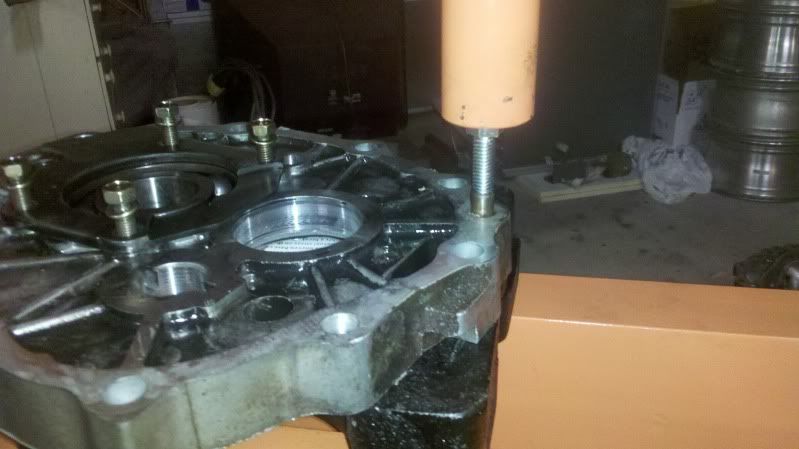
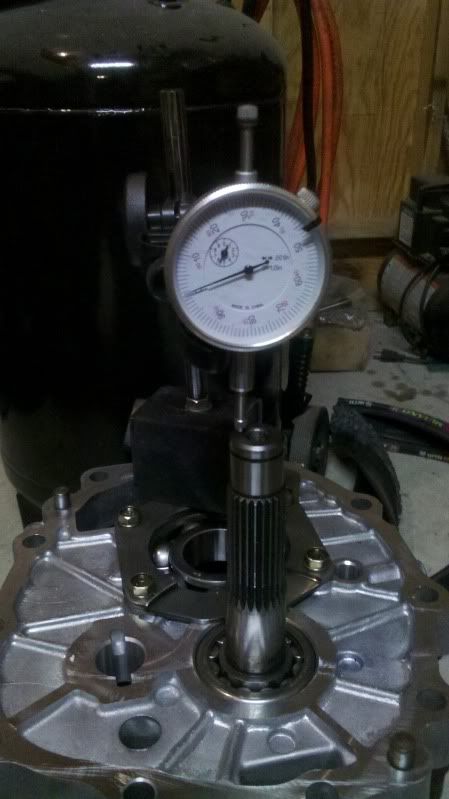
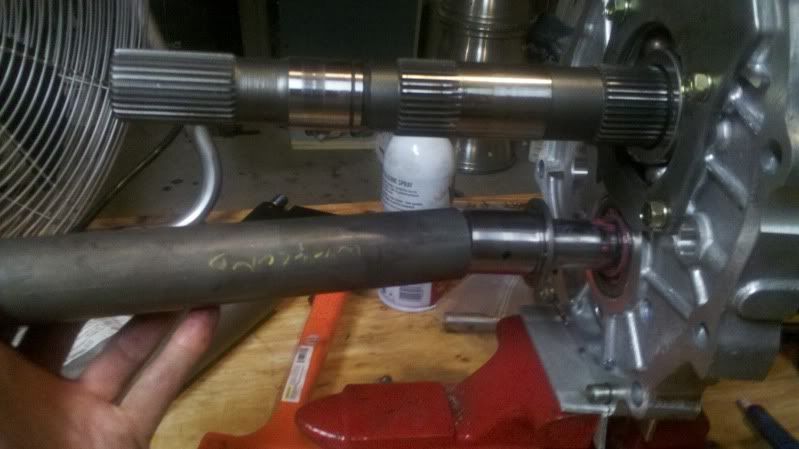
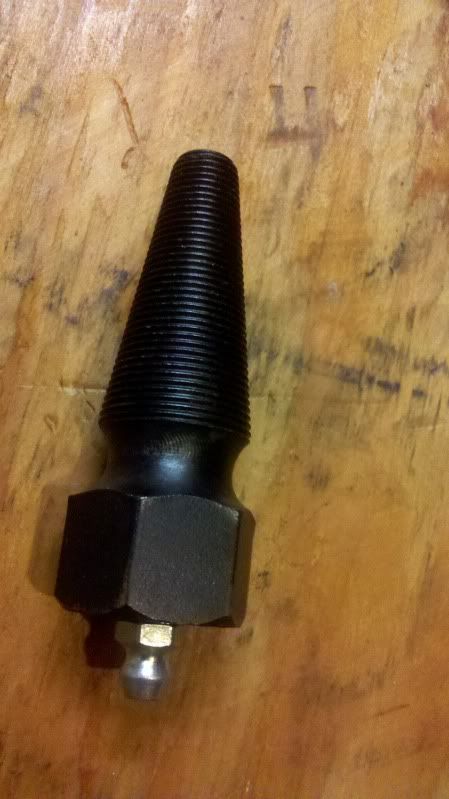
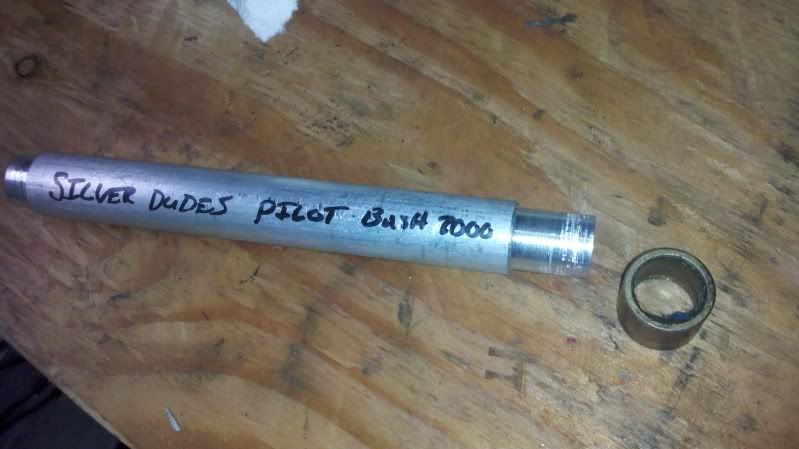
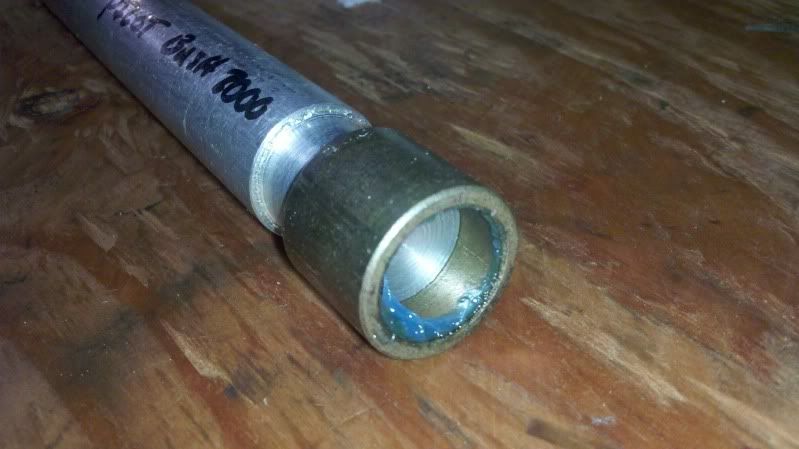
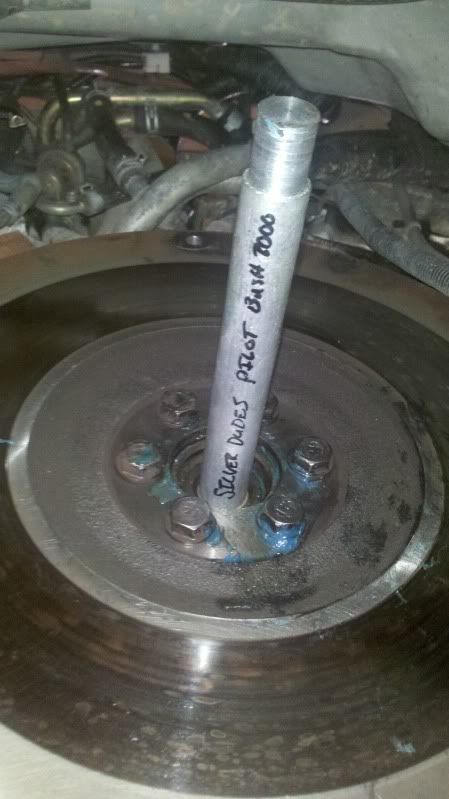
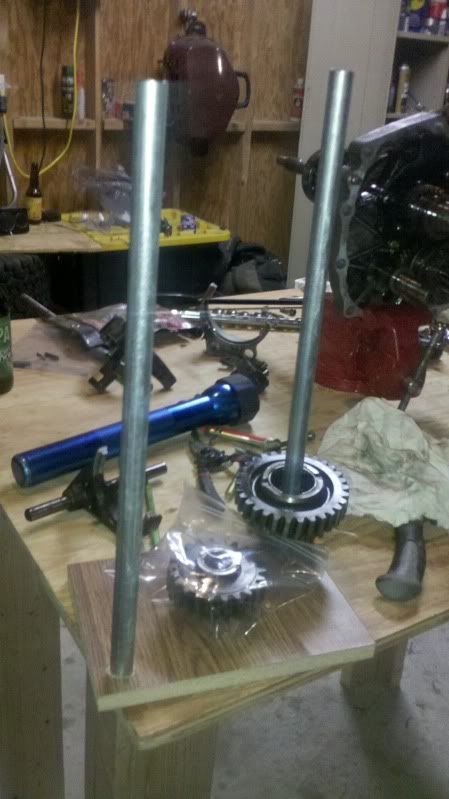
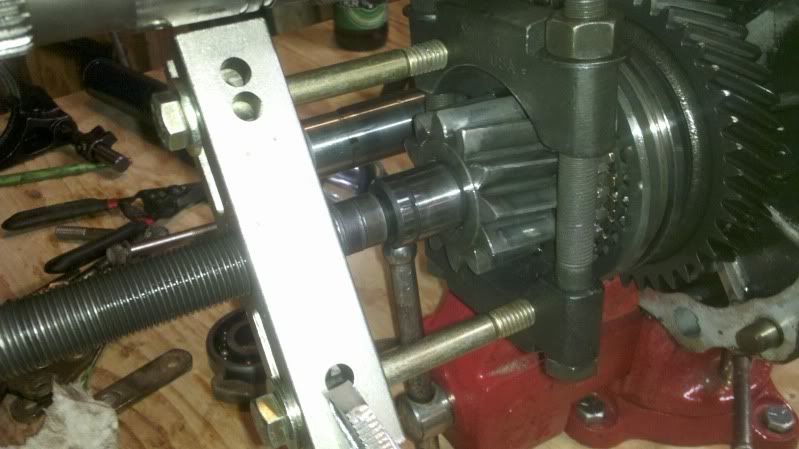
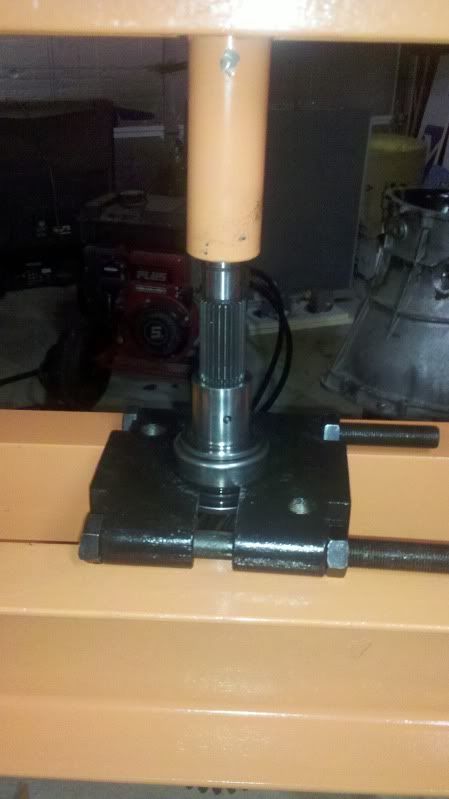
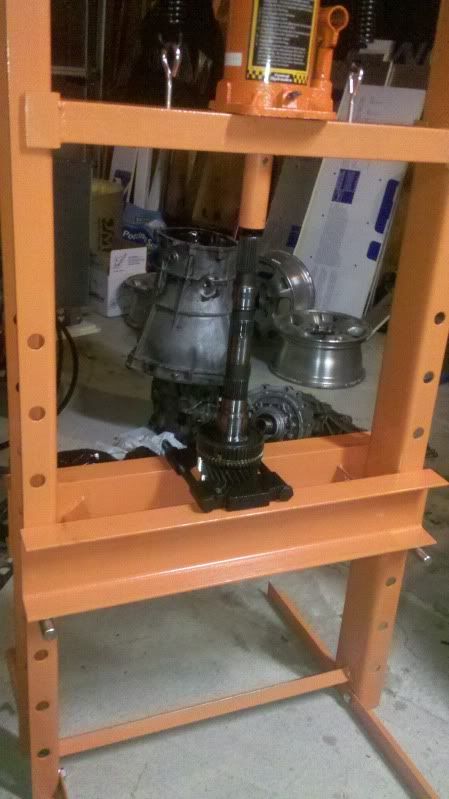
2. Fabricate and secure the tools required to disassemble the transmission completely.
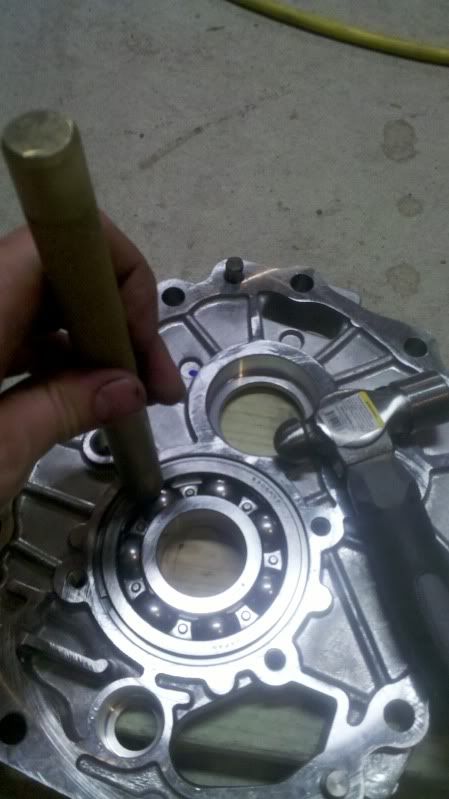
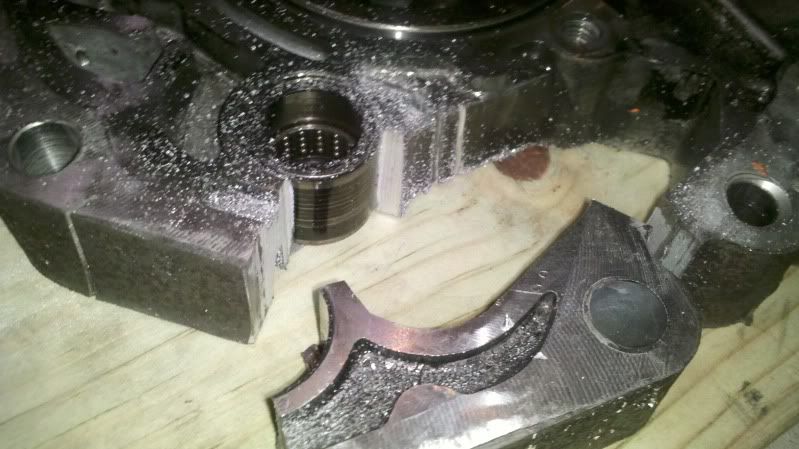
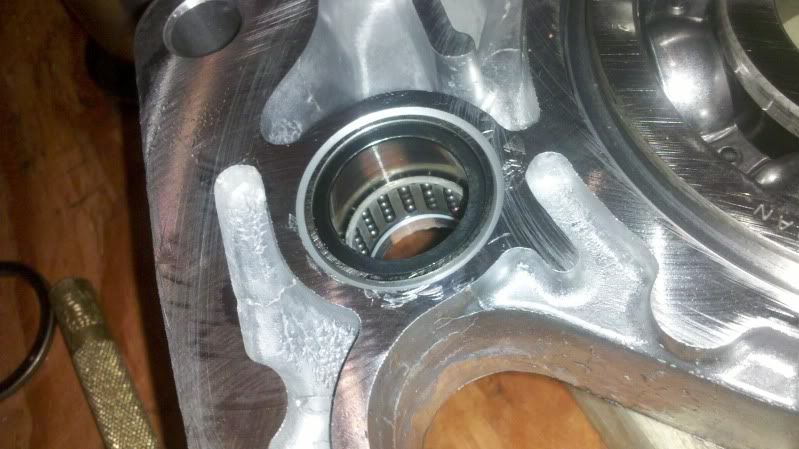
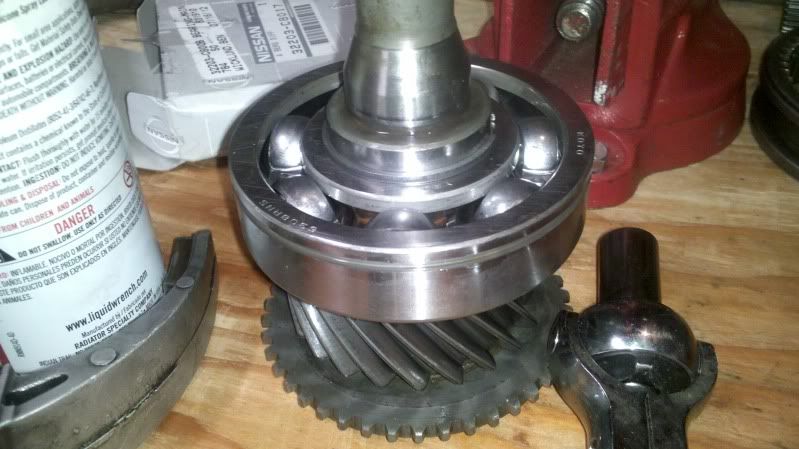
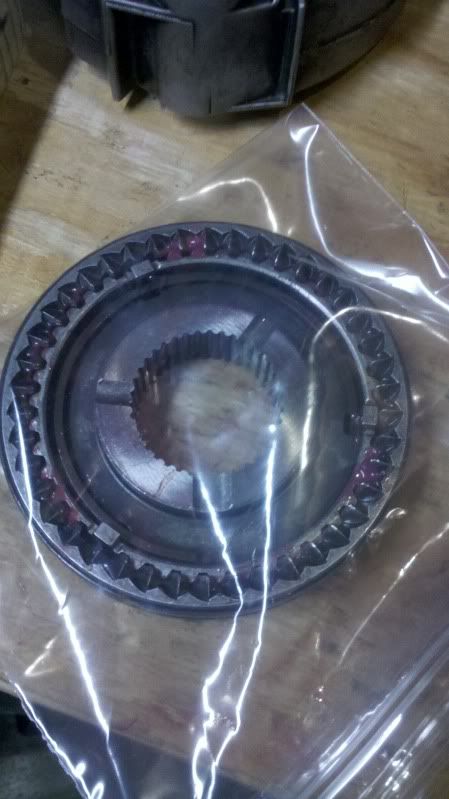
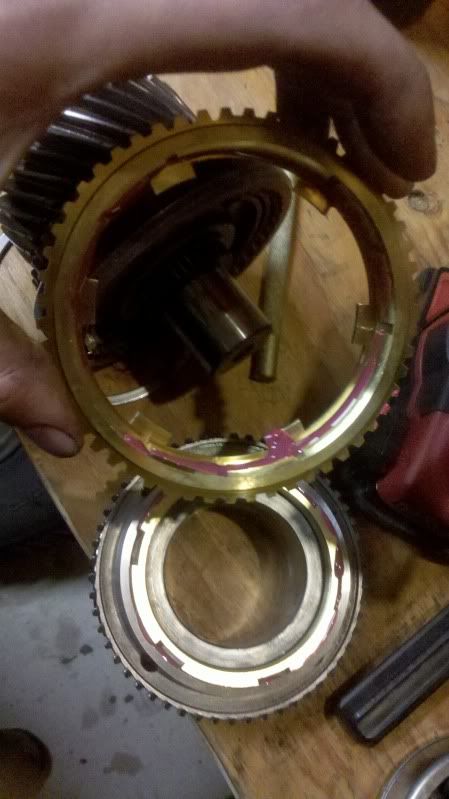
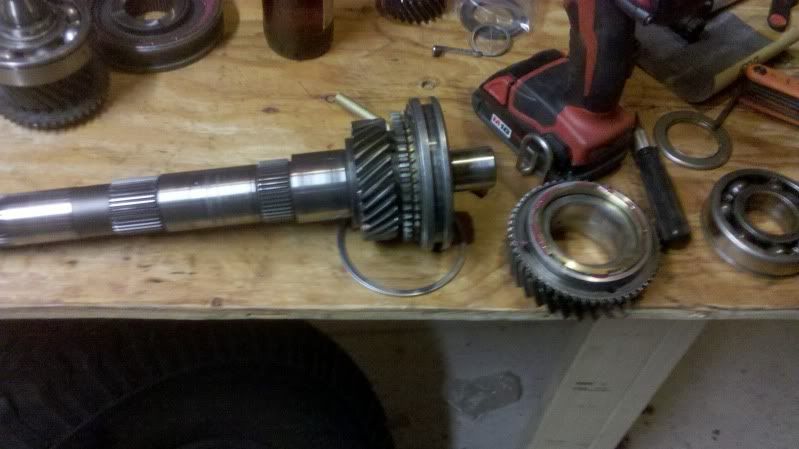
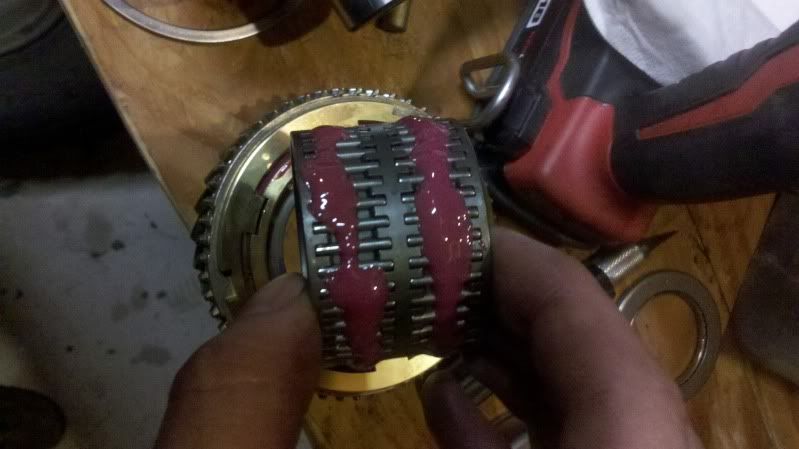
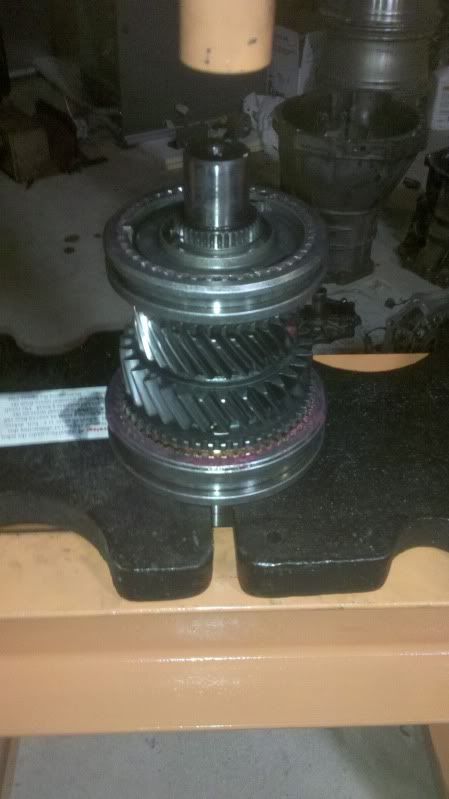
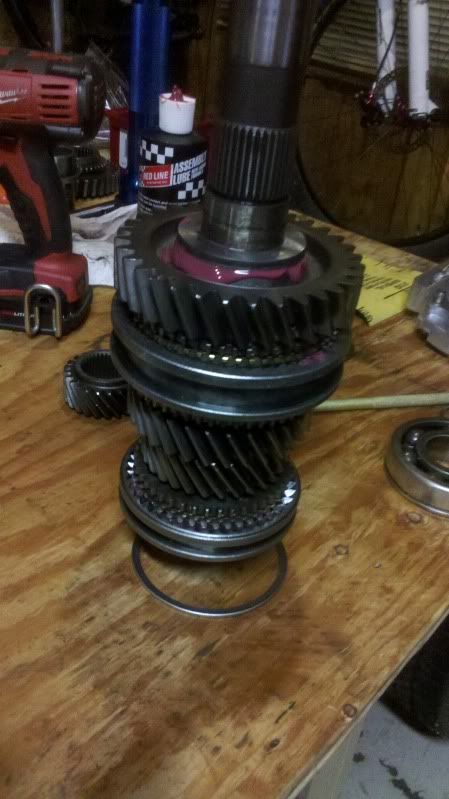
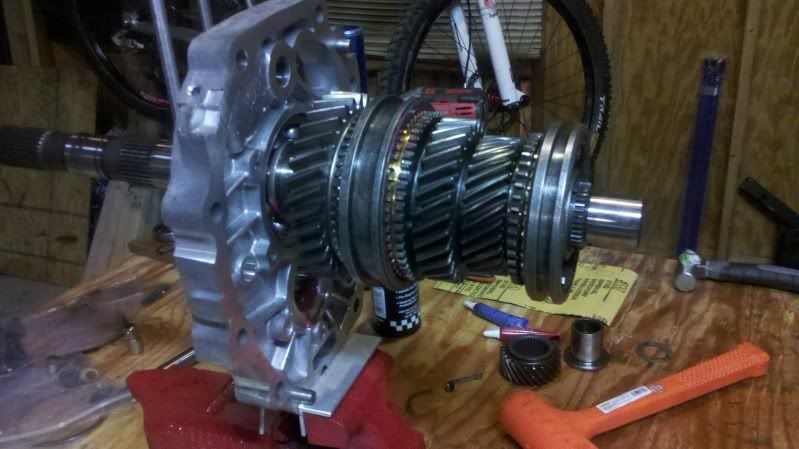
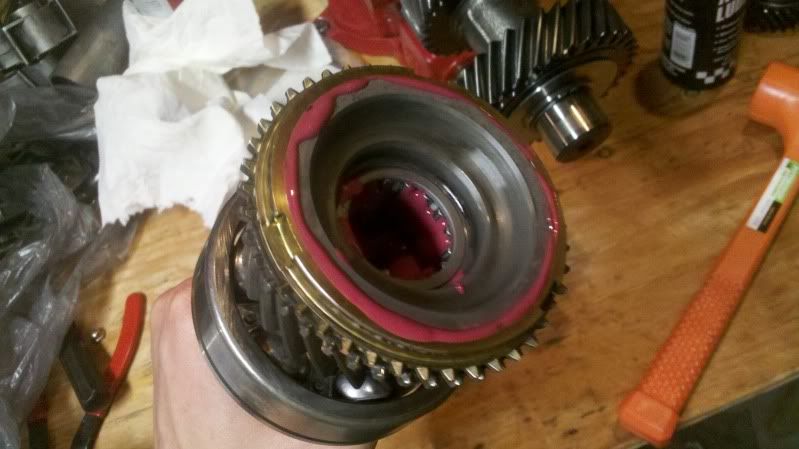
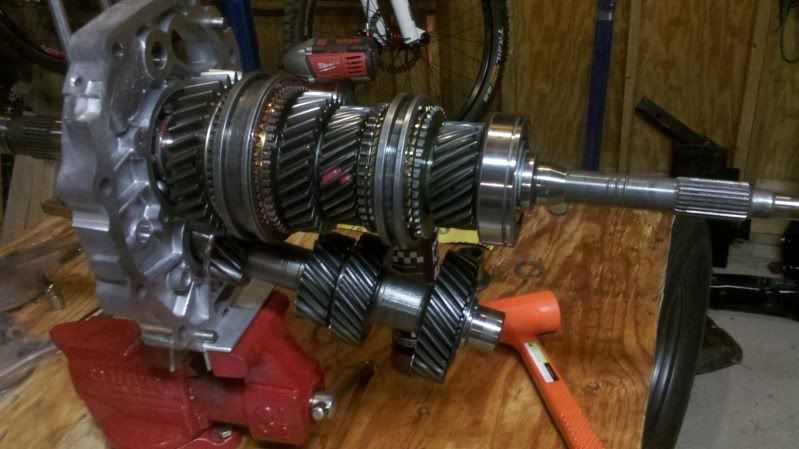
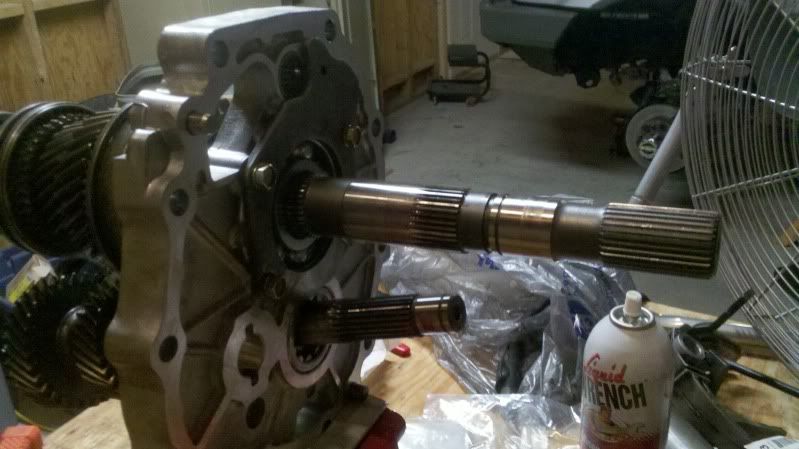
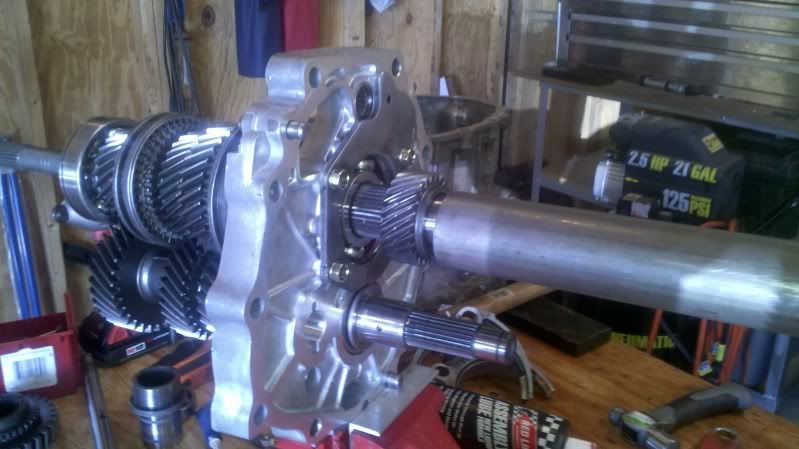
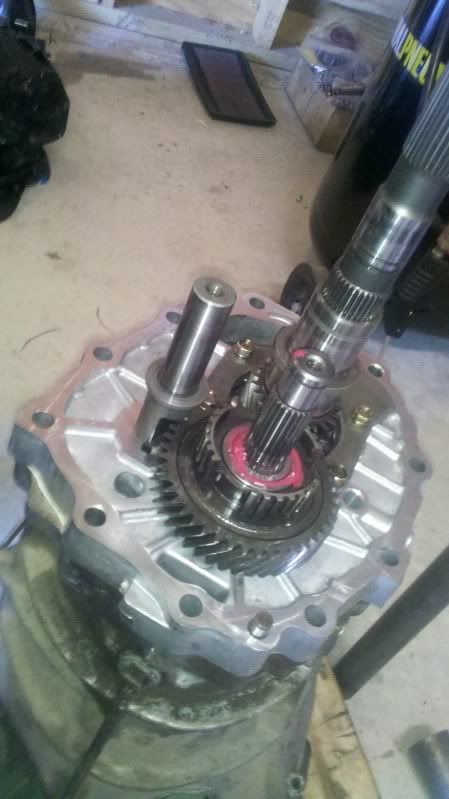
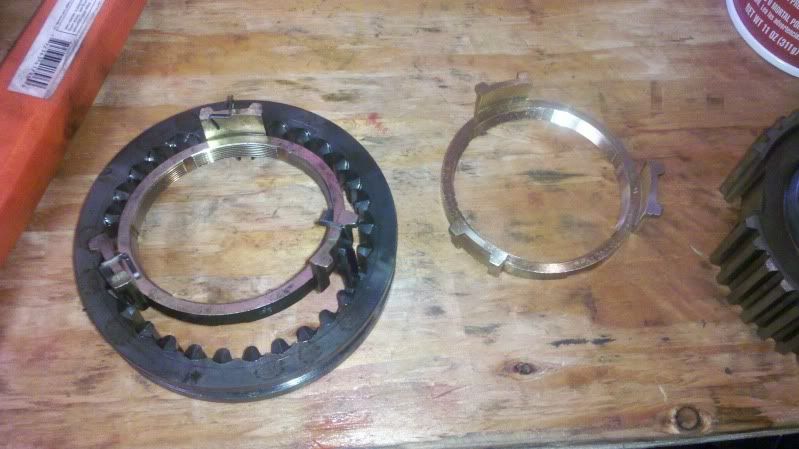
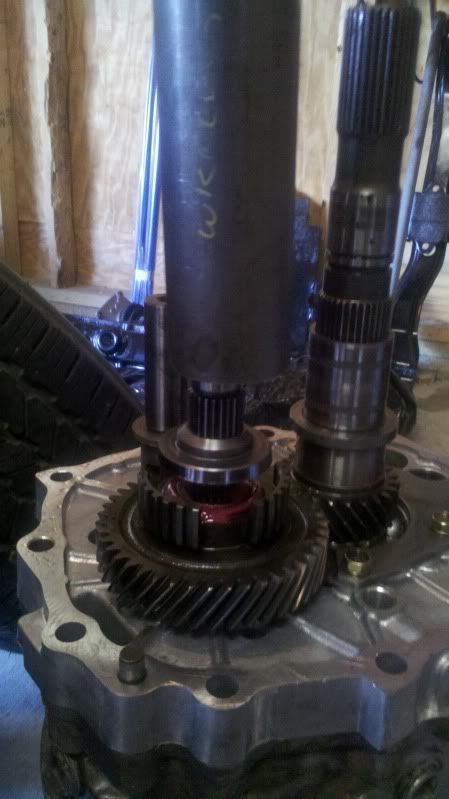
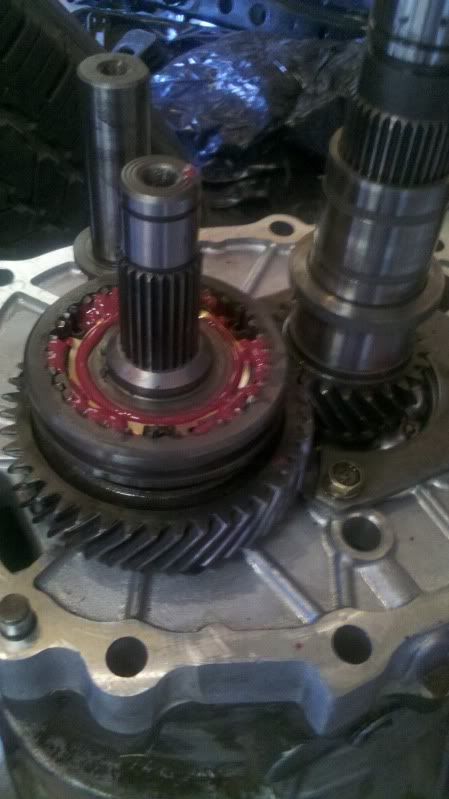
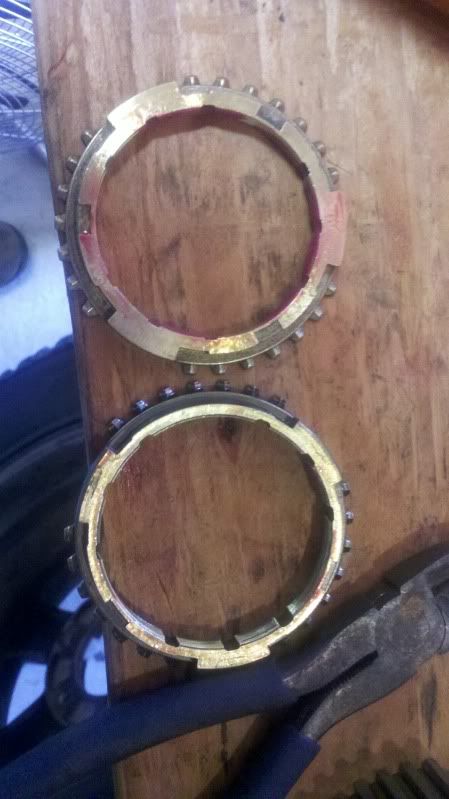
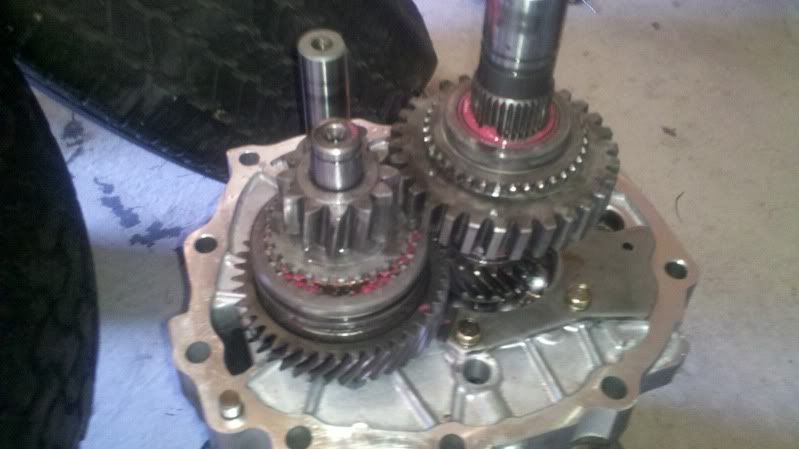
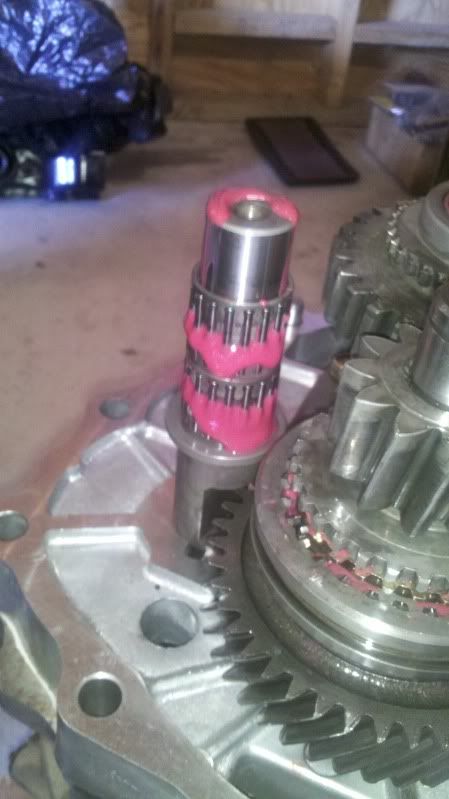
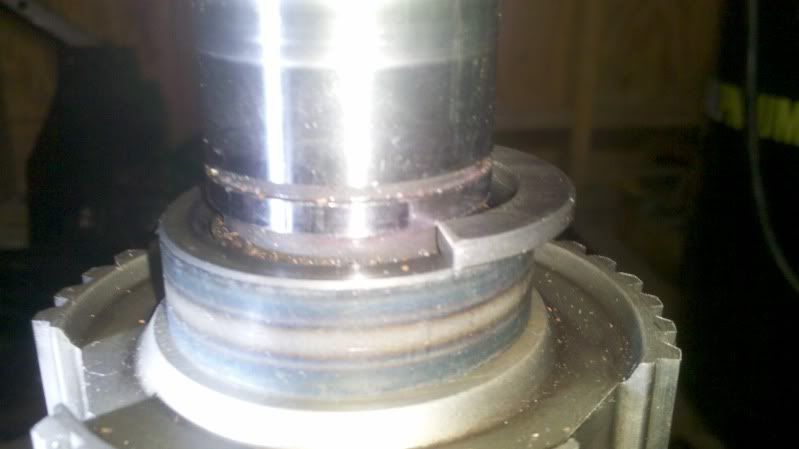
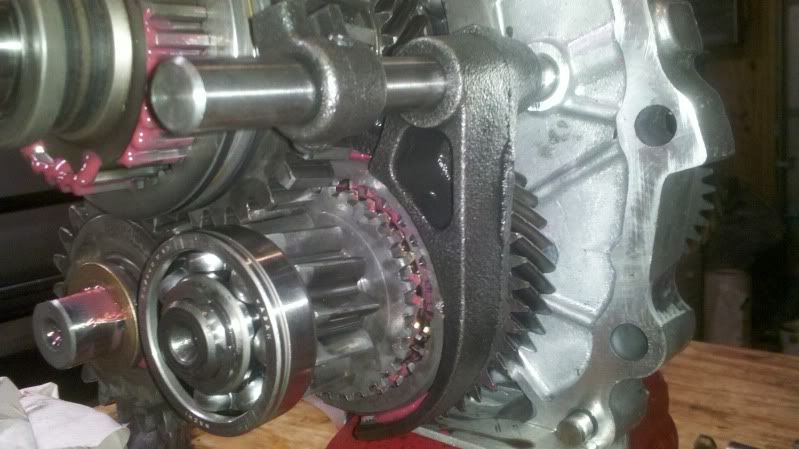
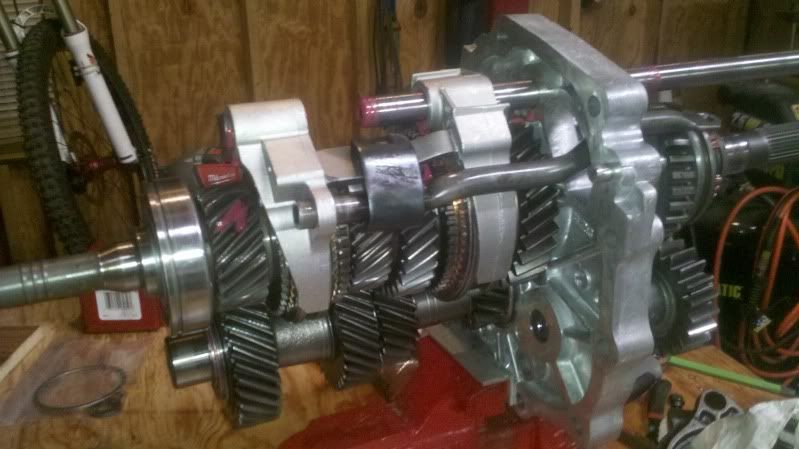
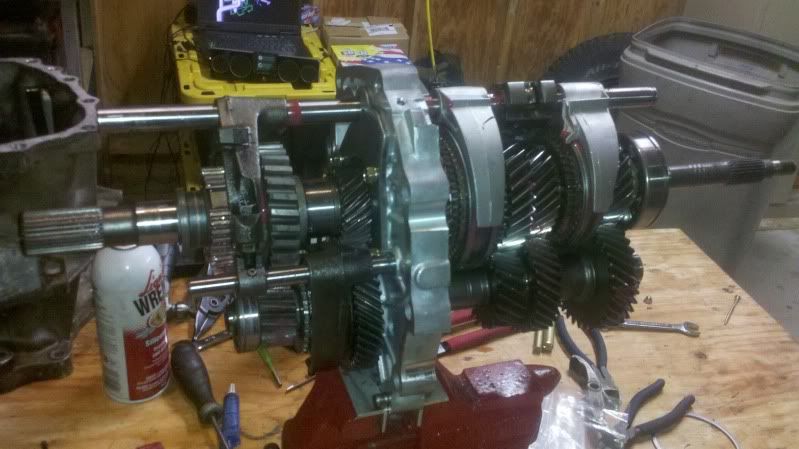
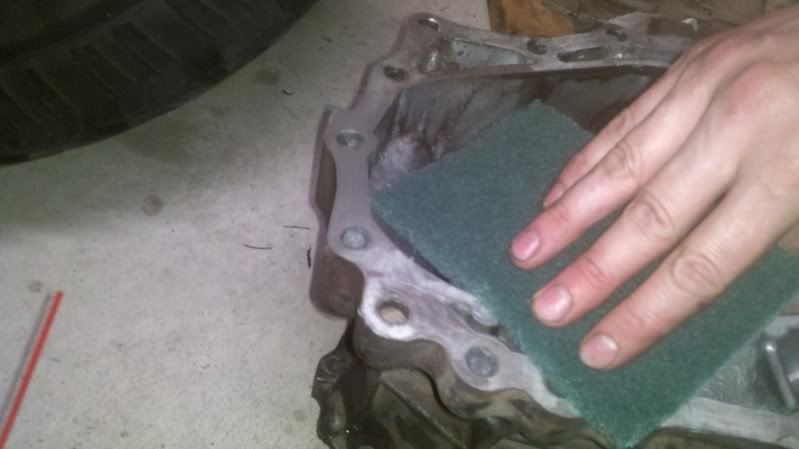
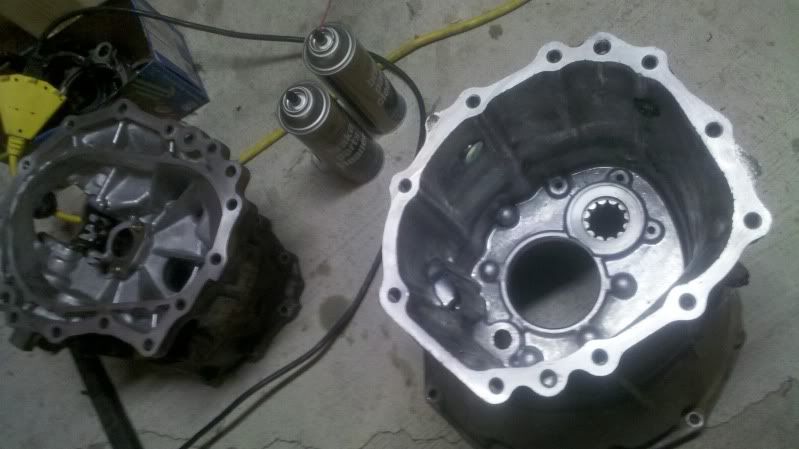
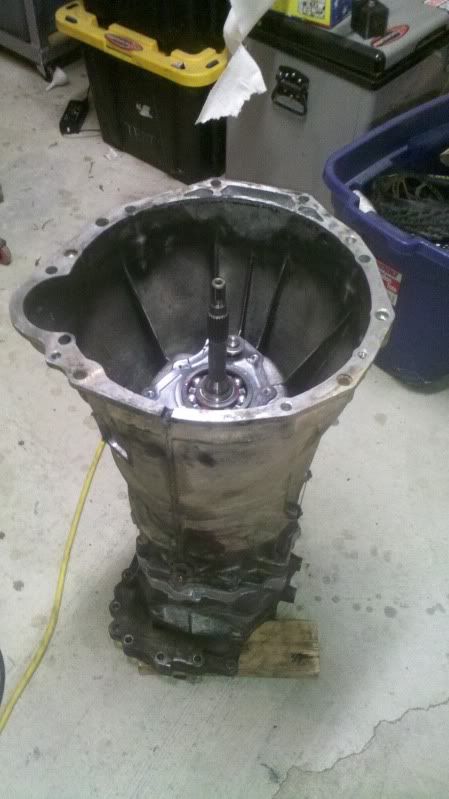
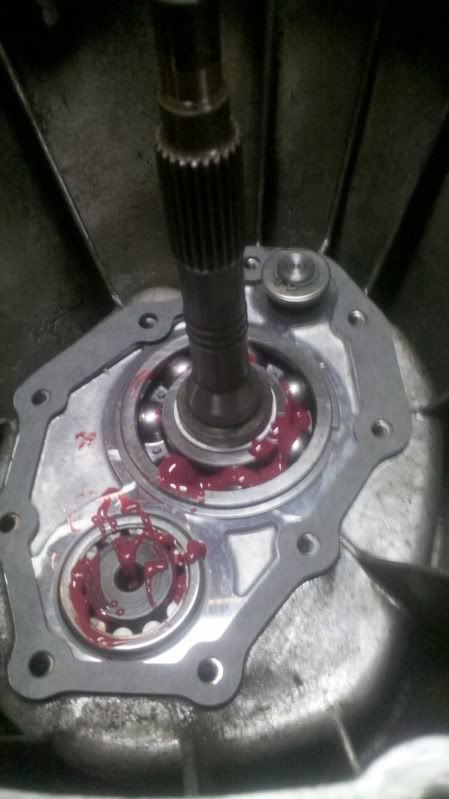
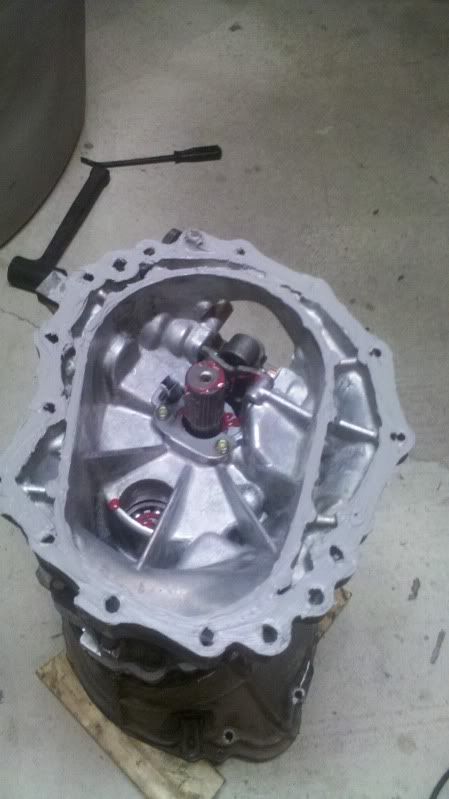
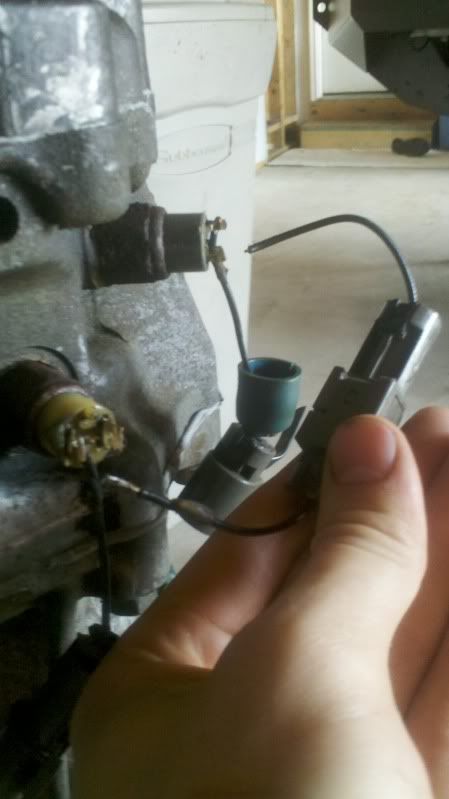
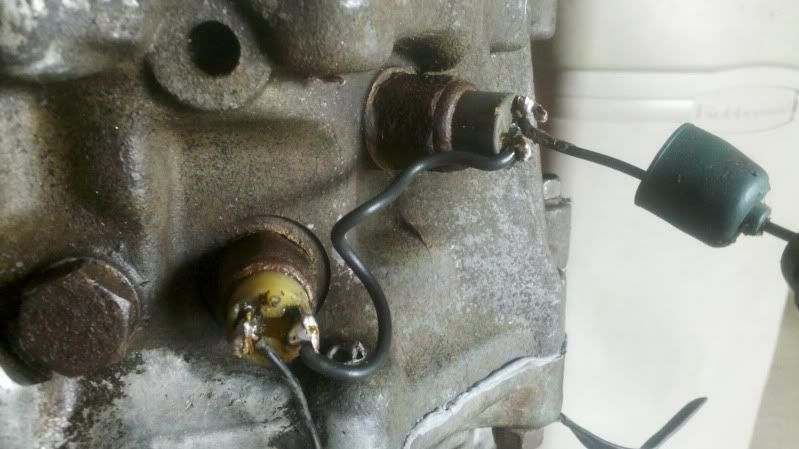
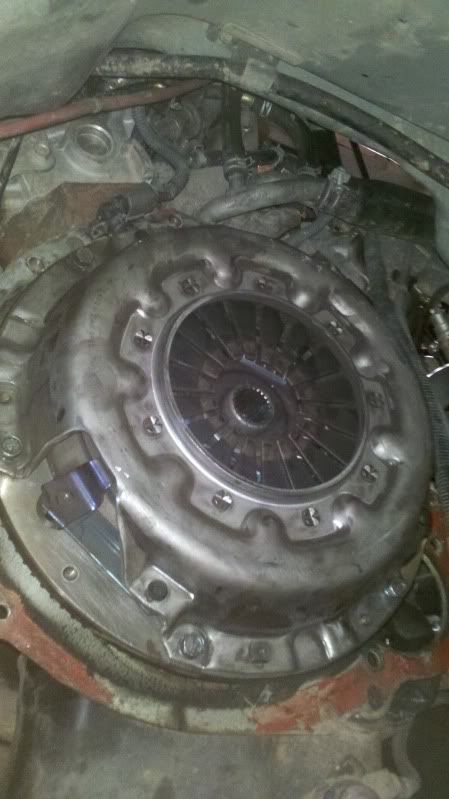
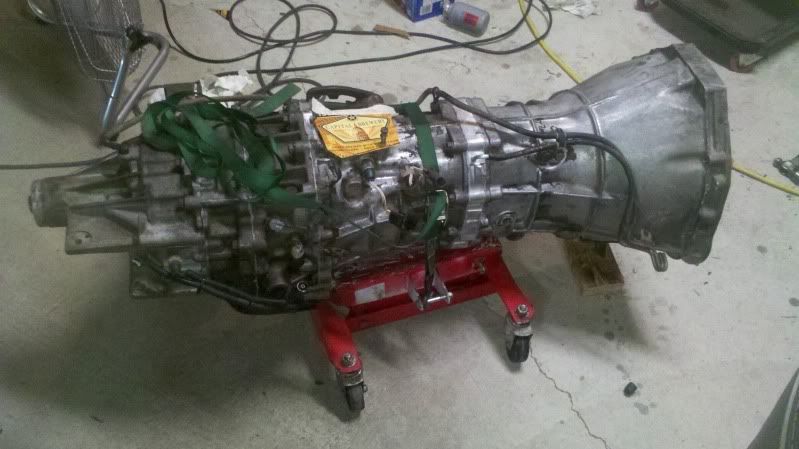
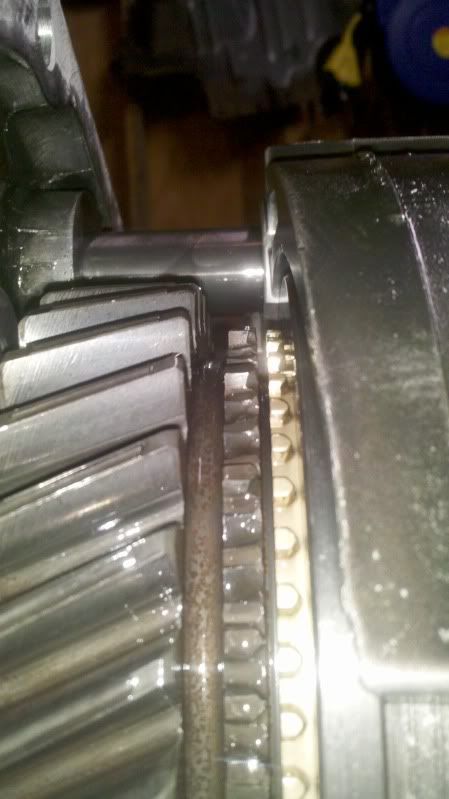
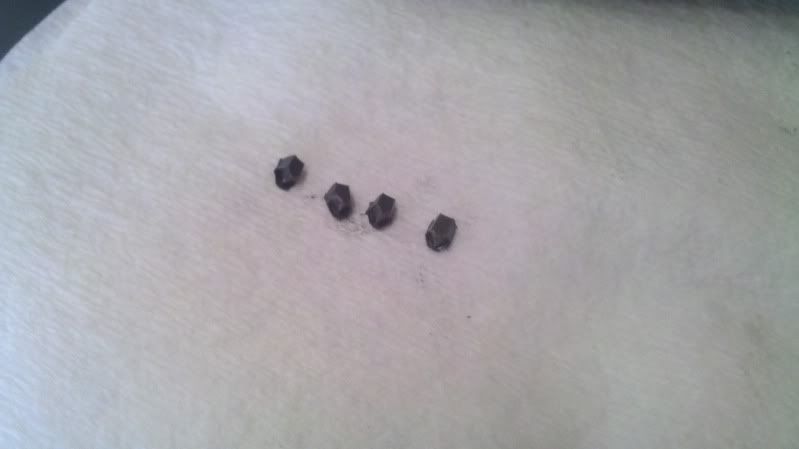
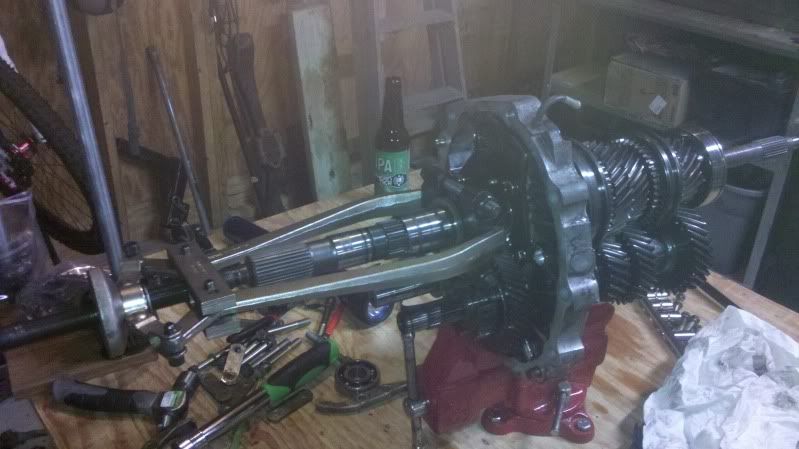
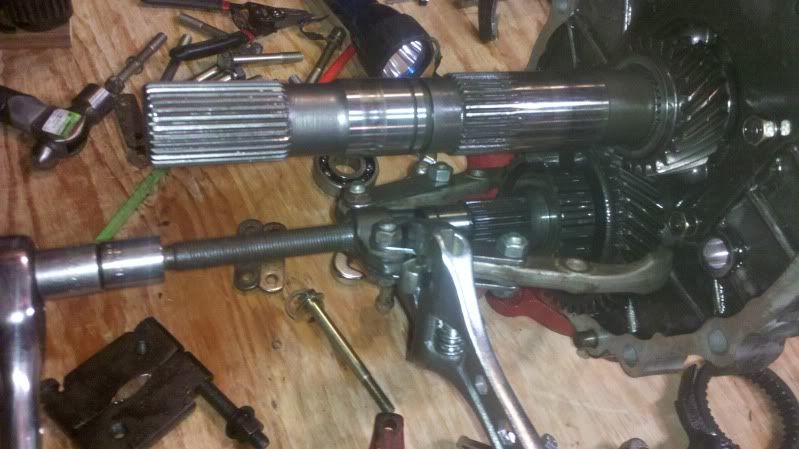
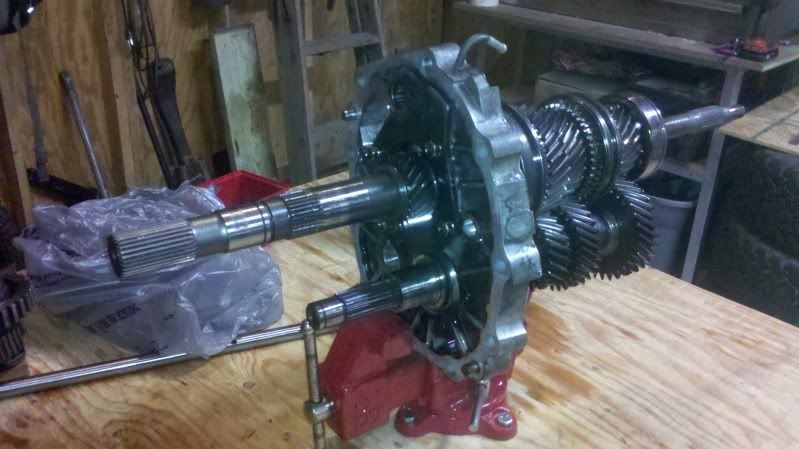
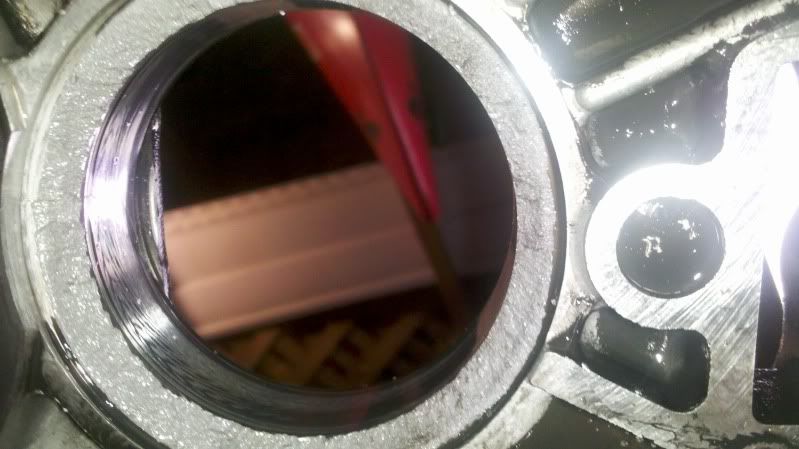
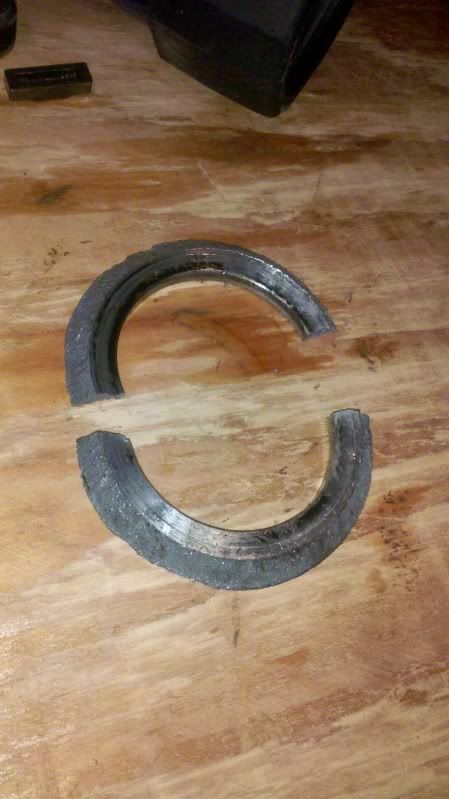
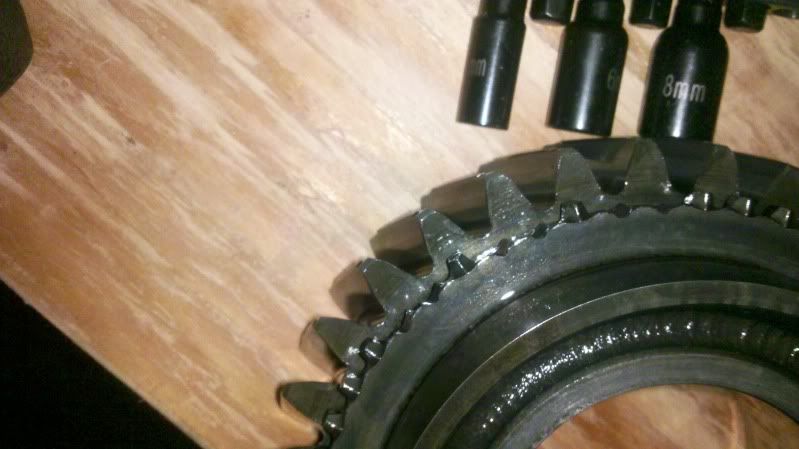
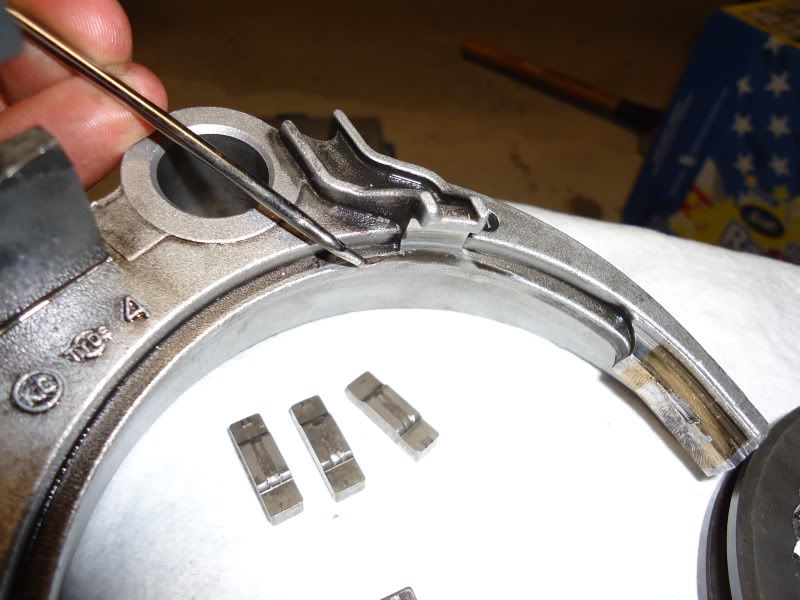
3. Complete disassembly and inspection of components.
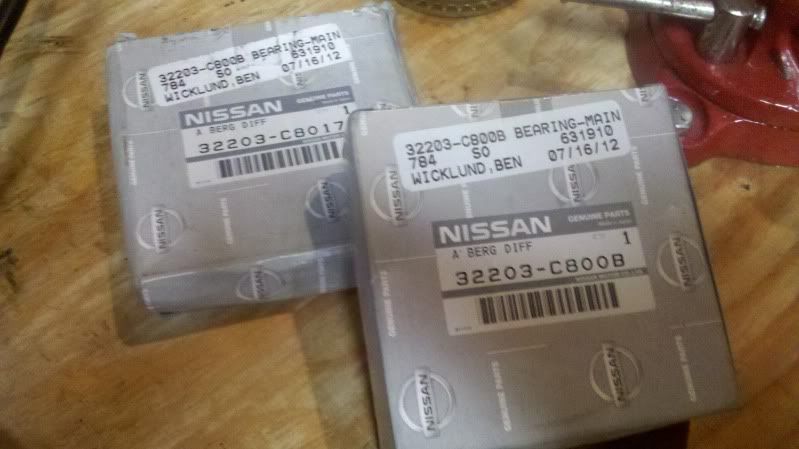
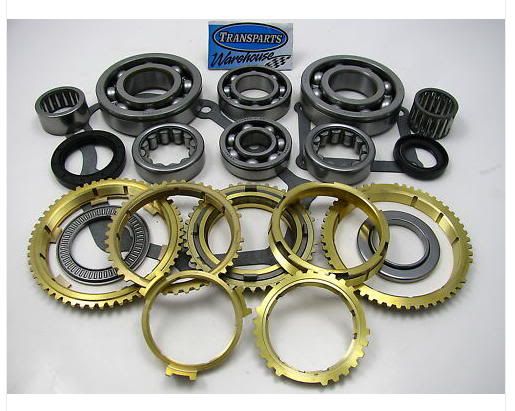
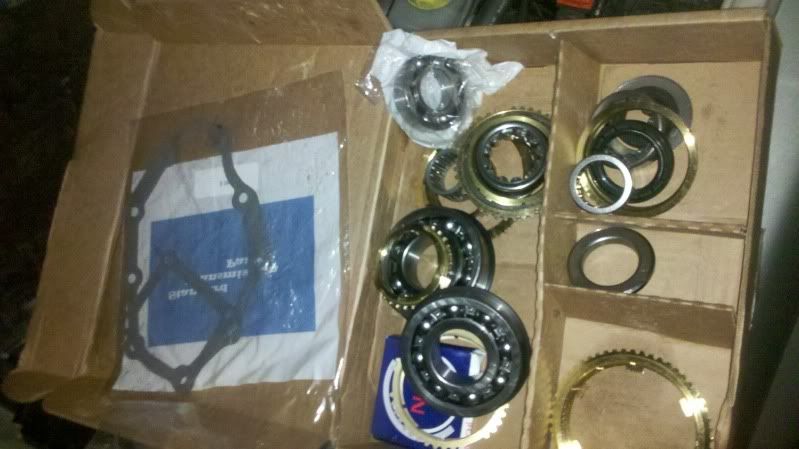
4. Then of course ordering all the pieces.
5. Reinstalling and testing.
Basic outline is as follows.
1. Make a workbench or work surface to hold the transmission while the rebuild is being performed.
2. Fabricate and secure the tools required to disassemble the transmission completely.
3. Complete disassembly and inspection of components.
4. Then of course ordering all the pieces.
5. Reinstalling and testing.
Last edited:
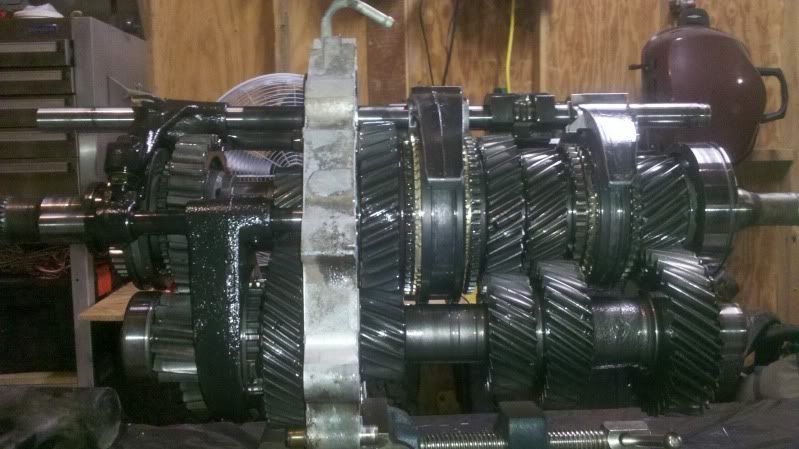
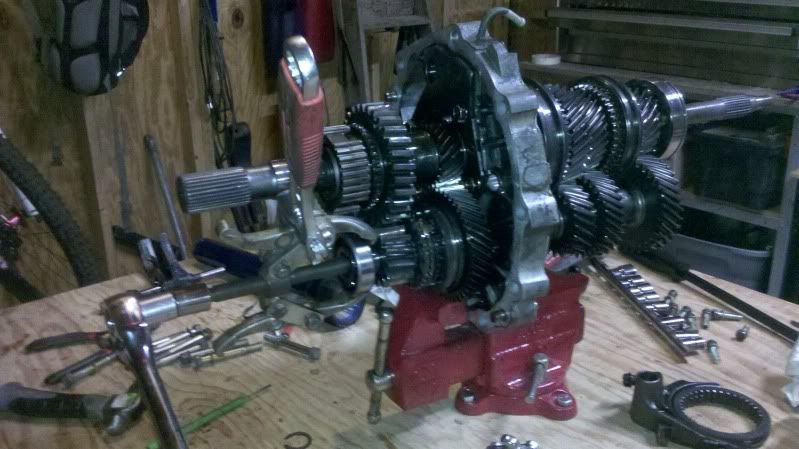
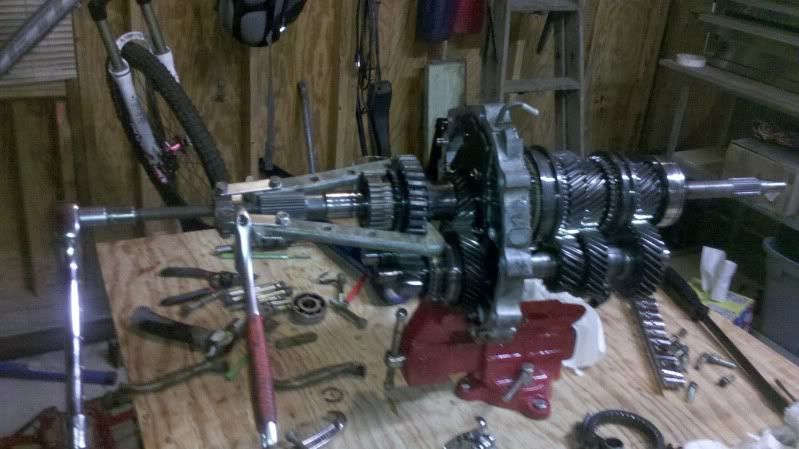


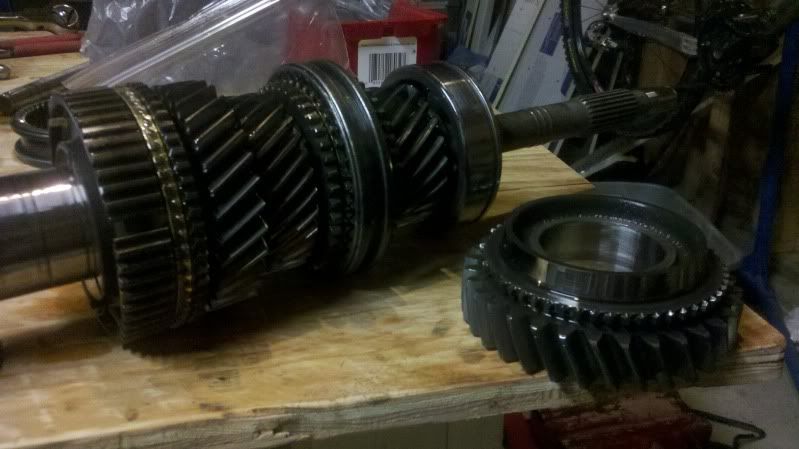
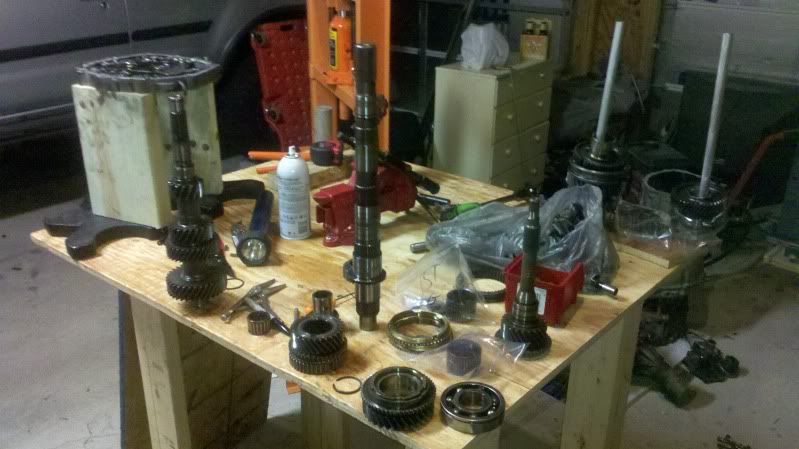
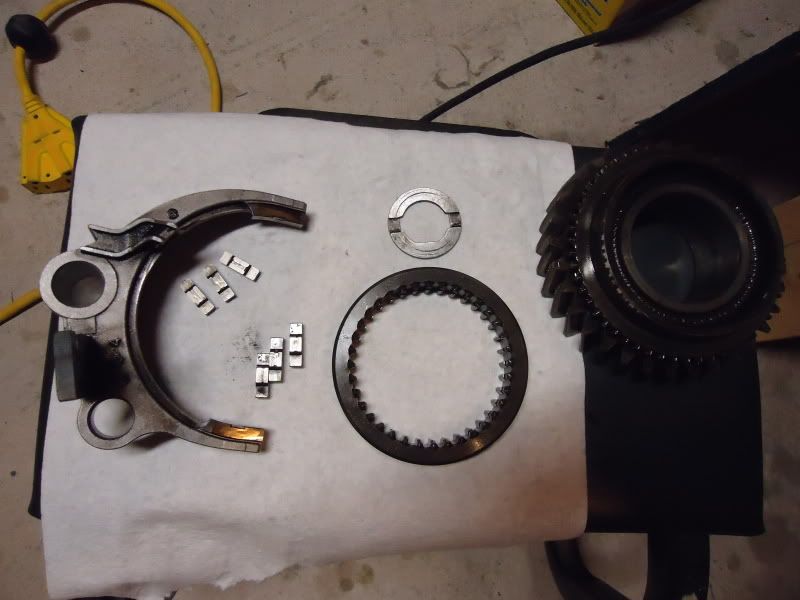

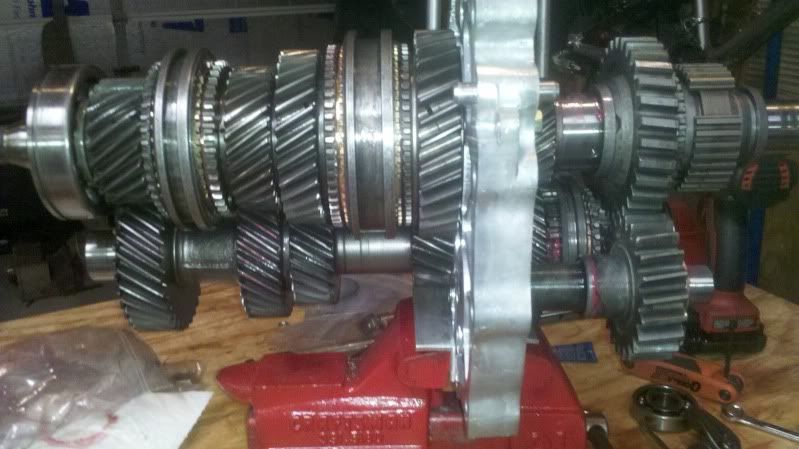
") I've taken apart some complicated stuff before but what you're doing scares the heck out of me. I know it just boils down to put it back together the way you took it apart but I see lots and lots of pieces. Big giant KUDOS to you!
I've taken apart some complicated stuff before but what you're doing scares the heck out of me. I know it just boils down to put it back together the way you took it apart but I see lots and lots of pieces. Big giant KUDOS to you!