
- Location
- Washington
First of all, many thanks to Silver Dude, couldn't have done this without him. Even with his tremendous help, this pretty much consumed me for a couple of weeks. Hopefully with this guide you can do it with a little less stress. I'll post part #s at the end.
This is a how-to for building a swing-away tire carrier for a Skid Row rear bumper found here:
https://www.4x4parts.com/nissan/skid-row-bare-steel-rear-bumper-p-1719.html
But the same principles should apply to other/custom bumpers.
First, either make sure you have factory frame stiffeners or buy some, either from a junkyard or from Shrock, the only 2 options I know of right now. I got mine for $70 from a junkyard, which was a bit of a ripoff, but when I was able to call in and cancel my $120 Shrock order, I was happy.
This is the Skid Row as you receive it
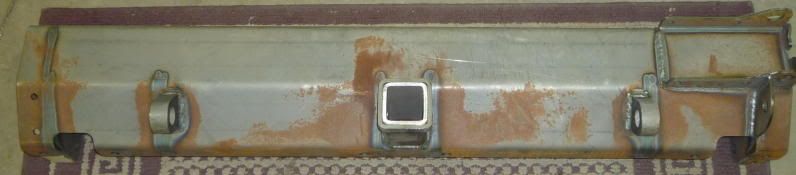
Courtesy of SilverDude
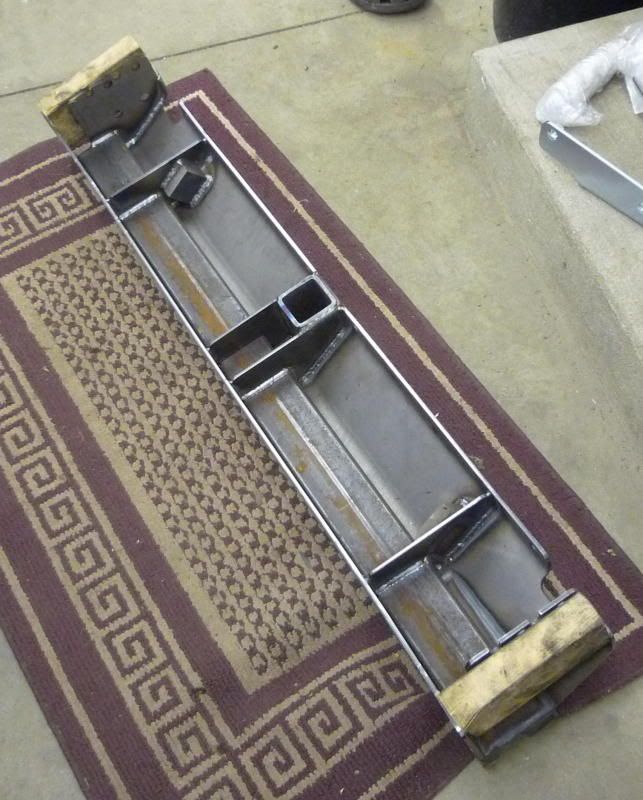
Courtesy of SilverDude
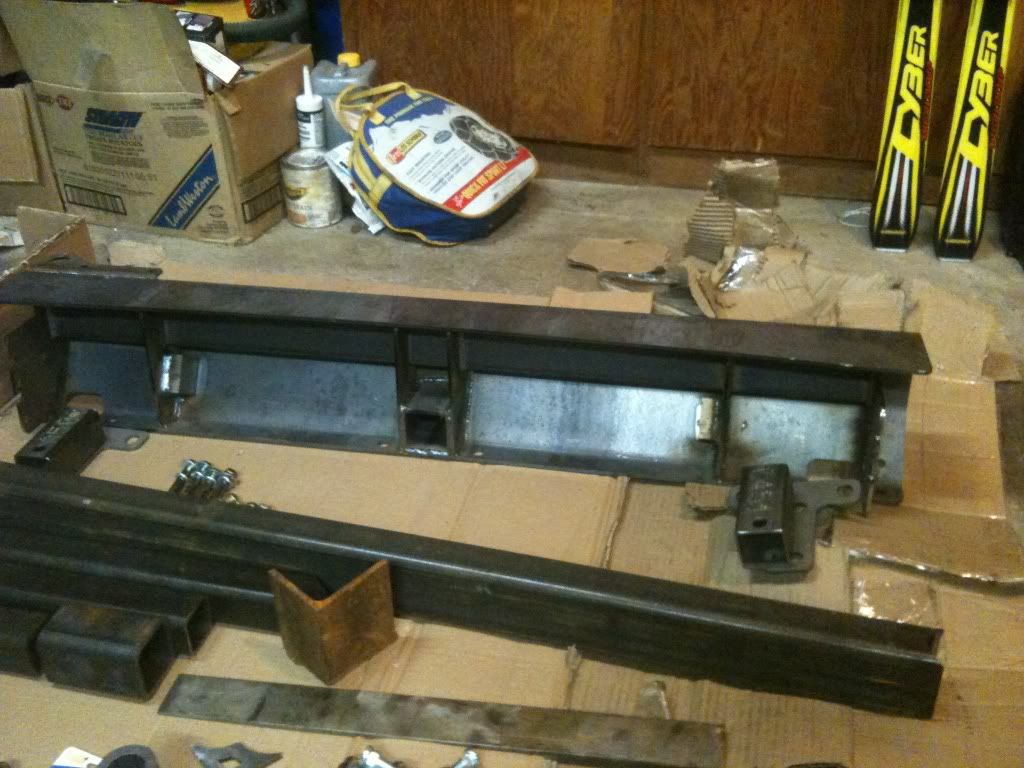
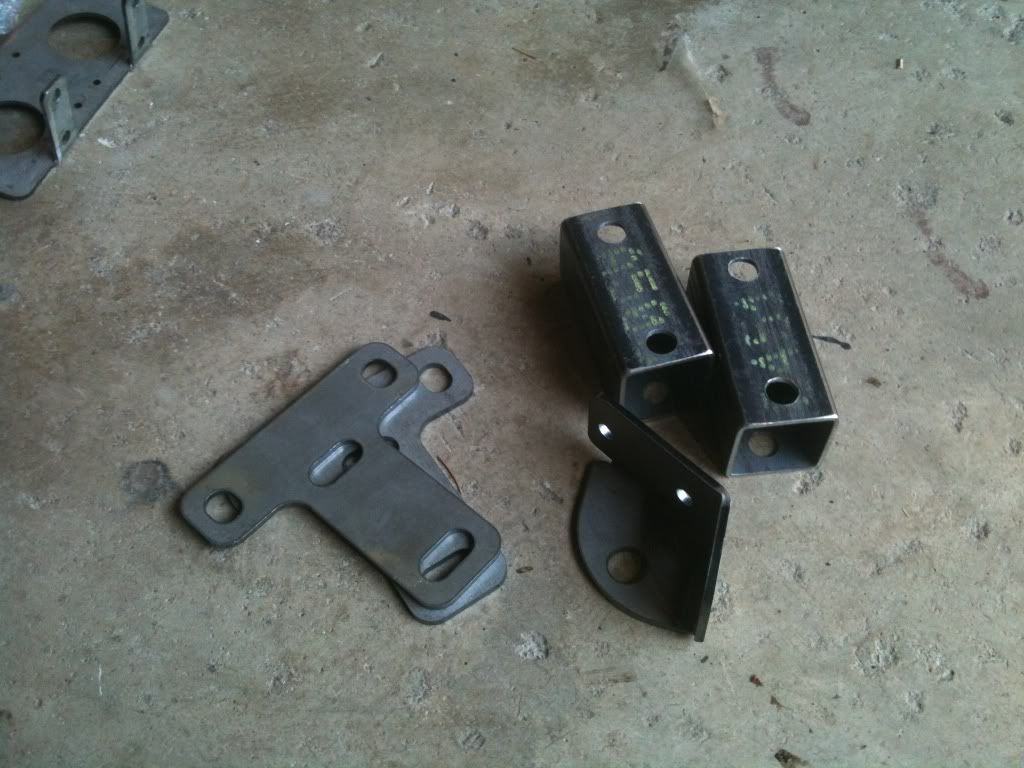
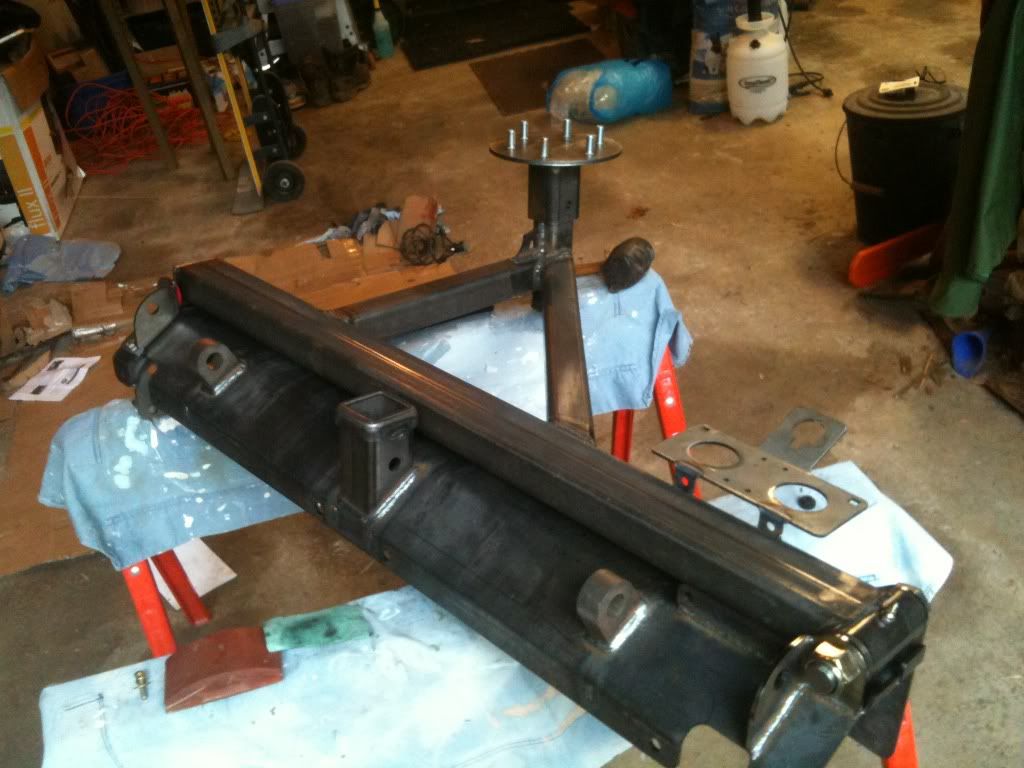
Mounting pieces and lower arm supprt
Now for the details on the swing arm.
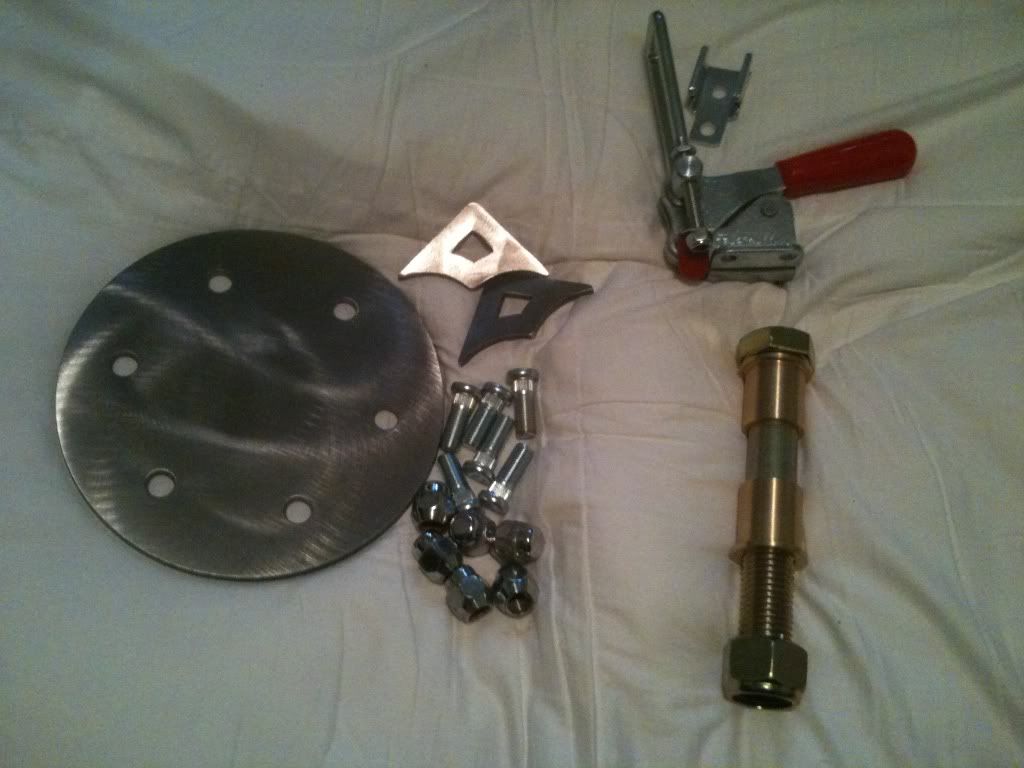
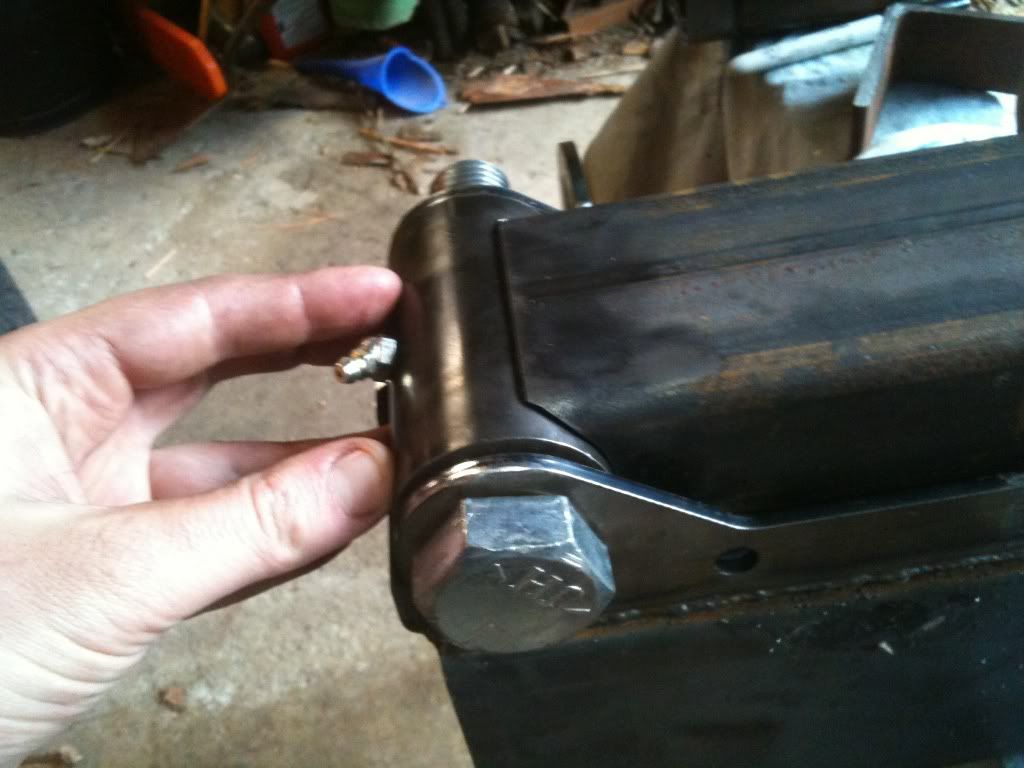
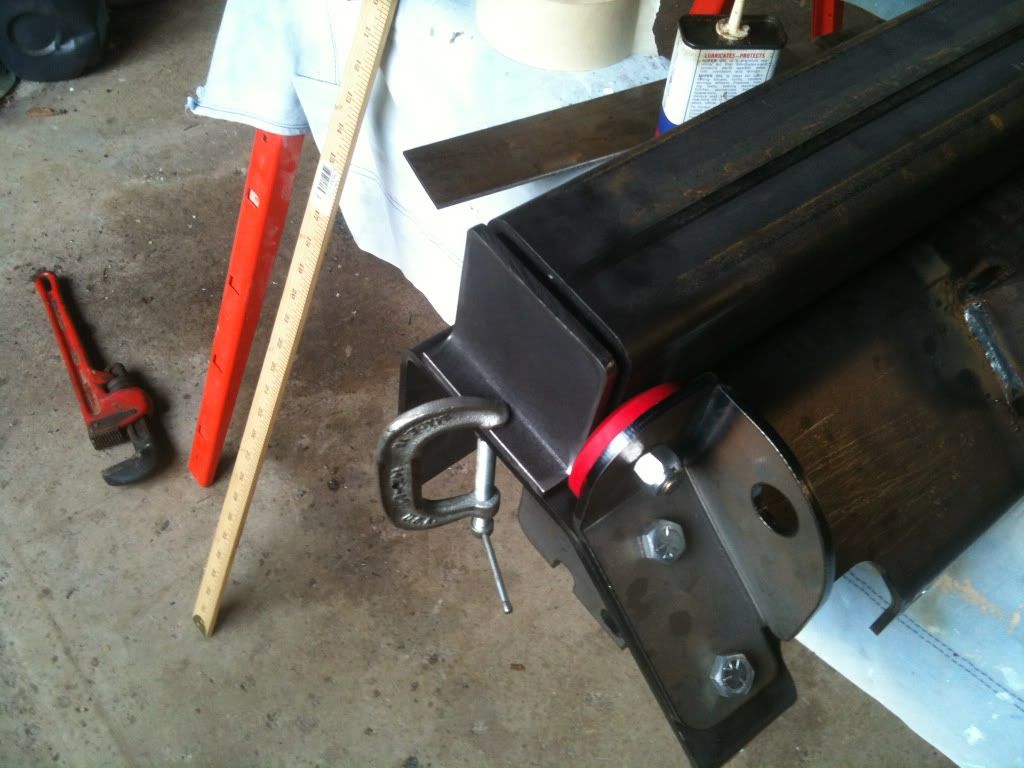
Hinge
You want to use a 1" diameter bolt, around 7" long. 6.5" would have worked fine, but it left about 1/8" of threads on the lower sleeve. A nylock works well for the nut, or you can do a lock washer. For the sleeves, you want a 1" I.D. and 1.25" O.D. That means for the outside of the hinge, you want some 3/8" wall round tubing. 1.25" I.D. with 3/8" wall = 2" O.D., the same width as your swing arm so it all matches up nicely. Then drill and tap the pipe for a zerk to keep it lubed up.
Hardware:
You'll need a radius cut on the end of your swing arm to mate up to the hinge. I had a machinist do mine, but you can do it with a hole saw on the top and bottom, then cut off the sides, as SilverDude did. Keep in mind your alignment here will determine how level your arm sits.
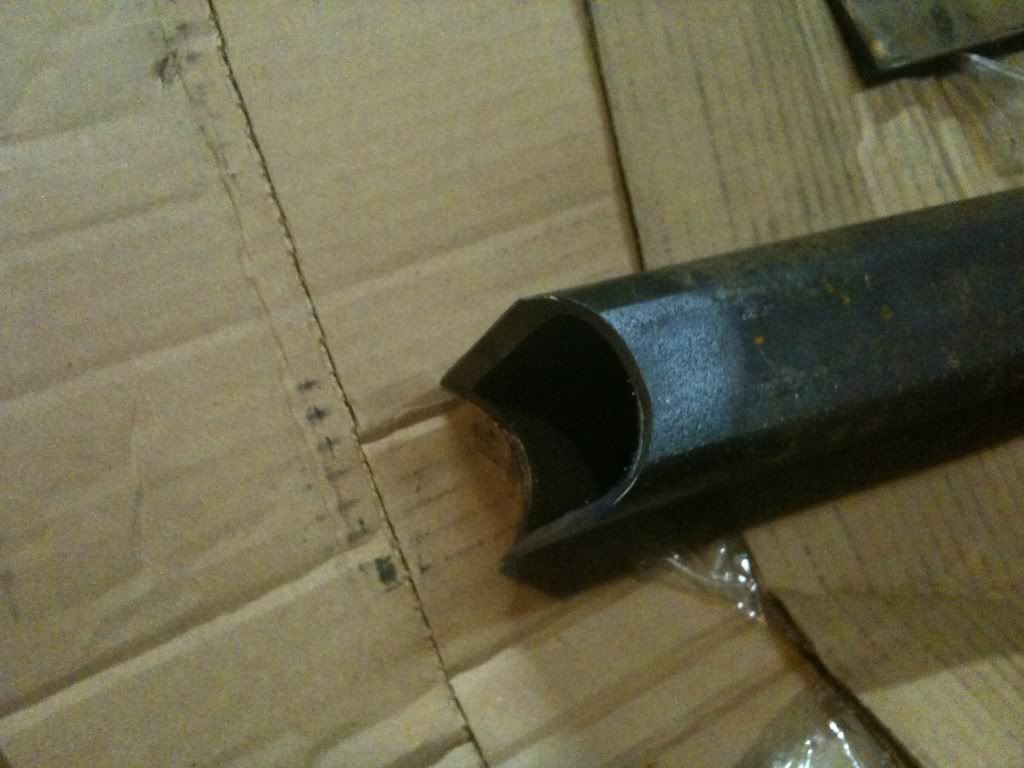
Here's SilverDude's welded up
And mine
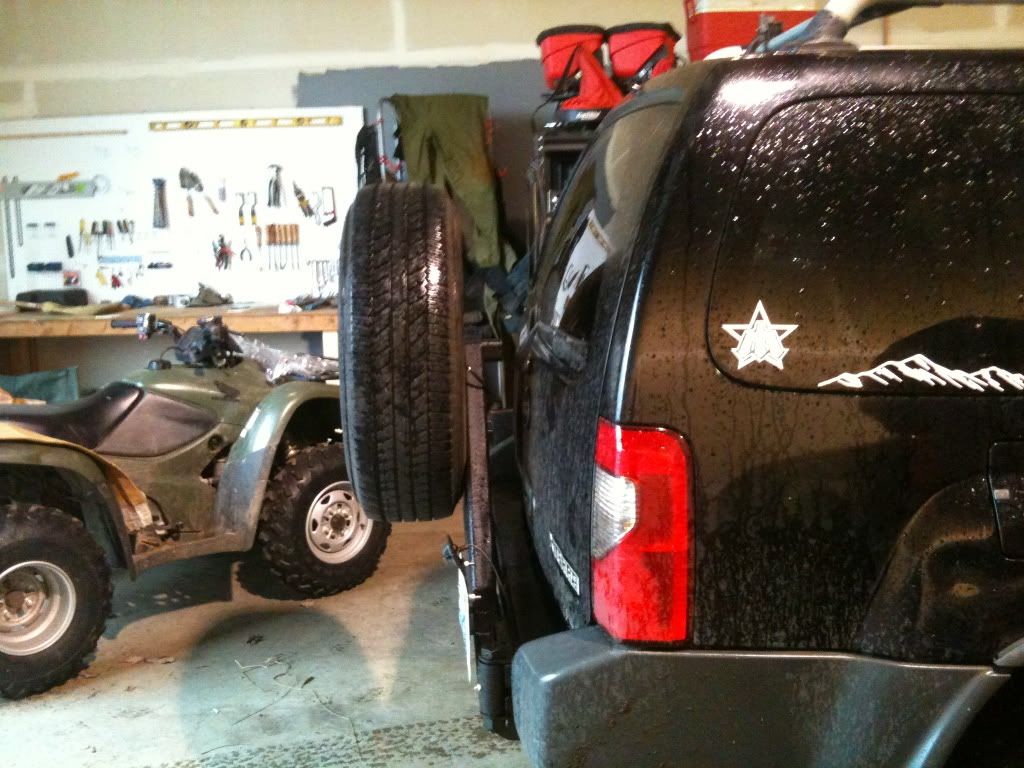
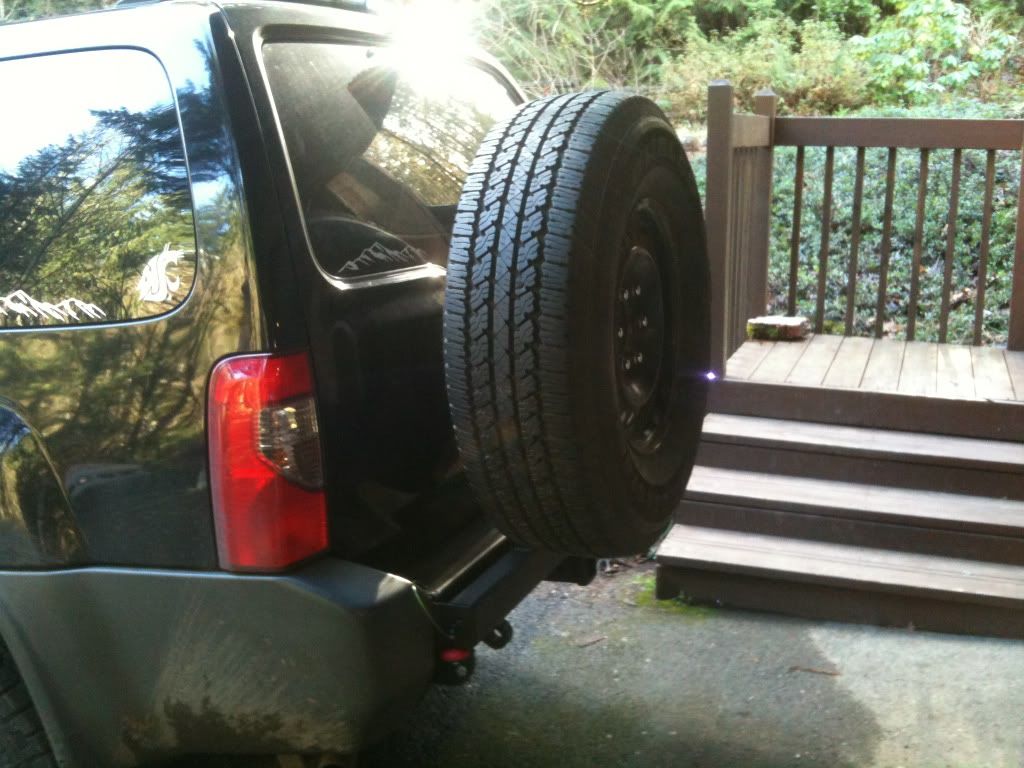
My final product

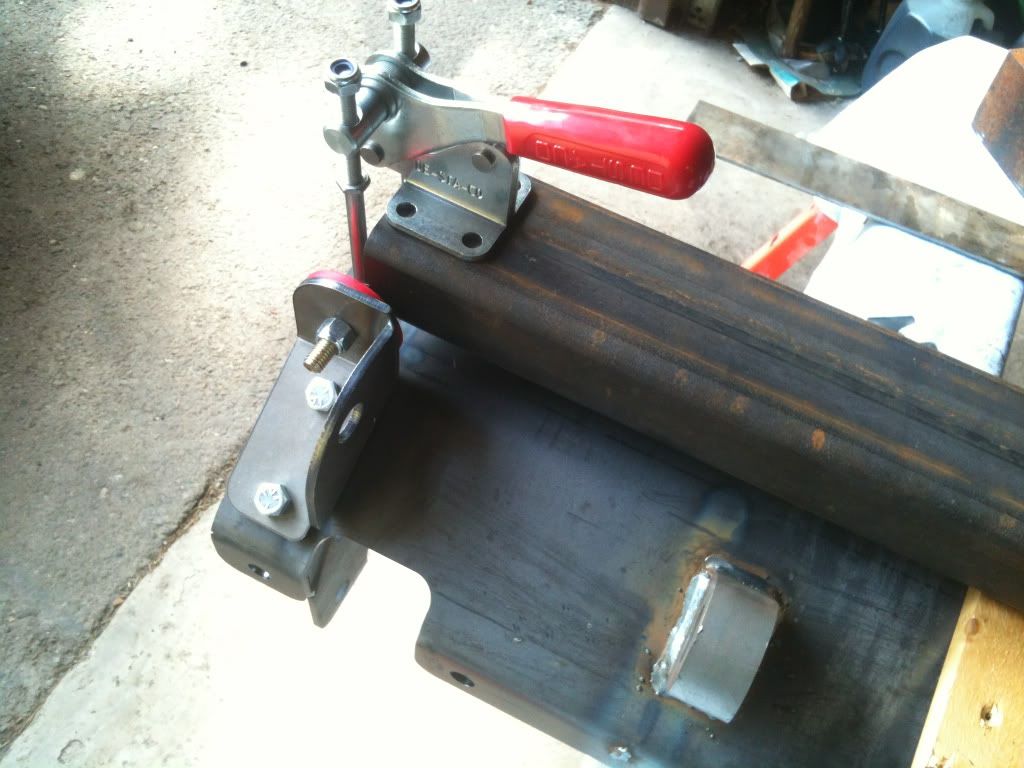
Latch
There are many options for the latch. SilverDude used a toggle style clamp, the big advantage of which is that it clamps the arm down tightly to the bumper, eliminating rattles.
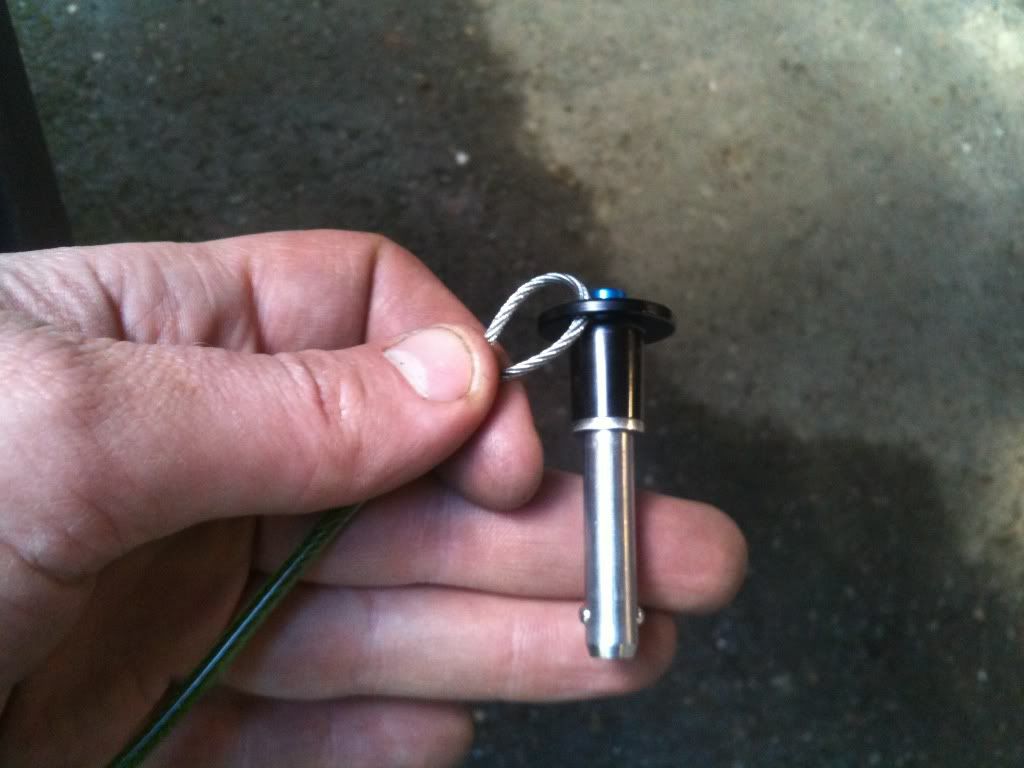
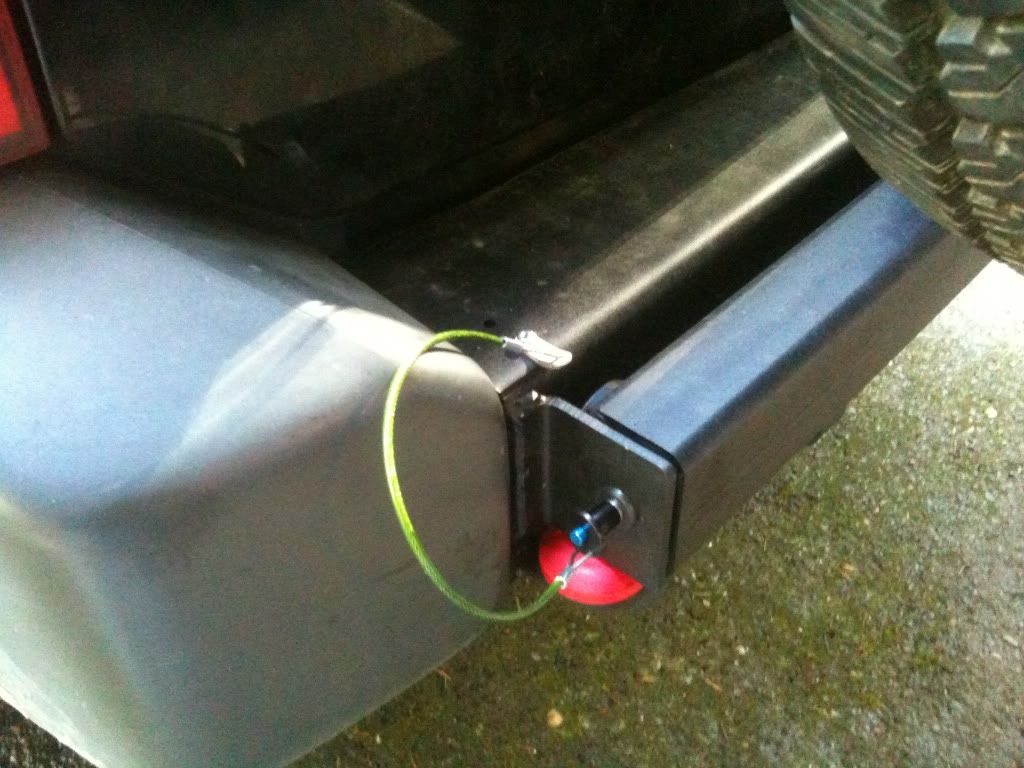
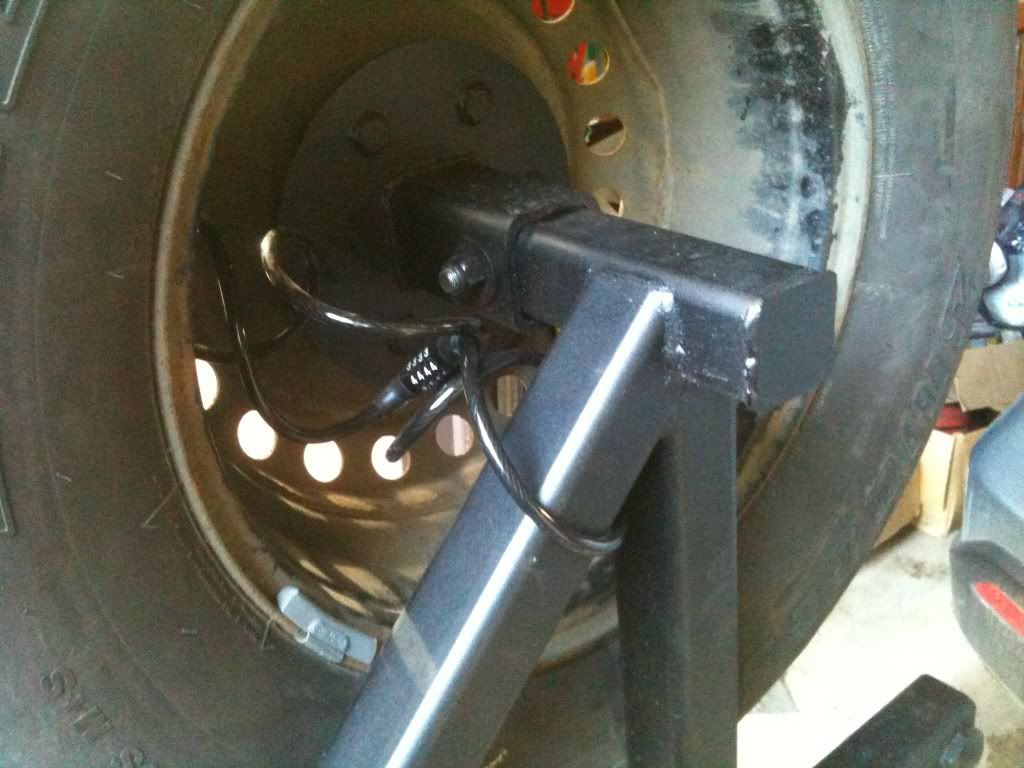
I bought this but returned it and opted for a quick release pin. Mcmaster Carr as a ton of different sizes. I cut a piece out of some leftover tubing from the swing arm (bought 4') for the piece that the pin goes through before the arm. In the arm, I had a 1/4" plate welded into the end flush. Drilled both out to receive the pin. In the plate welded to the bumper, I attached a grommet that keeps the pin snug and rattle free.
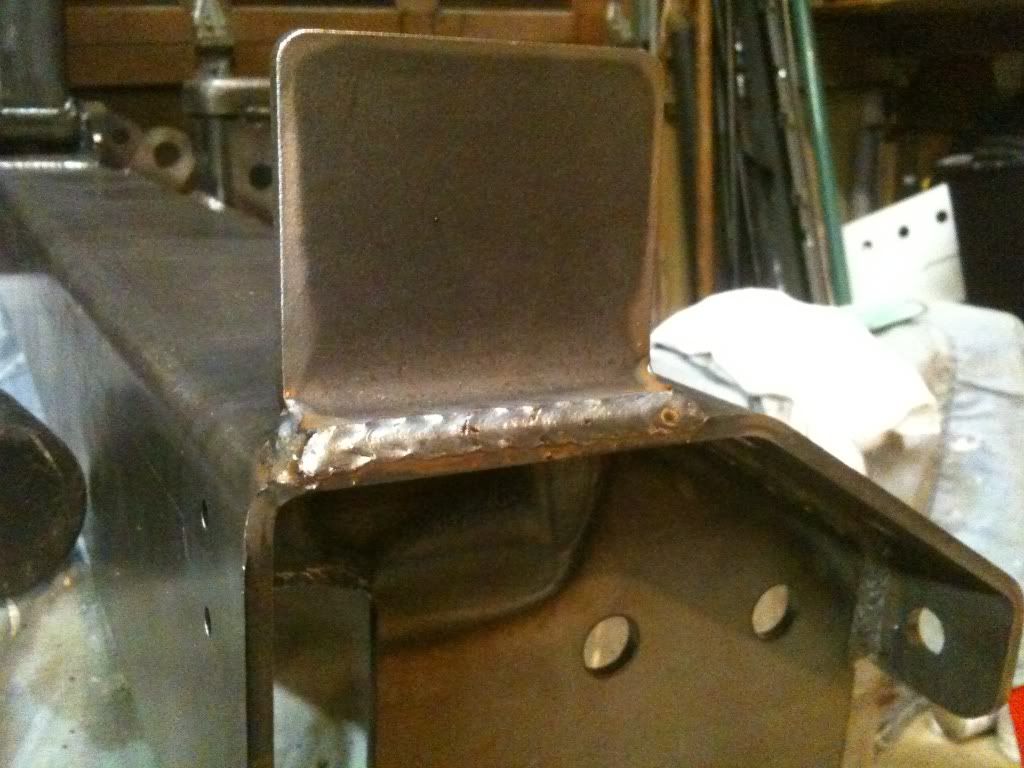
Arm Rests
The Skid Row comes with a rest for the outer end of the arm, you just need to attach a bumpstop. It comes with one, and you really need 2 (one for behind the arm, and one for below), so I added a set of ultra low bumpstops to the order.
Then for behind the arm, I drilled and tapped the arm itself for a bumpstop, do I wouldn't have to drill the bumper. Hopefully you can see it on the end of the arm, use your imagination:
The Arm
I believe that you should take your own measurements before building your swing arm. But personally I wanted to be able to mount a 33" tire without blocking the left brake light, and without going over the top of the main part of the swing arm. This may not be as important without the clamp style latch though. But I went with 3/16" wall for everything, 2"x2" for everything except the long part of the swing arm, which I used 3x2 for. Some people go with 1/4" wall for the long swing arm, but seeing the 3/16" and feeling the weight, I'm really happy with it.
As far as the piece you mount the lug plate to, I wanted the tire snug to the arm, but with the capability to go to a wider tire. I wanted a telescoping arm, and ended up going with 2x2 for the inside of it, with 'receiver' material for the outside. I drilled a set of 1/2" holes and put a grade 8 bolt through with a nylock. If I want wider tires I just need to drill a new set of holes.
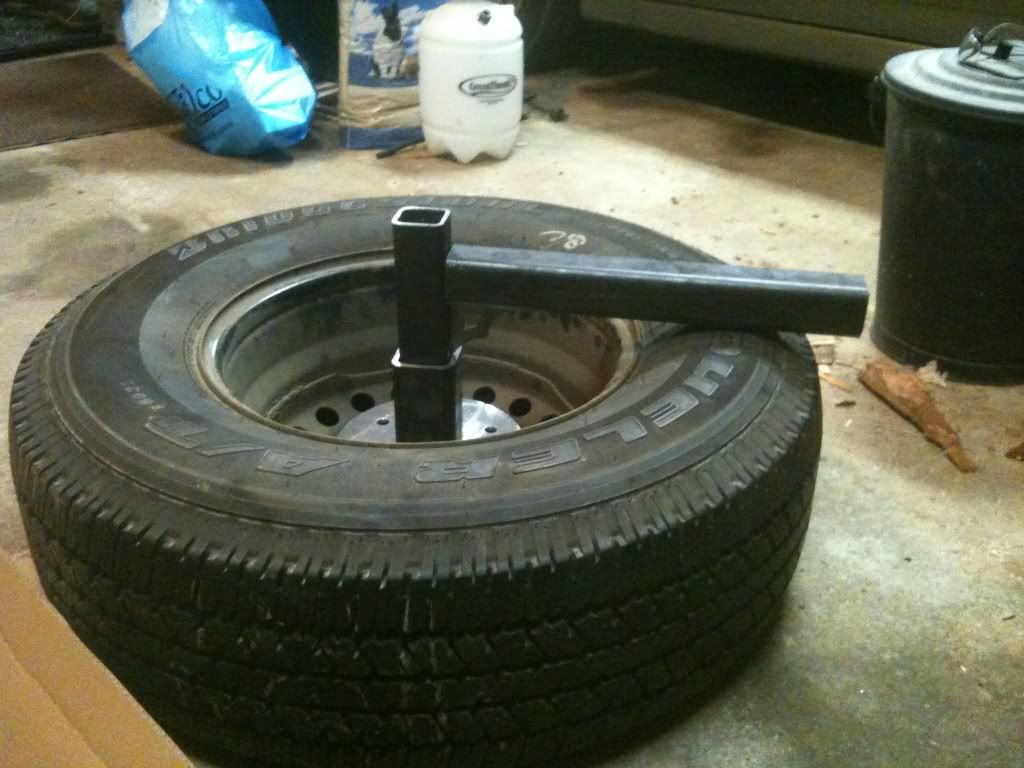

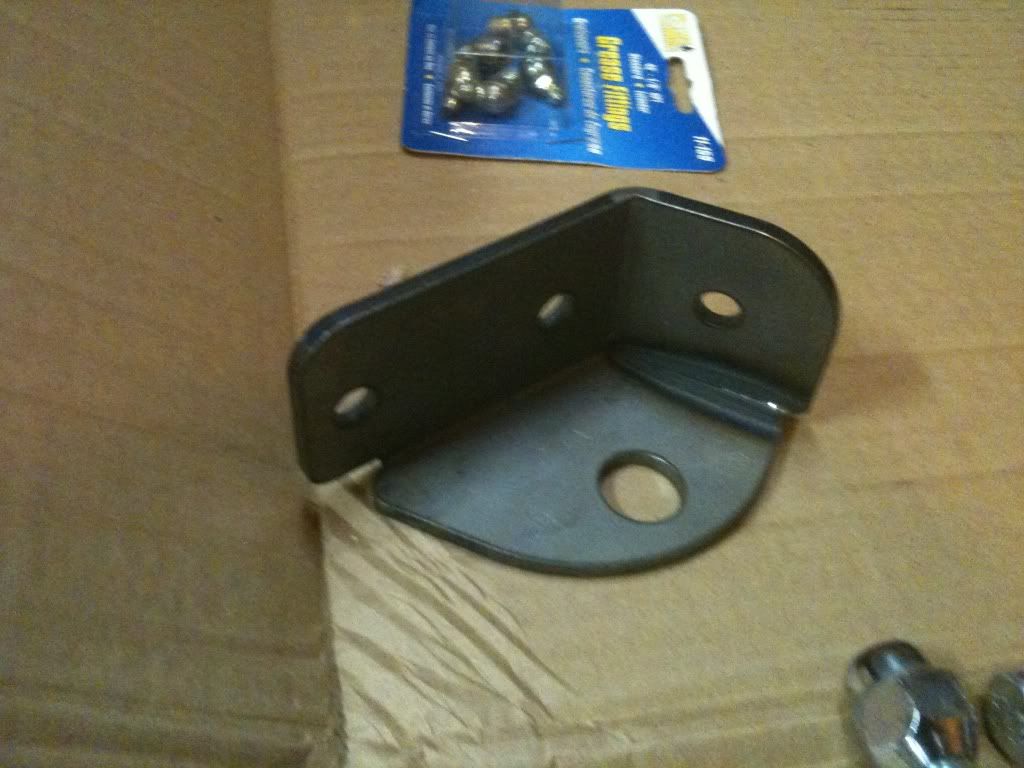
For the lug plate, you just need to get a 6 on 5.5 lug plate, either make it yourself or buy one. Then get lugs from Autozone and lug nuts from there too or a junkyard.
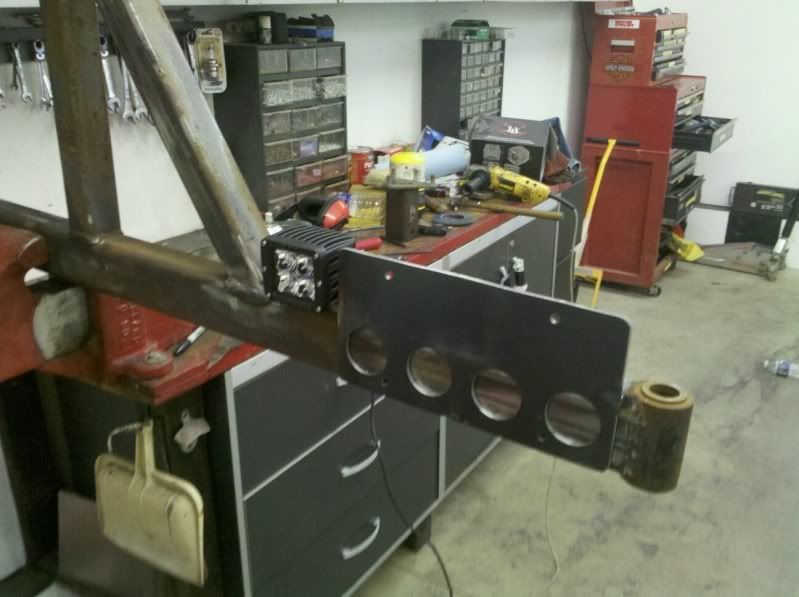
License Plate Mounting
The Skid Row comes with a bracket for mounting your license plate. SilverDude bent his up in a car wash and replaced it with a 1/4" thick plate.
I had my welder put a couple of beads along the weak part and weld it right to the arm. It uses one of the stock license plate lights but be careful, they are flimsy after 10 years. I broke both of mine.
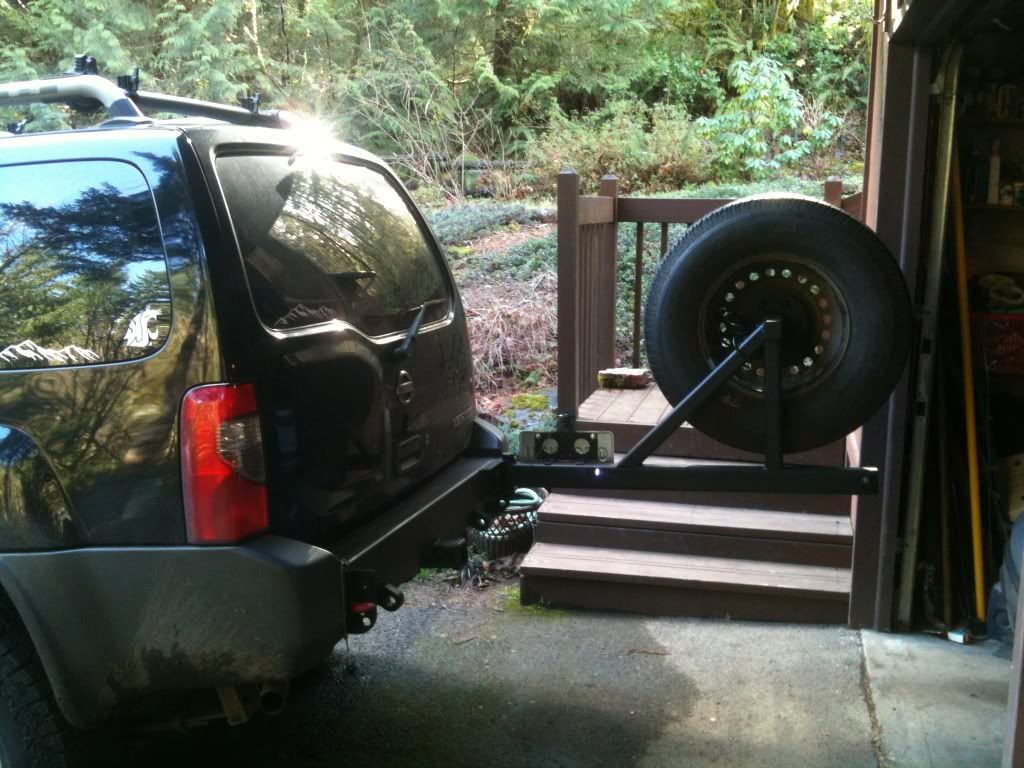
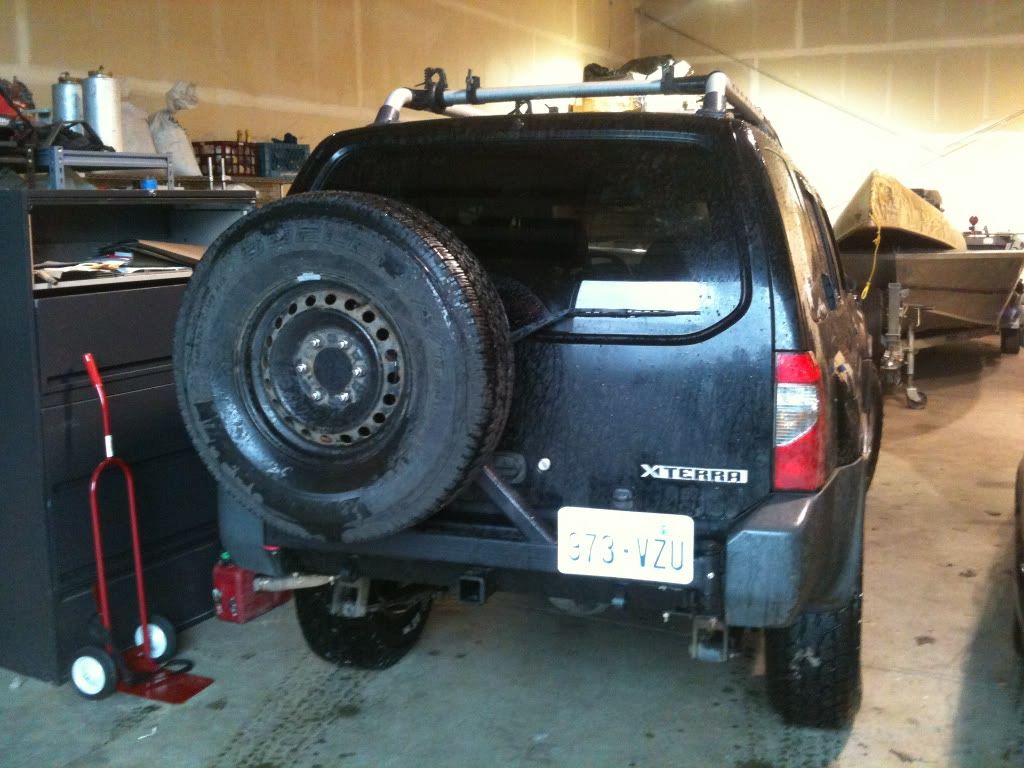
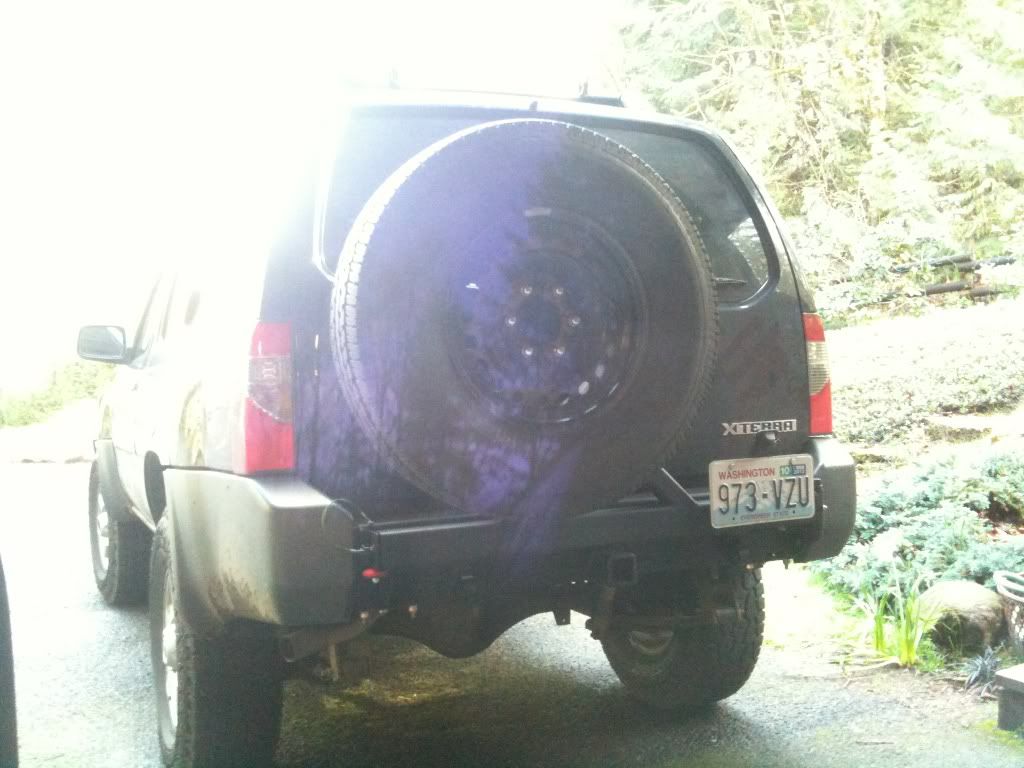
Most of all, have fun with it. It's the process that makes it your own. Here's mine all finished up:
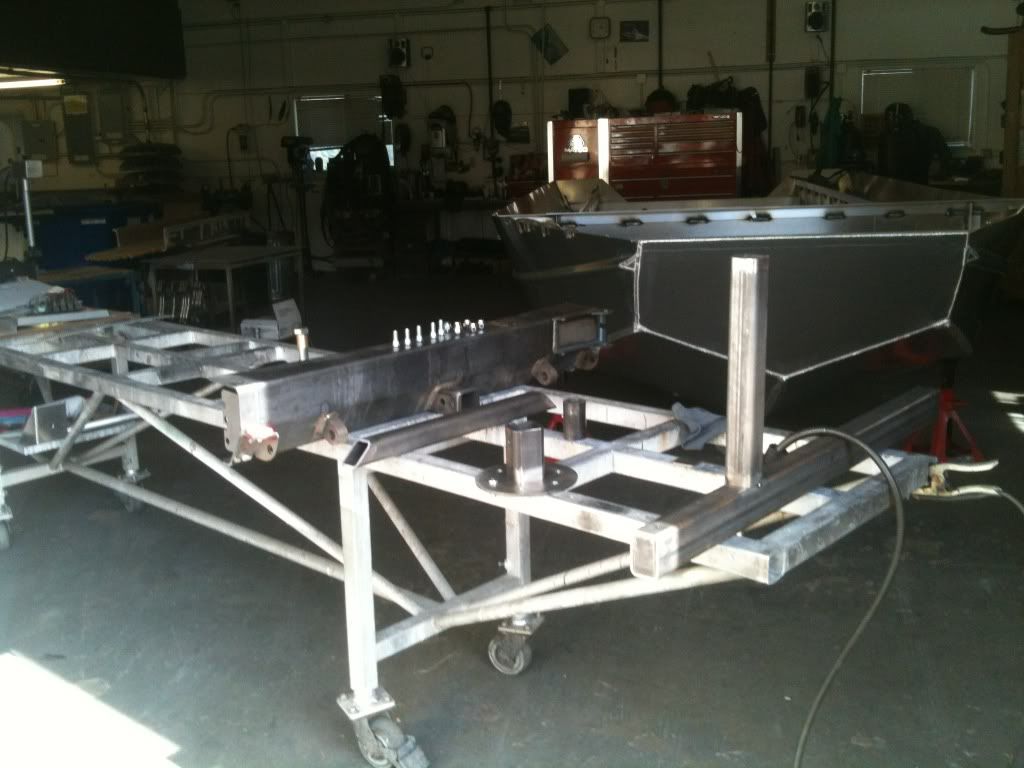
Being welded:

Part Numbers
Toggle clamp Silver Dude used: Mcmaster Carr 5135A27
Quick Disconnect I used: Mcmaster Carr 94748A308
Grommet I used: Mcmaster Carr 9307K18
Bronze sleeve bearings: Mcmaster Carr 7815K58
6.5" bolt for hinge: Mcmaster Carr 91247A929
Nylock nut for hinge bolt: Mcmaster Carr 97135A038
Up to you on grade, I also went with grade 8 nylock and grade 5 bolt so it was easier to cut.
2" hole saw: Lowes item #: 348107
Lug plate (variety of places to get them): DIY4x4: http://diy4x.com/cart/index.php?route=product/product&keyword=spare&product_id=157
Spiderweb Gusset: http://diy4x.com/cart/index.php?route=product/product&keyword=gusset&product_id=91
Additional Resources
SilverDude breaks down what all he bought, a little over half way down: http://www.clubxterra.org/forums/archive/index.php/t-28411.html
Sweet writeup of a different design on another site: http://www.dso4x4.com/forums/showthread.php?t=4251
Steeze's first gen tire carrier build: http://www.clubxterra.org/forums/showthread.php?t=10653&highlight=steeze+rear+tire+carrier&page=5
Casper's Calmini bumper modification: http://www.clubxterra.org/forums/showthread.php?t=12186&page=2
JGBimle's build, he posts awesome drawings of his bumper if you want to build it from scratch, page 15: http://www.clubxterra.org/forums/showthread.php?p=476581#post476581
SilverDude's build, final product on page 17: http://www.clubxterra.org/forums/showthread.php?t=7582&page=17
I'm sure I'm missing a few things... anything you need just let me know. Again, I cannot thank SilverDude enough for his endless help on this.
Cheers
This is a how-to for building a swing-away tire carrier for a Skid Row rear bumper found here:
https://www.4x4parts.com/nissan/skid-row-bare-steel-rear-bumper-p-1719.html
But the same principles should apply to other/custom bumpers.
First, either make sure you have factory frame stiffeners or buy some, either from a junkyard or from Shrock, the only 2 options I know of right now. I got mine for $70 from a junkyard, which was a bit of a ripoff, but when I was able to call in and cancel my $120 Shrock order, I was happy.
This is the Skid Row as you receive it
Courtesy of SilverDude
Courtesy of SilverDude
Mounting pieces and lower arm supprt
Now for the details on the swing arm.
Hinge
You want to use a 1" diameter bolt, around 7" long. 6.5" would have worked fine, but it left about 1/8" of threads on the lower sleeve. A nylock works well for the nut, or you can do a lock washer. For the sleeves, you want a 1" I.D. and 1.25" O.D. That means for the outside of the hinge, you want some 3/8" wall round tubing. 1.25" I.D. with 3/8" wall = 2" O.D., the same width as your swing arm so it all matches up nicely. Then drill and tap the pipe for a zerk to keep it lubed up.
Hardware:
You'll need a radius cut on the end of your swing arm to mate up to the hinge. I had a machinist do mine, but you can do it with a hole saw on the top and bottom, then cut off the sides, as SilverDude did. Keep in mind your alignment here will determine how level your arm sits.
Here's SilverDude's welded up
And mine
My final product
Latch
There are many options for the latch. SilverDude used a toggle style clamp, the big advantage of which is that it clamps the arm down tightly to the bumper, eliminating rattles.
I bought this but returned it and opted for a quick release pin. Mcmaster Carr as a ton of different sizes. I cut a piece out of some leftover tubing from the swing arm (bought 4') for the piece that the pin goes through before the arm. In the arm, I had a 1/4" plate welded into the end flush. Drilled both out to receive the pin. In the plate welded to the bumper, I attached a grommet that keeps the pin snug and rattle free.
Arm Rests
The Skid Row comes with a rest for the outer end of the arm, you just need to attach a bumpstop. It comes with one, and you really need 2 (one for behind the arm, and one for below), so I added a set of ultra low bumpstops to the order.
Then for behind the arm, I drilled and tapped the arm itself for a bumpstop, do I wouldn't have to drill the bumper. Hopefully you can see it on the end of the arm, use your imagination:
The Arm
I believe that you should take your own measurements before building your swing arm. But personally I wanted to be able to mount a 33" tire without blocking the left brake light, and without going over the top of the main part of the swing arm. This may not be as important without the clamp style latch though. But I went with 3/16" wall for everything, 2"x2" for everything except the long part of the swing arm, which I used 3x2 for. Some people go with 1/4" wall for the long swing arm, but seeing the 3/16" and feeling the weight, I'm really happy with it.
As far as the piece you mount the lug plate to, I wanted the tire snug to the arm, but with the capability to go to a wider tire. I wanted a telescoping arm, and ended up going with 2x2 for the inside of it, with 'receiver' material for the outside. I drilled a set of 1/2" holes and put a grade 8 bolt through with a nylock. If I want wider tires I just need to drill a new set of holes.
For the lug plate, you just need to get a 6 on 5.5 lug plate, either make it yourself or buy one. Then get lugs from Autozone and lug nuts from there too or a junkyard.
License Plate Mounting
The Skid Row comes with a bracket for mounting your license plate. SilverDude bent his up in a car wash and replaced it with a 1/4" thick plate.
I had my welder put a couple of beads along the weak part and weld it right to the arm. It uses one of the stock license plate lights but be careful, they are flimsy after 10 years. I broke both of mine.
Most of all, have fun with it. It's the process that makes it your own. Here's mine all finished up:
Being welded:
Part Numbers
Toggle clamp Silver Dude used: Mcmaster Carr 5135A27
Quick Disconnect I used: Mcmaster Carr 94748A308
Grommet I used: Mcmaster Carr 9307K18
Bronze sleeve bearings: Mcmaster Carr 7815K58
6.5" bolt for hinge: Mcmaster Carr 91247A929
Nylock nut for hinge bolt: Mcmaster Carr 97135A038
Up to you on grade, I also went with grade 8 nylock and grade 5 bolt so it was easier to cut.
2" hole saw: Lowes item #: 348107
Lug plate (variety of places to get them): DIY4x4: http://diy4x.com/cart/index.php?route=product/product&keyword=spare&product_id=157
Spiderweb Gusset: http://diy4x.com/cart/index.php?route=product/product&keyword=gusset&product_id=91
Additional Resources
SilverDude breaks down what all he bought, a little over half way down: http://www.clubxterra.org/forums/archive/index.php/t-28411.html
Sweet writeup of a different design on another site: http://www.dso4x4.com/forums/showthread.php?t=4251
Steeze's first gen tire carrier build: http://www.clubxterra.org/forums/showthread.php?t=10653&highlight=steeze+rear+tire+carrier&page=5
Casper's Calmini bumper modification: http://www.clubxterra.org/forums/showthread.php?t=12186&page=2
JGBimle's build, he posts awesome drawings of his bumper if you want to build it from scratch, page 15: http://www.clubxterra.org/forums/showthread.php?p=476581#post476581
SilverDude's build, final product on page 17: http://www.clubxterra.org/forums/showthread.php?t=7582&page=17
I'm sure I'm missing a few things... anything you need just let me know. Again, I cannot thank SilverDude enough for his endless help on this.
Cheers
Last edited: